DIY Baseball Decor
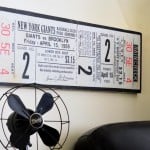
Learn how to make this baseball wall art with a vintage print of a ticket! This is a fun personalized decor gift idea.
Yield: 1 piece
Cost: $15
Equipment
- Sandpaper or sander
- Paint roller
- Large plastic tub
Materials
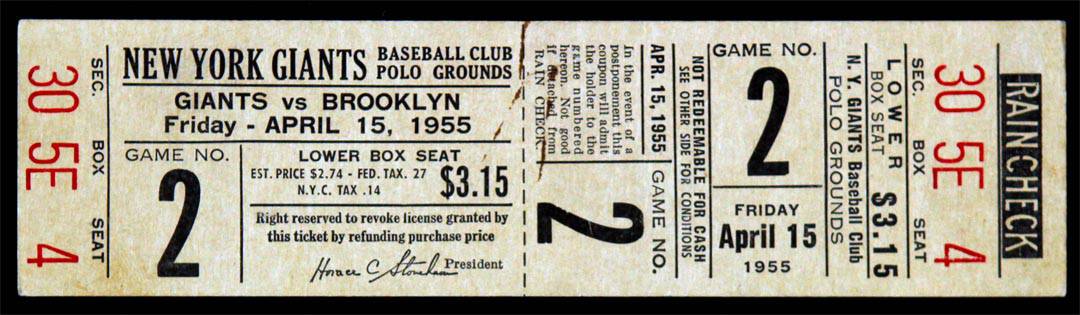
- 1 Enlarged print of an old baseball ticket
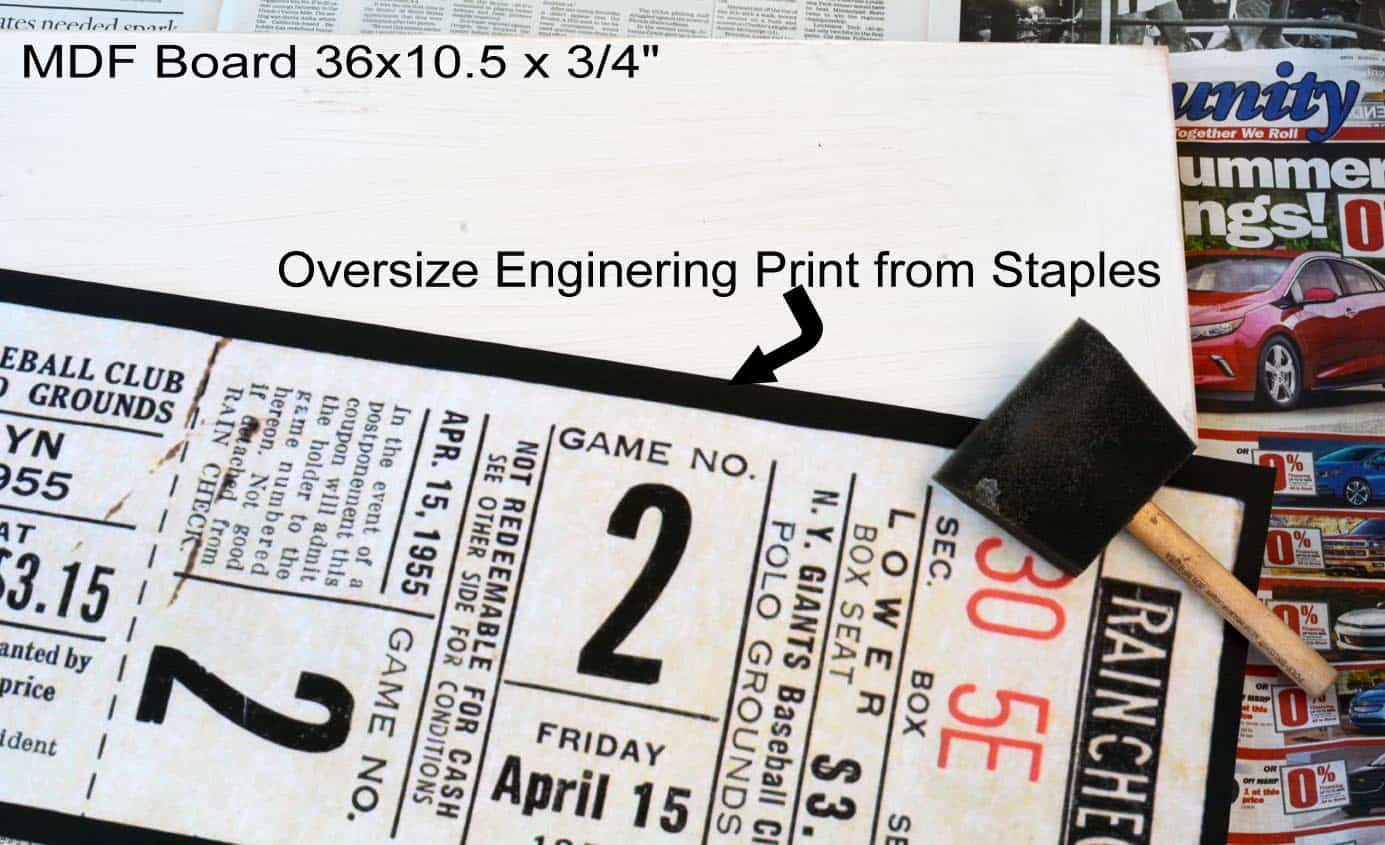
- 1 piece Medium density fiberboard lumber cut to size: 36" x 10.5"
- Mod Podge Matte and/or Hard Coat
- 1 bottle Craft paint white
- 2 "D" hook hangers
Instructions
- Find the graphic you like. Resize and have printed as an engineering print - 36" x 10.5" size.
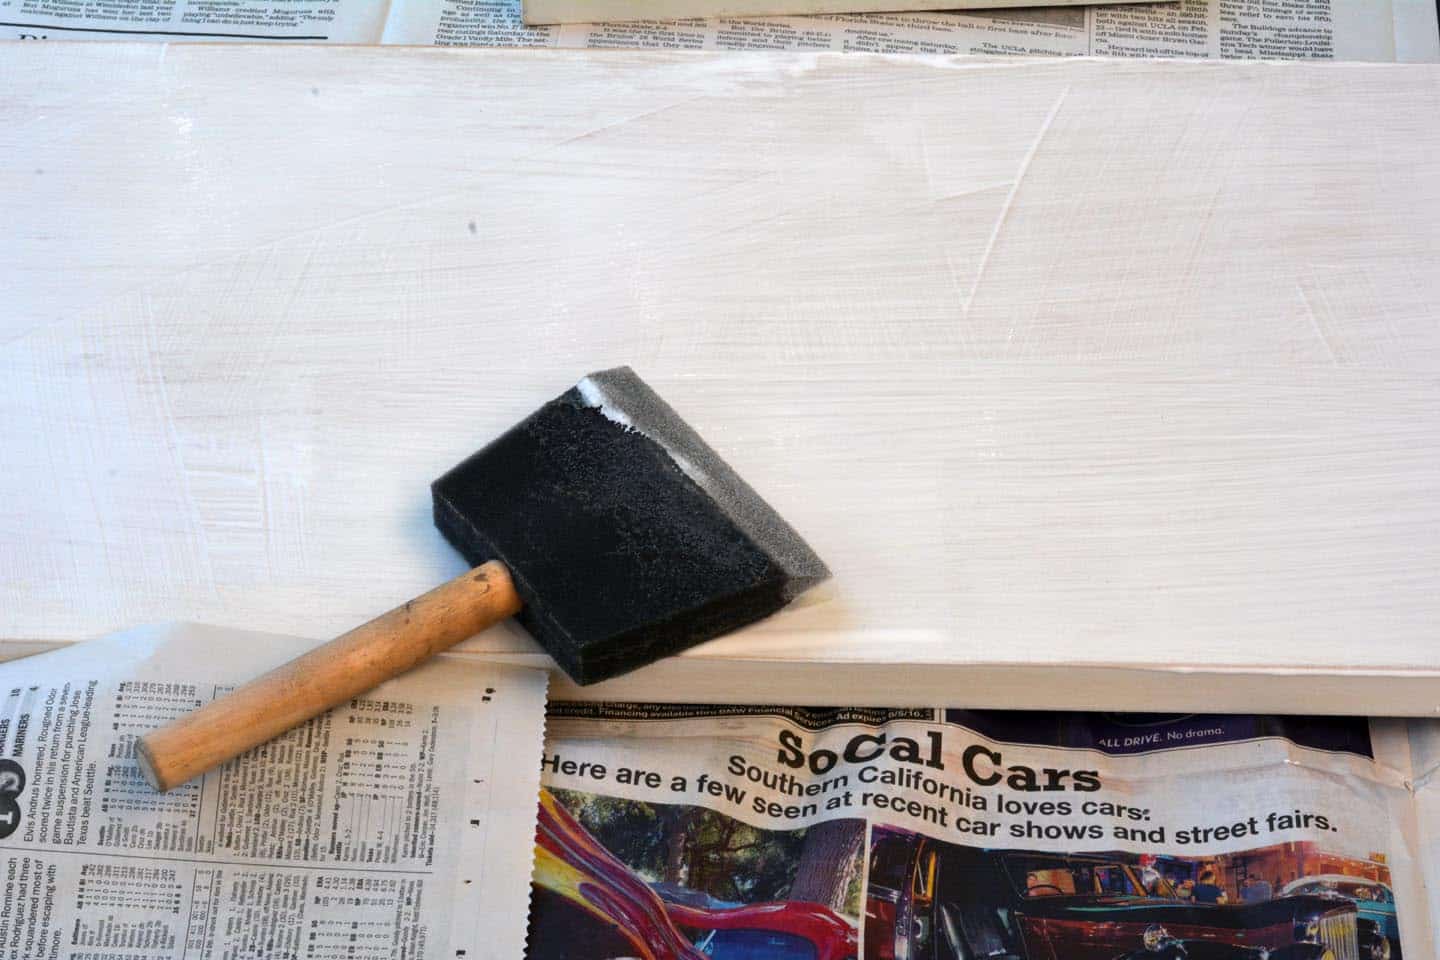
- Give the board a light coat of white paint. Let dry and then give a light sanding to smooth out bumps and add a bit of distressing.
- Soak your print in a container of water for a few seconds. Soaking the paper makes it easier to smooth out with fewer wrinkles.

- Apply a medium coat of Matte Mod Podge to the board.
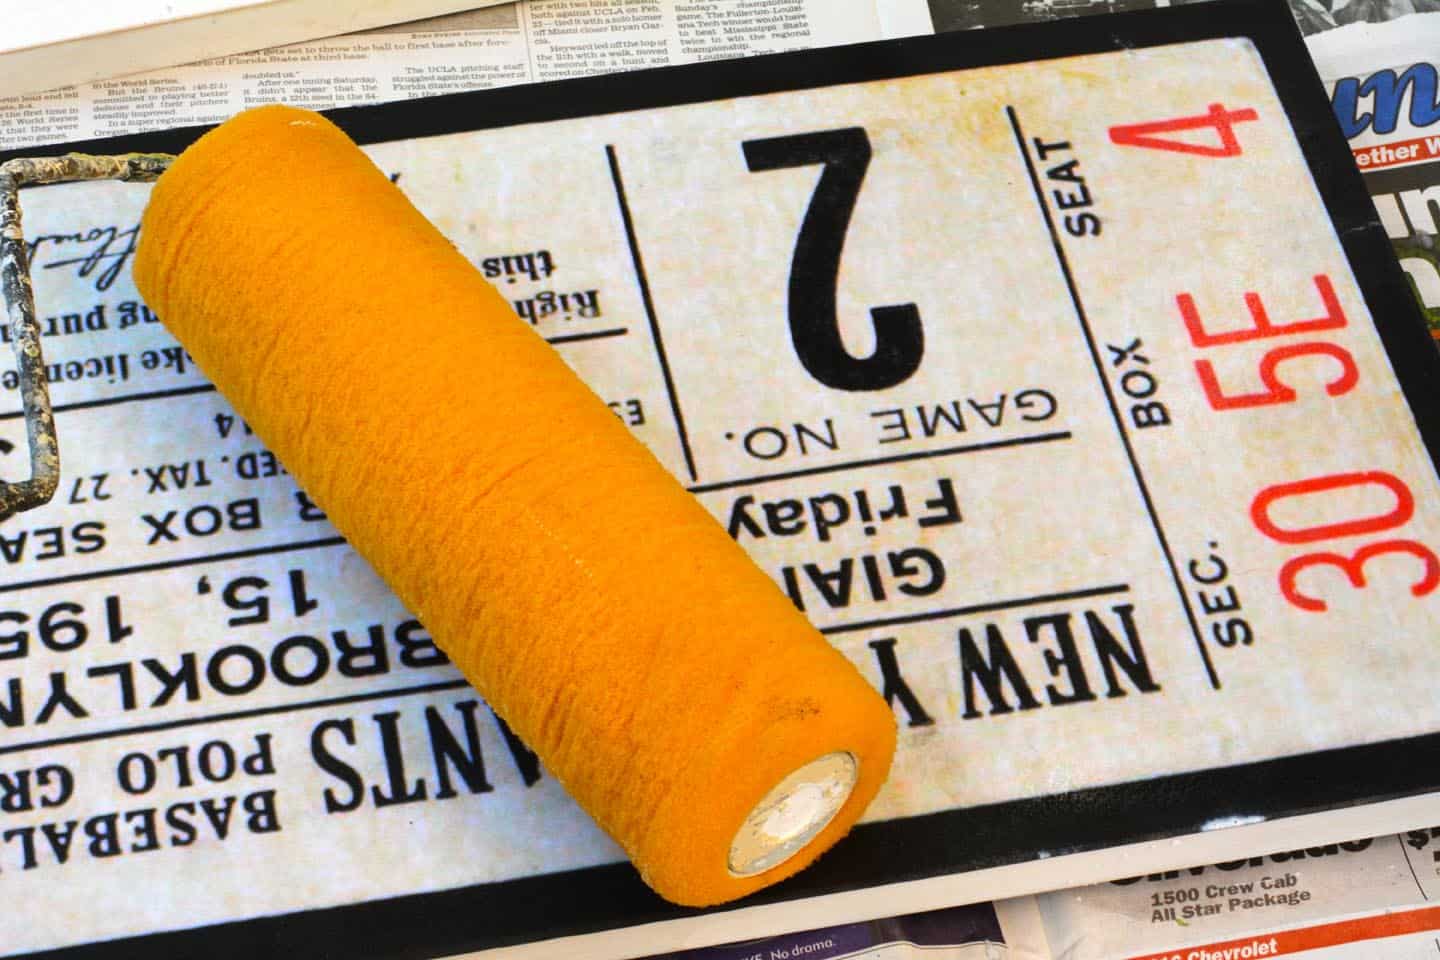
- Handling the paper carefully (it's fragile at this point), lay it out onto the board. Use a roller to smooth out air bubbles and squeeze out excess Mod Podge. Wipe away with a brush. Let dry completely.
- Sand away the edges for a worn look. Seal the entire piece with two coats of Hard Coat Mod Podge. Let dry.
- Add the hanging D hooks to the back of the board and hang.
Notes
Step 1: After you find a graphic you like, save the resized graphic as a PDF (to guarantee that it prints out at the correct size), transfer it to a thumb drive, and take it to Staples.
At Staples I asked for an "Engineering Print." Engineering prints are affordable, oversized print outs that are great for graphics. My three foot long print out cost $6, and they did it while I waited.
Step 2: I chose to use Medium Density Fiberboard (MDF) for my backer because it is inexpensive and has a super-smooth surface that makes it easy to work with when decoupaging - no splinters or unevenness.
I like working with MDF, but any fairly smooth lumber will work just fine. And if you don't have access to saws, most lumberyards will happily cut the board to your dimensions.
Step 3: Since this project was so large, I used a plastic bin that I had on hand. I've done similar using the kitchen sink or bathtub.