
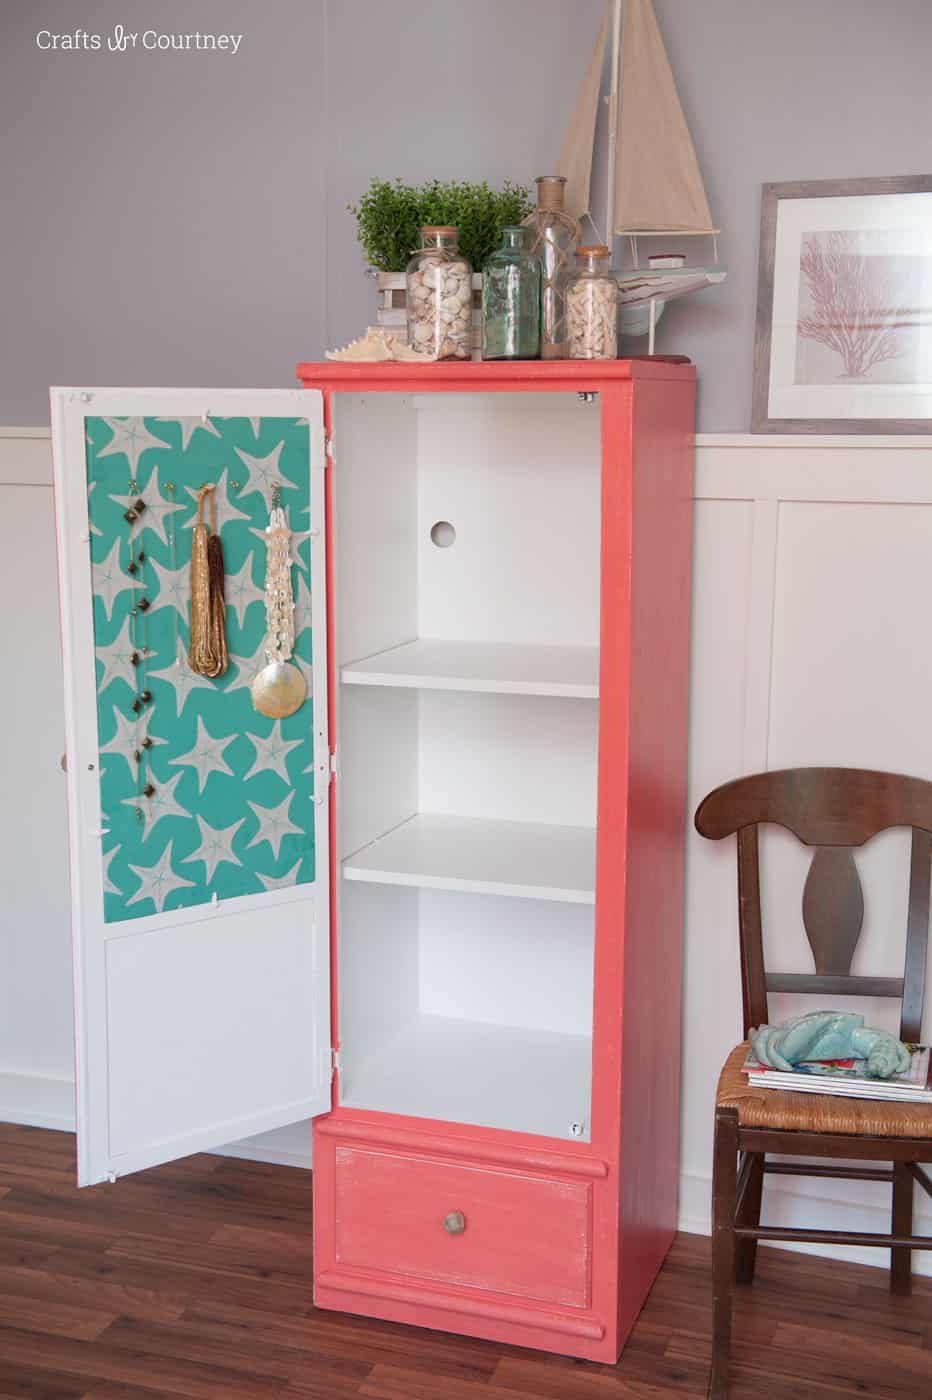
Courtney revamped her bathroom cabinet with pretty paint colors – and turned the inside into a cork board jewelry organizer with Mod Podge and fabric!
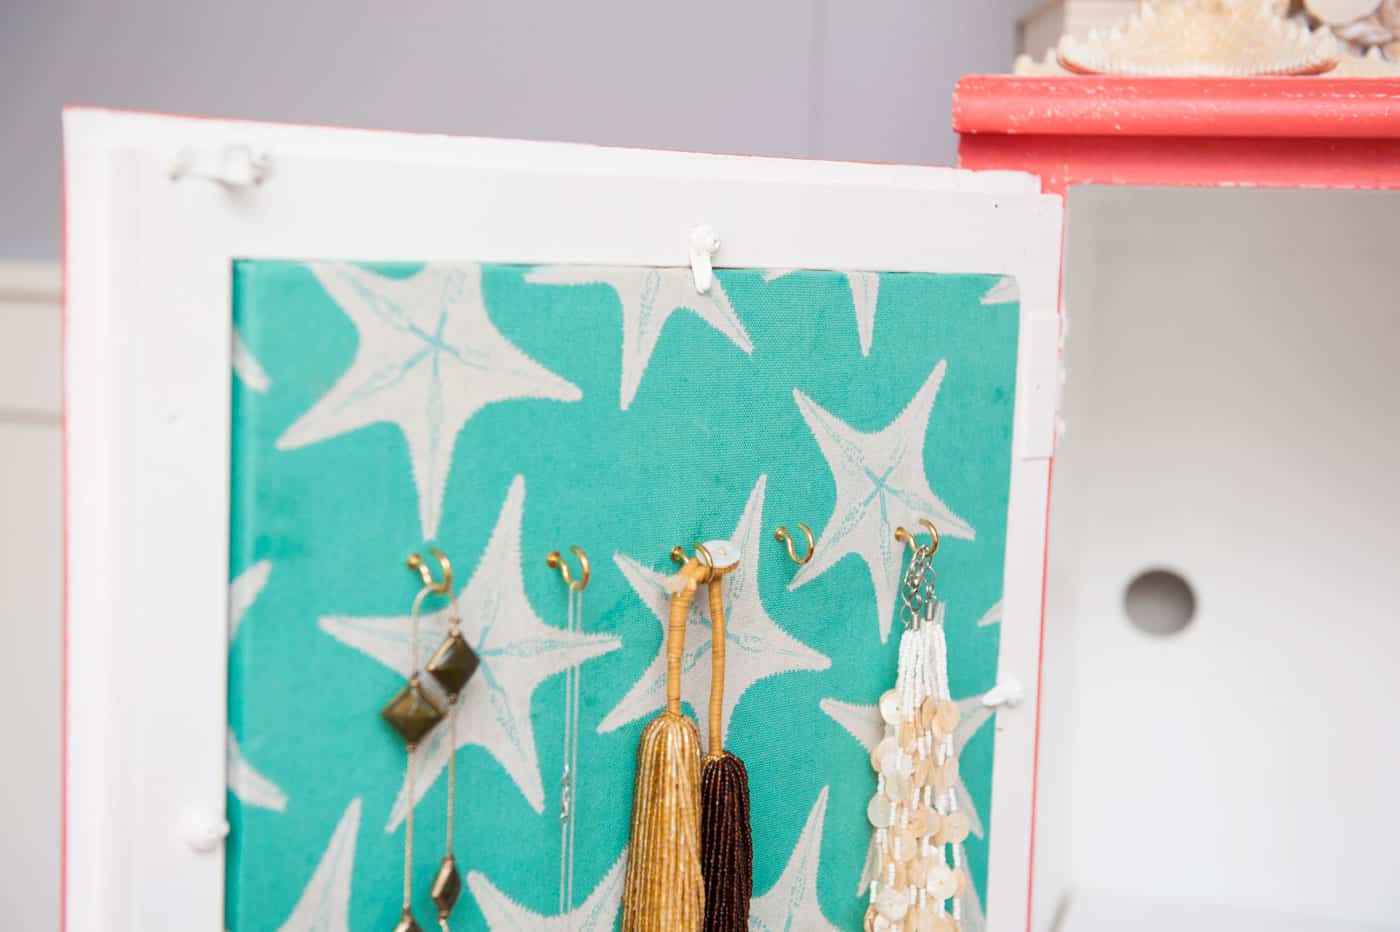
I just gave my bathroom cabinet a makeover and I wanted to give the inside a fun little surprise. It has a cork board inside and it was in terrible shape. I knew I wanted to cover it in some fabric and use that space to hang my necklaces on. A cork board makes a perfect DIY jewelry organizer!
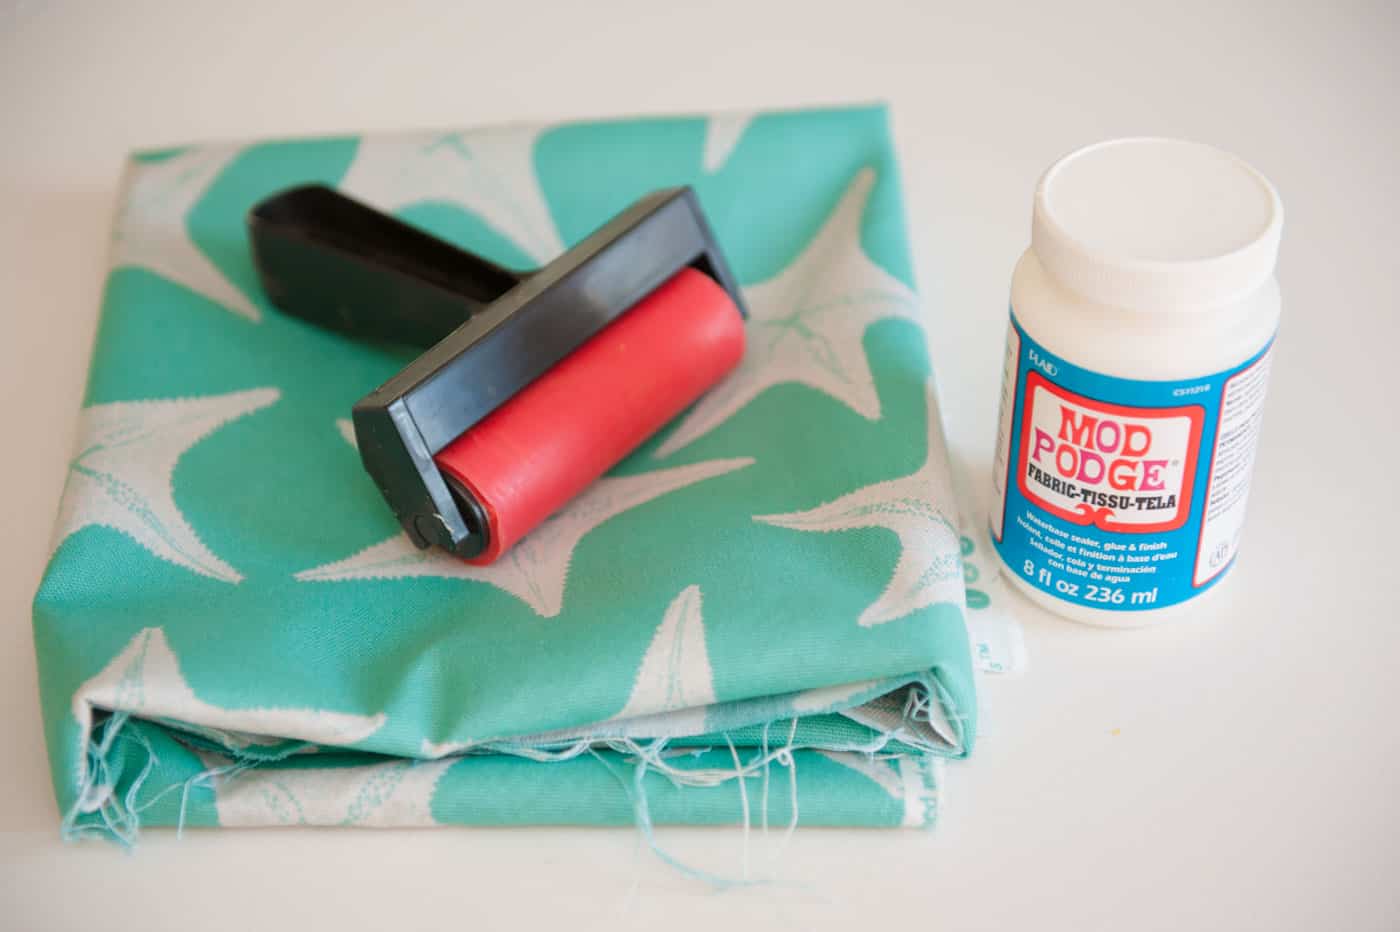
I found this fabric back when I did my fabric lined drawer post on my desk. I just fell in love with it when I saw it at Jo-Ann and I’ve been waiting for the perfect opportunity to use it. THIS WAS IT!!
NOW – keep this in mind. Your cabinet doesn’t have to already have cork in it to do this project. You can decorate any cork, any size – and you can cut your own. Then you can attach it inside a cabinet with hot glue.
I guess if we’re getting technical, you could even do this cork board jewelry organizer on the wall. There are thicker cork panels that can be purchased. I’ll leave this up to you!
Let’s get started on the project.
Fabric Cork Board
Gather These Supplies
- Cork sheet(s)
- Fabric Mod Podge
- Fabric
- Mod Podge Bayer
- Mod Podge Brush Applicator
- Scissors
- Hot Glue Gun (optional)
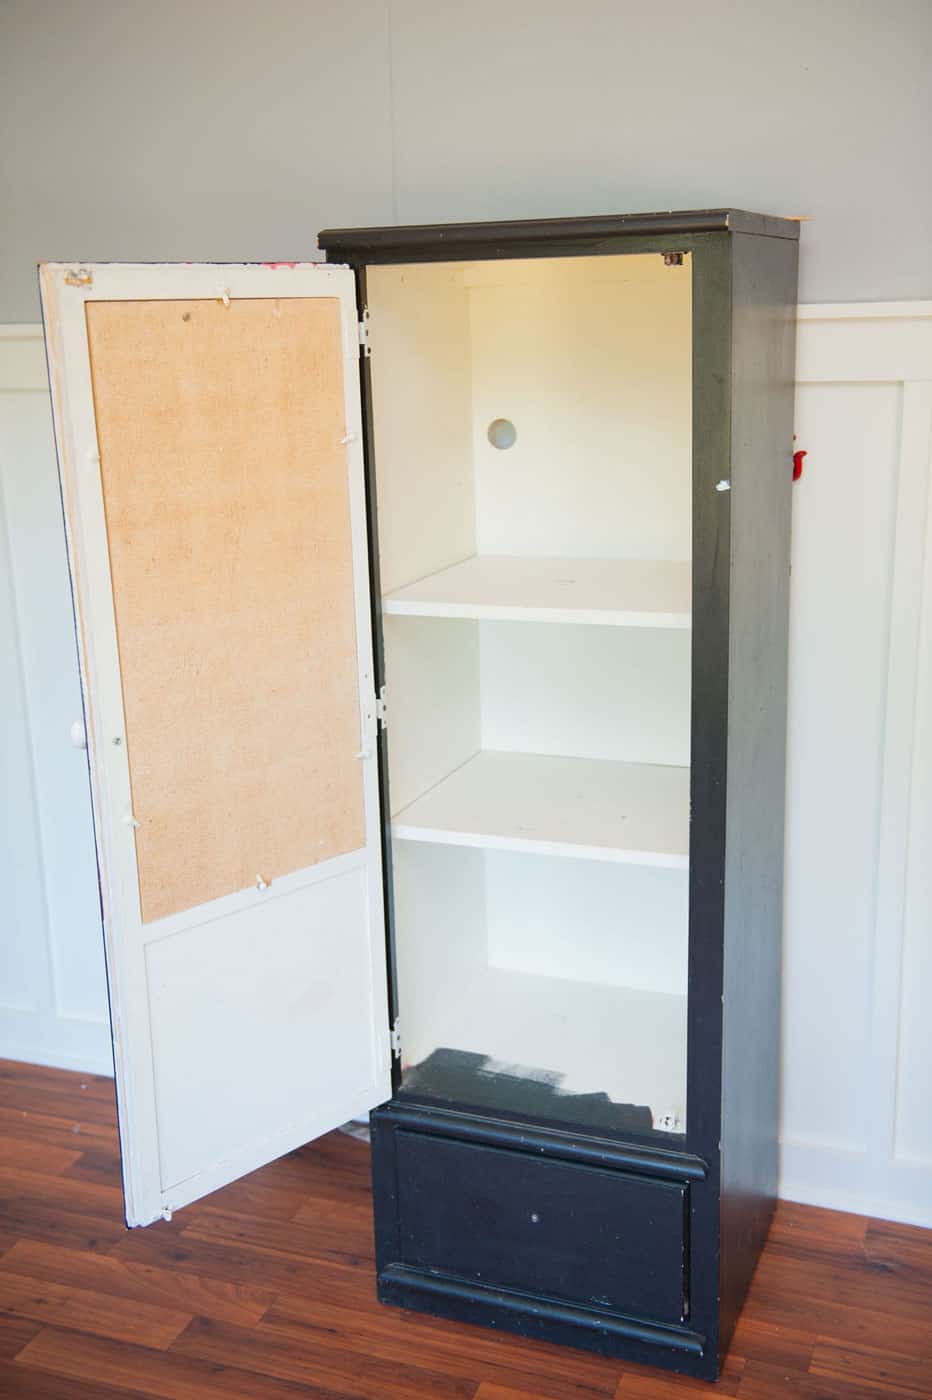
This was the before picture. It really, really needed a makeover. But it was a great piece overall and only $30.00, total bargain!
Getting Started
I looked through my craft stash to find my Fabric Mod Podge and rounded up the rest of my supplies I was going to need for this project.
Let’s get crafting!
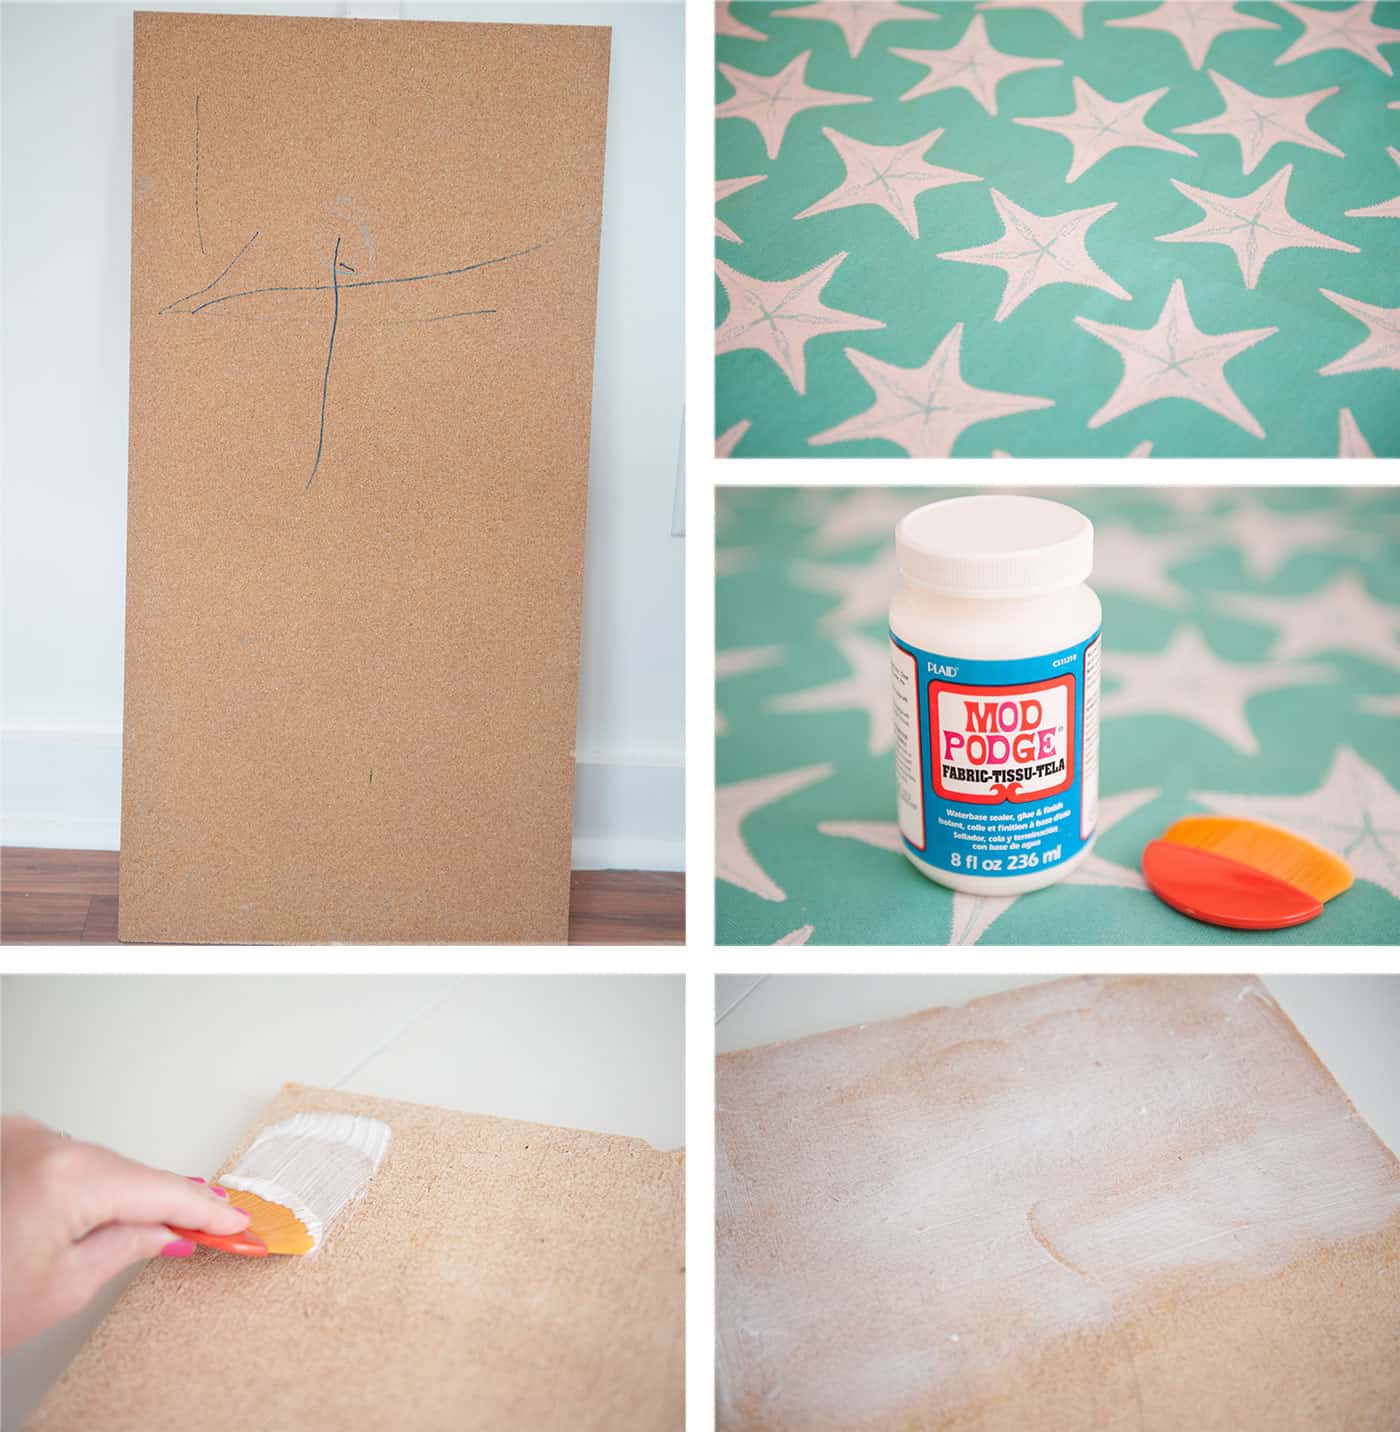
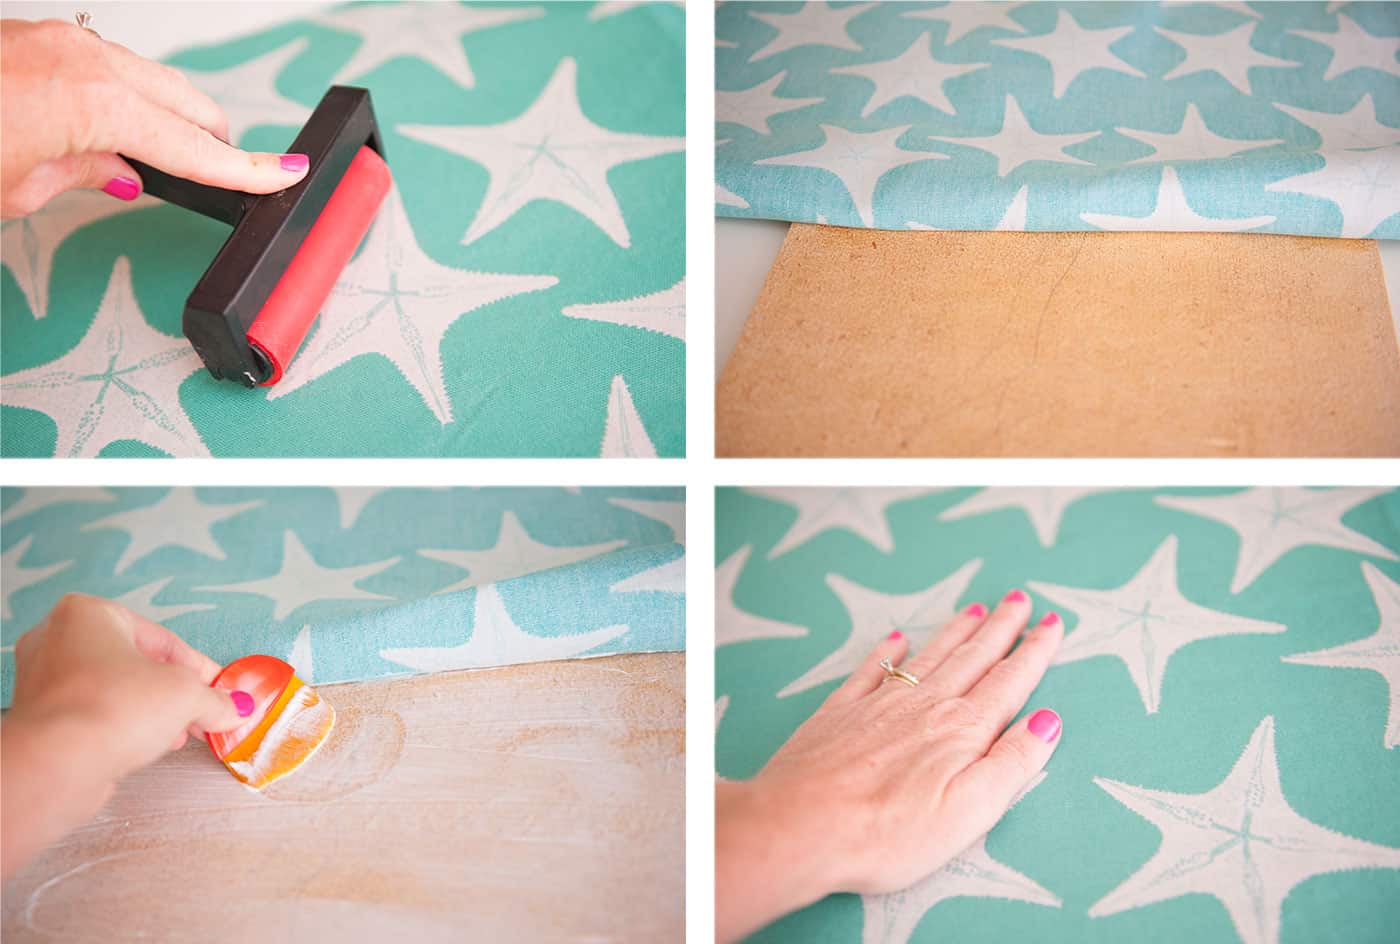
Step 1 – Add Fabric to the Cork
Remove the cork board from the backer – you may need a tool set.
Use the brush applicator and, starting at the top, add Mod Podge to the corkboard. Don’t go TOO thick but do a light-medium layer. You don’t want it to start seeping through the fabric.
Step 2 – Smooth Down Fabric
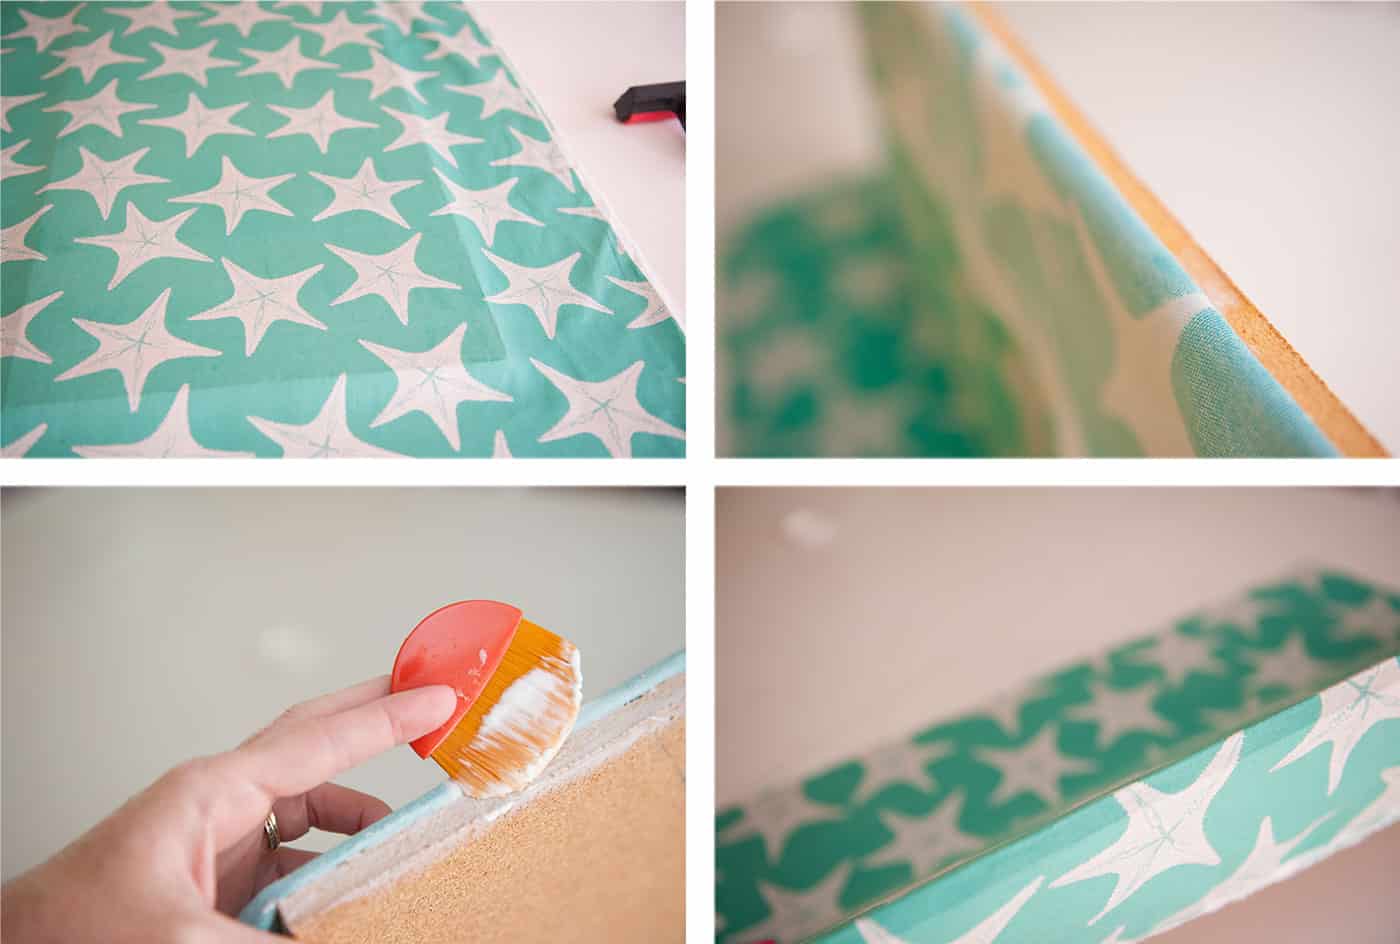
I gently laid my fabric on top (make sure it’s straight) and used my brayer tool to help smooth the fabric down.
Then I started on the next section. Adding more Mod Podge and laying my fabric on top until the piece was covered. Let it dry an hour before the next step.
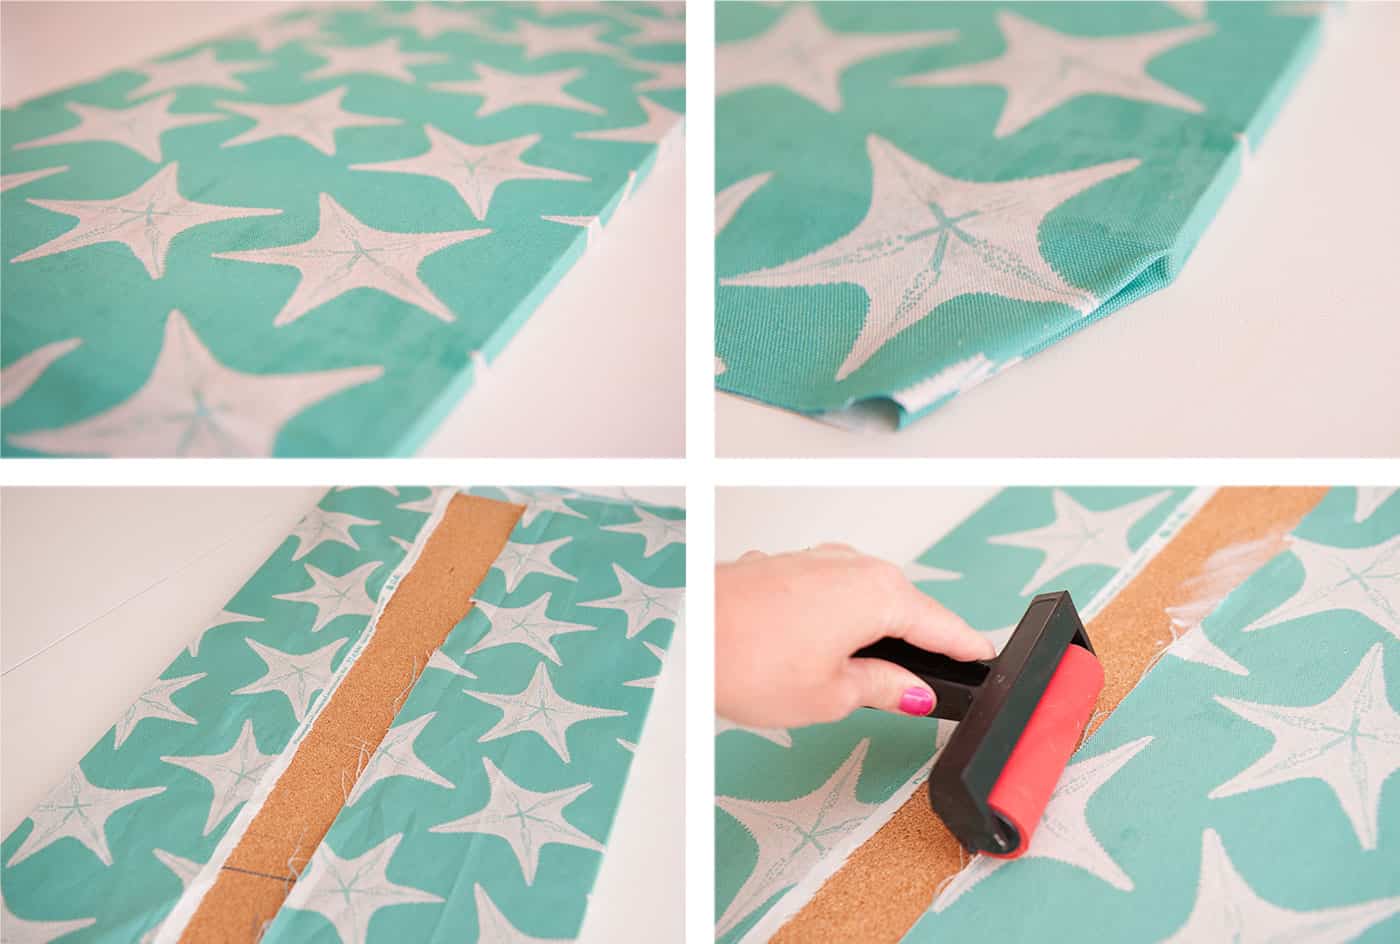
Step 3 – Cover the Sides
I added a thin amount of Mod Podge to the sides and firmly wrapped it in place. Make sure to smooth it down good for this step.
Step 4 – Finishing the Back
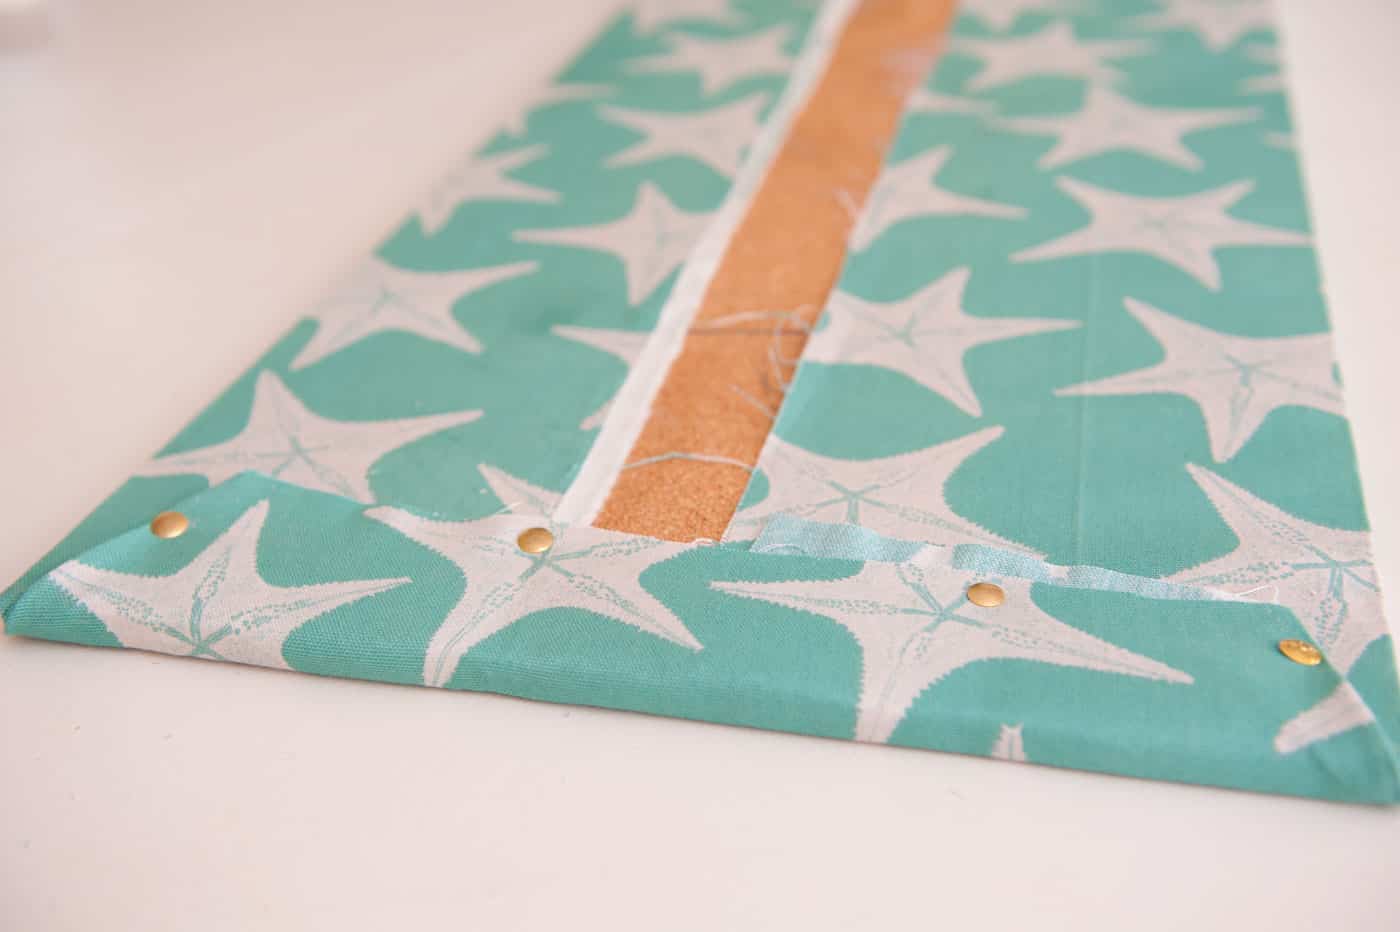
I pulled it tight around the back and folded the bottom over. Then I added more Mod Podge to the last pieces to help keep it all in place.
Since I folded the bottom piece I just added a couple tacks to keep it secure. Let everything dry 2 hours before use.
Finishing Touches
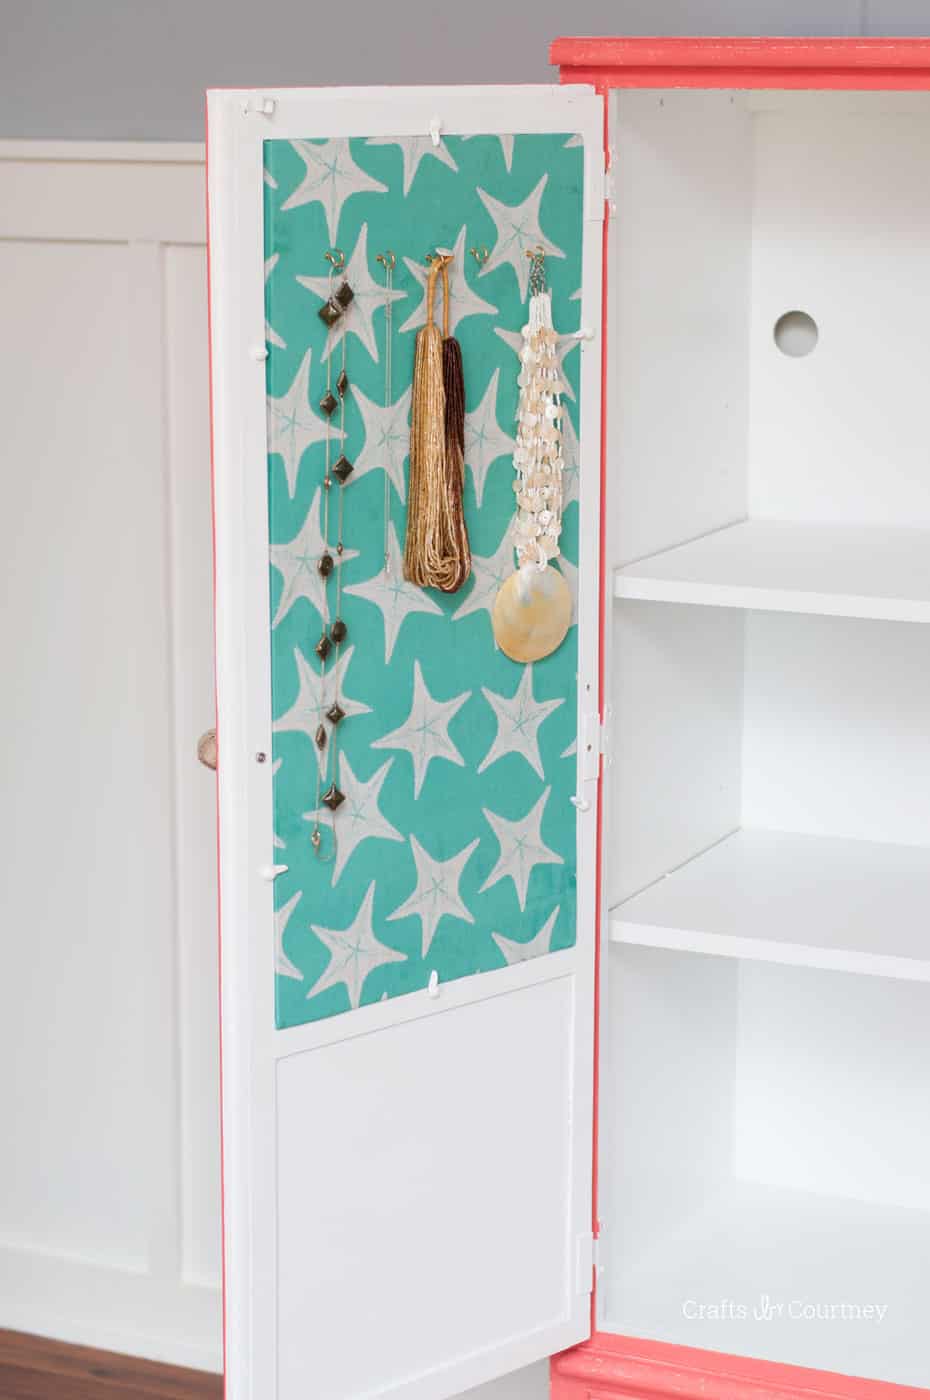
I found some cheap hooks to use, and it became a perfect jewelry organizer.
I’m obsessed with this piece now. It’s seriously my favorite in the house. It’s going in my bathroom for our towels, washcloths, etc.
I’m so pleased with how my cork board jewelry organizer turned out. The Fabric Mod Podge worked great; I love that stuff. I was a little nervous about using it on cork, but it did fine. Fabric is so much easier than scrapbook paper!
Make sure to let me know in the comments if you try a decoupage furniture project! I’d also love for you to check out these other posts:


Great job Amy…You can ignore my question I just sent you. I know what the Brayer is now??