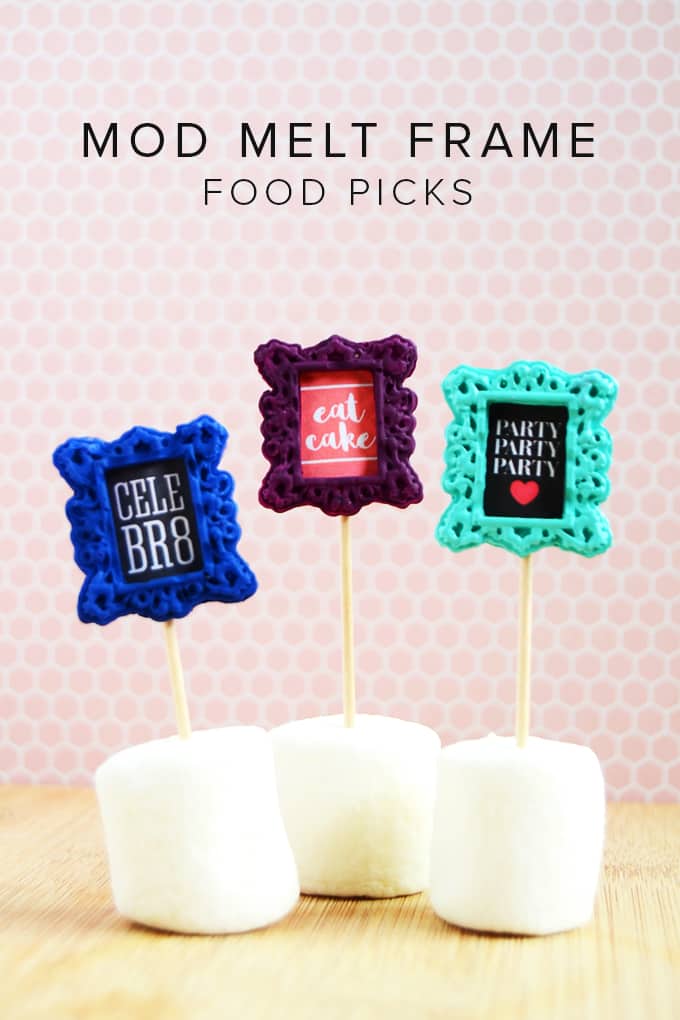
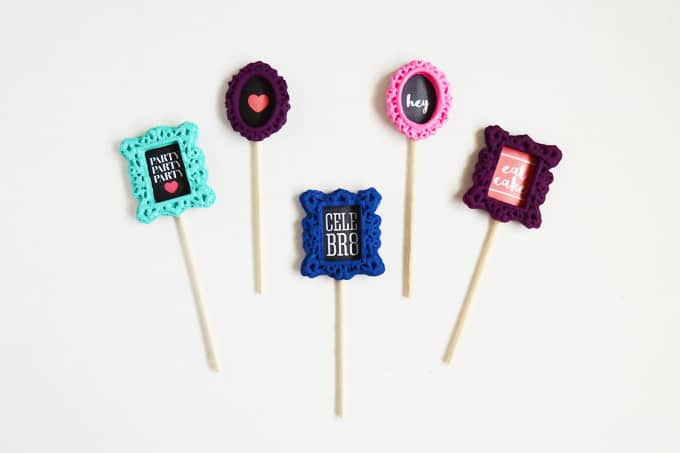
Learn how to make some fabulously cute food picks or cupcake picks! These are perfect for parties, wedding, holidays, and are reusable.
Hello friends! It’s Aki here again from Minted Strawberry. It’s fun to make and have unexpected and unique kitchen and food accessories – it paves the way for sometimes interesting conversations at parties.
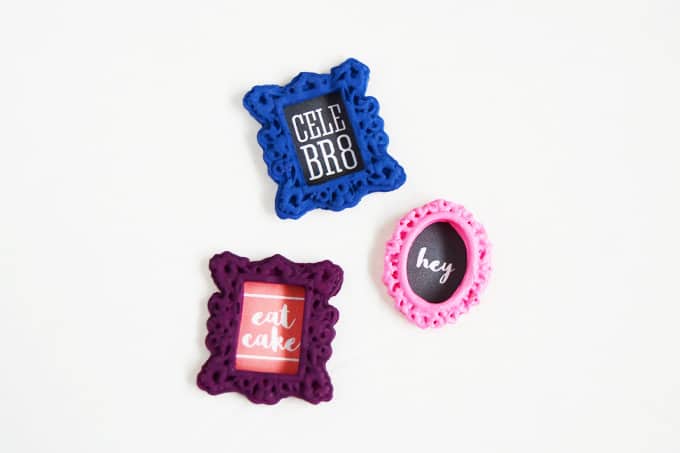
These DIY food picks are an example of that – wouldn’t you want to ask where the host possibly got this? I was making some dollhouse accessories for my little sister when I thought of making these fabulous mod melt frames into cute food picks or cupcake picks.
I figured I would try them and see, after all, there’s no harm in trying, right? I so love how they turned out that I am planning to make a bunch to send to my sister to use for her cupcakes for her birthday party in a few months!
I am quite sure a lot of her friends are going to ask where she got them. And it’s easy too! Read on for the how-to.
Gather These Supplies
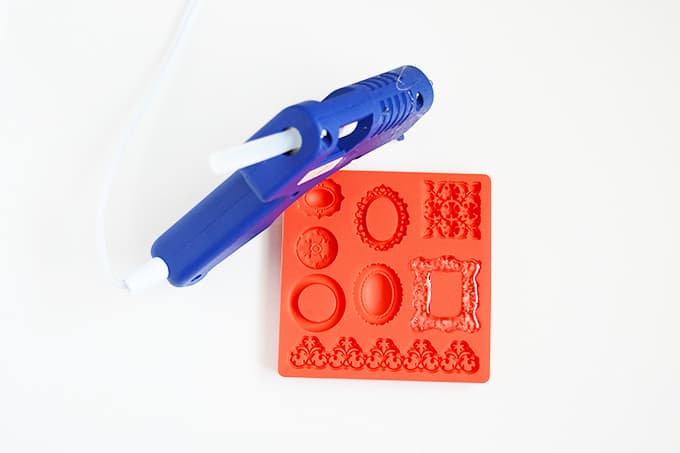
- Silicone frame mold
- Glue gun
- Hot glue sticks or Mod Melt gluesticks
- Paint
- Spouncer and Fine-tip paintbrushes
- Nail scissors
- Heat gun
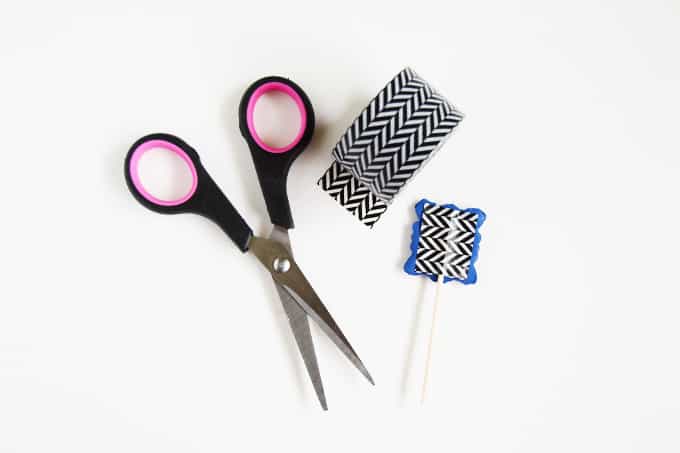
- Wide washi tape
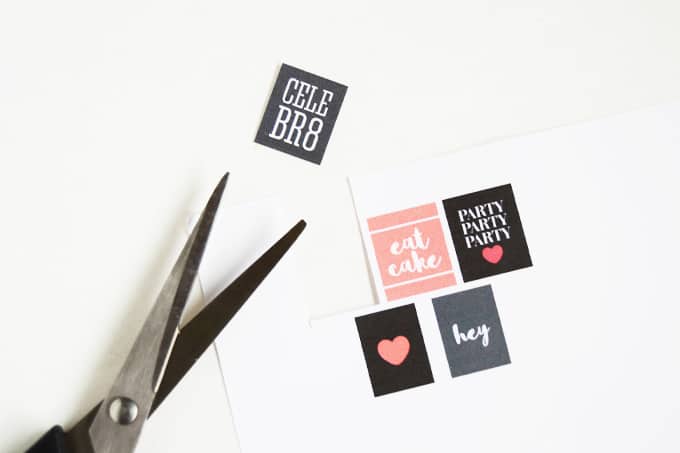
- Art for the frame (download what I used here)
- Cutter
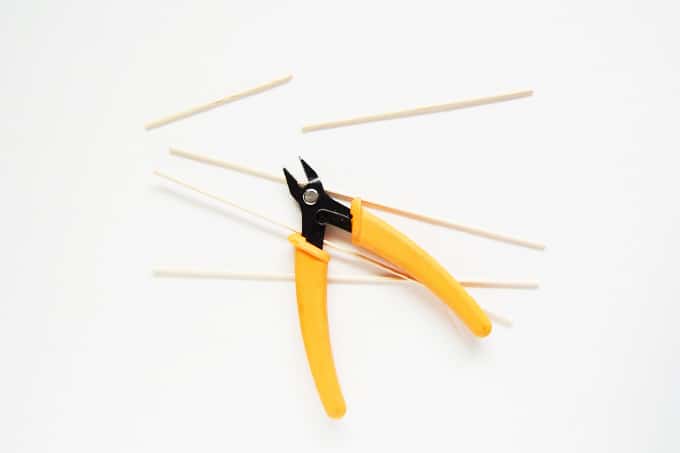
- Bamboo skewers
These party picks are completely reusable as well! You can take the toothpick off by either cutting the hot glue off the backs of the frames or pulling off the washi tape.
Why not keep these for another party or use these in another craft?

Love how fun and elegant they look! Perfect for a tween or teen party or even as wedding food picks – don’t you think so?

DIY Food Picks
Equipment
- Printer and paper
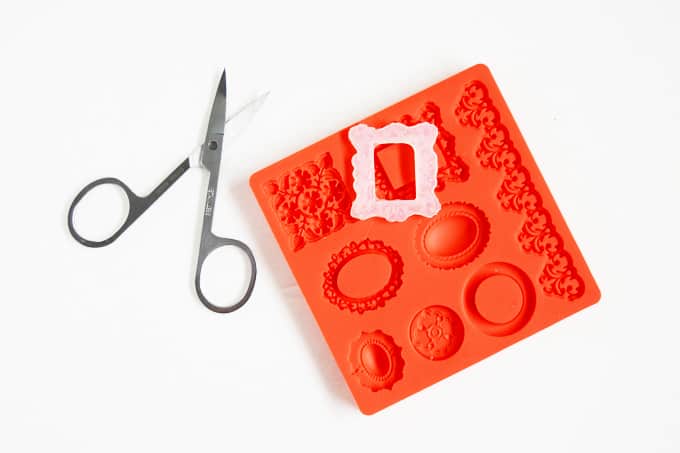
- Detail scissors
Materials
- 1 Silicone mold with frames
- Acrylic paint
- Art for the frames
- Toothpicks
Instructions
- Squeeze your hot glue into the silicone mold of your choice. Wait for the frame to harden.

- Separate the frame from the mold. Use small scissors to trim the edges.
- Paint your frames – paint two coats and let dry in between. Use a detail brush to get into the small areas. To ensure fullest coverage, choose a multisurface paint. Make sure to paint over the back as well.
- Create/download images and print out to fit the frames, leaving a little bit extra around the edge.
- Glue the art to the backs of the frames.
- Cut your skewer down to size using your cutter. You can also use food picks or toothpicks.
- Attach your pick using hot glue or use washi tape for a less permanent option.

If you like these DIY food picks, check out these other simple party projects: