
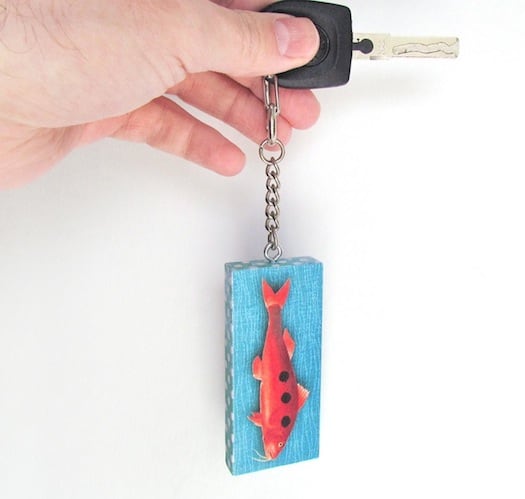
Make a keychain using old wood scraps, your favorite image and Mod Podge. It’s a great way to personalize a gift – you can use photos too!
Skills Required: Beginner. Even if you’ve never Mod Podged before, you can make this project. The decoupage area is small enough that you’ll be fine and won’t have to worry about wrinkles.
One of my favorite things to do with Mod Podge is make gift items. Man Podger Walter has come up with a great way to use old wood scraps and make a fancy keychain gift for a friend.
One idea that came to mind when Walter showed me this project was a keychain with my blog logo. Wouldn’t that be fun to do something meaningful like that for yourself? Here’s how Walter did it!
Here’s how you can make a key chain with any images that you fancy. I used an image of a fish, because I just love fishing. It’s a fun end of summer craft to commemorate the months of fun in the water.
But why not use images with typography? I am thinking monograms! How about names? Or images from favorite places? You have so many options!
How to Make a Keychain
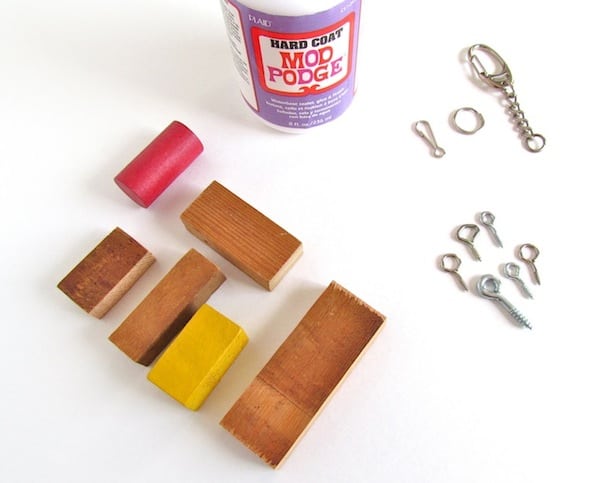
Gather These Supplies
- Assortment of smaller wood pieces, like kid’s building blocks or small scraps of wood. I never throw any scrap pieces away!
- Acrylic paint
- Decorative paper
- Screw eyes
- Keychain findings
- Mod Podge (I used Hard Coat)
- Scissors
- Awl
- Pencil
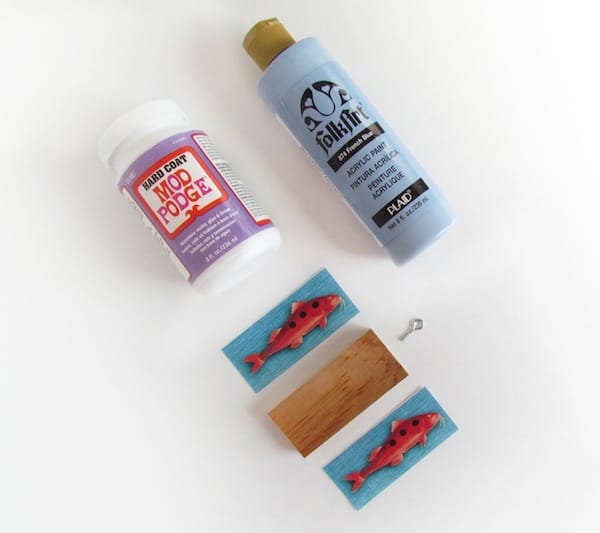
Step 2: Prime the piece of wood with FolkArt, let dry. Lay out the images in the order to how you will decoupage. I used Hard Coat to decoupage and seal the final result.
Remember, this is a keychain that will be heavily used, hence a strong sealer is ideal for durability. Let dry.
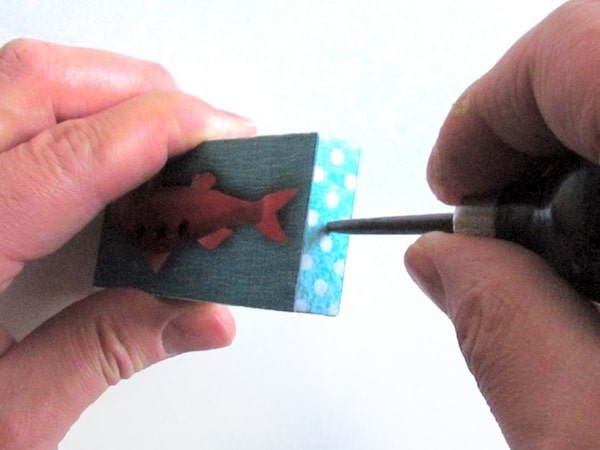
Step 3: Use an awl to mark center of the top part of the keychain for the screw eye.
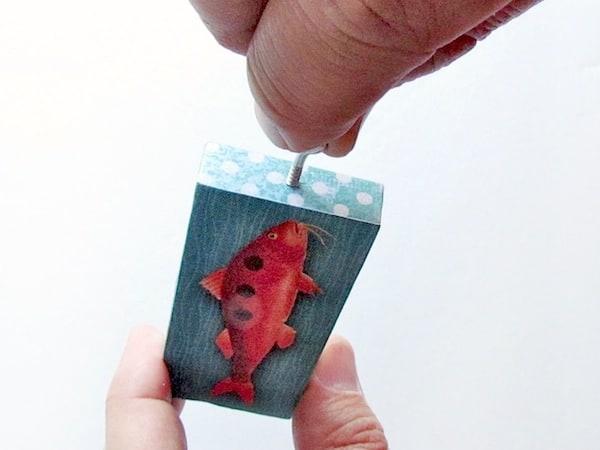
Step 4: Attach the screw eye hook.

Step 5: Attach the keychain link to the screw eye using pliers.
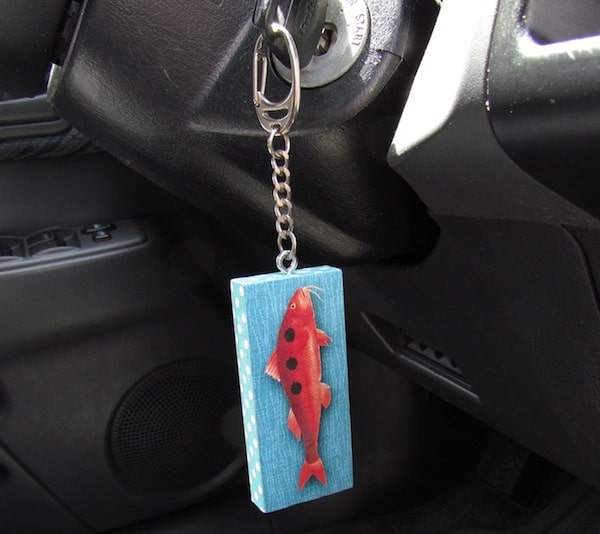
Add your keys to this keychain and project completed! I am very pleased with this simple and yet durable item. Are you ready to make a keychain?

Make a Keychain
Equipment
- Saw
- Awl or sharp object
- Pliers
Materials
- Small scrap of wood
- Acrylic paint
- Scrapbook paper
- Mod Podge Hard Coat
- Screw eyes
- Keychain findings
- Sandpaper
Instructions
- Trim a small scrap of wood to the desired size using a saw. Sand to smooth.
- Trace the wood onto paper. You can trace all six sides or just the main two. Cut out the paper and set aside.
- Paint the wood with acrylic paint. Let dry.
- Attach paper to the wood using Mod Podge. Let dry and then give two additional coats. Let dry.
- Use an awl to mark the wood for the screw eye. Attach the screw eye hook (push firmly).
- Attach the keychain link to the screw eye using pliers.
If you enjoyed this project, I’d love for you to check out these other ideas:


My ladies group is planning to make keychains like this. We have a small multi-color design that we want to print and then mod podge to wood to make the keychains. What would be the best paper to use for printing the design?
I would use a thicker paper – like a 60 lb or 80 lb paperweight. That will help with (preventing) wrinkles. You’ll want to spray the paper too if it’s inkjet: https://modpodgerocksblog.com/decoupage-onto-wood/
Very cool! It looks easy enough and even kids can make them!