Skip to Content

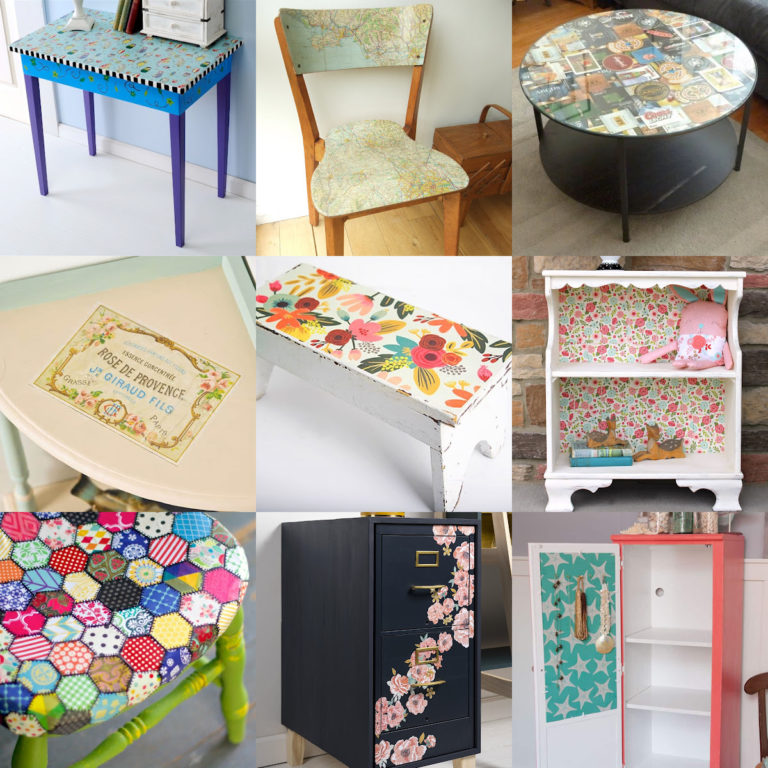
Learn how to decoupage furniture with Mod Podge using this unique collection of tutorials. You’ll duplicate the look of high end pieces on a small budget!

If there’s one thing that makes me happy, it’s bringing back a piece of furniture with my trusty bottle of Mod Podge. One of my favorite things to do is visit the thrift store and visualize how I would refurbish something with a little bit of paint and paper or fabric. While decoupage furniture can seem daunting, it’s really not if you just take it one step at a time.

When you begin to tackle decoupaging furniture, the process is going to be the same no matter if it’s a stool or chair or table – you’re going to want to prep the furniture for decoupage. After that, you’ll need to decide what you want to add to the furniture: fabric, wrapping paper, scrapbook paper, photos, tissue paper, napkins. The choices are really unlimited!

The secret to decoupaging furniture is to work very carefully and to use enough Mod Podge. When I see large wrinkles on a refurbished piece made with Mod Podge, it’s typically because someone got skimpy on the Mod Podge. Remember . . . Mod Podge starts drying quickly! The best thing to do is to use a medium-heavy layer and a Mod Podge brayer; then wipe away the excess Mod Podge that comes out the sides using a paintbrush.

There are three mediums that people are typically using on top of furniture:

  • If you want to decoupage furniture with fabric, my upcycled fabric table tutorial can help. I like to prep my fabric with Mod Podge, which makes it REALLY easy to apply to the surface without wrinkles.
  • If you want to decoupage furniture with wrapping paper, use the same method I use in this floral DIY coat rack. You’ll definitely want to mist the wrapping paper and use the brayer.
  • If you want to decoupage furniture with scrapbook paper, check out this colorful table makeover. The thicker the scrapbook paper, the easier it is to decoupage and the better results you’ll have (less wrinkles!).

If you are wondering what Mod Podge formula to use to for your furniture, I recommend Furniture Mod Podge. It hardens to a durable, satin finish.

For more inspiration, visit these related articles with tons of furniture projects:

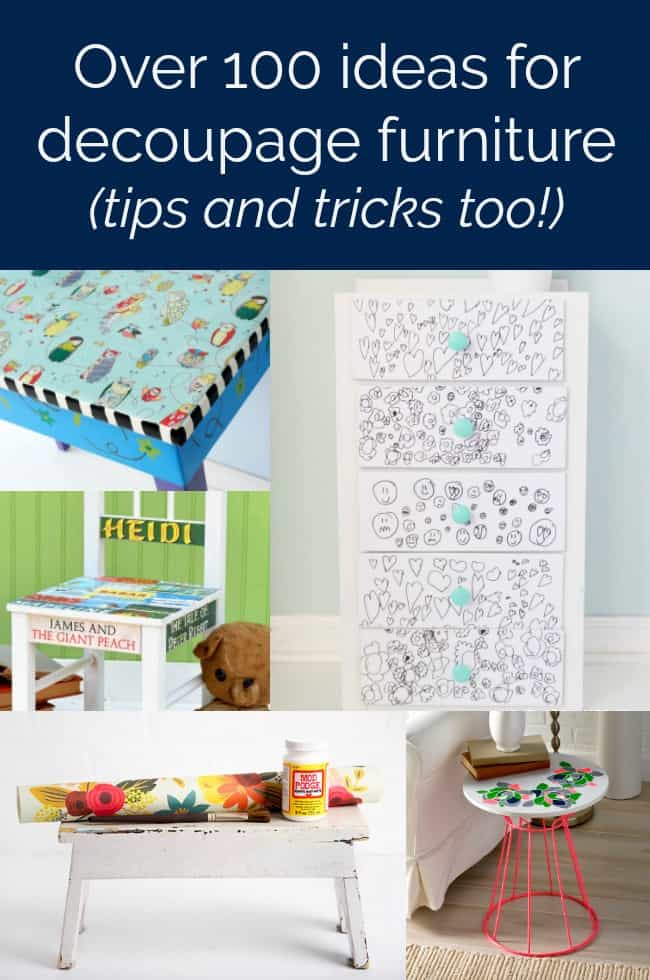
Now enjoy the decoupage furniture project tutorials below!

Wrapping Paper Decoupage on a Table (So Easy!)

Learn how to do wrapping paper decoupage on a dollar store TV tray table! This is a simple way to decorate a table top with a pretty print. Skills Required: Intermediate. Wrapping paper can have a tendency to wrinkle, so you’ll need to read my tips carefully. Otherwise, you should have some experience with Mod …

Read More about Wrapping Paper Decoupage on a Table (So Easy!)

From Drab to Fab: Over 40 Decoupage Furniture Makeover Ideas

Ever tried Mod Podging furniture? It’s a great way to upcycle a piece on a budget! Check out these 40+ decoupage furniture projects to get started. Time and time again, I see that your favorite projects on this blog are from the DIY furniture category. And I don’t blame you – the decoupage furniture projects …

Read More about From Drab to Fab: Over 40 Decoupage Furniture Makeover Ideas

IKEA Easel Makeover with Mod Podge

This IKEA easel was trashed by my three-year-old, so I gave it a complete makeover with clear chalkboard paint. You’ll love how easy this is! Skills Required: Beginner. You’ll be applying clear chalkboard paint, Mod Podging, and a few other craft basics. I know I’ve said this before but I’m so excited to share today’s …

Read More about IKEA Easel Makeover with Mod Podge

Decoupage Chest of Drawers with Vintage Birds

This decoupage chest of drawers uses vintage themed bird graphics along with some paint to make a show stopping piece of furniture! Skills Required: Beginner. You won’t be decoupaging entire drawer fronts; you’ll be painting and then adding cutouts with Mod Podge. It’s perfect for someone who hasn’t re-done furniture before. I’ve featured a few …

Read More about Decoupage Chest of Drawers with Vintage Birds