Add a personal touch to Valentine’s Day with this handmade valentine card! Easy for both kids and adults to make and uses just a few supplies.
Skills Required: Beginner. You will be cutting a heart card, punching shapes and Mod Podging the hearts to create a fun window-type card.
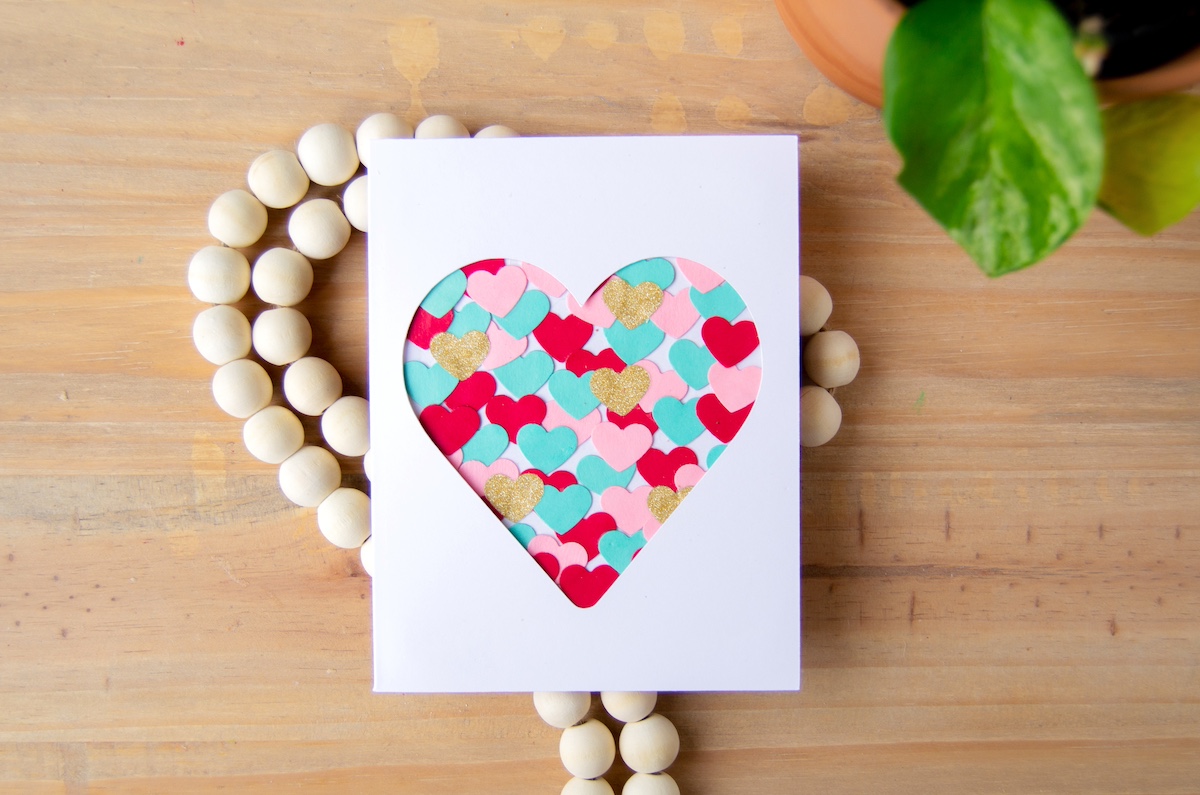
Valentine’s Day is the time of year when love is in the air, chocolates are in our bellies, and we’re scrambling to find a unique way to show our affection without resorting to store-bought cards.
But never fear, I’m here to rescue you from the clutches of the Valentine’s Day cliché with a project that’s as fun as it is heartfelt: a handmade valentine card. And yes, it involves our good friend, Mod Podge!
First things first, let’s address the question you might be wondering – why make your own card?
Well, in a world where digital messages have taken over, a handmade card is like a unicorn in a field of horses: rare, magical, and guaranteed to make someone smile.
Plus, it’s an excuse to play with glue and glitter without judgment. Who could say no to that?
Whether you’re a seasoned crafter or a newbie, this project is perfect for anyone who can wield a pair of scissors without incident. Even kids can make it!
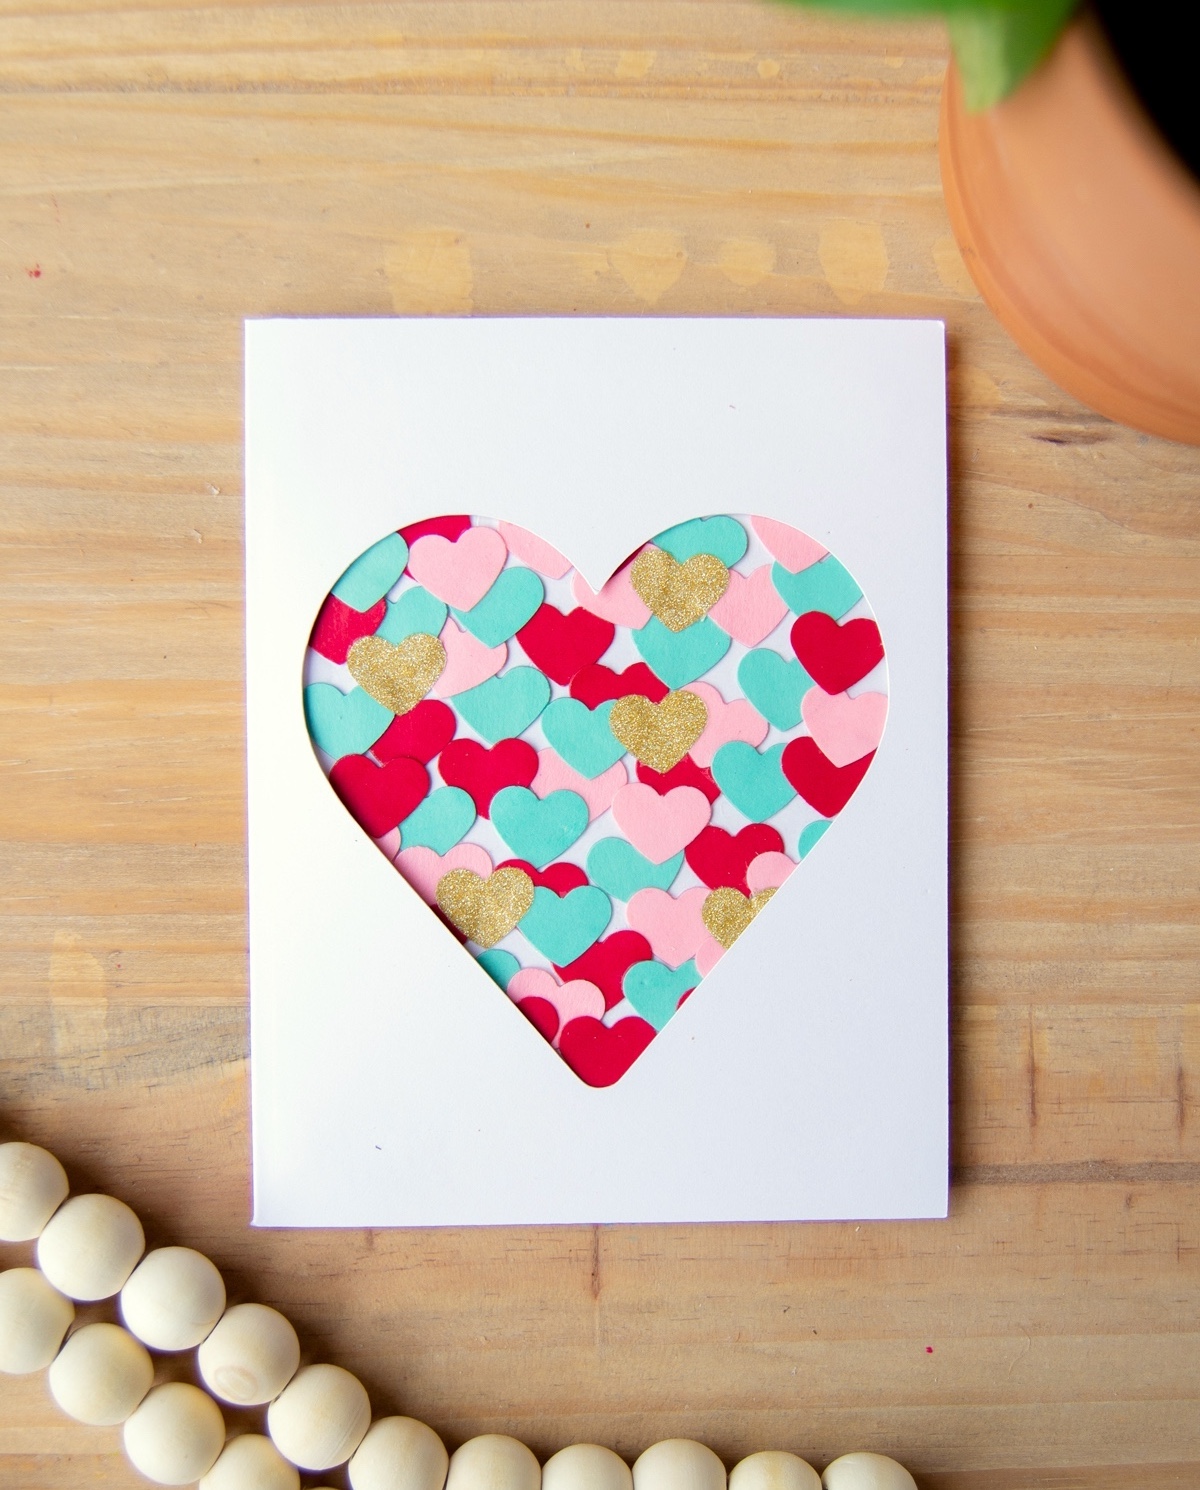
You’ll start by cutting out your card base. If you’re feeling fancy, you can use a die-cutting machine like a Silhouette or a Cricut. Don’t worry, I’ve got you covered with a free heart card svg (for personal use only, let’s not get crazy).
Then you’ll punch a cascade of tiny hearts from different colored cardstock. I chose blue green, pink, and red, but feel free to express your inner Picasso and go wild with colors!
You’ll decoupage everything to a clear window, and then you’ll begin the grand assembly.
A stunning, one-of-a-kind valentine card that will make the recipient’s heart flutter like a butterfly in a meadow of wildflowers.
And there you have it, folks! A simple, easy, and downright delightful handmade card that’s perfect for Valentine’s Day.
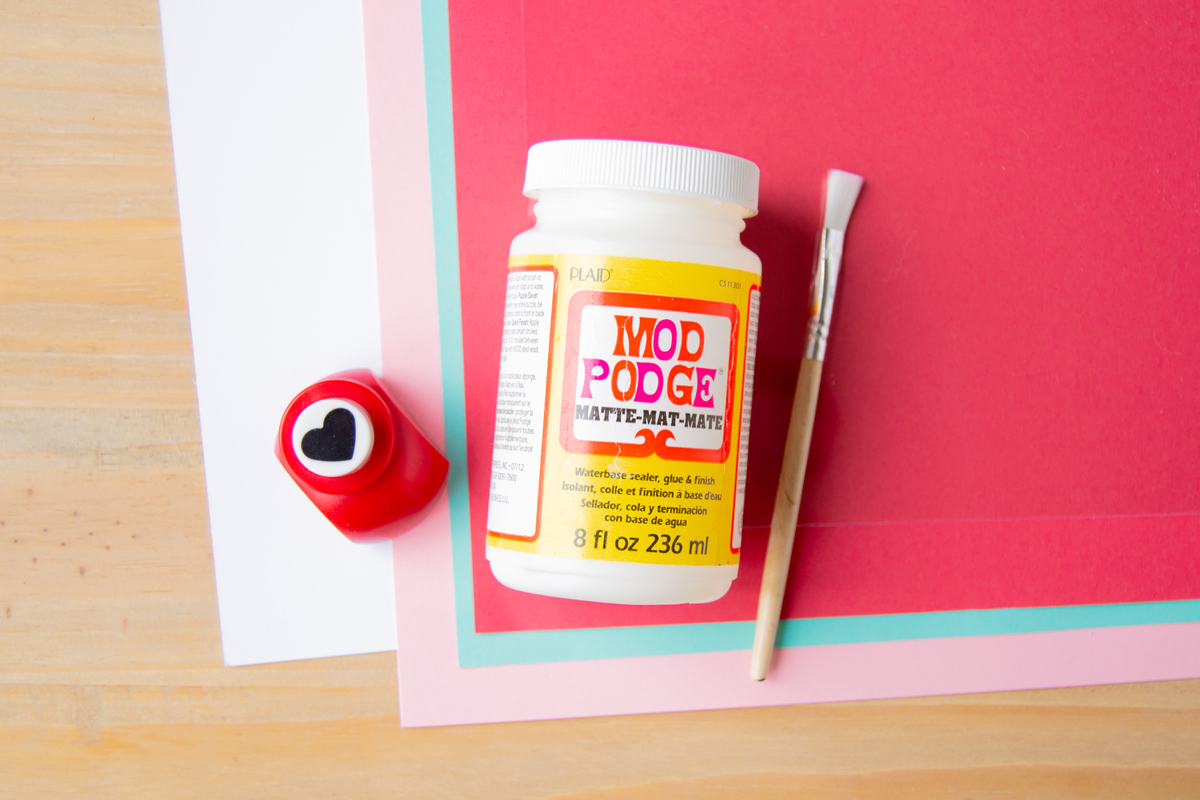
So grab your Mod Podge, channel your inner cupid, and scroll down to embark on this crafting journey with me. Trust me, it’s going to be love at first craft! First, here’s what you’re going to need.
Gather These Supplies
- Cardstock (I used white for the base, plus pink, blue green, and red)
- Clear plastic sheet (such as acetate or shrink plastic, or even a plastic sheet from a clear takeout container)
- Glitter vinyl
- Heart-shaped paper punch
- Tape
- Mod Podge
- Brushes
- Die-cutting machine (optional)
- Scissors
- Craft knife
- Free heart card SVG
Tips and Thoughts for This Project
You can use a die-cutting machine such as a Silhouette or a Cricut to cut your card base with the heart in front. I’ve provided a free heart card svg (for personal use only) if you have a die-cutting machine.
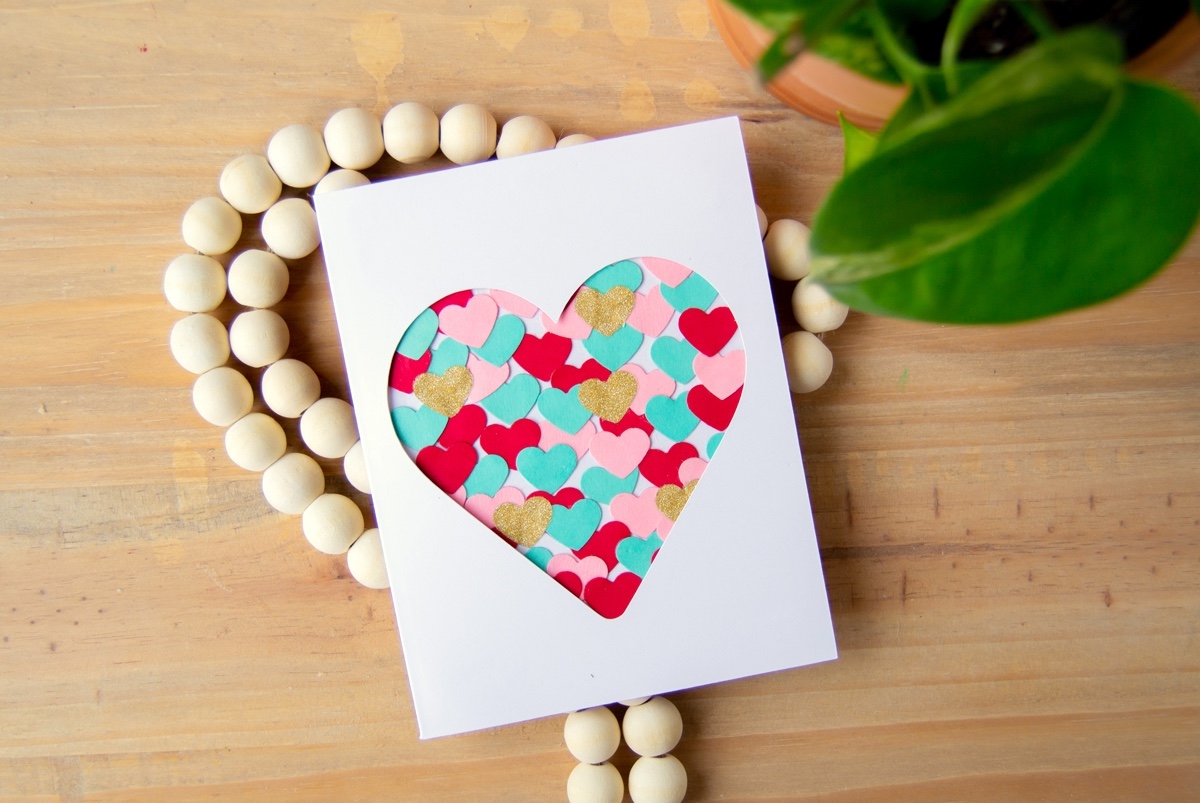
A pretty simple and easy handmade card that’s fun to make. My daughter loved punching the hearts out and adding it onto the card with me.
Further customize it with some stamps, cut out sentiments or adding extra embellishments. You can also use this style to create a fun Christmas or birthday card, don’t you think?
Get the printable how to for this project below:
Handmade Valentine Card
Equipment
- Heart-shaped paper punch
- Die cutter
Instructions
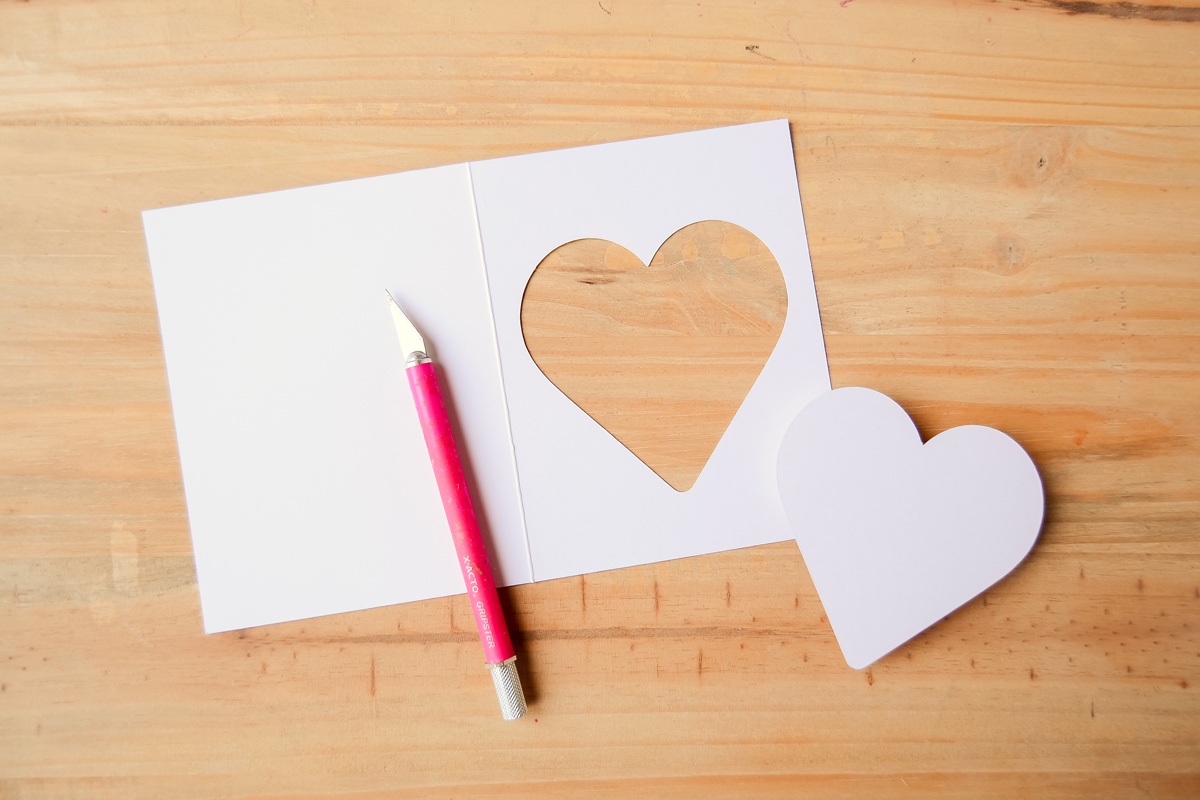
- Cut out the card base, or use a pre-cut sized card if you have any on hand. Cut a heart on the front of your card. Score and fold. Cut the clear plastic sheet as well, smaller than the card front but bigger than the heart. Cut a second sheet of cardstock smaller than the card front to use as the backing for the clear plastic sheet.
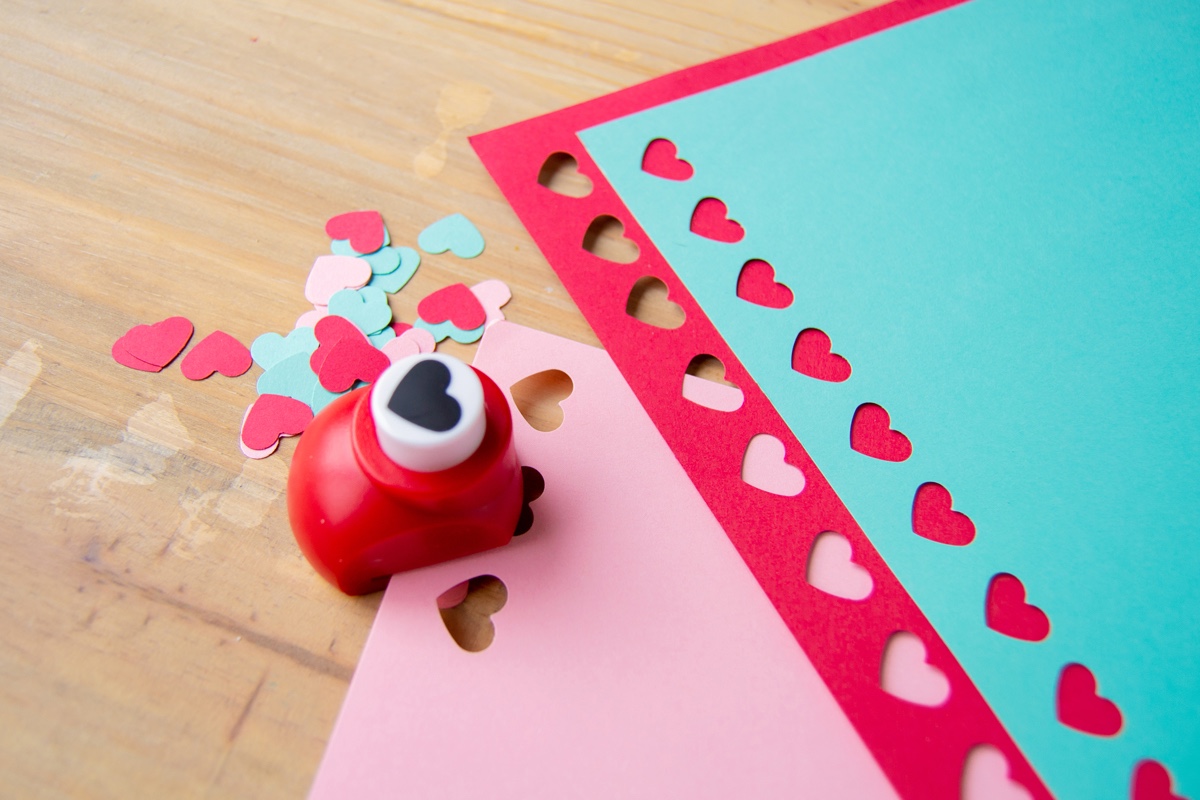
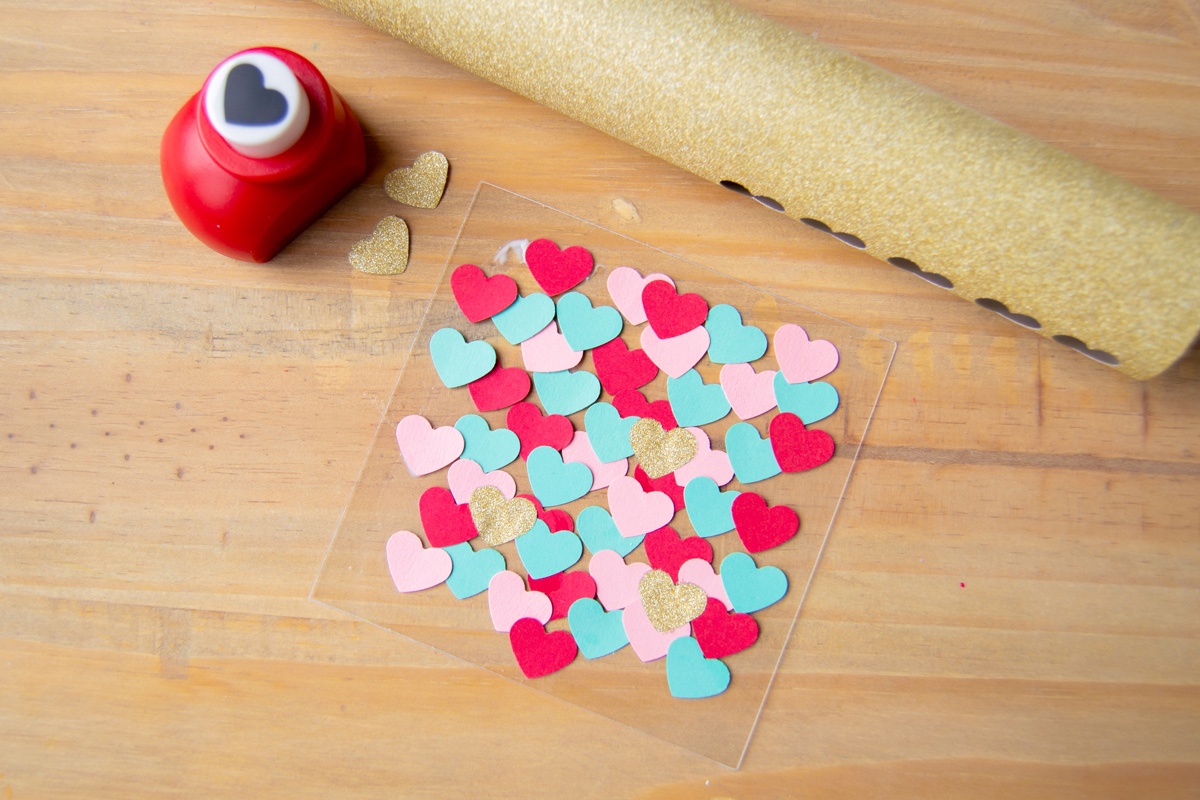
- Punch out your small heart shapes from different colored cardstock. I also punched out some hearts on glitter vinyl to add as accents.
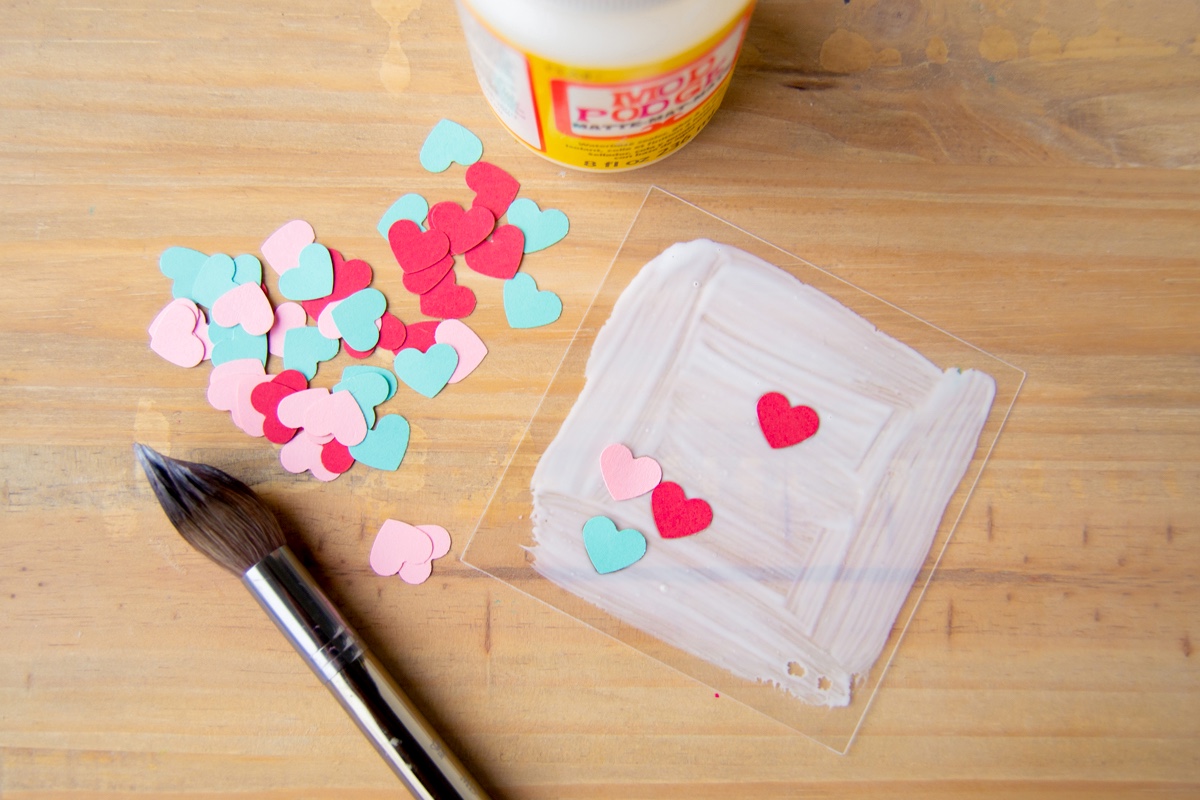
- Apply a layer of Mod Podge onto the clear plastic sheet. Start adding paper hearts, distributing them as you’d like.
- Periodically check the placement of hearts to see if you have areas that you would like to fill in. Continue until the area that will be visible through the front is full.
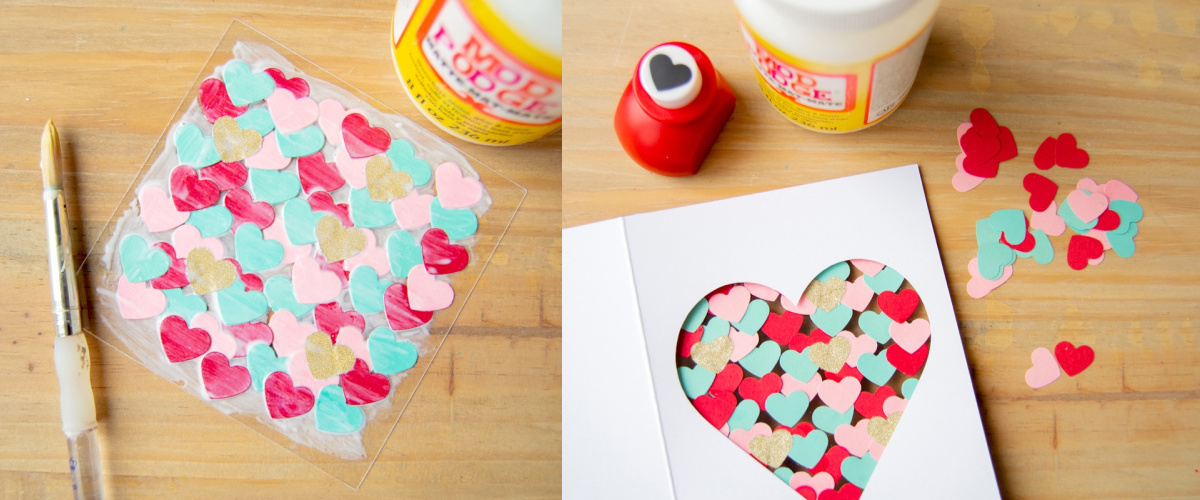
- Once you are happy with placement, add a layer of Mod Podge on top to seal the hearts and make sure they don't come off. Allow it to dry before proceeding onto the next step.
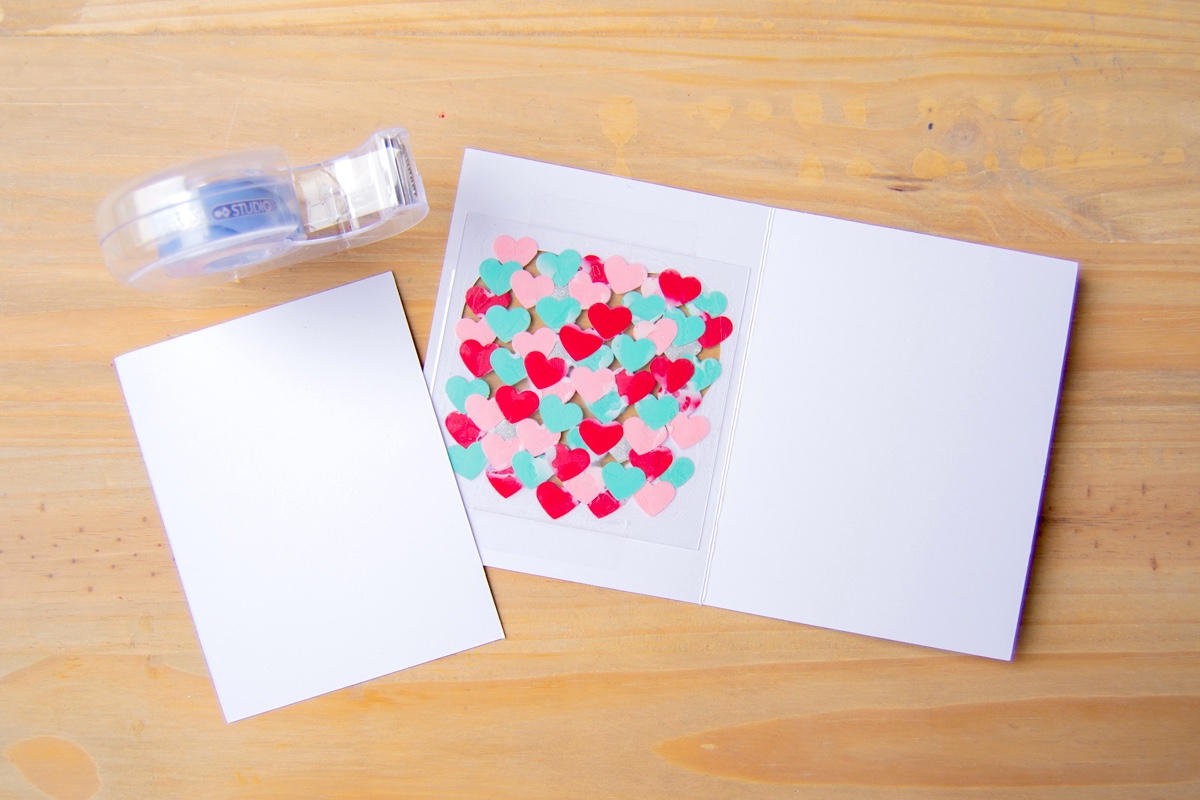
- Finally, assemble the card by using tape to hold the clear plastic sheet in place, and then covering with the second piece of cardstock for a clean and finished look.
If you like this Valentine’s Day craft, let me know in the comments. Also please check out these other simple ideas:
Be Mine Wood Decor • Button Art • DIY Love Canvas • Heart Frame • Heart Photo Holders • I Love You Decor • Love Note Decor • Pug Valentine Box • Tissue Paper Hearts • Wood Pallet Heart






This looks really cool and fun to make! I think I’ll try it! 🙂
@Ally, you are completely right! This craft looks awesome!