Want to reorganize and refresh for the new year? Learn how to decorate a journal with a cool quote just for this purpose!
Skills Required: Beginner. You’ll be applying paper to a notebook cover with Mod Podge. There’s a little bit of painting and die cutting too.

As the last of the holiday jingles fade and the sparkle of Christmas lights dims, my thoughts can’t help but leapfrog over to the fresh canvas that is the New Year. There’s something about the anticipation of January that ignites a spark in me to declutter, to reorganize, and to breathe new life into the familiar.
Amid this whirlwind of renewal, I stumbled upon a project that felt like a perfect match for my New Year’s mood: transforming a plain notebook into a bespoke journal, ready to cradle all my aspirations, musings, and reflections for the year ahead.
Embarking on this adventure, I decided to share a step-by-step tutorial that demystifies the process of jazzing up a journal cover using nothing more than some charming patterned cardstock and a dash of creativity.
Why settle for an off-the-shelf notebook when you can craft something uniquely yours? Whether it’s jotting down daily gratitudes, sketching out future dreams, or simply unloading the day’s thoughts, a personalized journal offers a sanctuary for your innermost reflections.

Decorating a journal isn’t just about the aesthetic appeal; it’s a ritual, a way of setting intentions and making space for new beginnings.
And the beauty of it? It’s incredibly simple to do. With some patterned cardstock in hand and a few basic supplies, you’ll be amazed at how a simple notebook transforms into a treasured keepsake.
So, as we bid farewell to the festive season and welcome the promise of a new year, let’s embrace the opportunity to create something that inspires us, something that holds the pages of our future.
Join me in this creative journey as we decorate a journal together, turning an everyday item into a personal artifact that celebrates the art of beginning anew.
It’s more than just an easy craft; it’s a celebration of new chapters, fresh starts, and the endless possibilities that lie within the pages of a thoughtfully decorated journal. Let’s make something beautiful!
Here’s what you’ll need.
Gather These Supplies
- Notebook
- Patterned cardstock
- Vinyl letters or decals
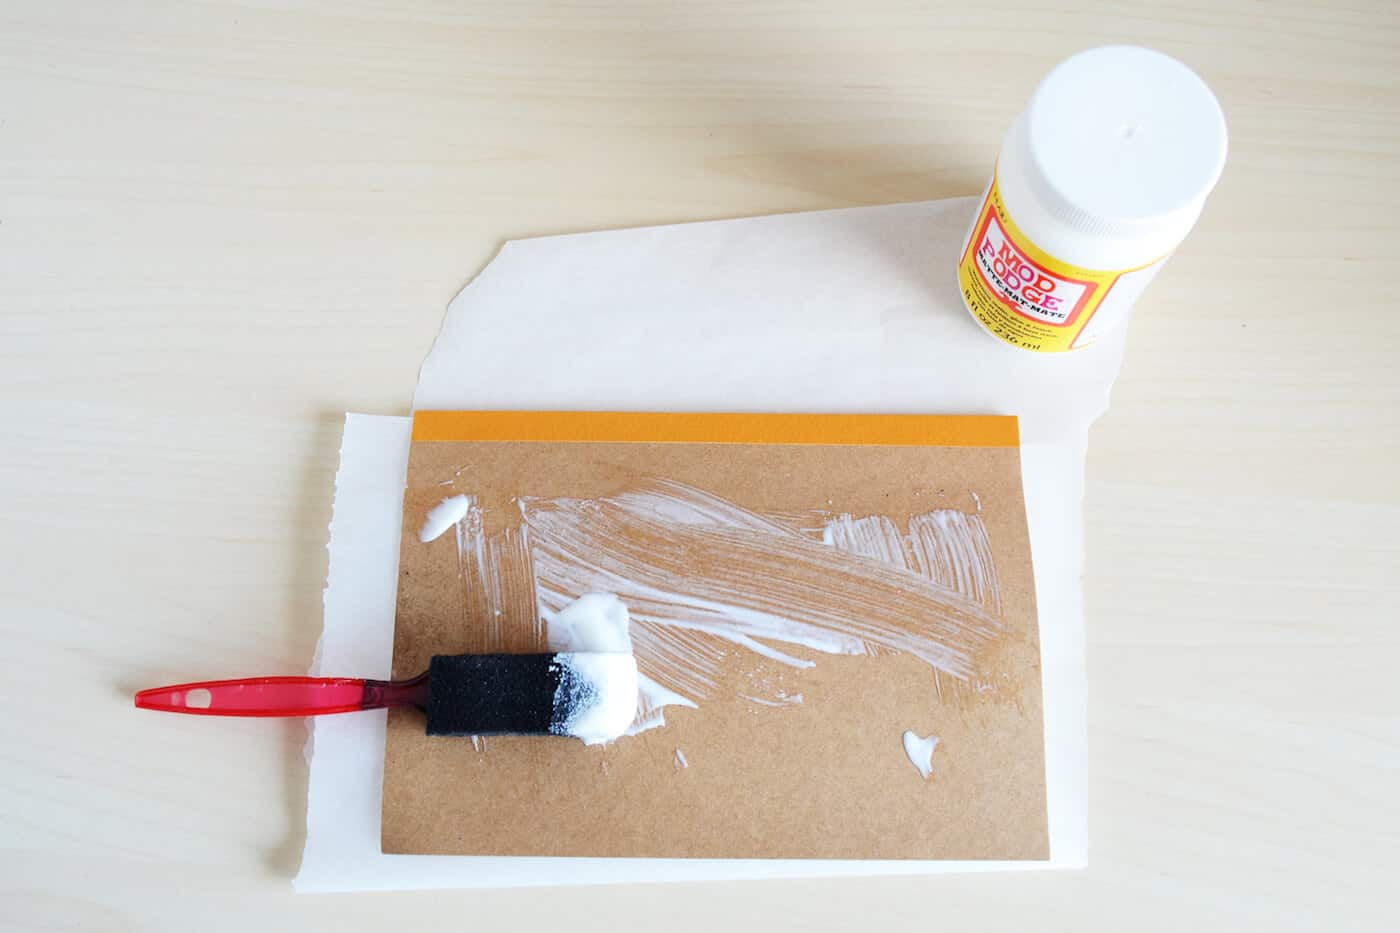
- Matte Mod Podge
- Brayer
- Sponge brush
- Craft knife
- Brass liquid gilding (or metallic paint)
- Parchment paper or wax paper
Notes and Thoughts on This Project
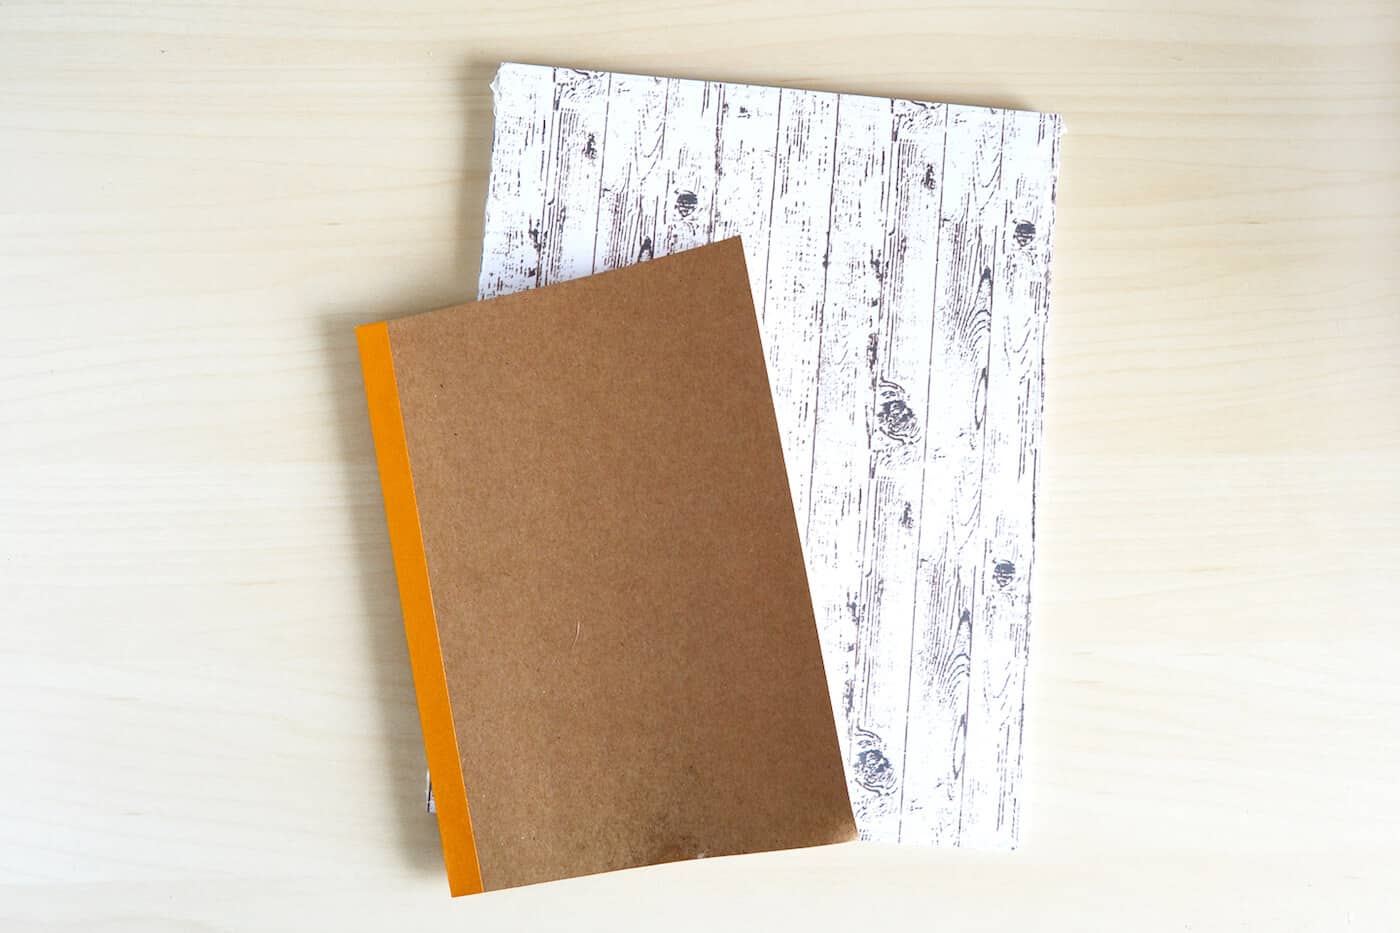
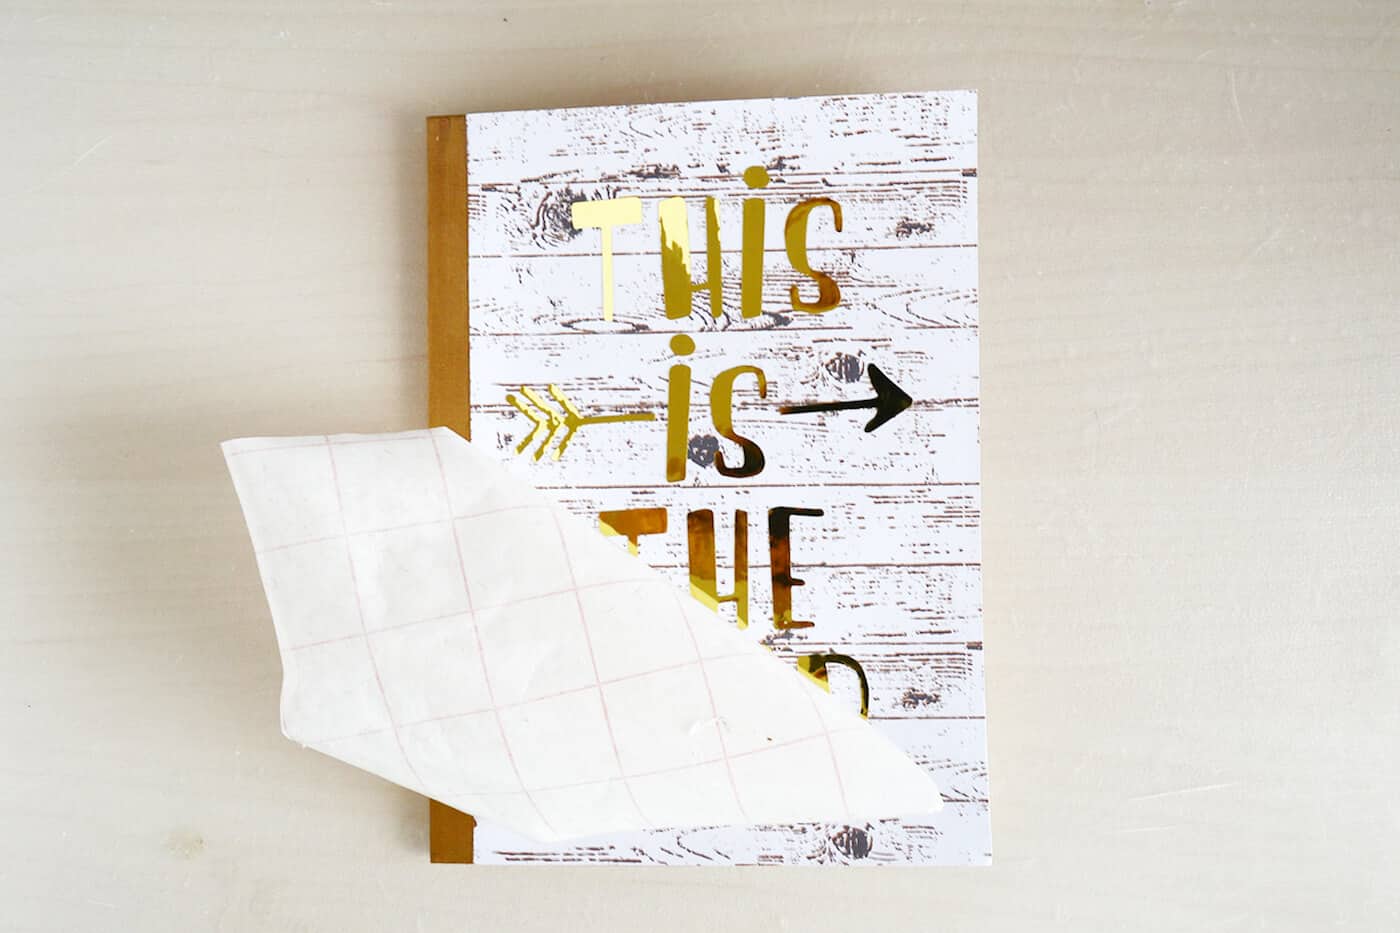
I still love the rustic look so I went for a fun, white washed wood design (P.S. I got them from Michaels on the Christmas paper aisle!).
You can use any Mod Podge formula for this project. I used the matte finish, but you can use the gloss or satin finishes as well. You don’t need Paper Mod Podge for this project. Regular is fine.
The reason for the parchment or wax paper is so that the pages of the notebook or journal won’t get stuck to the front when you are decoupaging.
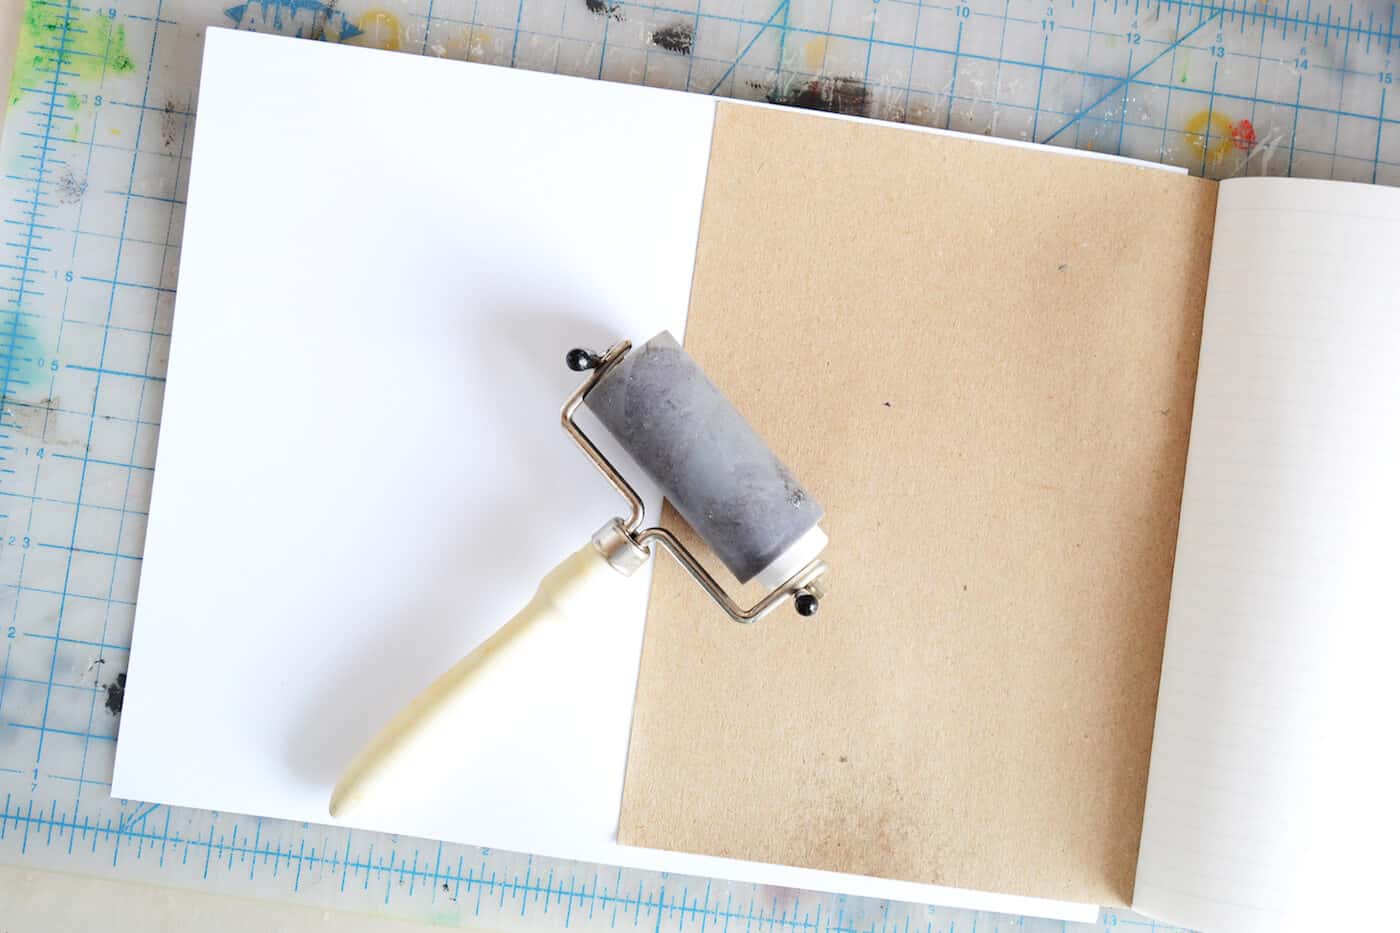
You can use a brayer to smooth out the paper, but an old credit card works as well. Any excess Mod Podge can be wiped away with a paintbrush on the edges and allowed to dry.
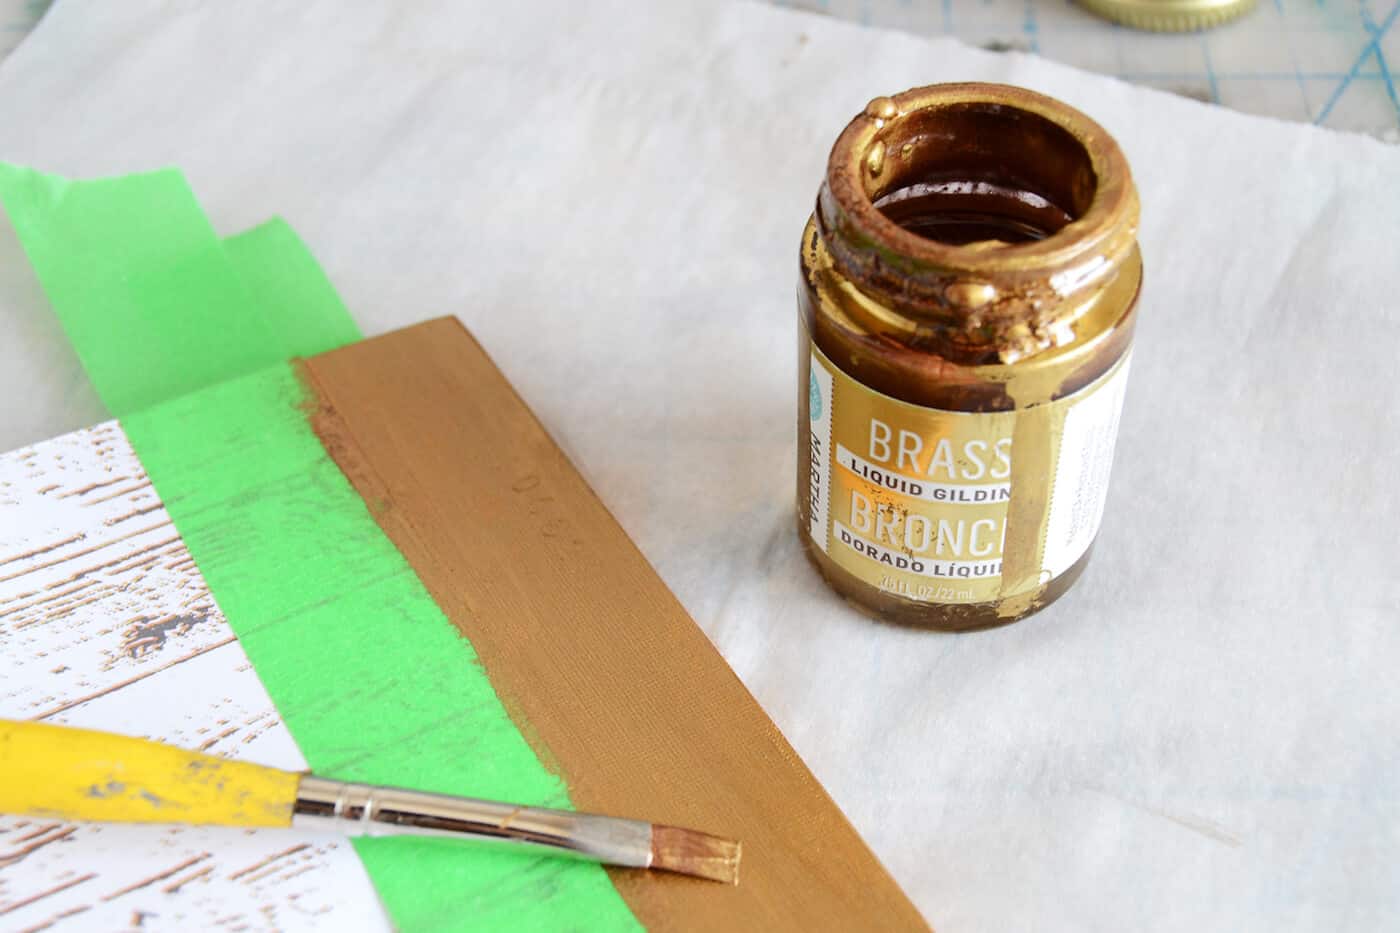
Make your notebook glamorous by painting the spine (mine is an orange color) with some brass leafing. I used a flat brush to distribute the paint evenly – and about two coats of it. Dry in between coats.
Pick out a saying! I used a quote I found on the Silhouette store as it was very apt for the New year, don’t you think so? I cut mine on mirror gold vinyl, but you can definitely purchase decals to use on Etsy or even create them on your own using vinyl stickers (so you don’t need an electronic die-cutter in this case).
And you are done! The whole process takes less than an hour, and it’s a fun activity not only to make on your own but to make with your friends as well. What are your rituals for the New Year? Will you decorate a journal?

Decorate a Journal
Materials
- Notebook
- Patterned cardstock
- Mod Podge
- Brass leaf
- Parchment paper or wax paper
- Die cutter and vinyl optional
- Adhesive letters optional
Video
Instructions
- Choose a notebook and the patterned cardstock you want to cover it with. Place a piece of wax or parchment paper between the cover and the first page.
- Apply a generous amount of Mod Podge on the front cover of the notebook.
- Apply the patterned cardstock and use the brayer to roll out. Wipe away excess Mod Podge that comes out the edges. Let dry for 20 minutes.
- Once dry, cut off the excess and repeat steps 2 and 3 on the other side of the notebook.
- Paint the spine with two coats of brass leaf, letting dry between coats.
- Cut a saying out using your die cutter that fits the cover (I used gold vinyl) OR use adhesive letters to create your saying. Apply the vinyl or stickers to finish.
Notes
Don’t forget to check out some of these related projects below! Happy crafting, friends!