Favorite Post: Decoupage On Wood Using Any Printouts
Favorite Post: How to Paint Mason Jars
Mod Podge Photo Transfer
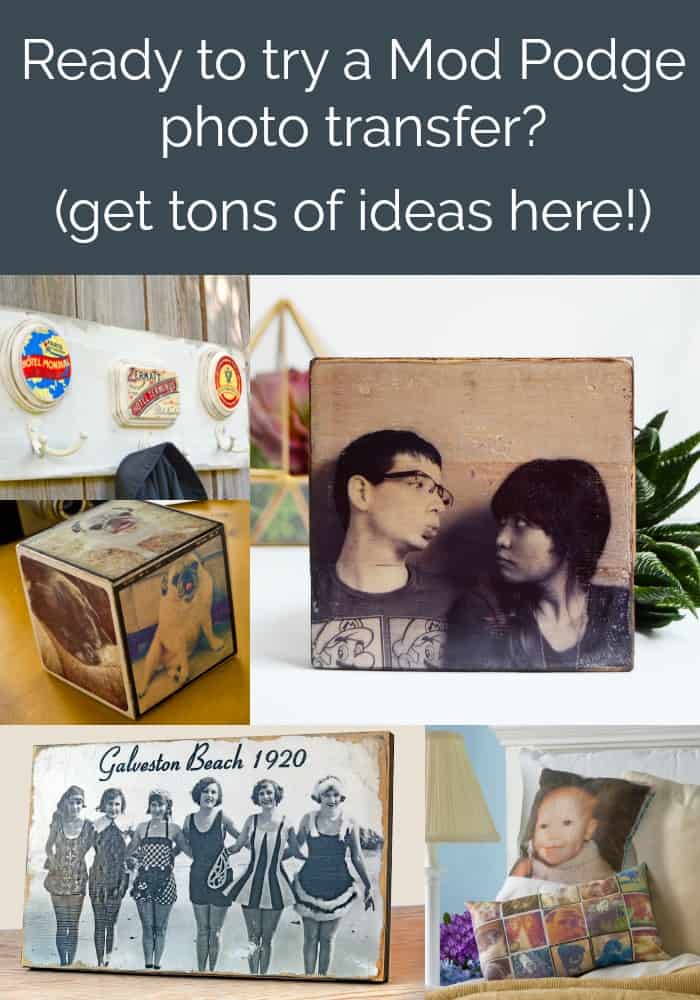
Are you interested in trying a craft with Mod Podge Photo Transfer? Check out this archive of 50 DIY projects. Use photos and graphics to personalize just about anything!

Inkjet Photo Transfers
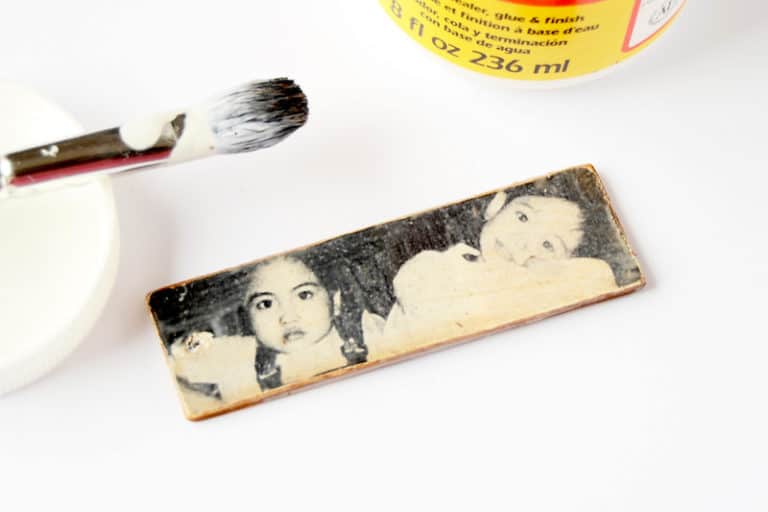
If you want to try a Mod Podge photo transfer, you should first know that there are two types of photo transfers you can do. The first is an inkjet photo transfer to wood using school glue and Mod Podge (Matte or Gloss). This will give you a transparent background . . . meaning if it’s a dark color or pattern, you will see it. This type of photo transfer looks particularly good on light backgrounds and unfinished wood.
Laserjet Photo Transfers
The second type of image transfer uses Mod Podge Photo Transfer medium, which is a product you can find at craft stores like Michaels and Jo-Ann. You can read my top five tips for using Mod Podge Photo Transfer medium, but the most important thing you should know about this formula is that it will produce an opaque, white background. This means you can use it on dark colored items too! You won’t need another glue – you can use the medium by itself to produce desired results.
Photo Transfer to Glass
You can do a DIY photo transfer using either of these methods on fabric, wood, and metal. If you want to do a photo transfer to glass, you’ll want to use the photo transfer medium and the decal method in this photo transfer to glass.
Are you ready to begin? Choose one of the projects in this collection of 30 Mod Podge photo transfer crafts you’ll love or browse the projects below. If you have a very special project (like a gift) you are wanting to try, I highly recommend practicing first on a $1 plaque from the craft store. There is a bit of a learning curve to DIY photo transfers. Not only that, it can ensure you will like the results.


