Create your own beach fairy garden and bring a sense of seaside enchantment to your home or outdoor space. It’s so easy to put together!
Skills Required: None. You’re going to be assembling more than anything – not necessary straightforward crafting. Even if you’ve never made anything before you’ll be fine making this beach garden.
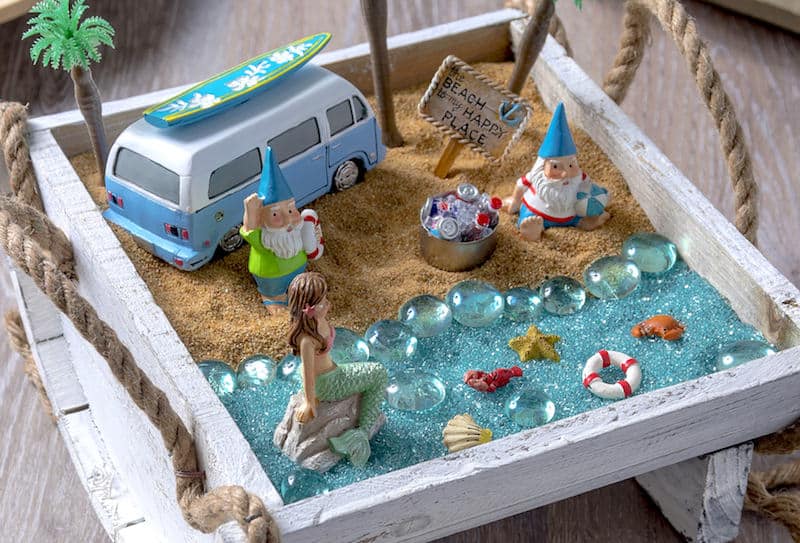
Happy (almost) summer my friends! Have you hit any gnarly waves lately on your board? Probably not – neither have I. But a girl can dream of the beach, can’t she? If you can’t get to the beach quite yet, you can at least have a summer themed fairy garden as part of your seasonal home decor.
I got all of my goodie for this beach decor at Michaels! I have to admit, when I saw that Michaels had supplies to make a beach fairy garden I literally squealed in the aisle. Other shoppers may or may not have heard me . . . but how could I help myself?
I mean, a gnome carrying a beach ball – and a gnome sized Vanagon with a surfboard on top? There were so many cute accessories I just couldn’t help myself. I’ll be displaying this beach fairy garden for the entire summer.

Whether you’re looking for fun décor, activities for your kids or cute party supplies, Michaels has everything you need to MAKE summer fun!
Now I’m ready to tell you the supplies I used to make this sandy, summer-y gnome garden.
Fairy Garden with a Beach Theme
Gather These Supplies
- Miniature Half Barrel By Celebrate It™
- Bubble wrap or other filler
- Duck tape
- Celebrate It™ Fairy Garden Fillers – Sand, Blue Glitter Glass, and Blue Marbles
- Miniature Surfboard Van
- Gnome with Lifesaver and Gnome with Beach Ball
- Sitting Mermaid
- Palm trees
- Any other fairy garden accessories you love – signs, drink barrels or coolers, animals for the ocean!

There are no instructions to putting together a fairy garden per se . . . but I will give you a secret tip. TAPE the inside of your half barrel with Duck Tape before you put anything in it. Lesson learned as I watched the sand pour out the bottom through the slats.
Then once you’ve taped up the bottom, add something like bubble wrap or paper to put your sand and glitter glass on top of. That way you only have to purchase one container of each . . . since it would take MANY containers to fill up my half barrel!
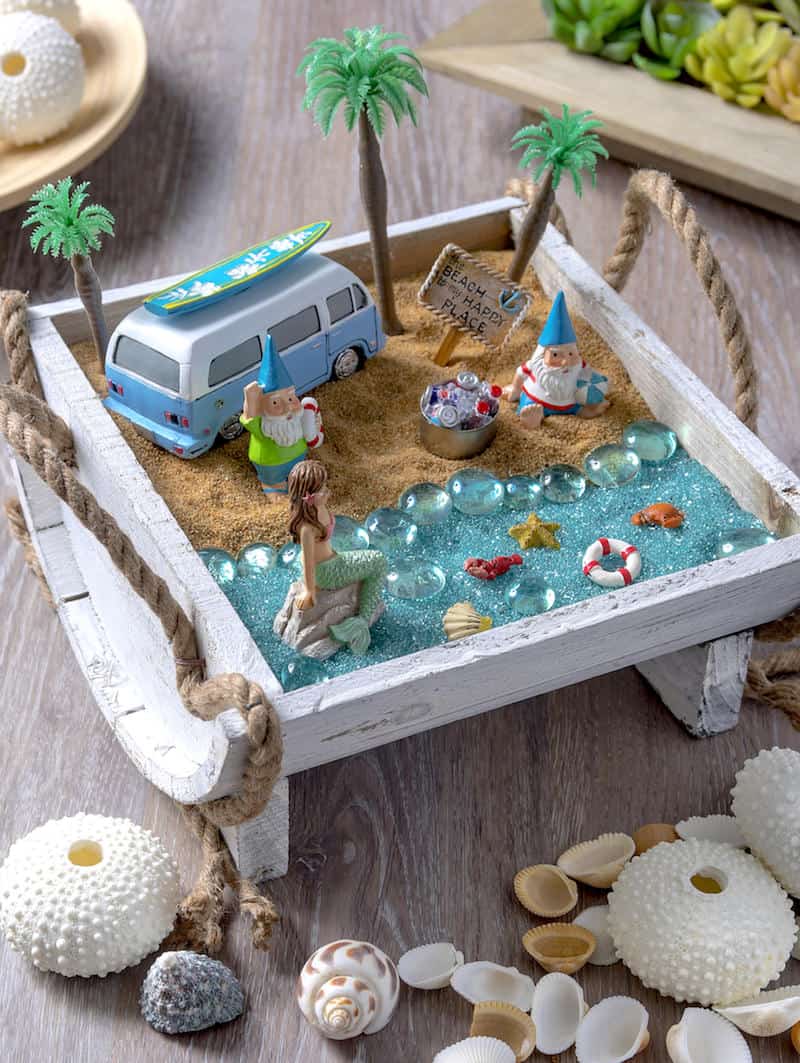
It’s easy to see how I assembled mine after the sand, glitter glass, and glass beads were put down. I just nestled the items into place.
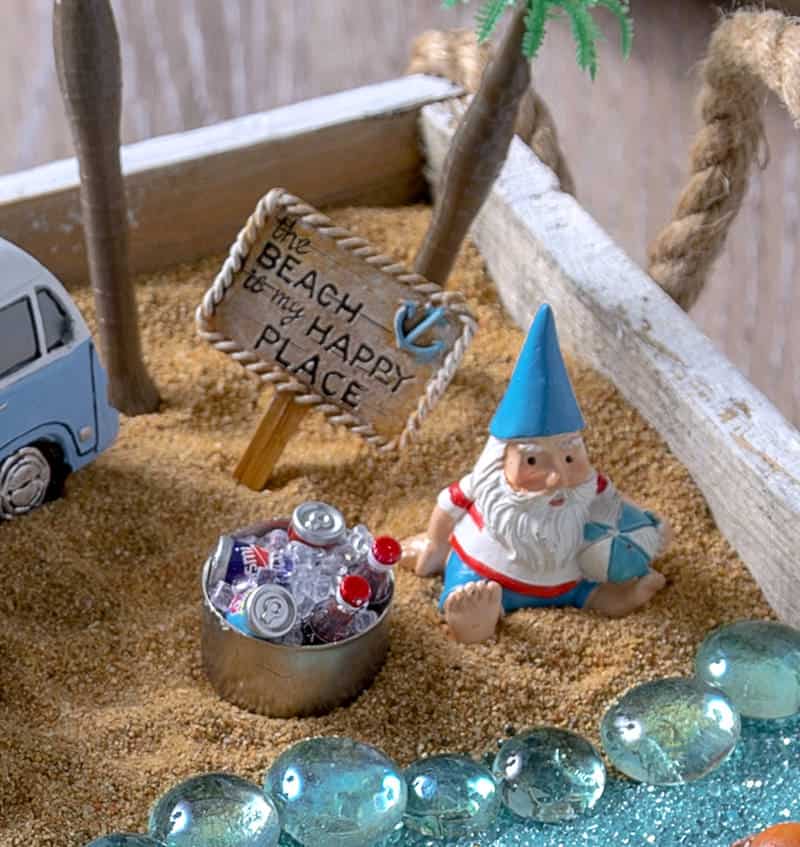
This little guy has his delicious drinks ready to go.
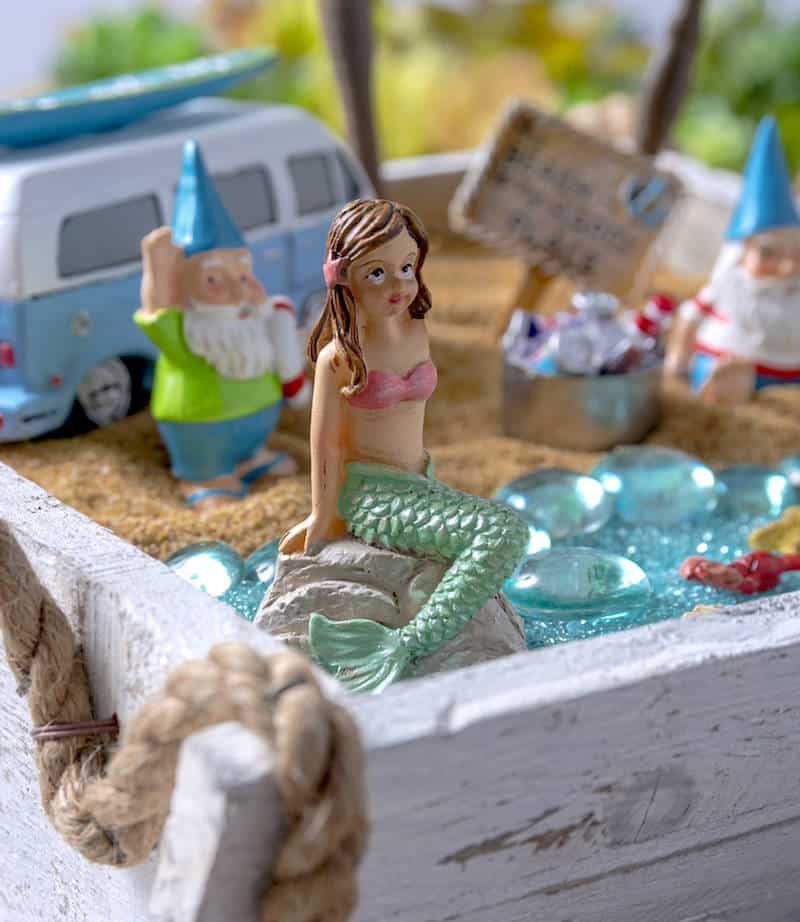
And this pretty mermaid is enjoying the surf, waiting to guide the ships in.

It’s hard to decide what piece is my favorite but I really love the van. Who wouldn’t?? Now don’t you want a beach fairy garden for your summer decor? You know you do!
Did you enjoy this beachy project? If so, I’d love for you to check out these other cute coastal inspired ideas!


What a fun idea! I would have never thought to do a beach one. I love it!
Oh my goodness, I love your fairy beach garden. So cute!
Awesome! I simply love this great watery fairy garden! TFS!
Mermaids + fairy garden = what little girls dreams are made of. This is so cute!
If this is put outside, then what happens to the sand if it rains? Does the bubblewrap get waterlogged? Will the sand blow away if it’s windy?
Thanks!
Hi Helen! Yes it would get waterlogged and the sand would blow away. I would definitely recommend a redesign for outdoor weather – starting with a different vessel!
@Amy, Thank you!
Hi, you can buy the beach gnomes and accessories at the Dollartree at half the cost. Your idea came out beautiful.
Hi Karen! Funny you say that because I just saw those at DT this week! Great tip! 😀