
Learn how to make a white chalkboard out of cut wood! You can have any color of paint underneath using a cool, clear chalkboard topcoat.
Skills Required: None. You don’t need any prior crafting experience for this project. You’ll be painting, taping, and painting again. Then conditioning with chalk. It’s easy.
If you’ve ever thought about making your own chalkboard, why stick to the traditional black surface?
I recently tackled another chalkboard makeover, but this time, I wanted to do something a little different – so I made a white chalkboard!
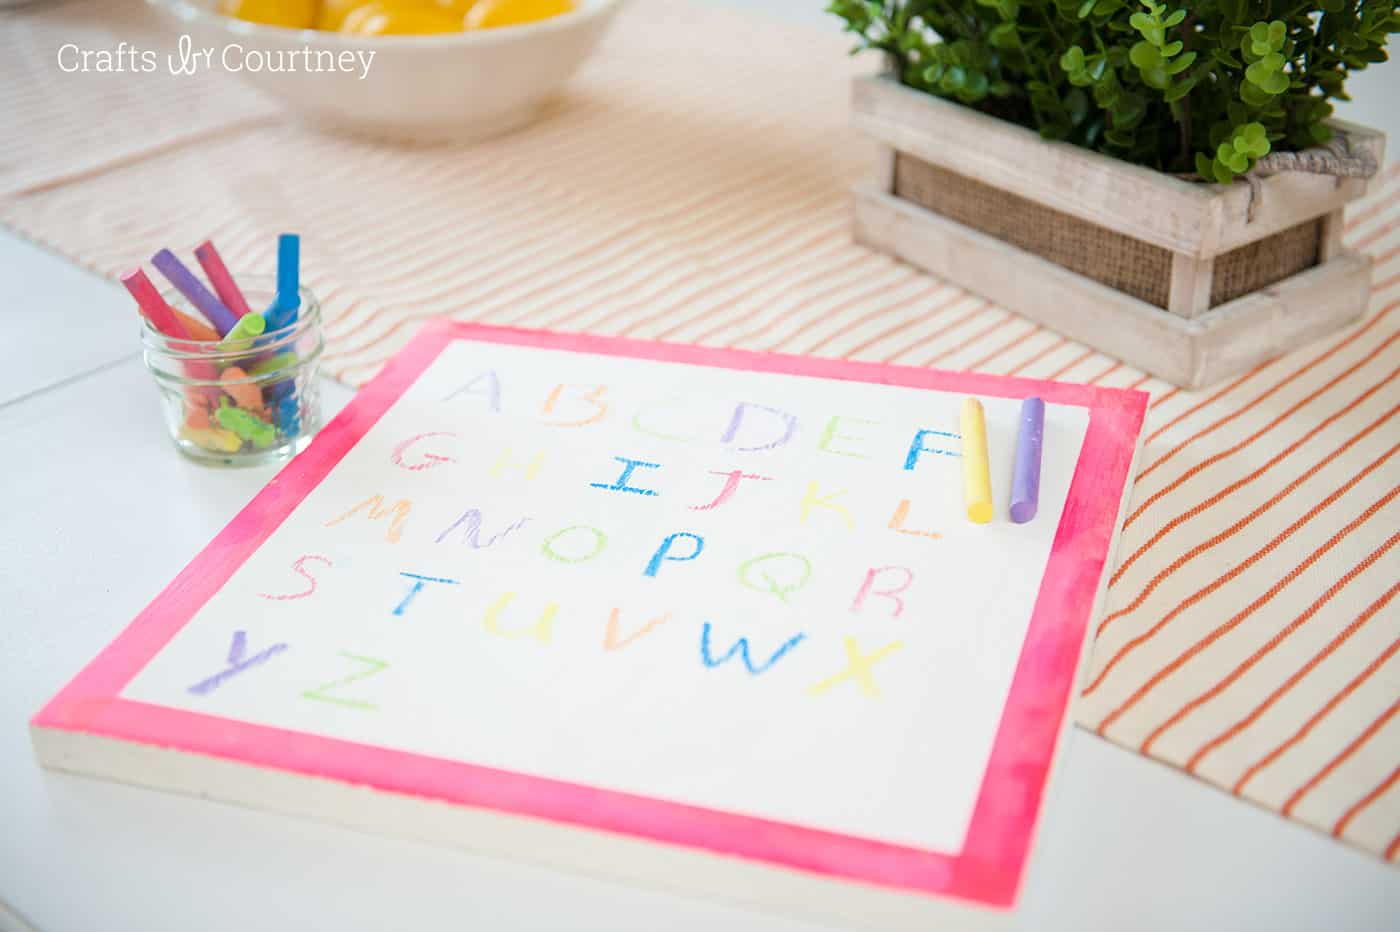
I had a specific vision for this one. I wanted it to feel like a blank sheet of paper for my kids to draw and write on, giving them a fresh canvas that’s a little more fun and unique.
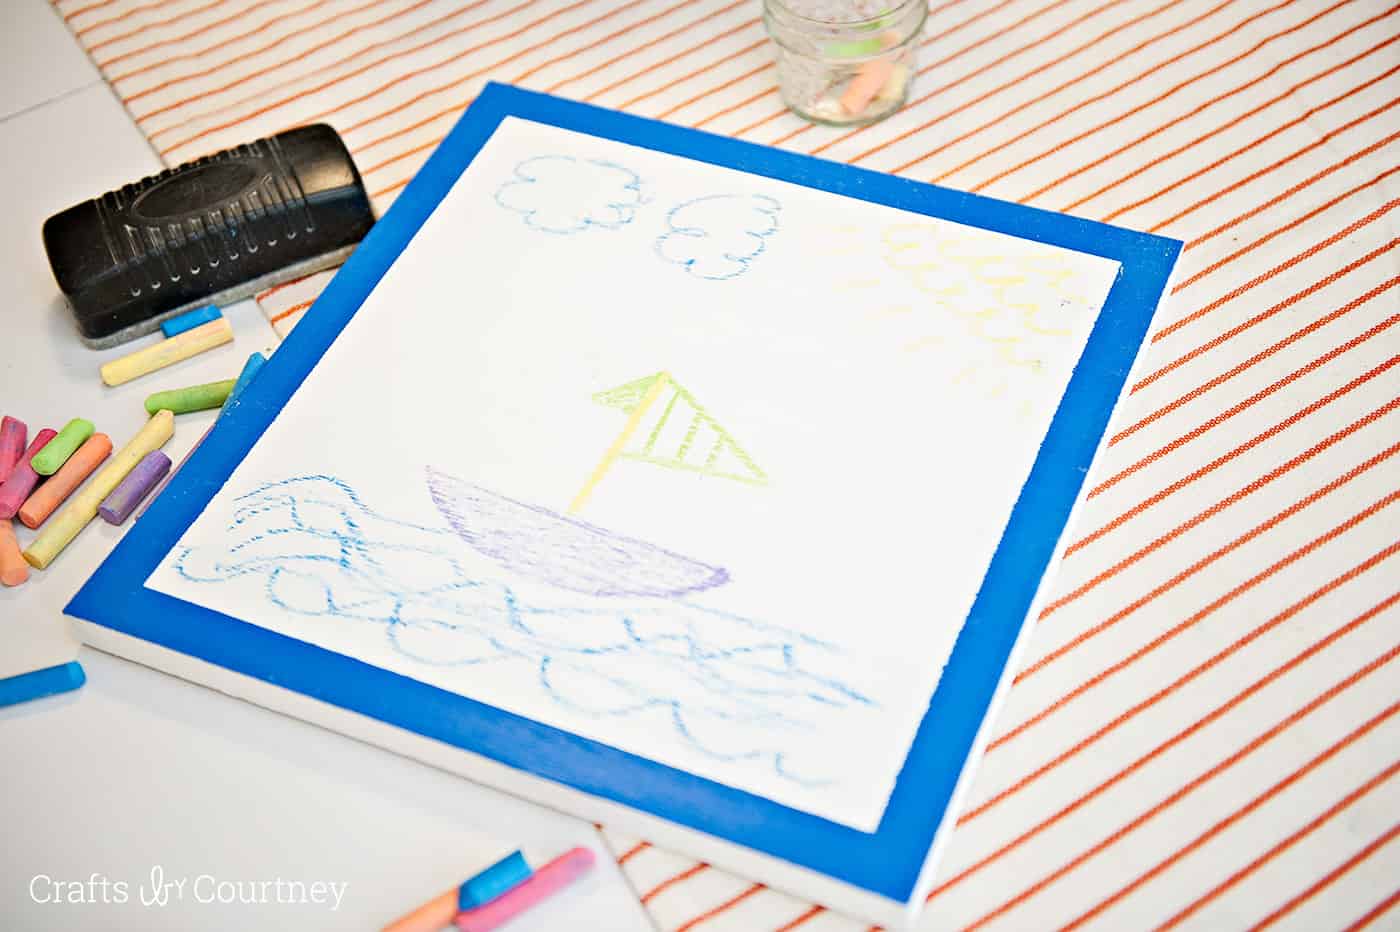
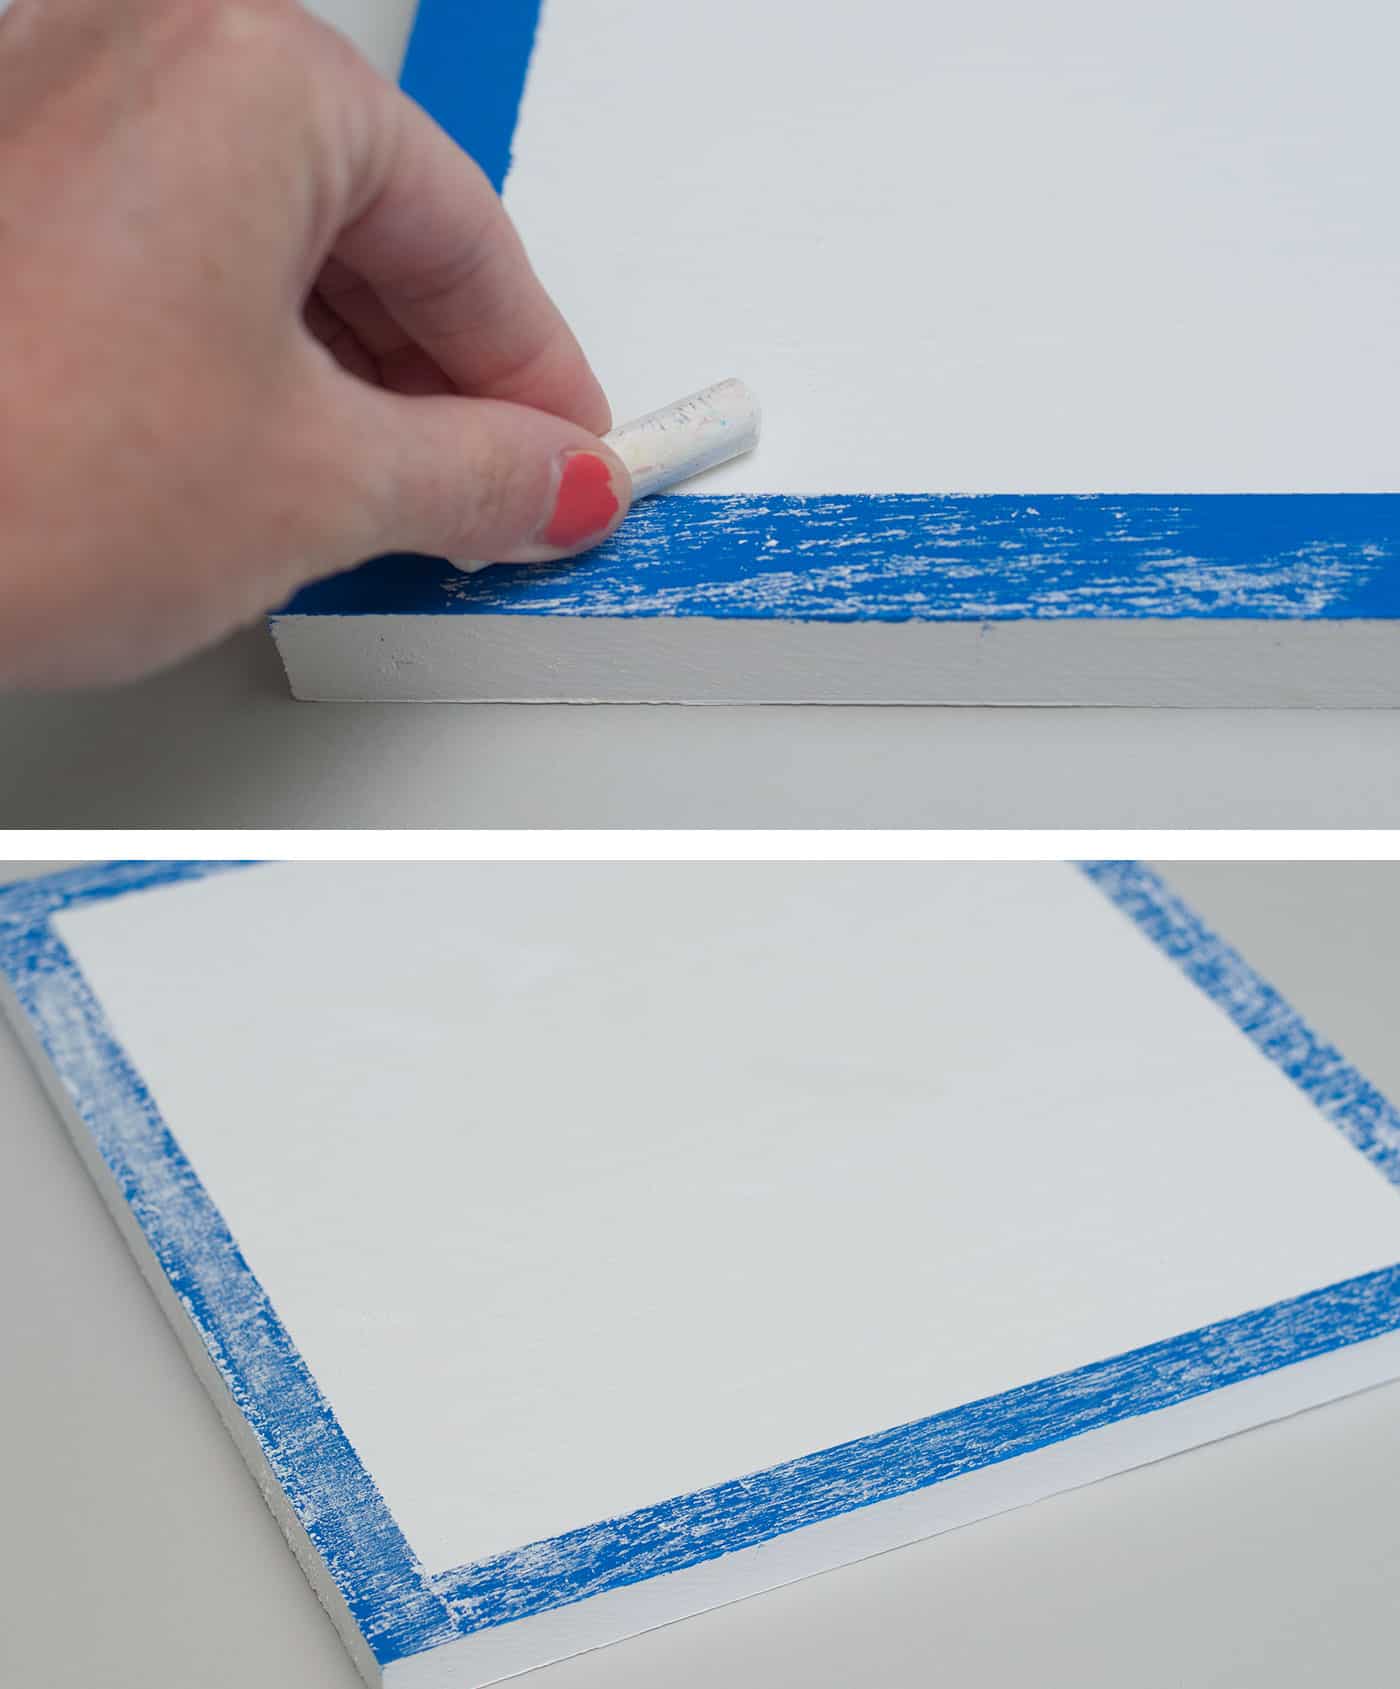
And before you ask, yes, I tested it out! Colored chalk wipes off beautifully, even with a damp cloth, so there’s no need to worry about staining.
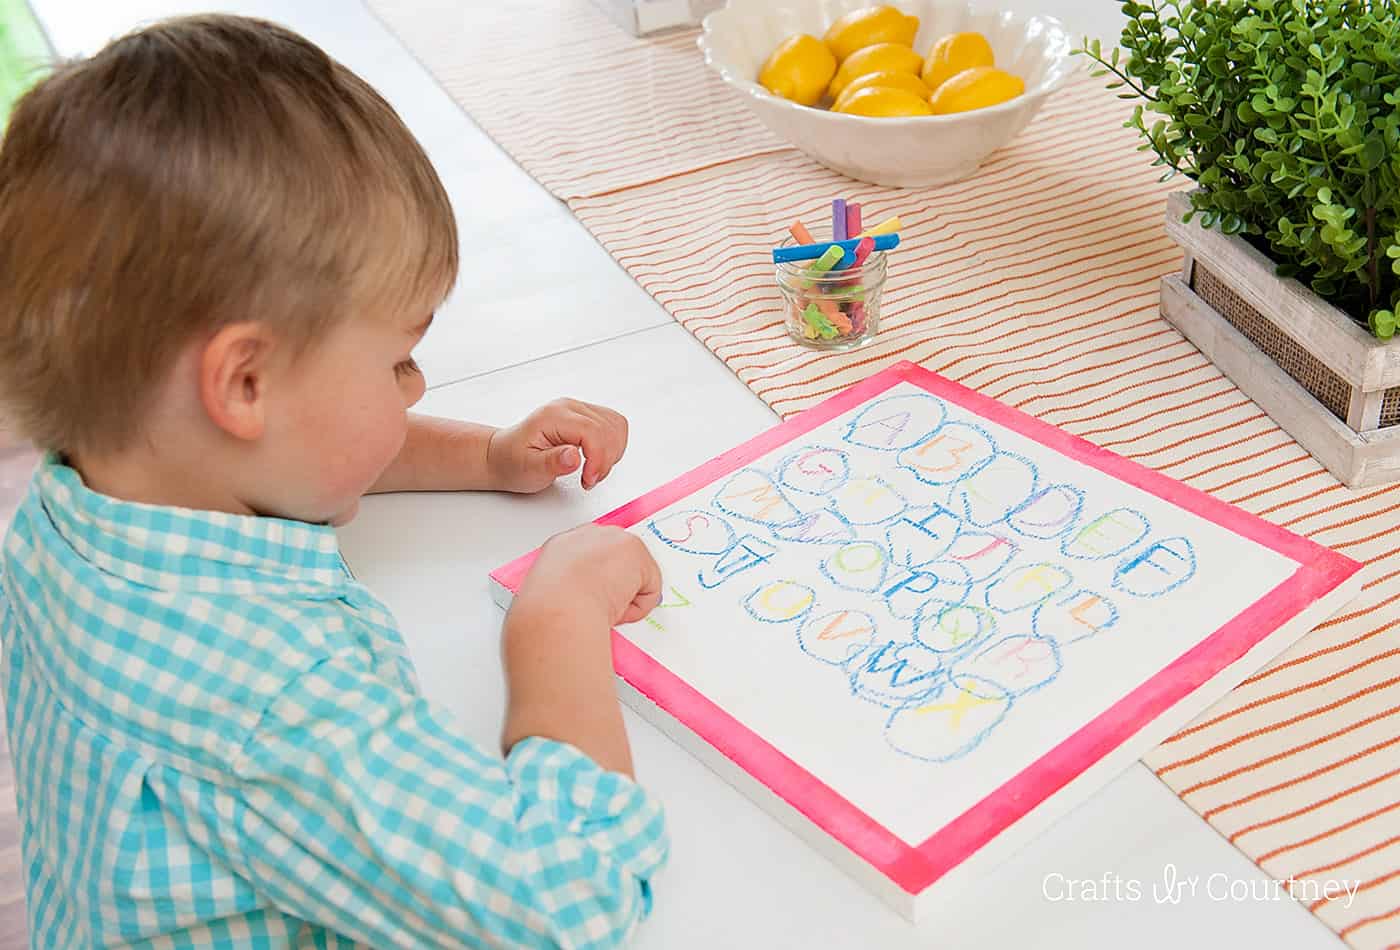
My boys have been loving their new chalkboards, and we’ve even used them during learning time, which has been a great bonus.
This project turned out to be one of those DIYs that I just couldn’t wait to share – simple, budget-friendly, and so much fun!
Now that I know how easy it is to make a white chalkboard, I’m considering mounting them on the wall with Velcro command strips so we can display the kids’ artwork between creations.
What do you think? Would you try this DIY? Let me know in the comments. I’ll show you exactly how to make your own white chalkboard!

White Chalkboard
Equipment
Materials
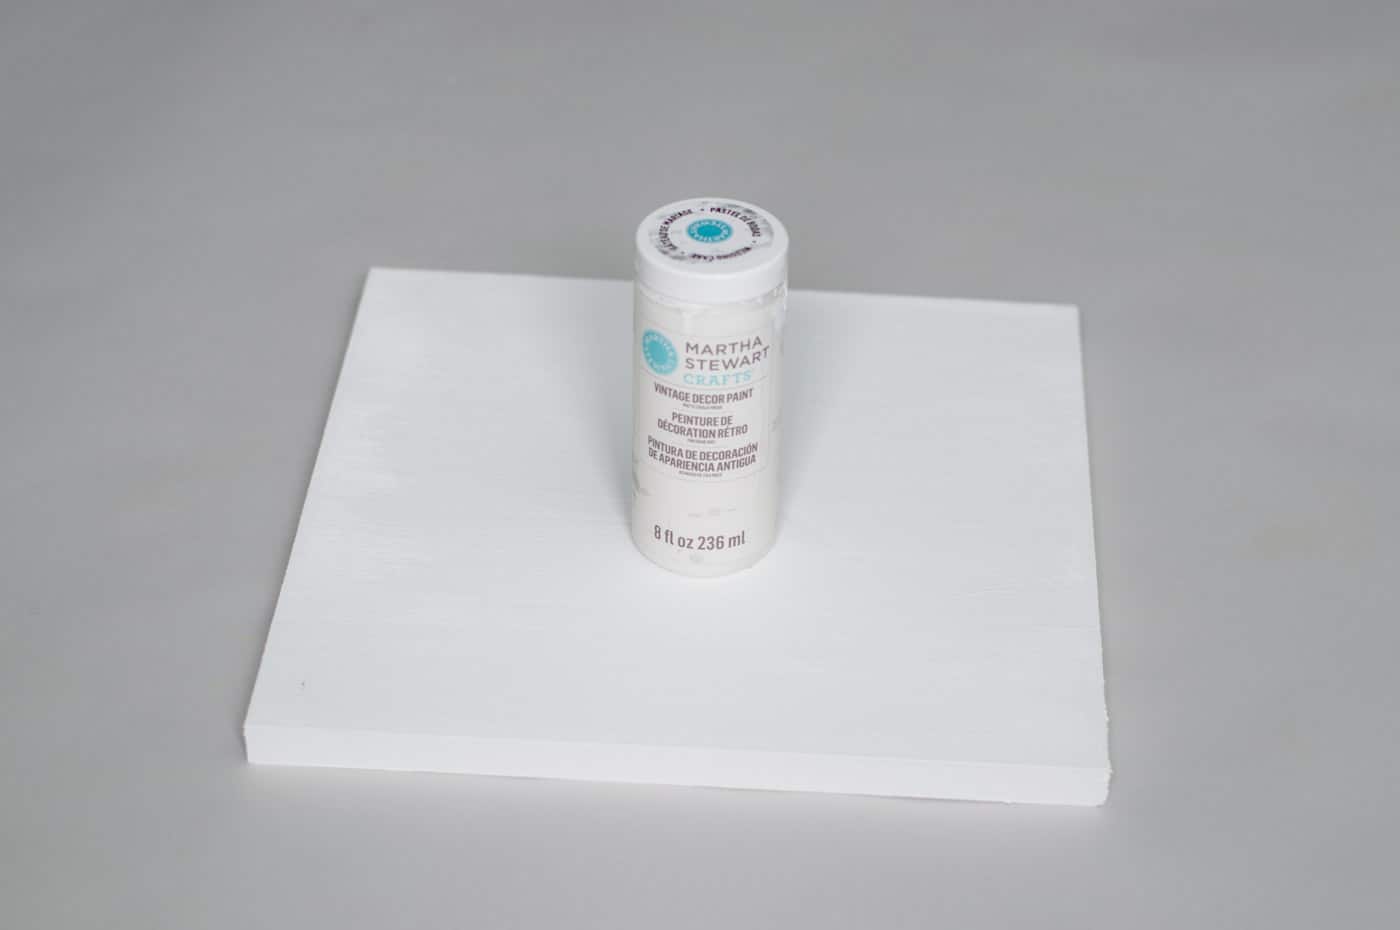
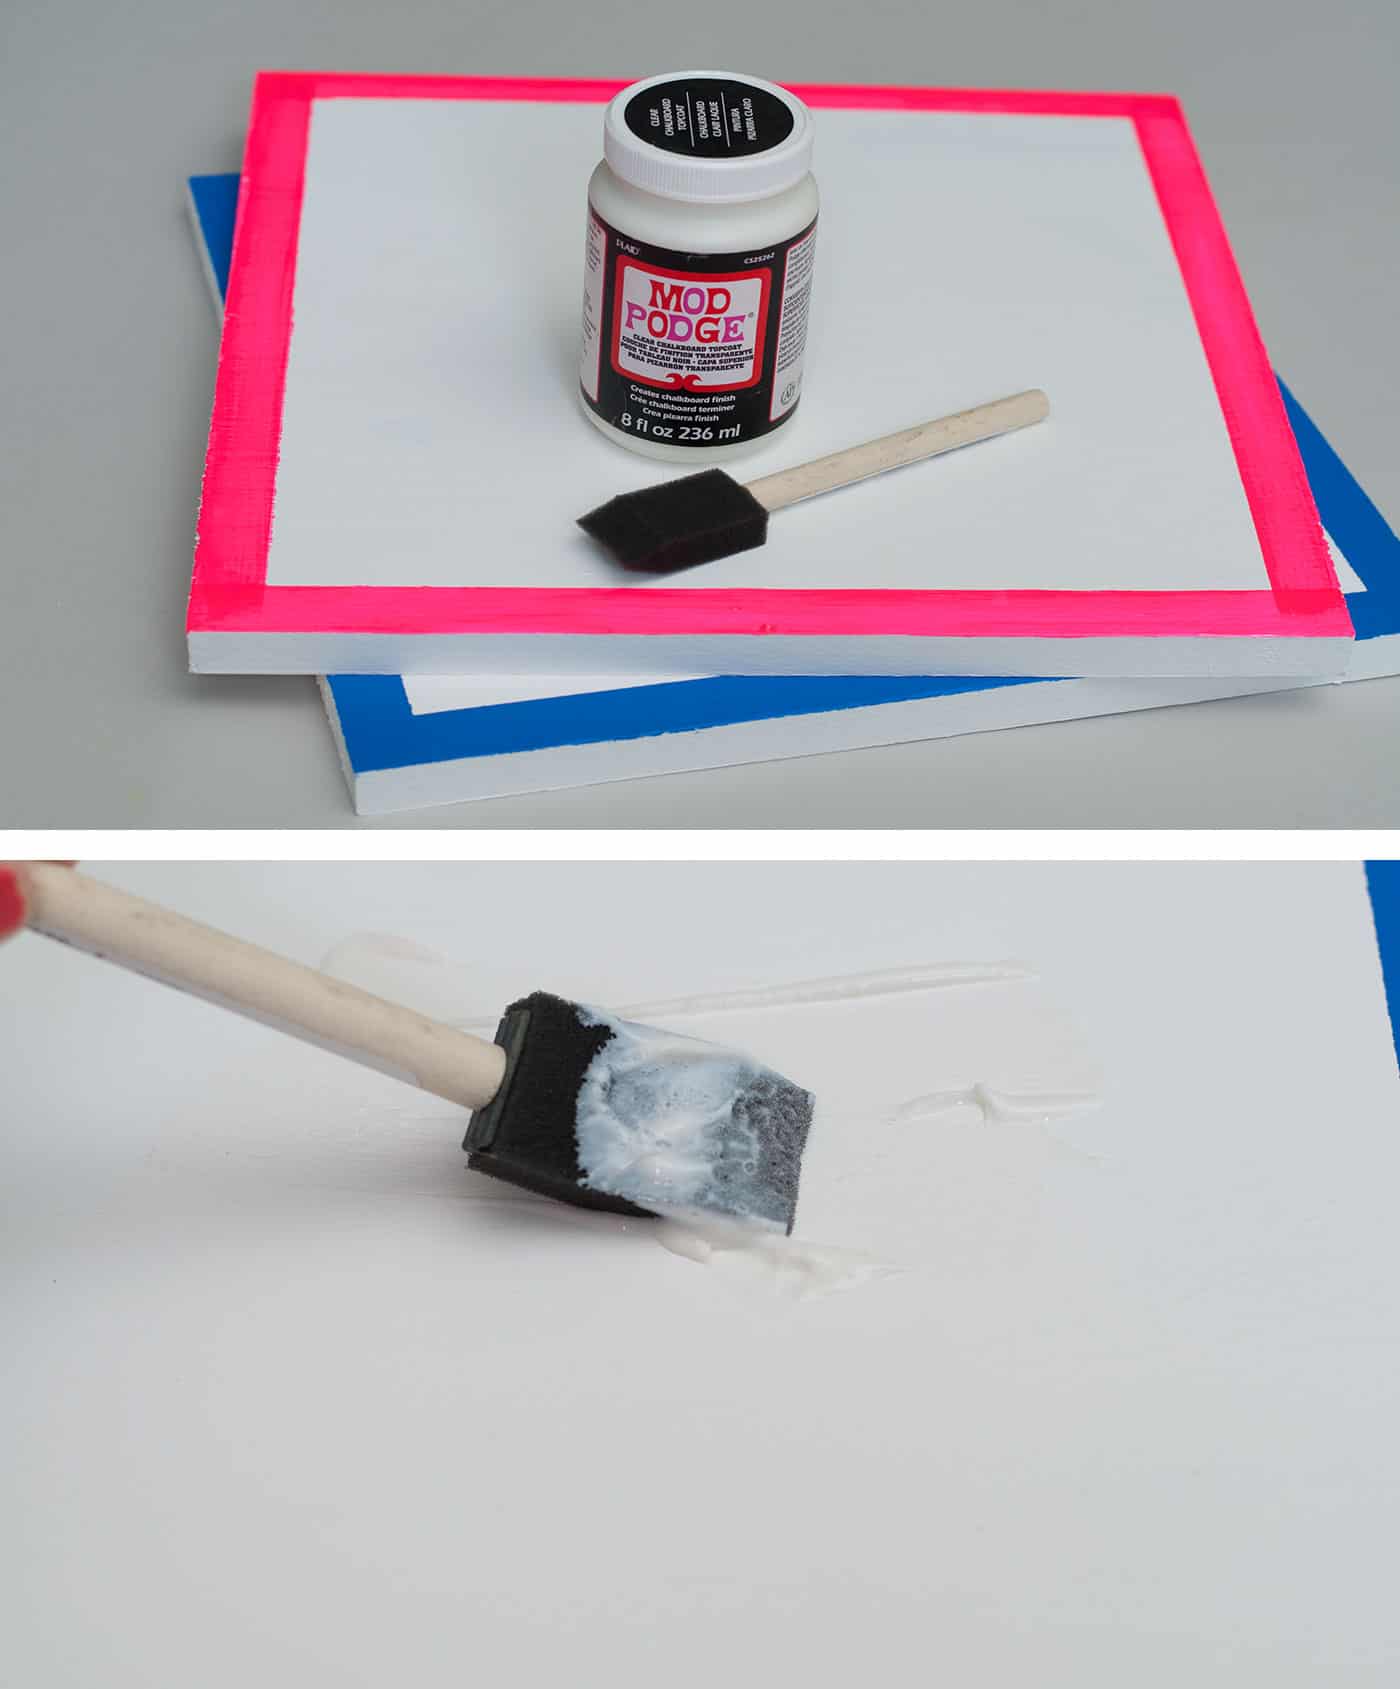
- Clear chalkboard paint
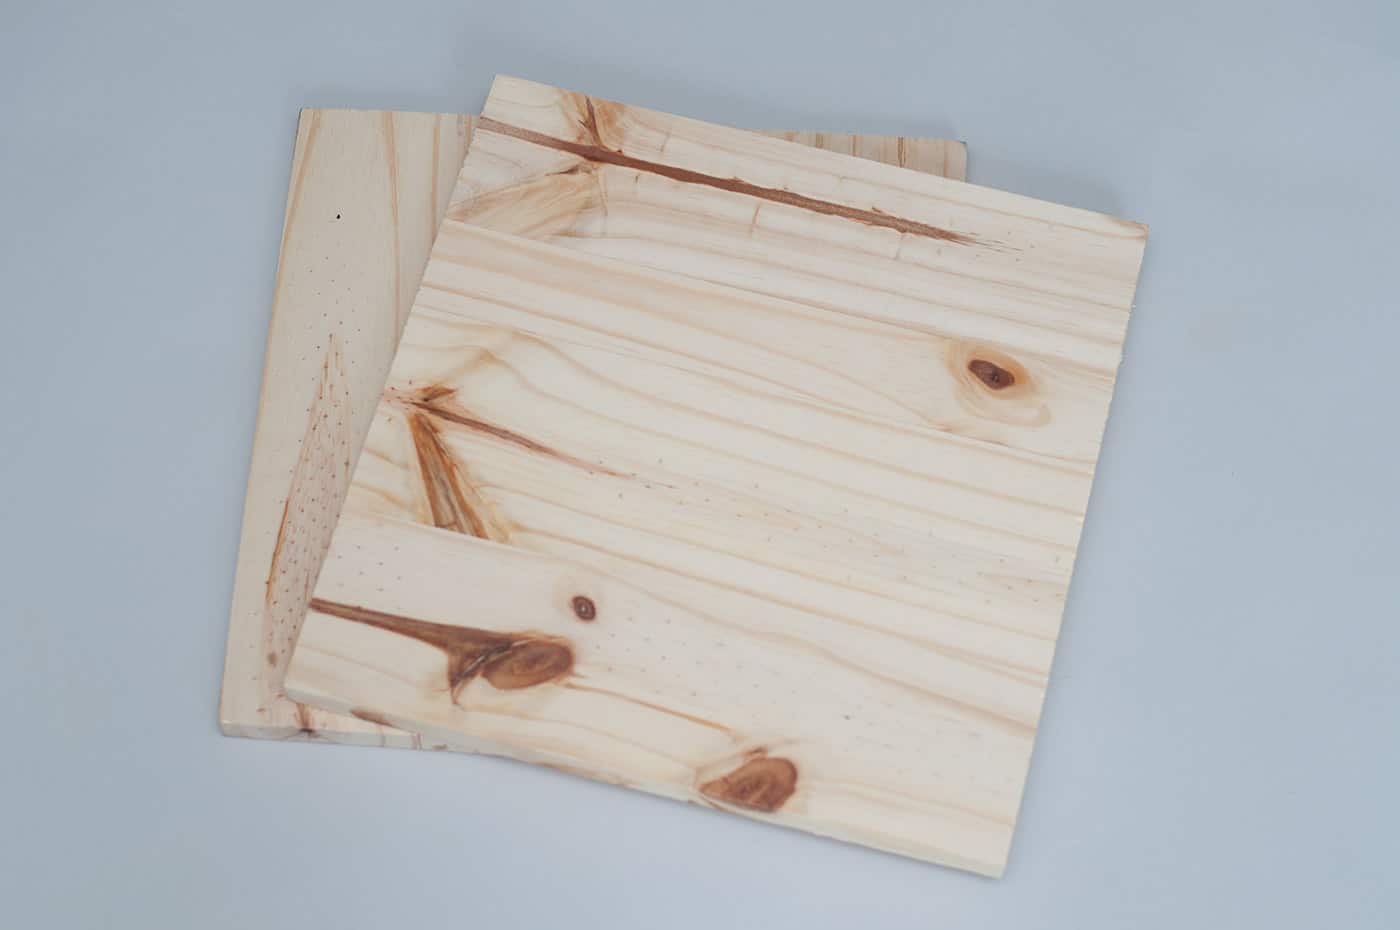
- Wood piece cut to 12" squares
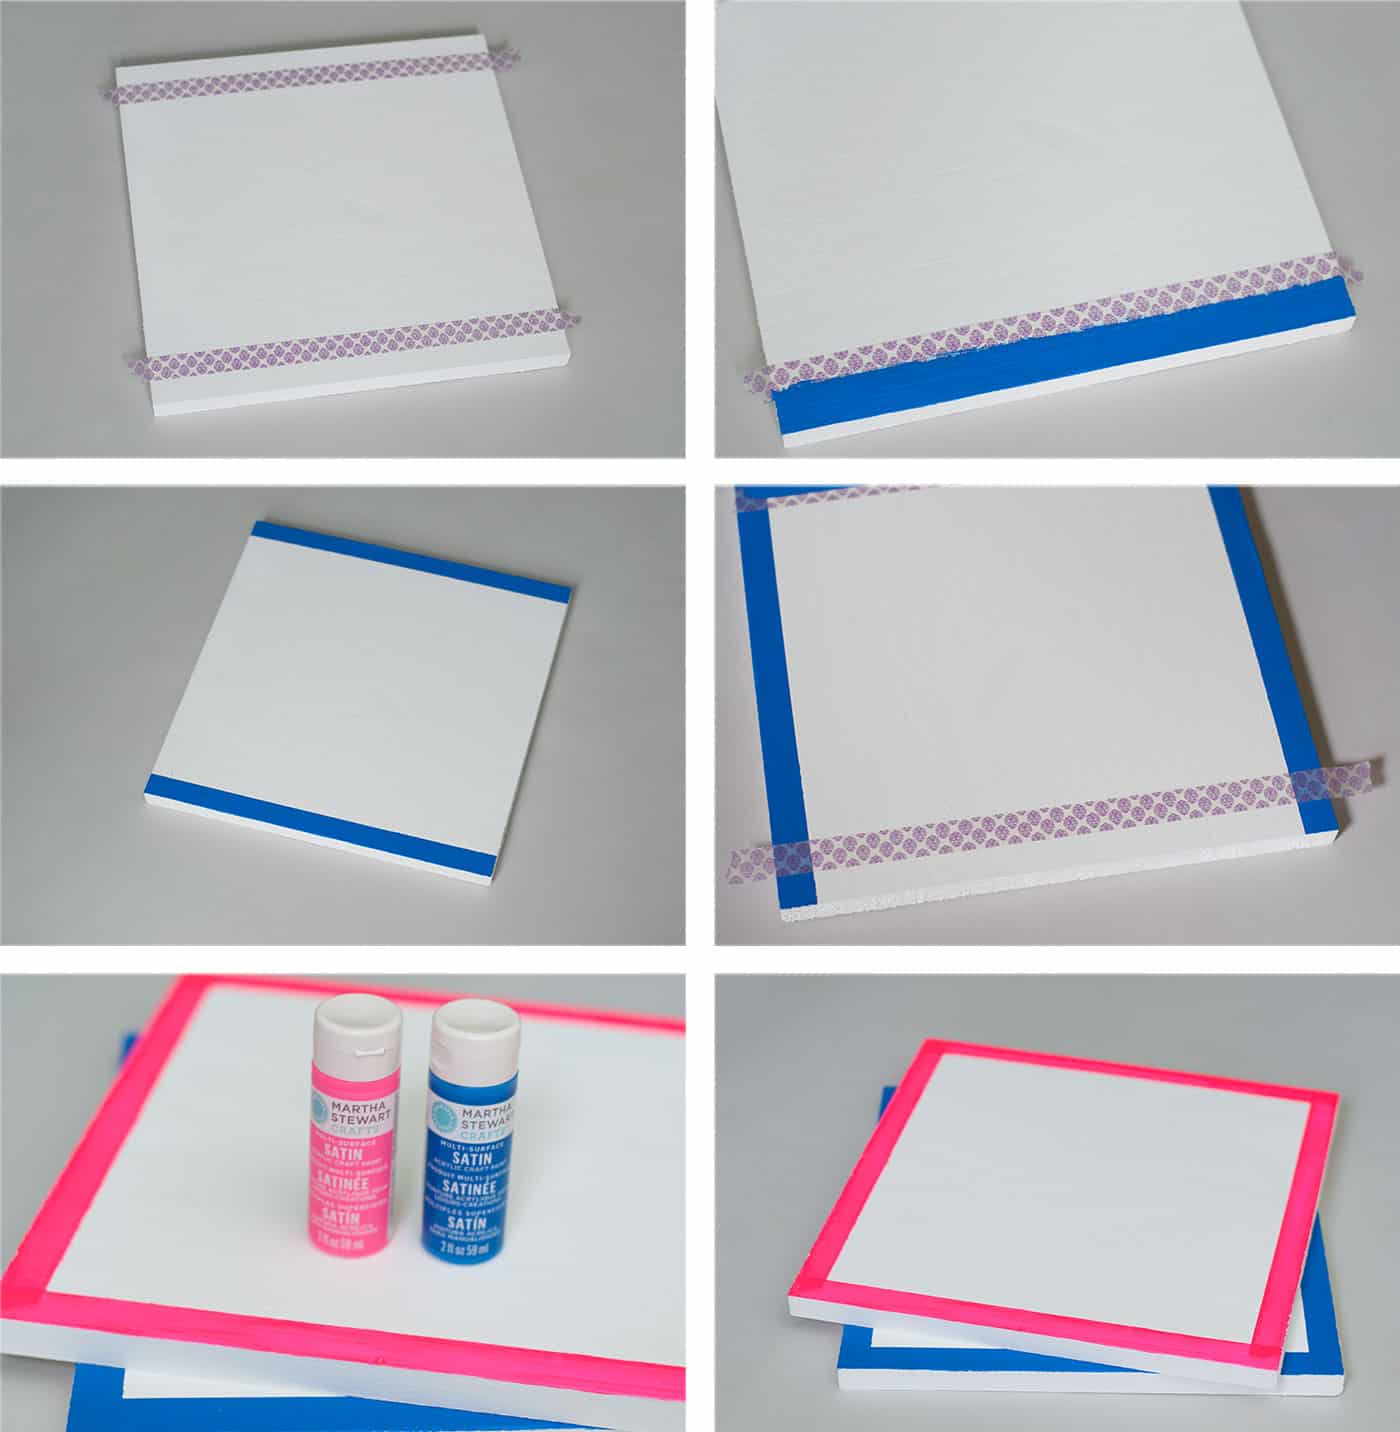
- Acrylic paint white and another color
- Chalk
- Painter’s tape
- Sandpaper
Instructions
- Have a piece of wood cut to 12 x 12" square. Sand smooth if necessary and wipe away dust.

- Paint four coats of white paint on the board, letting dry between coats.
- When the white paint is dry, tape off four edges of the board using painter's tape. Add two coats of paint around the edges and let dry. Remove the tape.

- Add your chalkboard paint to the board, following bottle instructions for application. I painted on one coat and let it dry three hours. Then I painted on my second coat and let it dry 24 hours.

- Finish up this project by sealing it with some white chalk. Rub the chalk all over the chalkboard. It’s now ready to use.
If you enjoyed this easy craft, let me know in the comments! I’d love for you to check out these other ideas:


This is a great idea, but could you do it on foam core?
Rosemary – I think you could! It would require a test, but I say yes.