Favorite Post: Decoupage On Wood Using Any Printouts

Favorite Post: How to Paint Mason Jars
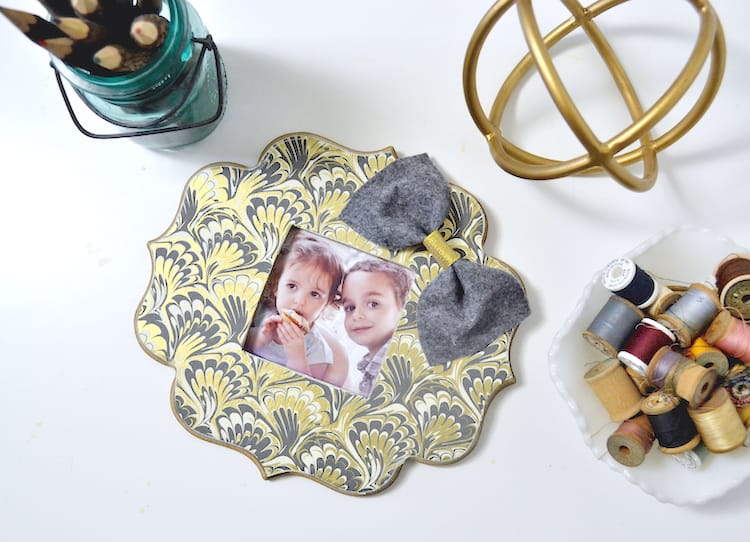
Do you want to try to decorate a picture frame? You’re going to love one of these great ideas, perfect for beginning or experienced crafters.
There is a four step process of decorating a frame with Mod Podge. Here’s a summary of what you should plan on doing:
Pick your frame and prep it. You can use a brand new frame or a Goodwill find. If it’s already painted, use sandpaper to remove the paint – you can repaint if you like. Of course wood isn’t the only substance you can use for a picture frame . . . you can use glass, paper mache, or lots of other surface types.
Select the item you’re going to apply to the frame and trim to fit. In this example I’ll use scrapbook paper, but you can also use newspaper, book pages, comic books, rice paper, tissue paper, fabric, and just about anything you can think of. The question is, what can’t you use on your DIY picture frame?
Add Mod Podge to the frame and smooth down the paper. Add a medium layer, smooth down your paper, and wipe away what comes out the edges. I like using a brayer to smooth down. Work relatively quickly because Mod Podge dries fast. Also too much is better than not enough. Let dry for 15 – 20 minutes.
Add a few top coats, letting dry between coats. Once your picture frame dries, add a coat of Mod Podge on top. Let dry and then do another coat. You can use fun formulas at this time like Sparkle Mod Podge if you choose.
Optionally when you’re done with the four steps of your DIY picture frame, you can add embellishments with craft glue. That part is up to you.
Are you ready to get started on some projects? Scroll down!