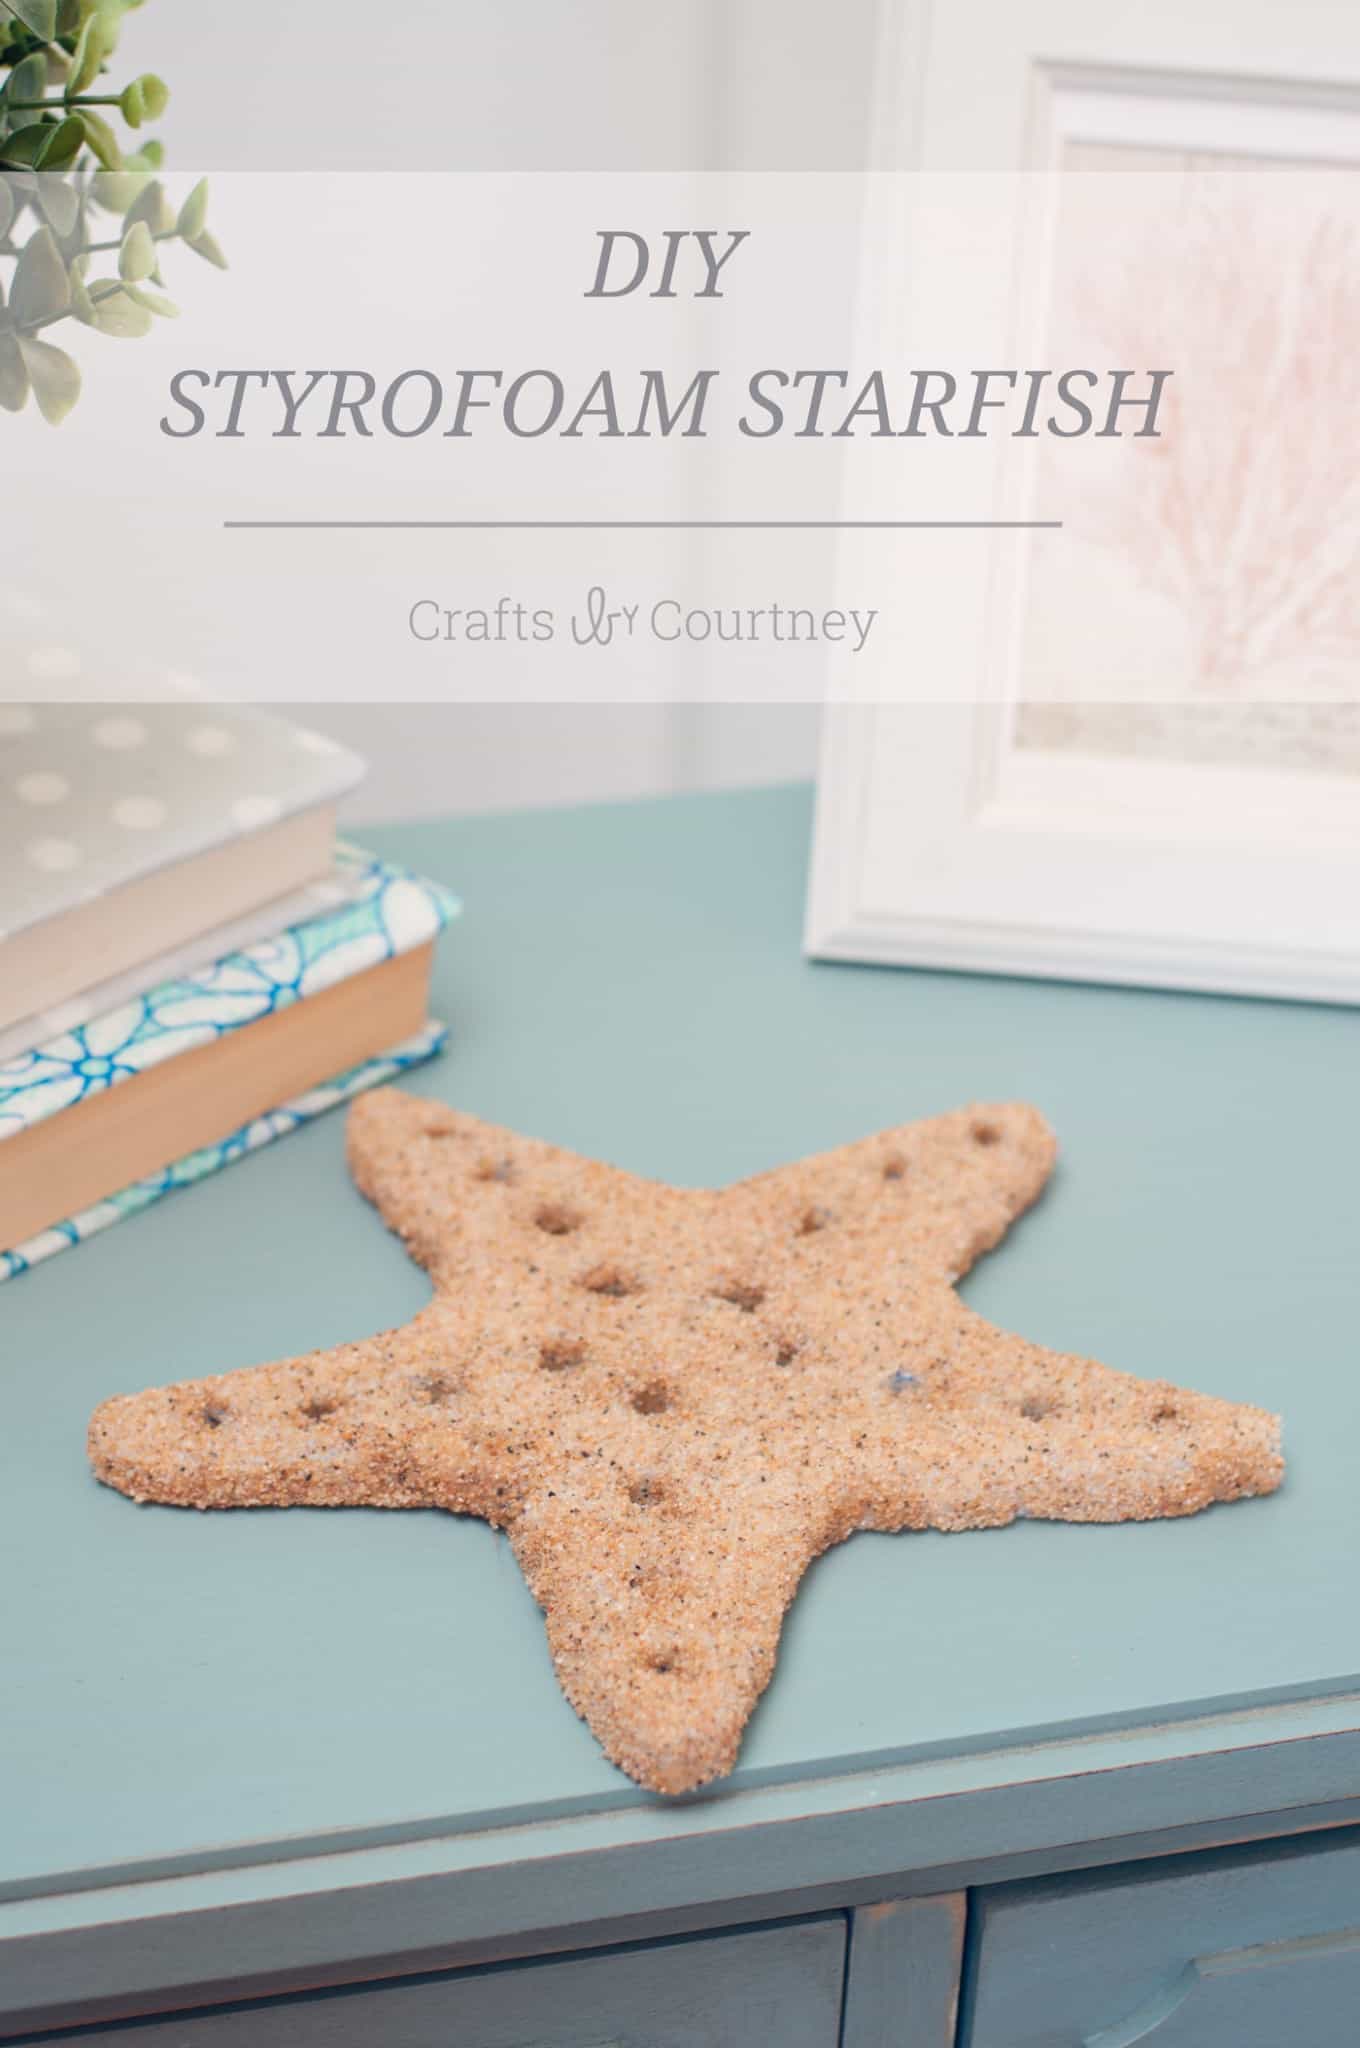
You won’t believe what this unique DIY starfish craft is REALLY made of! Learn how to make one (or 12!) to add to your beach-y home decor.
Skills Required: Beginner. You’ll be using a styrofoam cutter ideally (or a warm knife) to cut craft foam. Then you’ll be using Mod Podge. It’s pretty simple, even if you haven’t crafted much before.

I’ve been so excited to work on this craft and write it up! If you know me, then you know I LOVE anything beach-y. So I was really glad to get started on this beach decor project. I have an event coming up and I needed to make 12 of these starfish fast.
So as you can imagine, I got started right away. I think this starfish craft would be a great addition to any beach themed wedding, baby, or bridal shower!
Easy Starfish Craft
For this beach-y craft you’re going to need:
Gather These Supplies
- Mod Podge Gloss
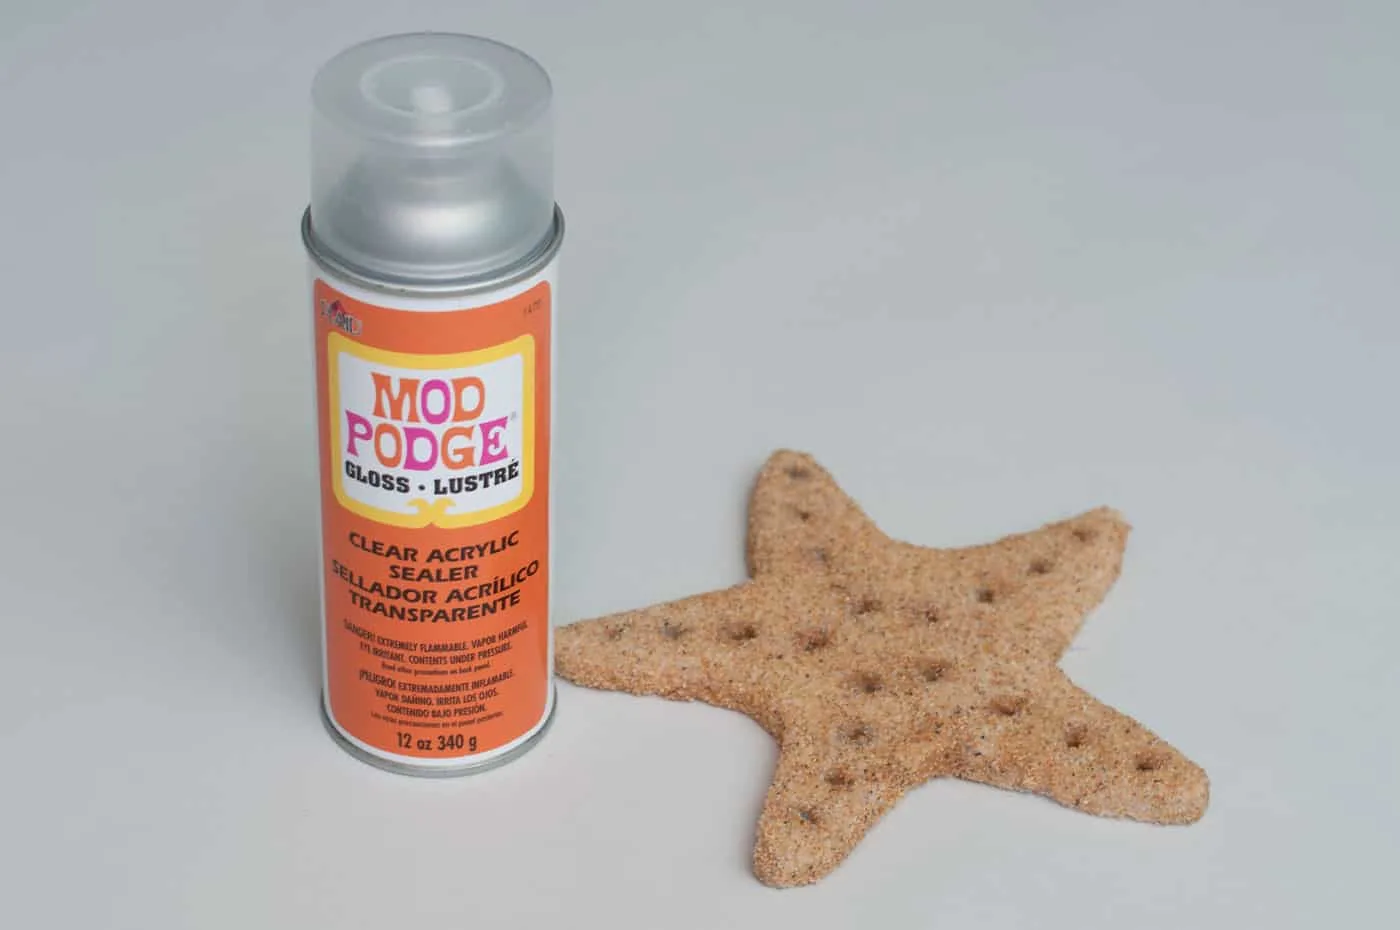
- Mod Podge sealer
- Sheet of foam
- Sand
- Styrofoam cutter – you NEED this tool – makes it so easy!
- Starfish template
- Black marker
- Paintbrush
- Sandpaper (optional)
Before you get started, you’ll want to either 1) pull a starfish template from the internets (you just need the basic shape) or use your die cutter to make a template. You can also just wing it if you choose!
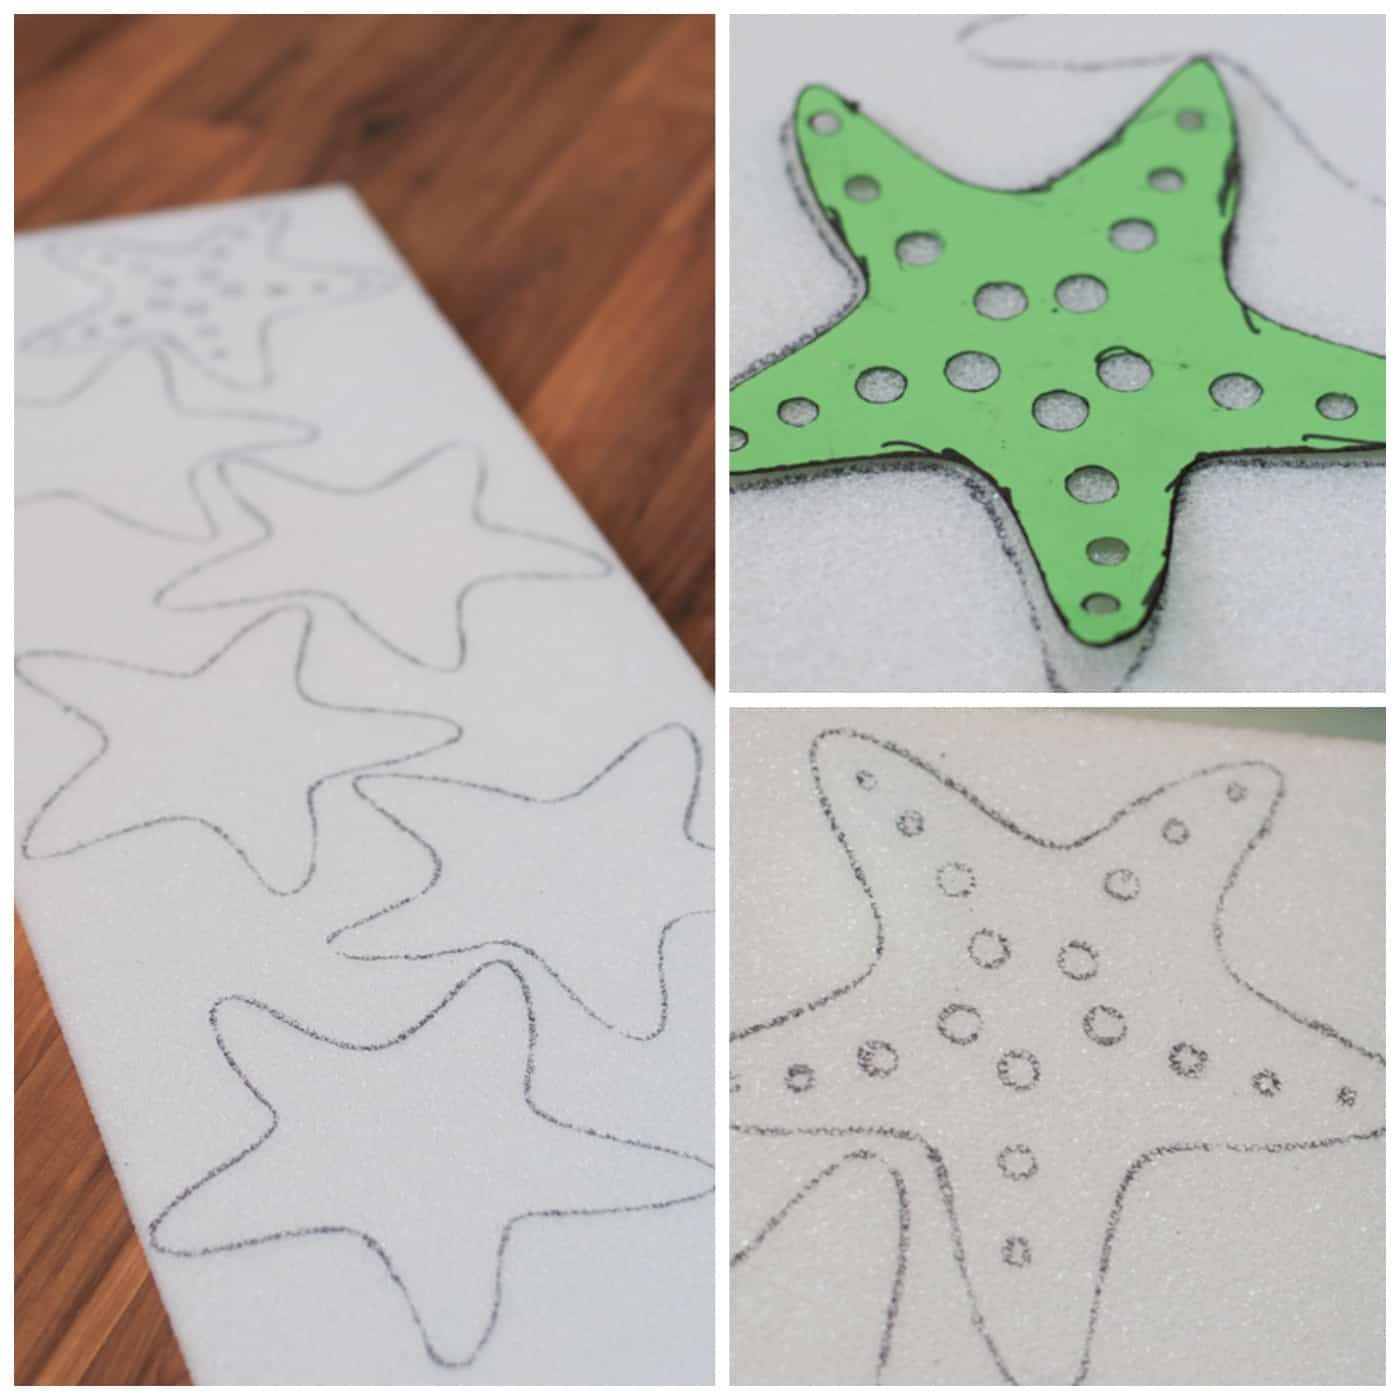
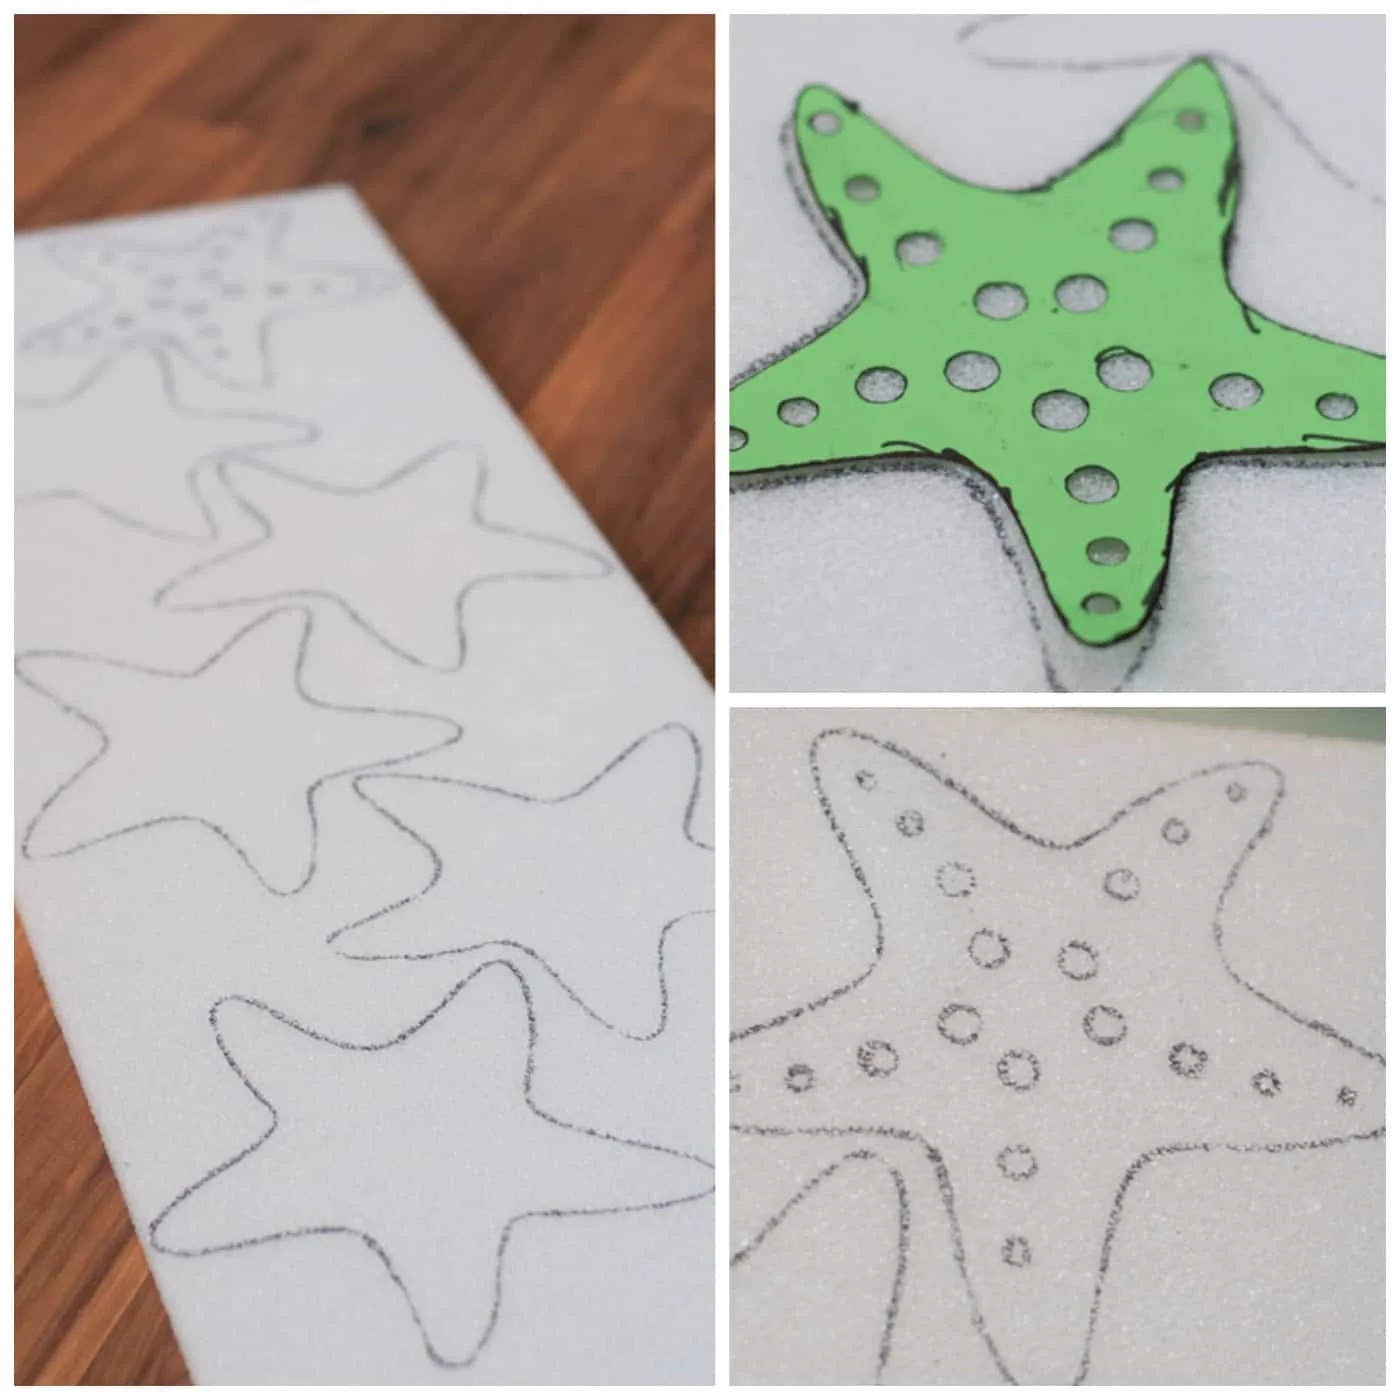
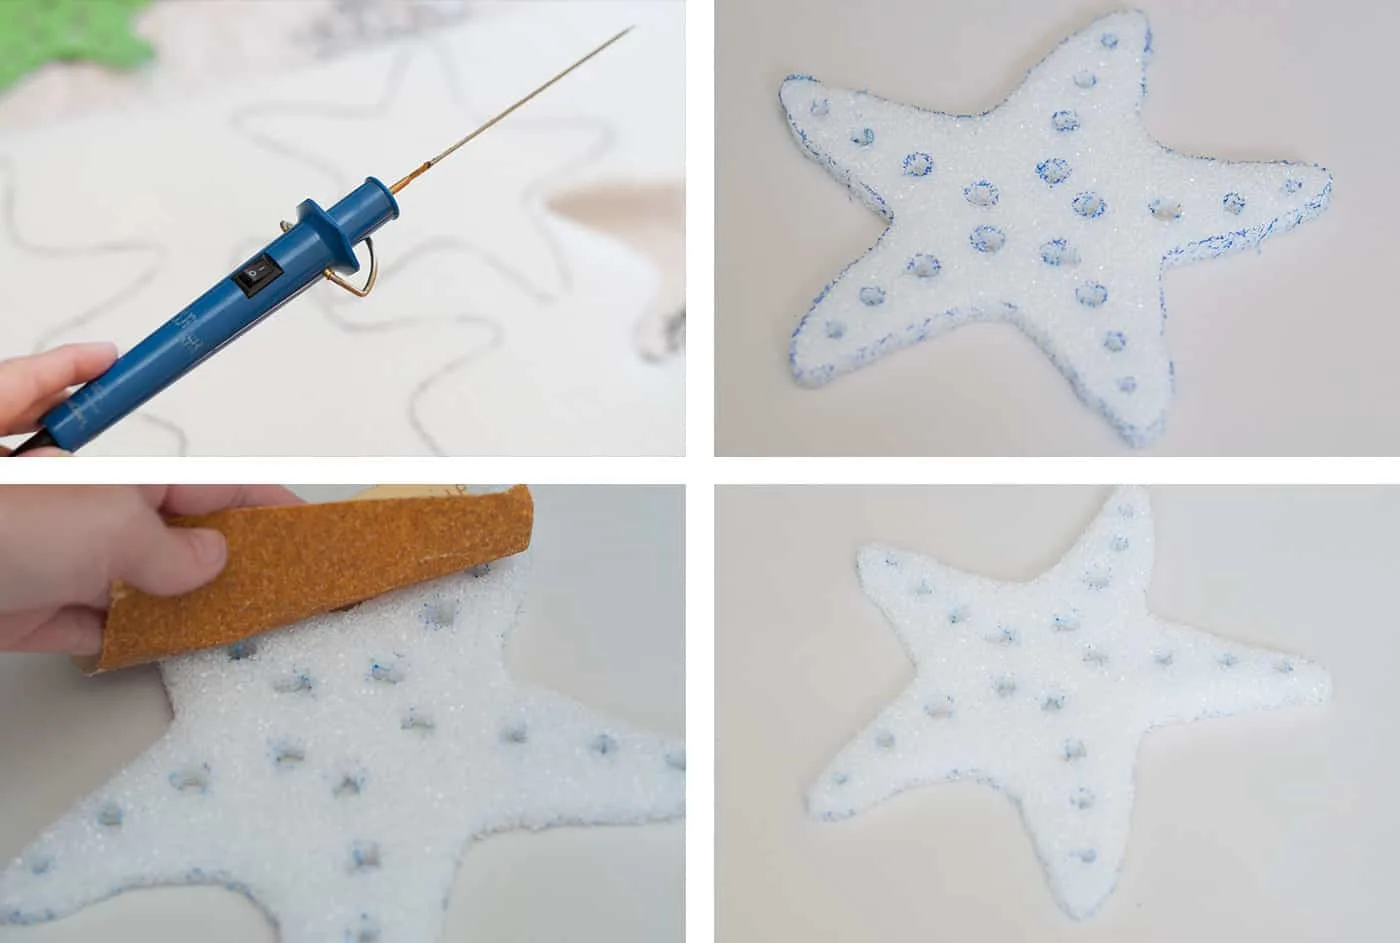
Step 1 – Trace Starfish Silhouette
I started off by cutting out my starfish template with my Silhouette Cameo. Then I used a large foam sheet and traced out all my starfish with a black marker.
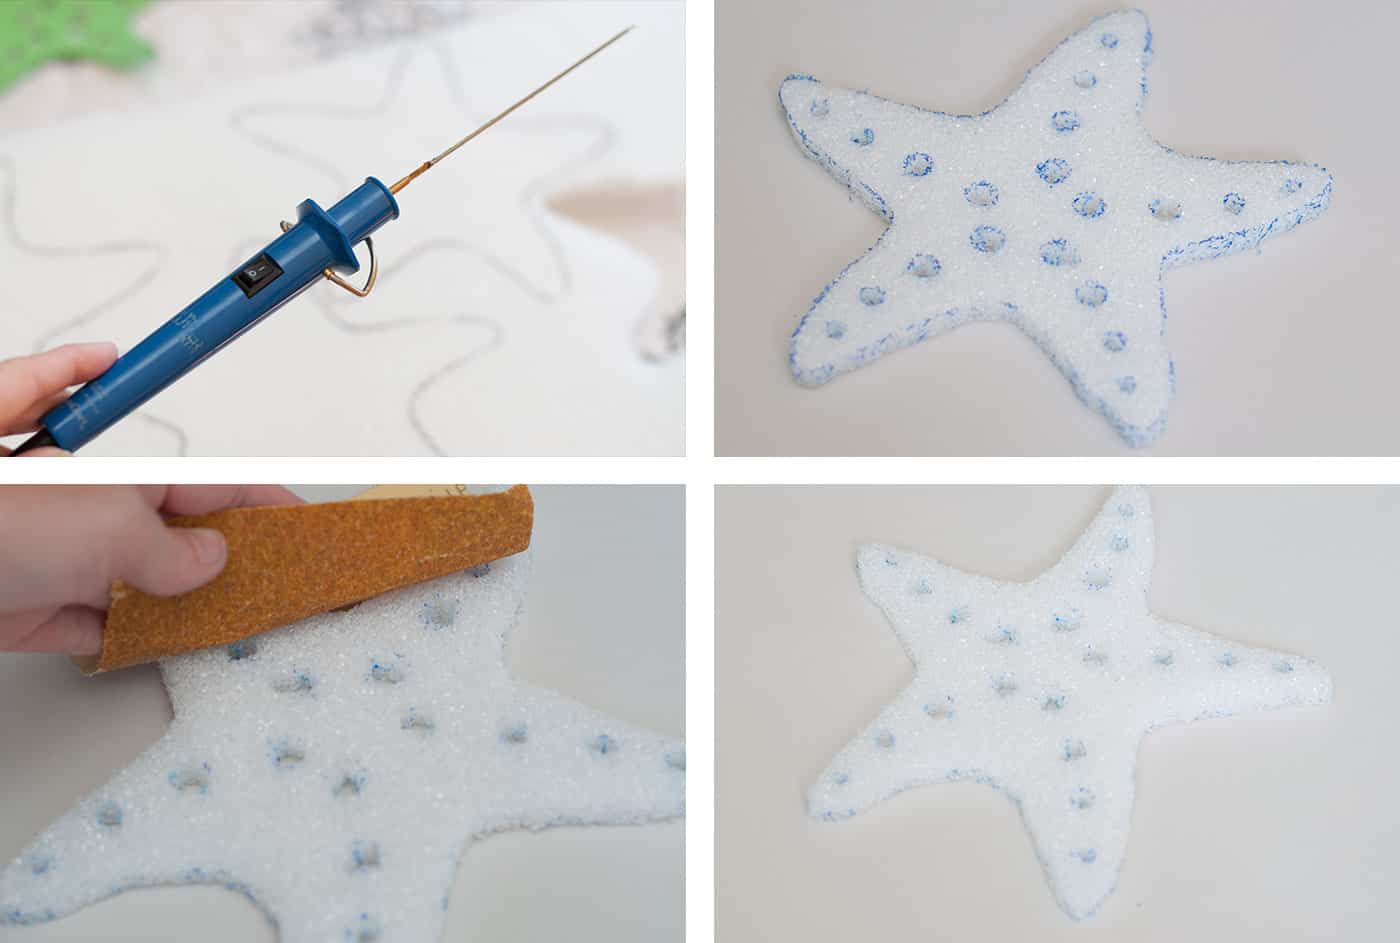
Step 2 – Cut Out Starfish
Next I used a foam cutter and cut out all 12 of my starfish! It was super easy. Then I grabbed some light sandpaper and rounded the edges. How cool is this starfish?!?!
If you don’t want to purchase a foam cutter, go ahead and use a craft knife to cut out your starfish. You not be able to achieve the little detail holes (or make as many), but you’ll still get your general starfish shape. Foam is just a little harder to cut with a craft knife.
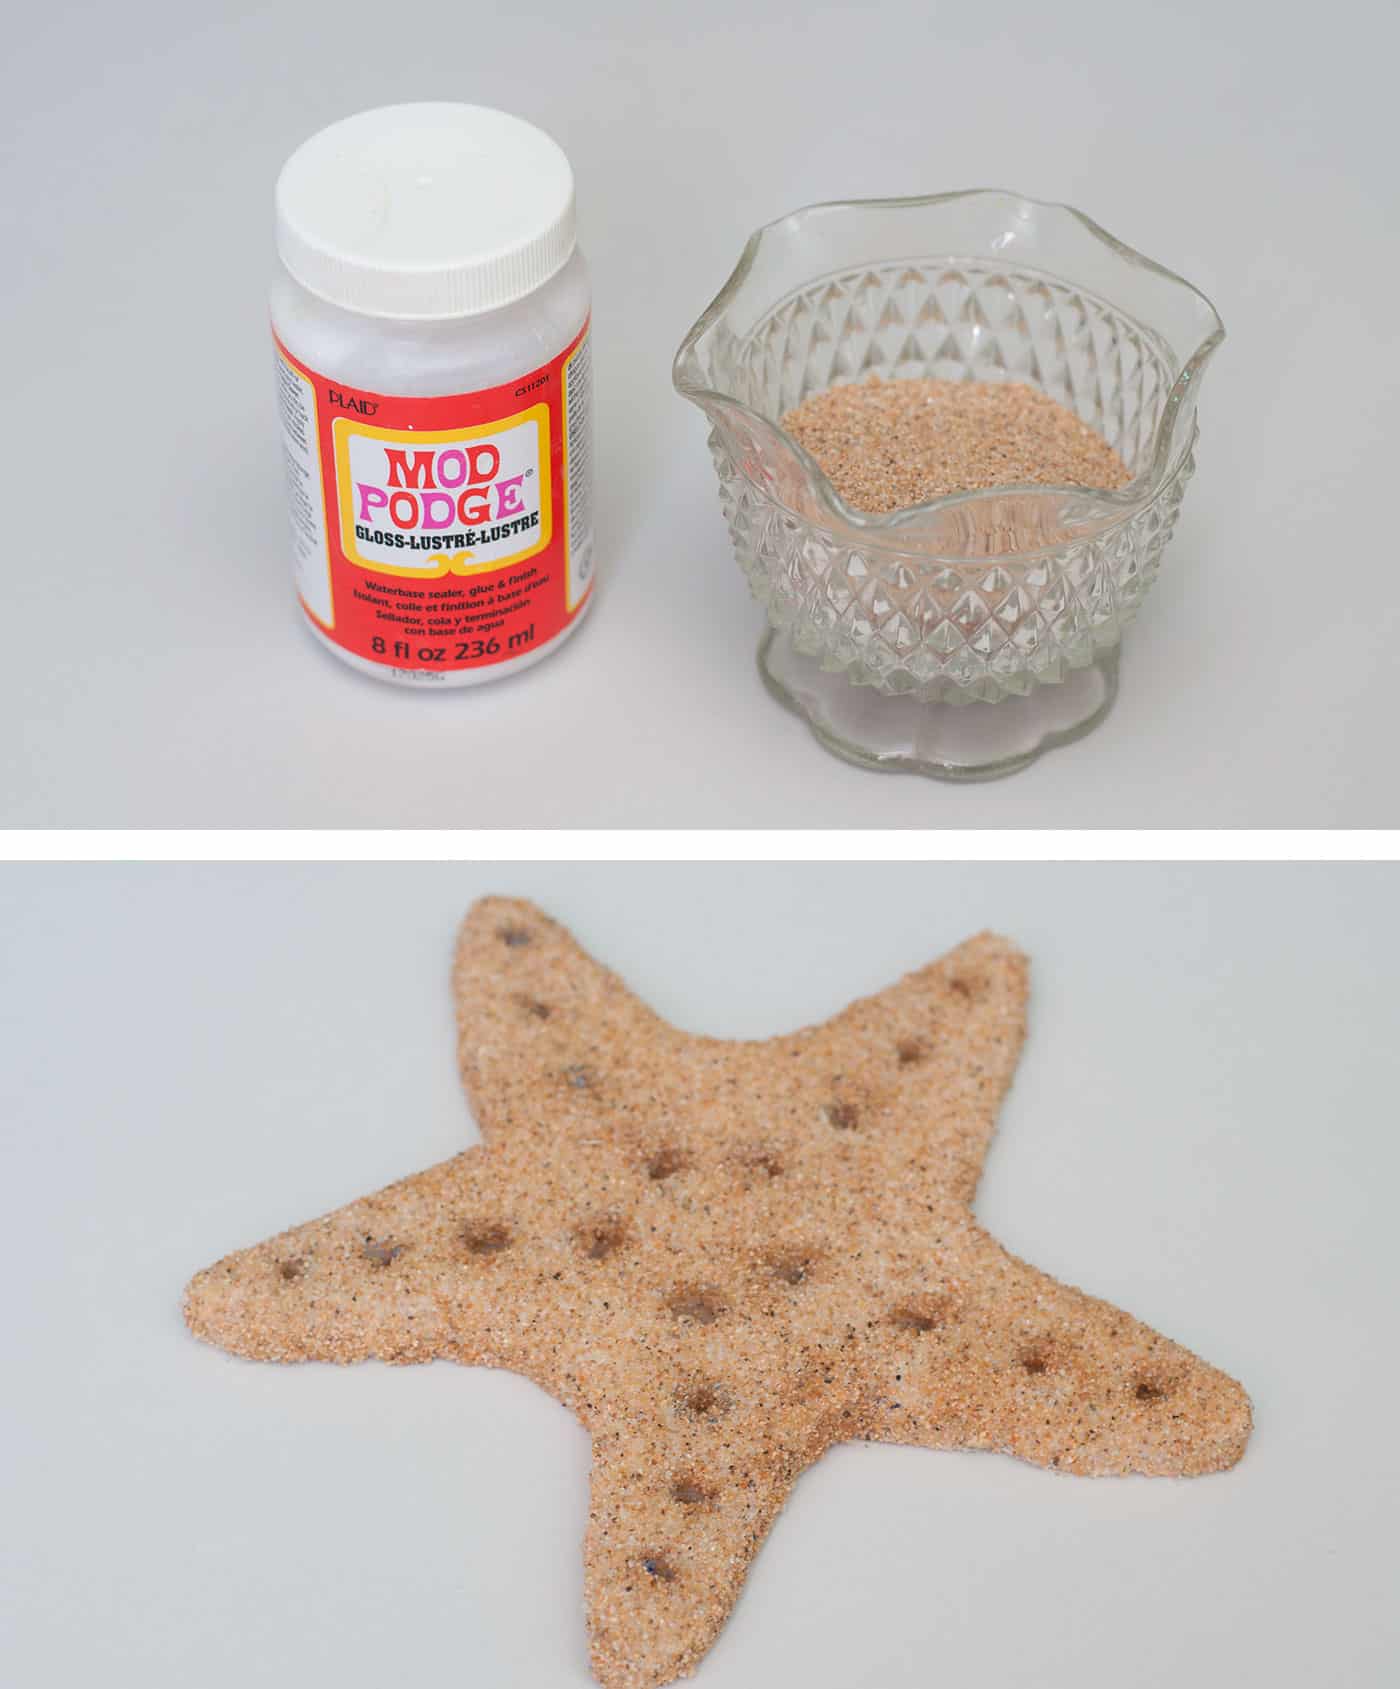
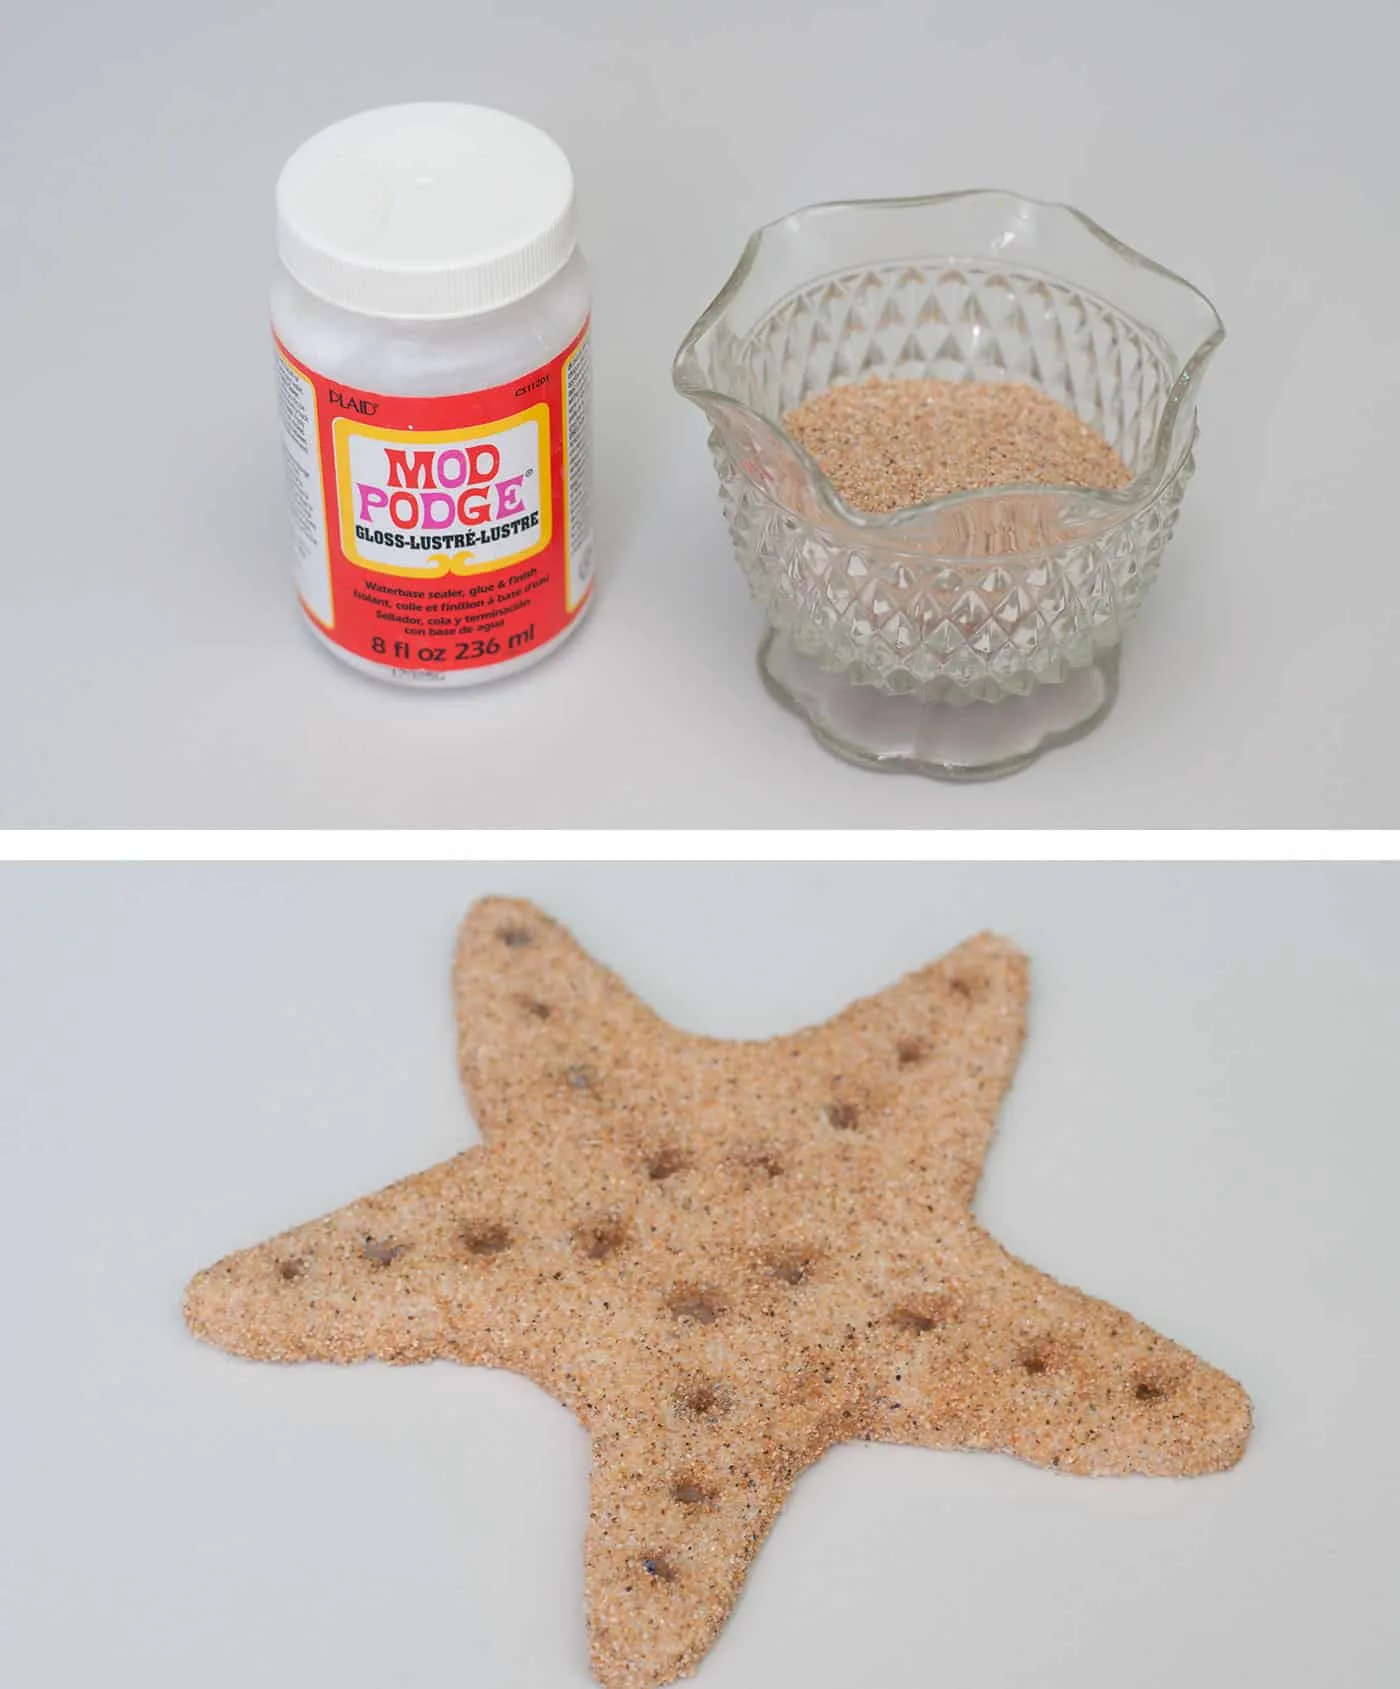
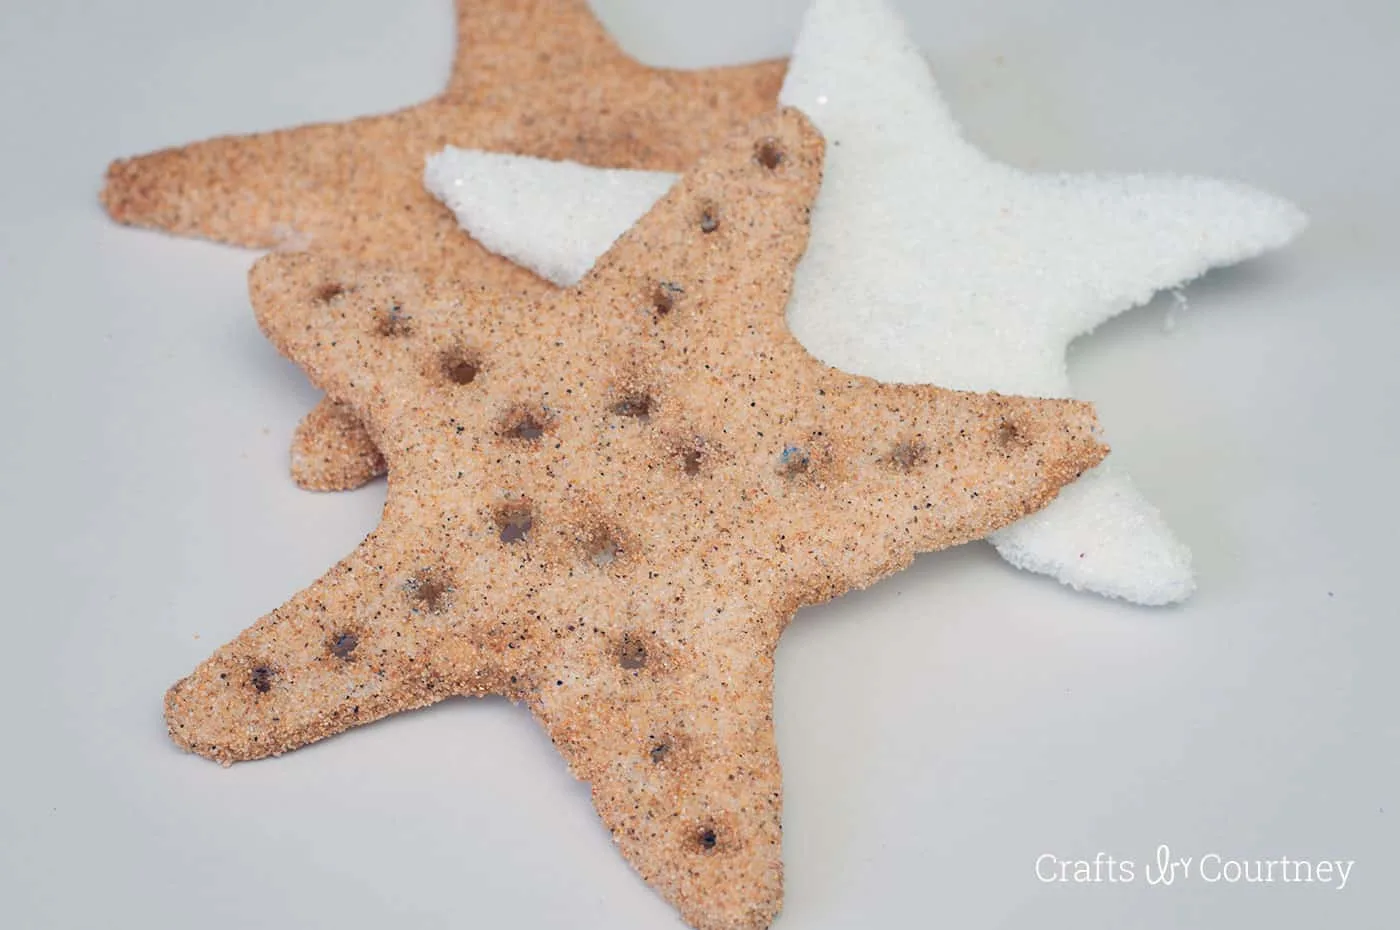
Step 3 – Add Your Sand
So of course I had to make it look more like a “real” starfish! What better materials to use then Mod Podge and sand for this project.
I painted on my Mod Podge in spots then sprinkled my sand over top. If you decide to make the holes then use a thinner paintbrush, it makes it a little easier to get your Mod Podge inside. Let dry 25 minutes.
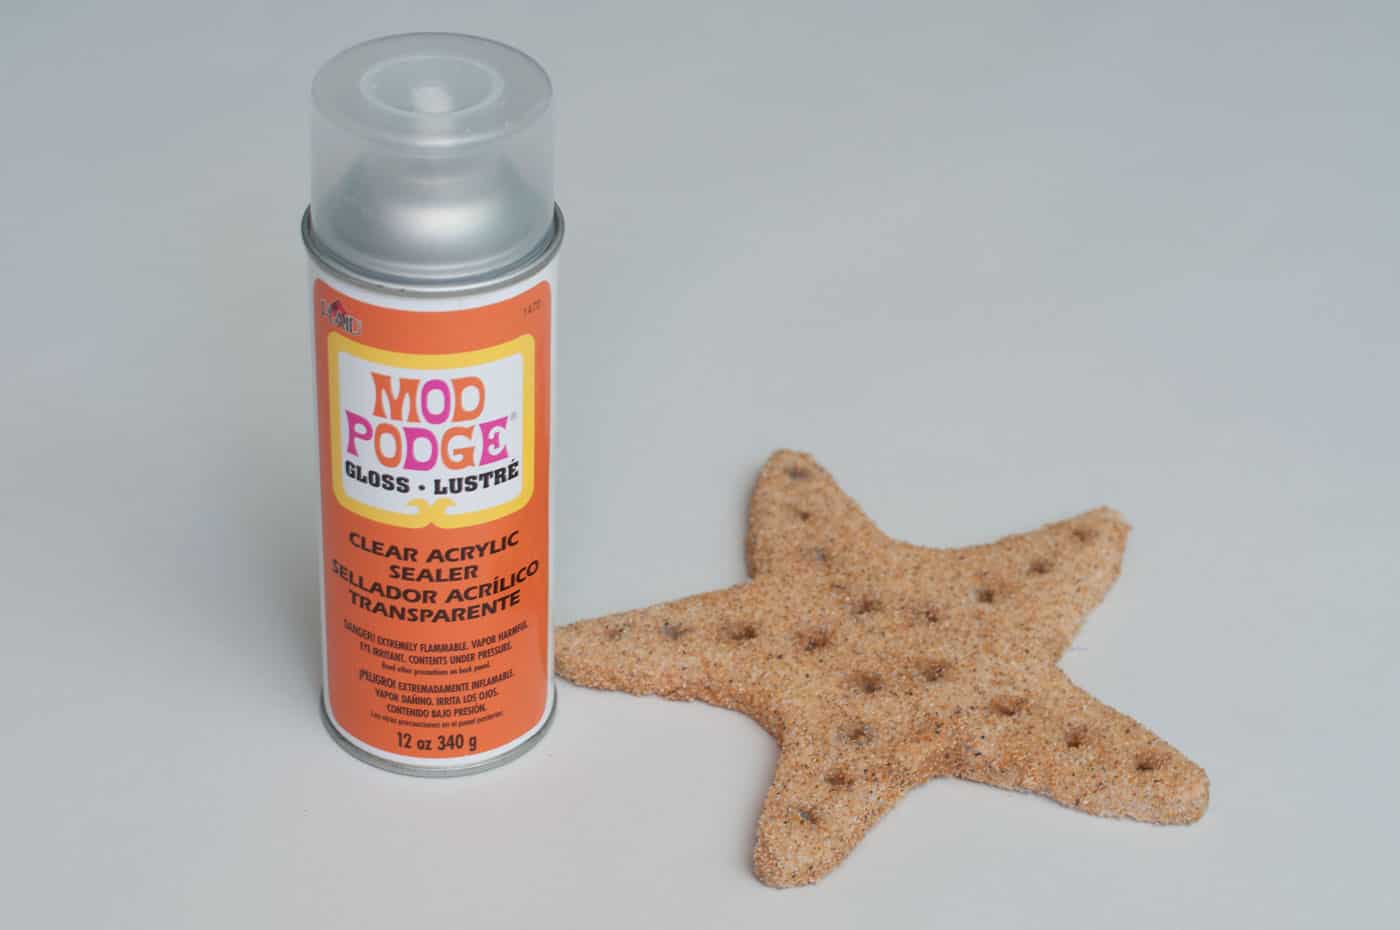
Step 4 – Seal Your Starfish
Now let’s seal that starfish so the sand won’t fall all over the place!! I just lightly went over the starfish with the sealer. Once it dried that sand wasn’t going anywhere. My kids made sure to test that out!
Finishing Touches
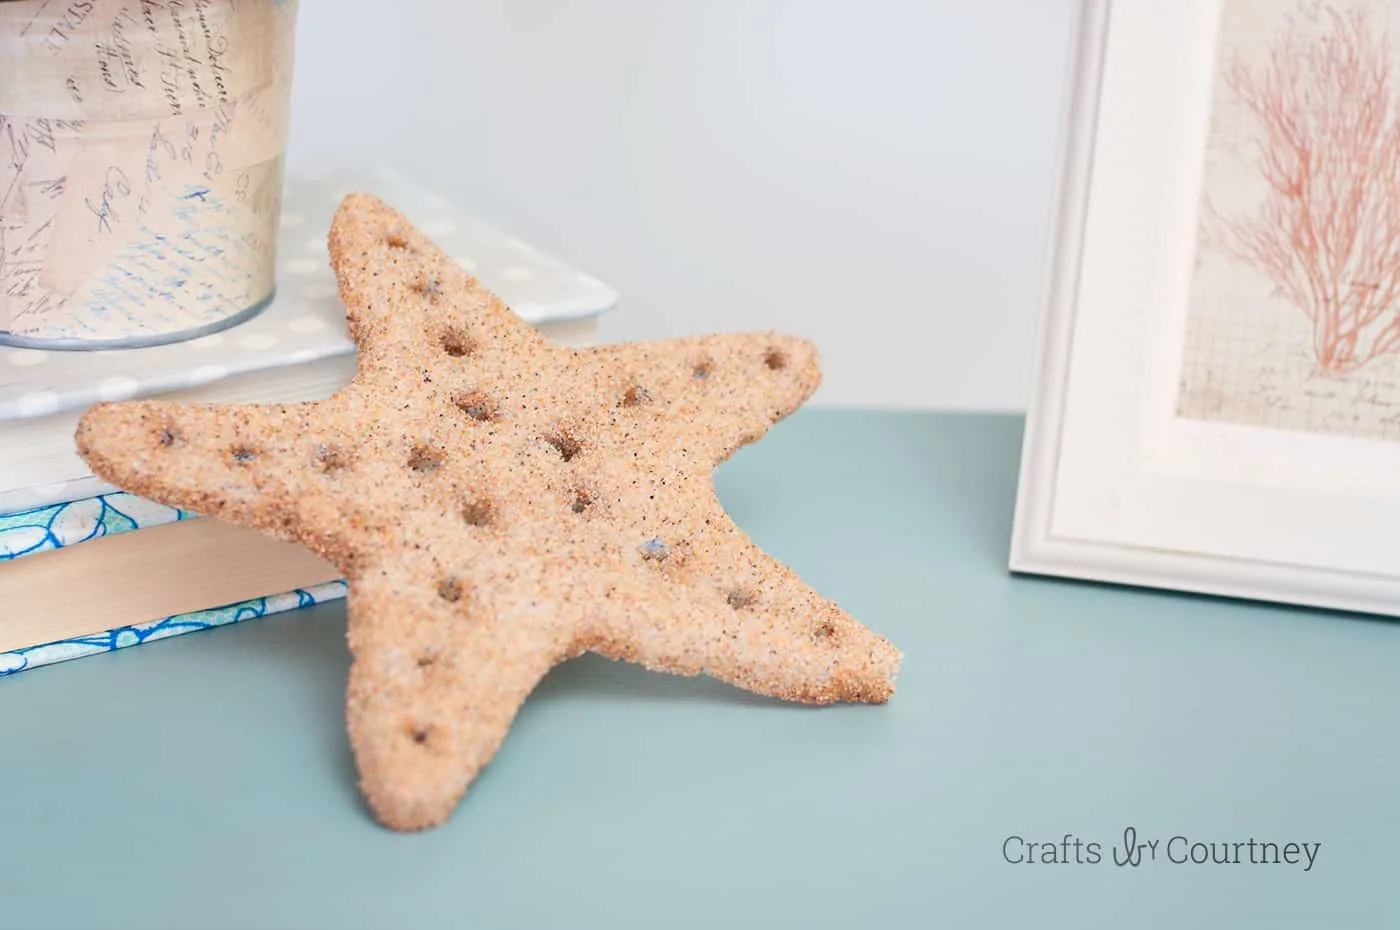
I made several while testing out various effects. I used a lighter sand on one and thought that turned out pretty cool too. But the darker sand was my favorite.

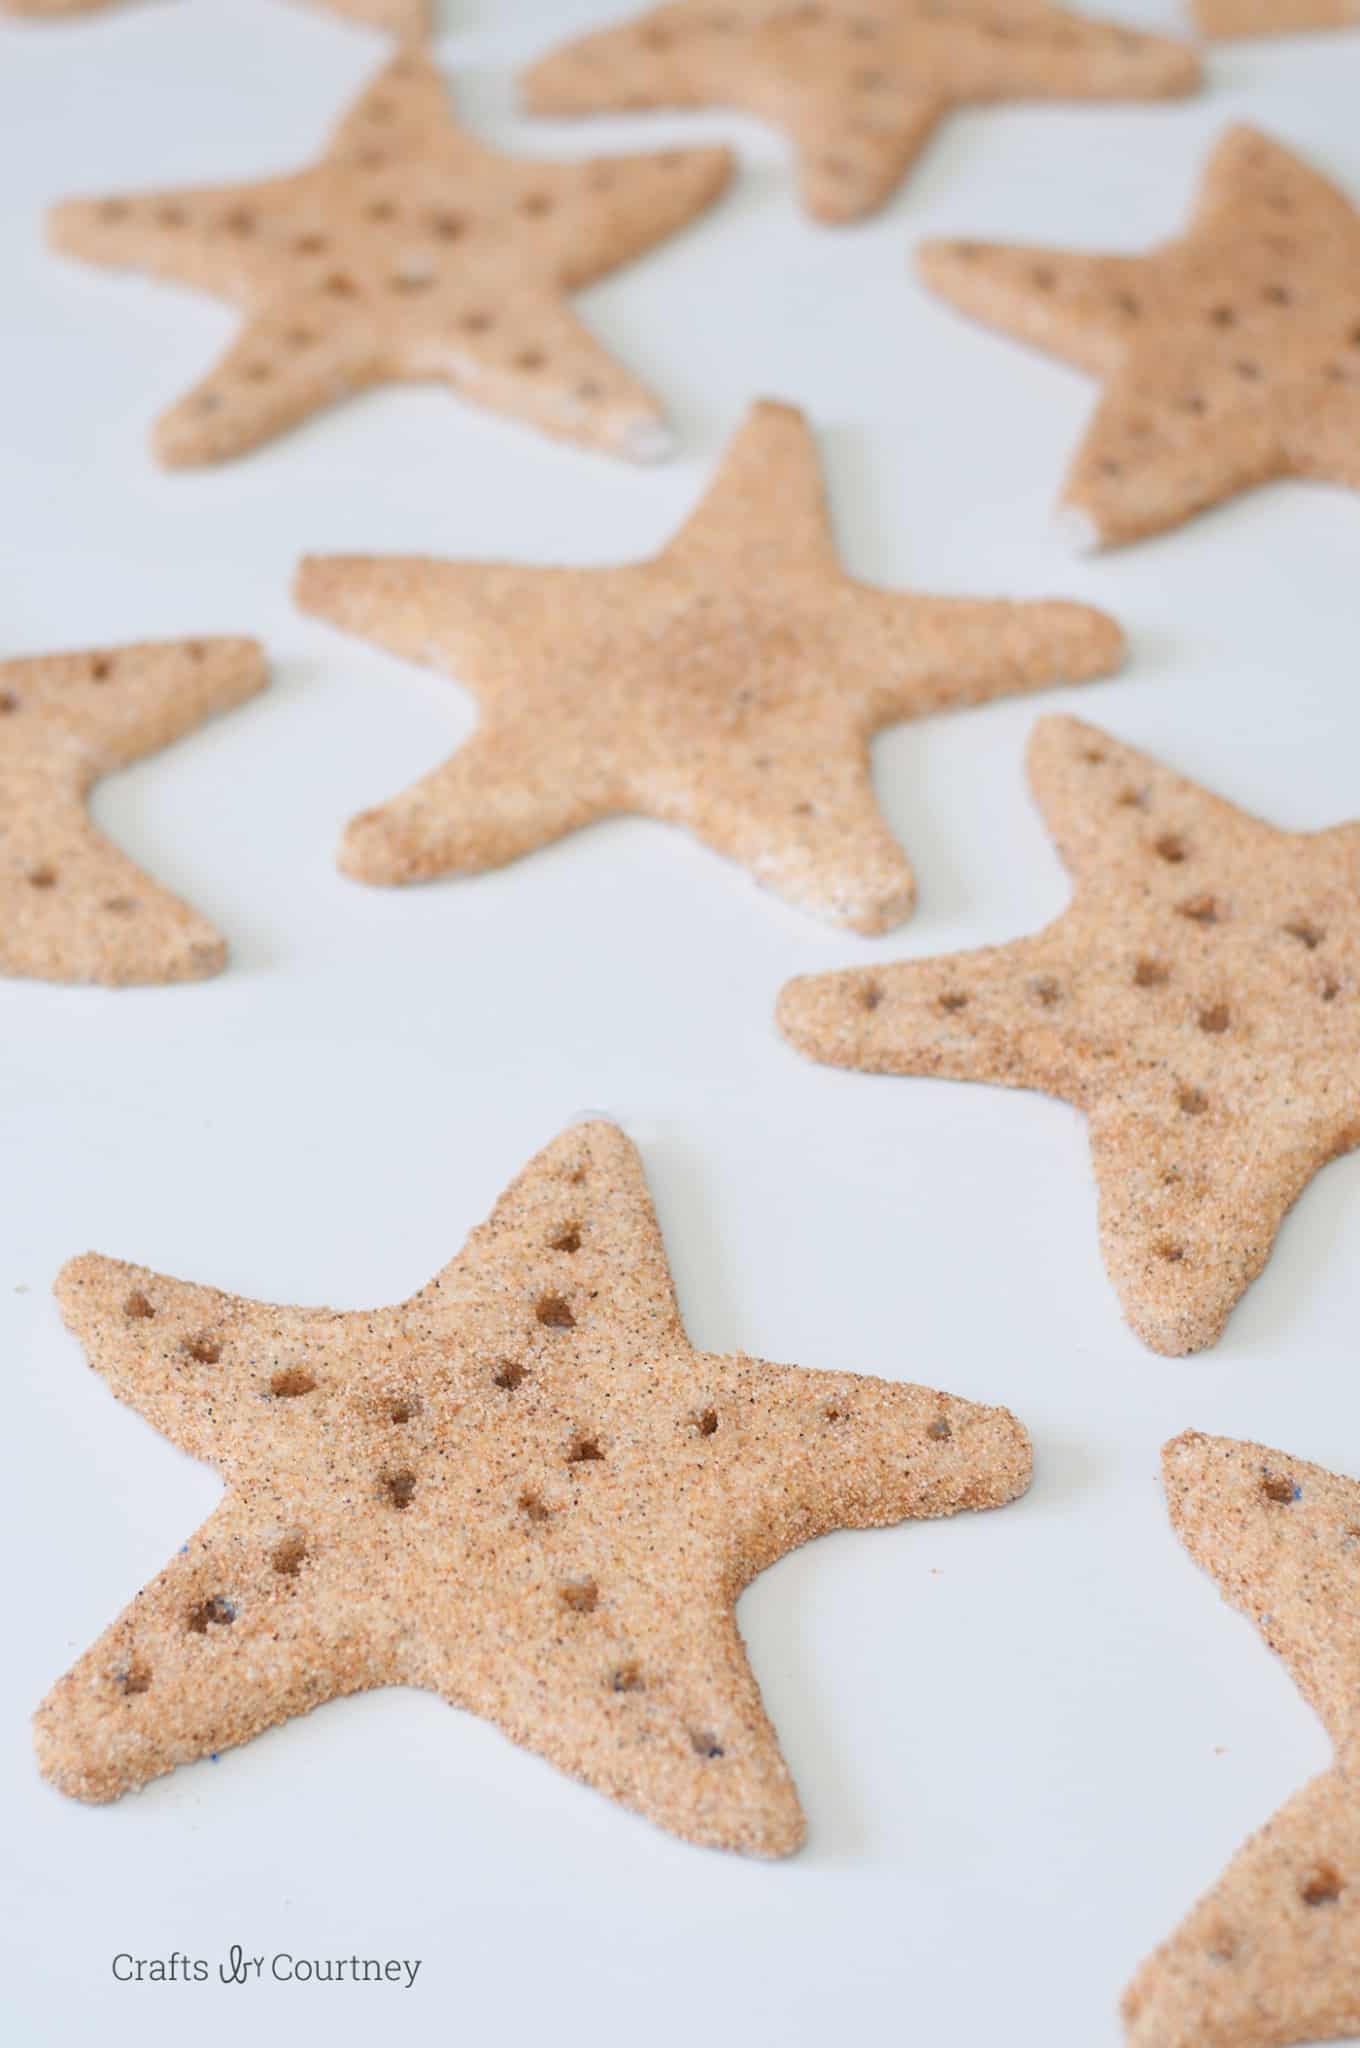
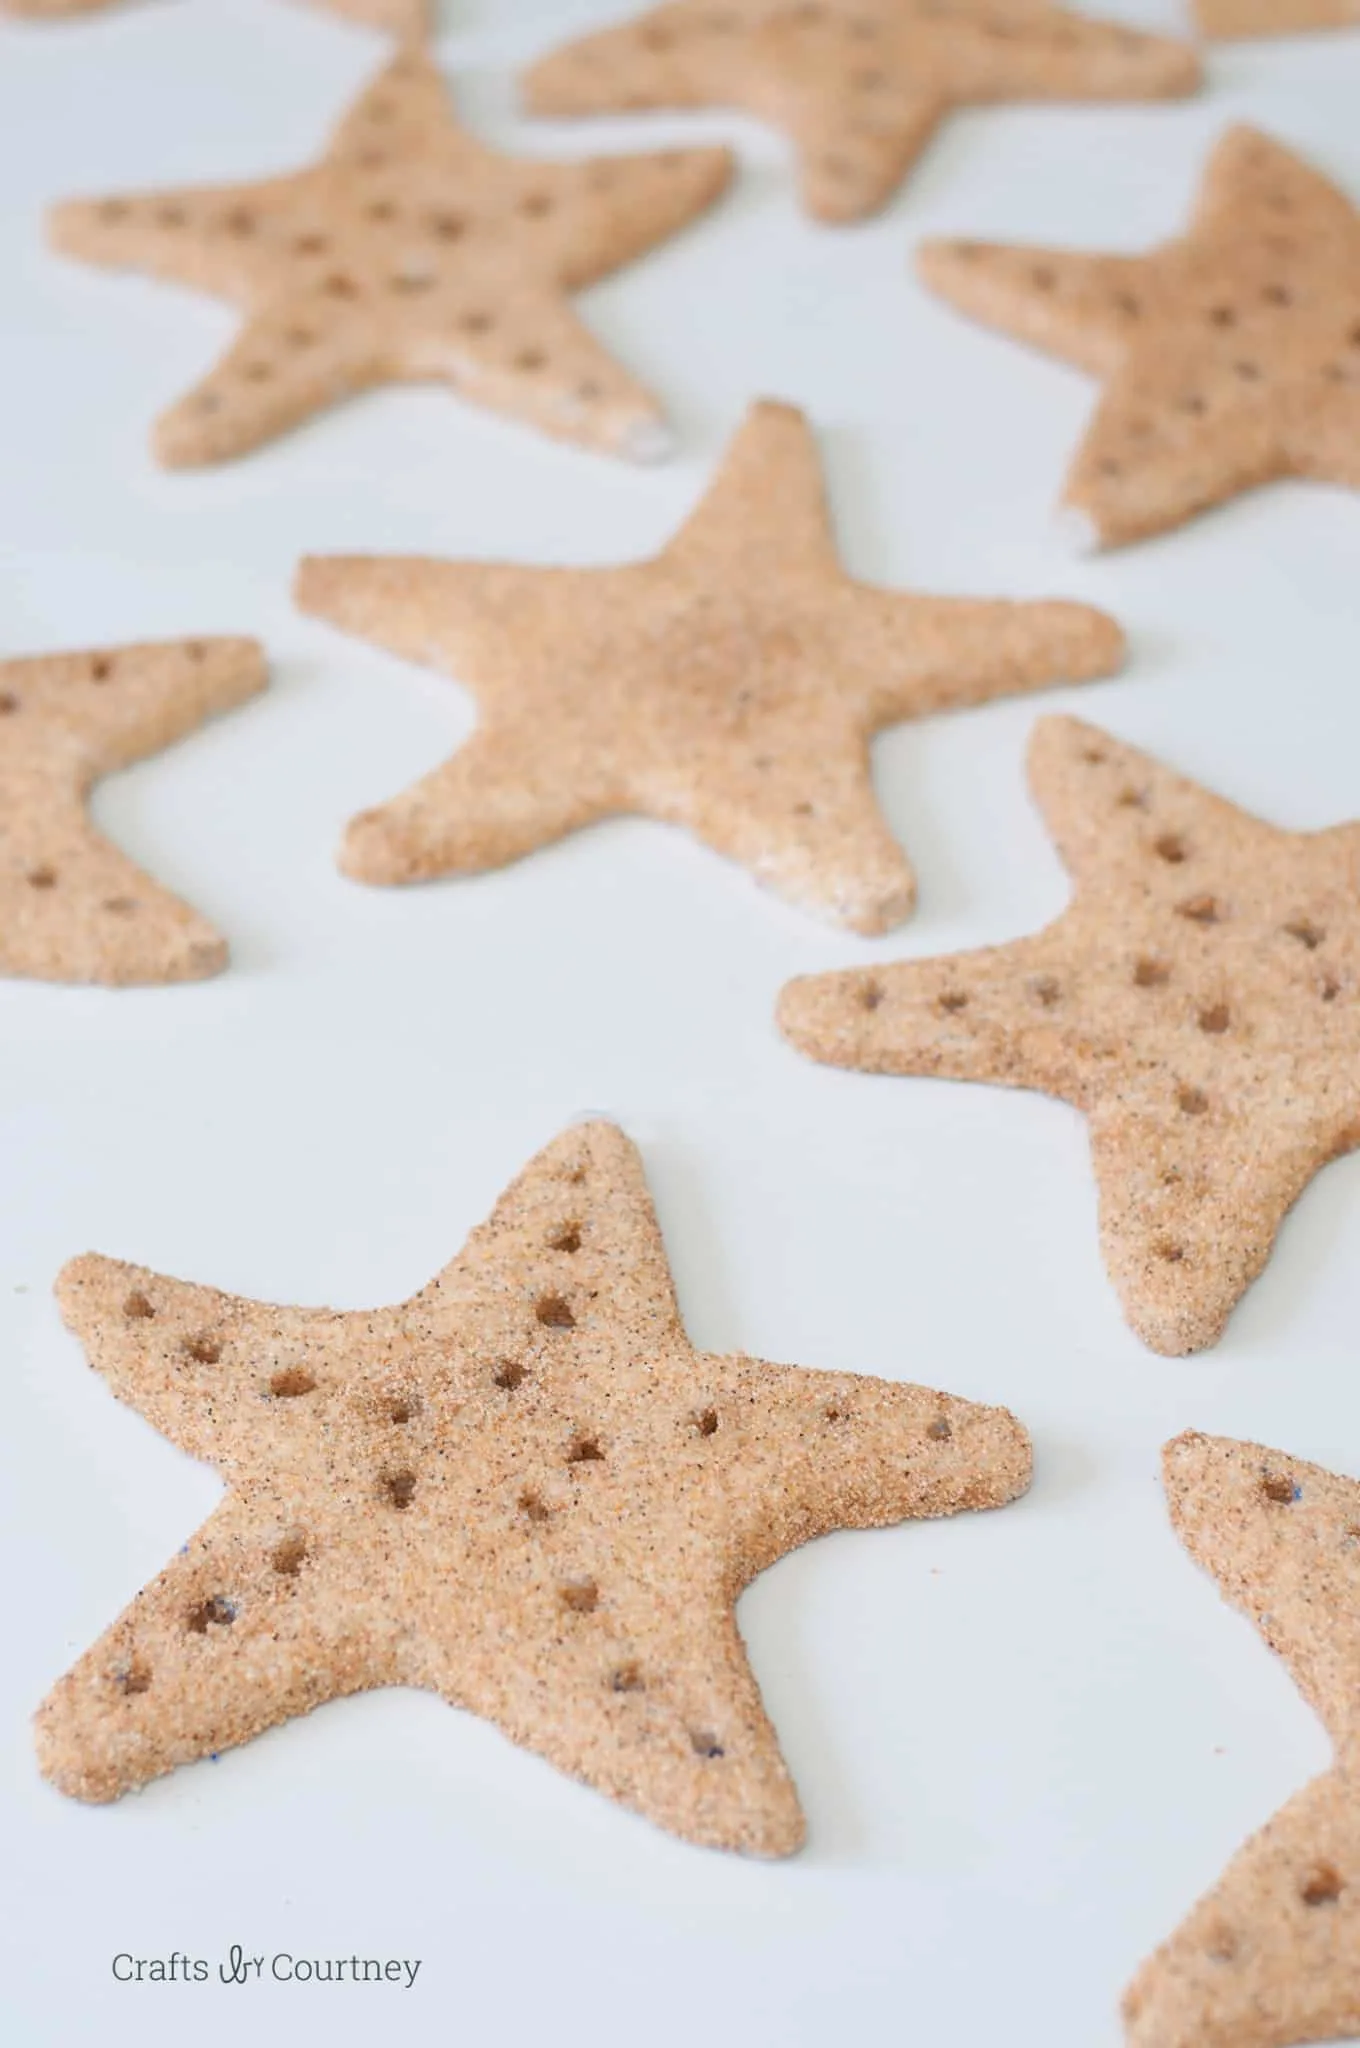
As you can see, this starfish craft is pretty easy to do once you round up all your materials.
I love the look of individual starfish placed together for a summer display. But I also think a really large one would be a stunning centerpiece sitting on a mantel.

Now that winter is over, I’m so ready to get started on more beach-y crafts for the house! If you enjoyed this coastal-themed craft, I’d love for you to check out these other ideas:
Sharon
Thursday 26th of May 2016
These are really fun! Sharing!
Mary Ann Rarick
Wednesday 13th of April 2016
Is there a template to print for the starfish???
Courtney Sanchez
Monday 18th of April 2016
Hello Mary Ann, I have a Silhouette cutting machine and I used that for my template. I found a starfish and I cut it off on heaving cardstock. Do you have a Silhouette or Cricket cutting machIne?