
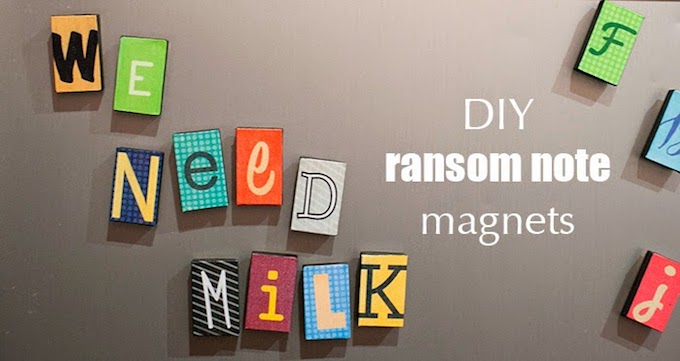
Make your own DIY letter magnets the easy way – with a fun font too! So simple, kids can do it. Free printable with multiple letters included.
Skills Required: None. Be sure to use laserjet or spray both sides of the inkjet printouts so your magnets don’t bleed. Otherwise you’ll be cutting and Mod Podging small pieces of paper to the top of wood rectangles (there’s some painting too).
As a kid I always loved those plastic alphabet letters! We had them all over our fridge. I think that, combined with my love for all things type, is what made me want to make this decoupage project.
These DIY fridge magnets are so easy . . . and the ransom note font makes them fun, too (I offer a free printable below for that part!). Here’s how you make them.
You will need:
- Wood – 1/2″ x 2″ x 3′ (3)
- Saw
- Miter box (optional)
- Clamp
- Gloss Mod Podge
- Scissors
- Sponge brush
- Adhesive magnet sheet
- Letter sheets (download here)
- Pencil
- Sandpaper
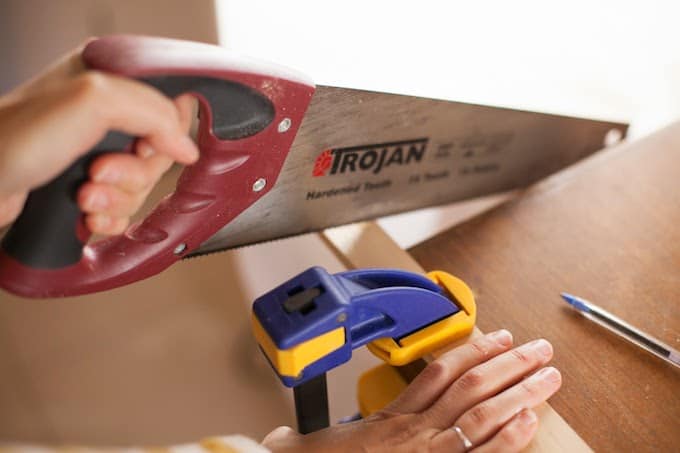
Mark the wood to the length you want the blocks to be and cut them to size. For this project, we purchased three 1/2″ x 2″ x 3″ boards (and had scrap wood left over).
You should easily be able to get 64 magnets out of this if you cut the wood approximately every 1.25 – 1.3 inches.
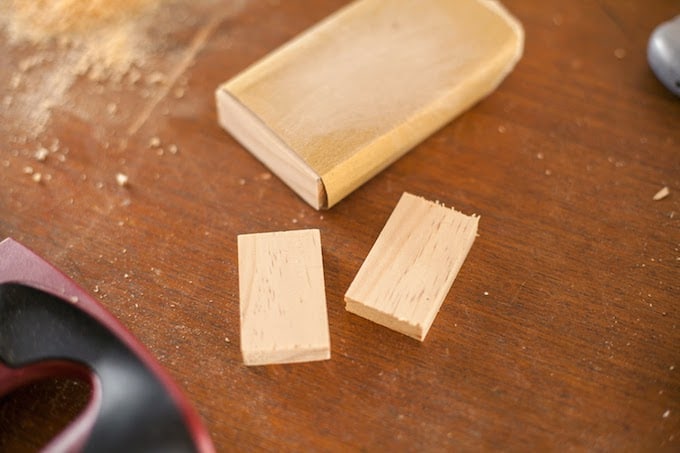
Sand off any rough edges.
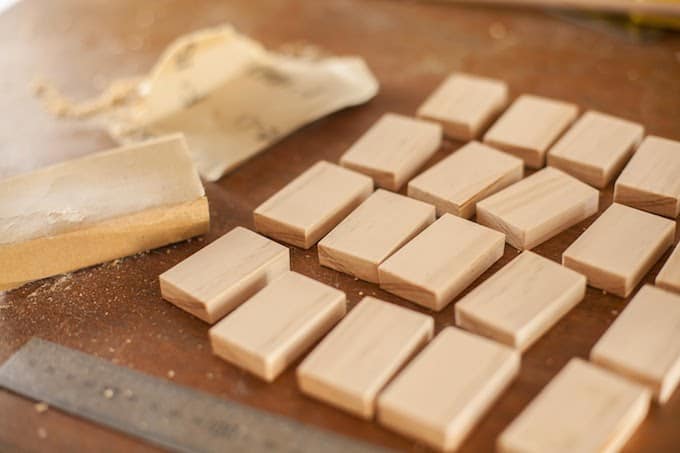
Make as many DIY letter magnets as you like! The quantity depends on how long you want the phrases to be.
You will probably want at least one of each letter, if not a few extra vowels. If you make every letter on the sheet, which I recommend, there will be a total of 64.
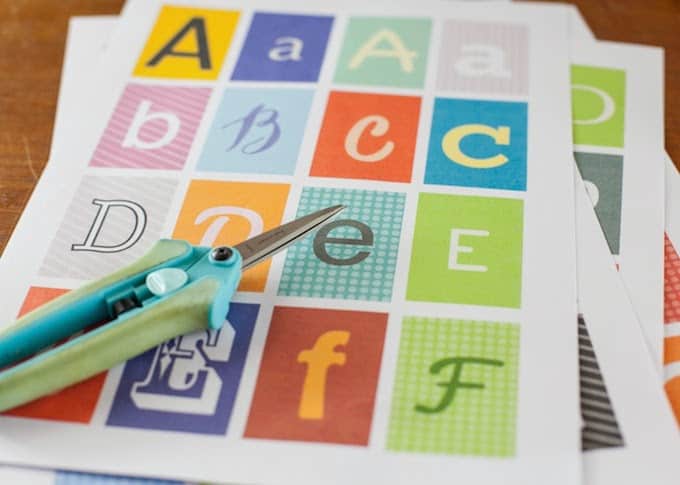
Download and print off the letters. OR even better, draw your own on some paper and use them!

Cut out the letters and pull out your Mod Podge!
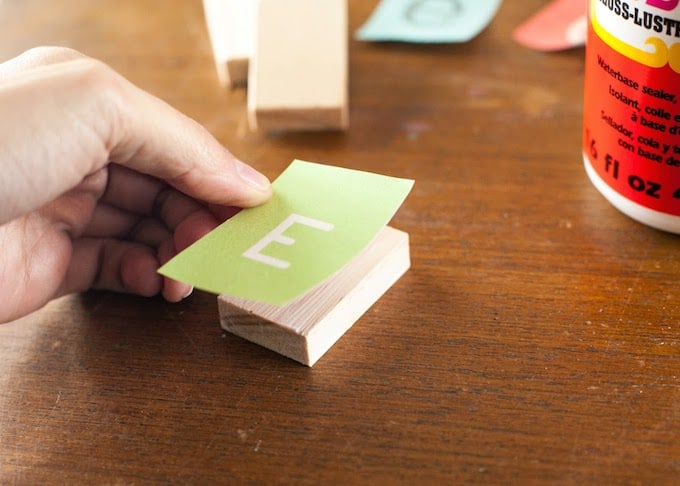
Apply a generous coat of Mod Podge and stick the letter onto the front of the block. Cover the edges too and wrap the excess over. Let dry for 15 – 20 minutes and then give them another coat.
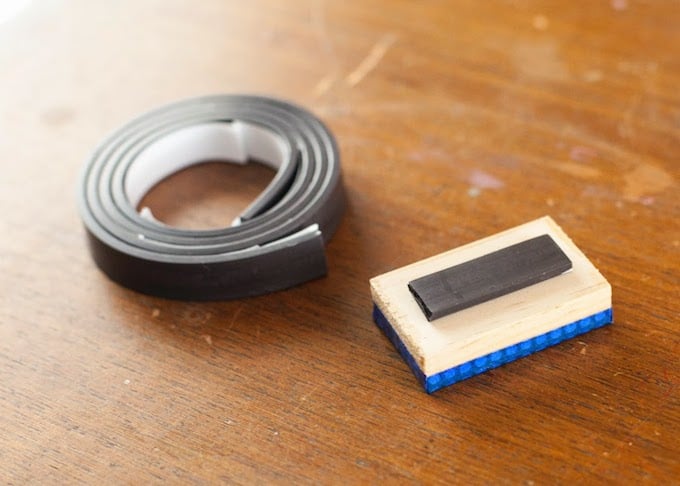
Cut pieces of adhesive magnet and stick it to the back of your letter magnets.
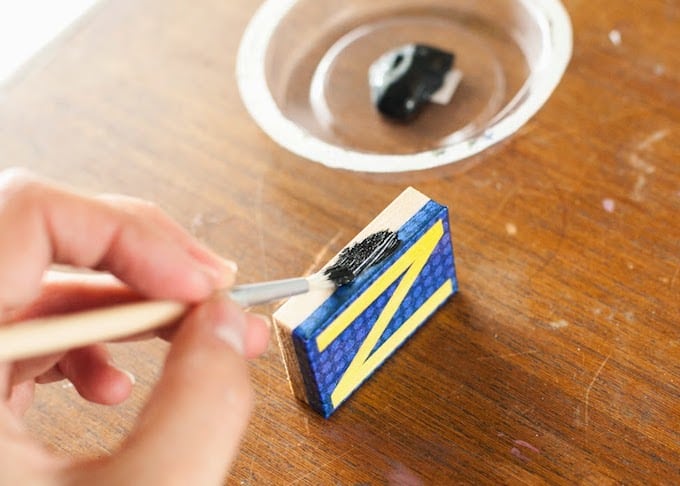
To give your blocks a nice clean finish, paint the sides black or white. Let dry before using.
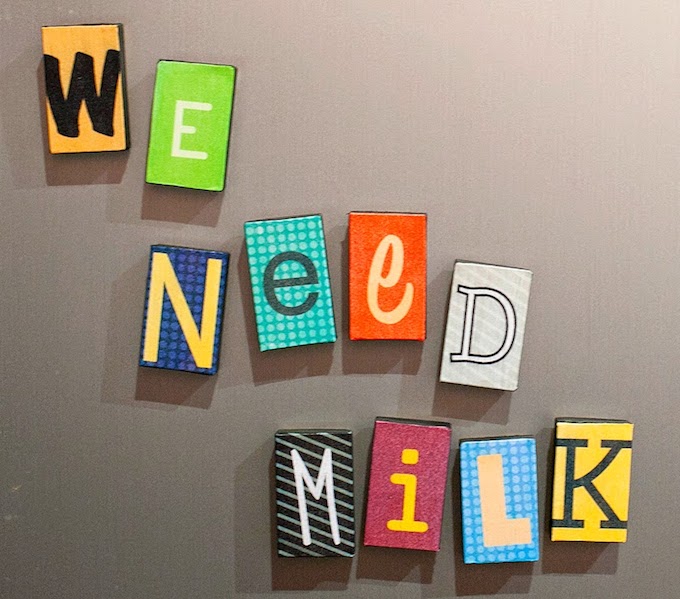
TA -DA! Have you seen a cooler way to communicate than using letter magnets on your fridge? I think not. 😉

Letter Magnets
Equipment
- Saw
- Miter box (optional)
- Clamp(s)
Materials
- Wood – 1/2″ x 2″ x 3′ 3
- Mod Podge Gloss
- Adhesive magnet
- Letter sheets
- Sandpaper
Instructions
- Mark the wood in approximately 1.25" lengths with a pencil. Cut until you have 64 pieces.
- Sand off any rough edges using the sandpaper.
- Download and print off the letters on laserjet (see Notes).
- Cut out the letters with the scissors.
- Apply a generous coat of Mod Podge and stick the letter onto the front of each wood block. Cover the edges and wrap the excess over. Let dry for 15 – 20 minutes and then give them another coat.
- Cut a piece of adhesive magnet and stick it to the back of the block.
- Paint the sides with acrylic paint. Let dry completely before using.
Notes
If you enjoyed these DIY letter magnets, I’d love for you to check out these related posts:


Oh-em-gee!! Totally making these this weekend with the kids!! Brilliant just brilliant! ! Thank you!!
So clever! I love the printable letters, too. Thanks for the wonderful ideas. b.west
I make these using dominos and real newspaper letters and words. Peeps love them.
These are SO clever and unique, I love them!