Get the ultimate list of tips for craft room organization! This guide will help you get your craft supplies sorted out once and for all.

January is National Organization Month, and one thing that I struggle with constantly is craft room organization. I’ve decided that one of the reasons organization is an issue (at least for me) is the sheer volume of items I need to store: tons of paint bottles, Mod Podge, scrapbook paper, buttons, yarn, embellishments, scissors, glue gun, Duck Tape, punches . . . the list goes on and on.
In a craft room it’s very easy to acquire things and then not get rid of them. I’m sure many of you know exactly what I’m saying, (right)?
I got smart and had a friend who is good with organization come over and help me with my craft storage problem. Her name is Maya and she is a organizer extraordinaire! Maya gave me some great tips for craft room organizing and I’m excited to pass them along to you.
Craft Room Organizing Tips
If you’re in need of some serious craft room organization, I’d begin with this list below. These essential tips will help mentally prepare you to get your craft supplies sorted. Keep reading.

Focus on Function
From my friend Maya: “I think a lot of people try to organize stuff, but it’s really the space that you want to have organized.” You want the space to work for you and to be functional.
Start by thinking of how the room you are in can accomplish that. This means looking at the walls and figuring out where you can put shelving and organizers.
Inventory Everything
Look at everything you have – even if that means spreading it out on the floor! You are probably going to create a bigger mess before it gets better, but that’s okay – you need to see what you have. So you’ll have to dig into those drawers and get all of the items out in front of you.
Get Rid of Excess
Also from Maya: “Be brutal. If it doesn’t help support that space’s function, it will only detract from it (which is bad).” Keep the stuff that supports the function of your space, and get rid of the rest!
My personal tip: if I haven’t used something in a year, it needs to go away. Do you have friends that craft? Do a craft exchange and see if they can get any use out of it!
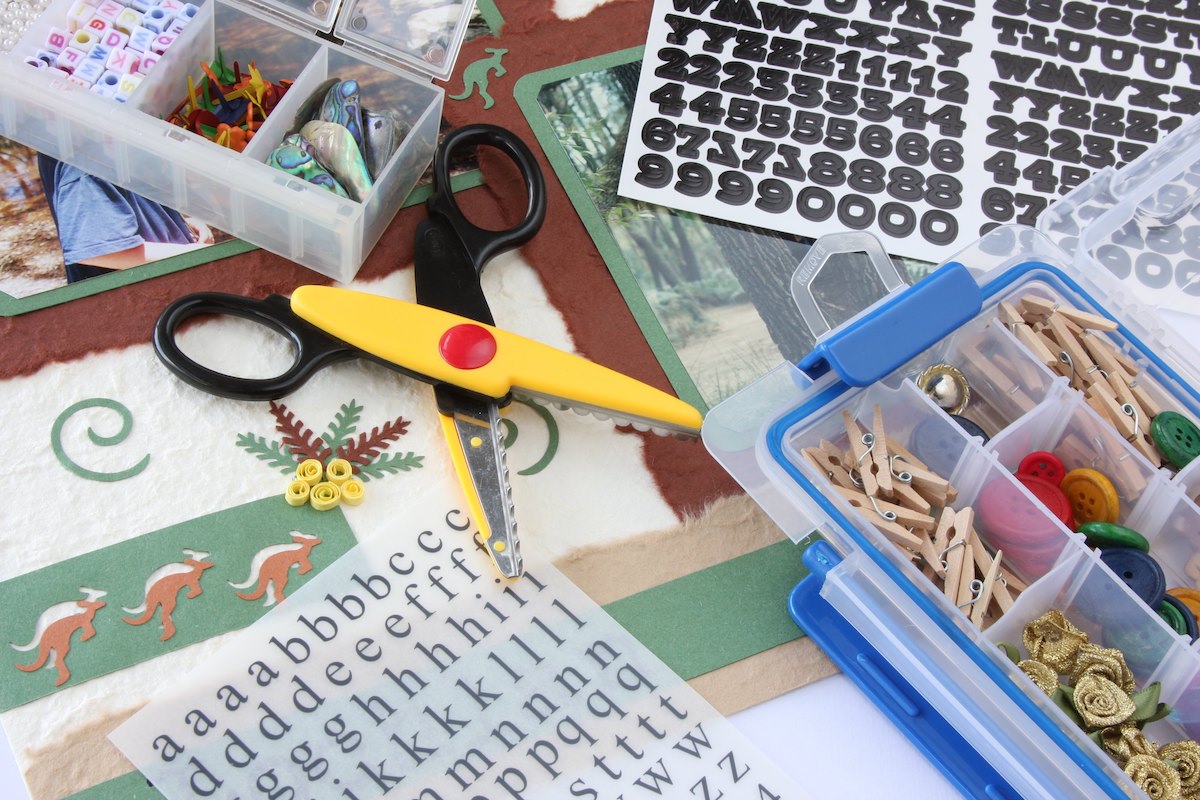
Organize By Hobby
As you look at your items, start to put them in piles that make sense according to hobby. Maybe scrapbooking is in one area; knitting in another; sewing in yet another. This will also help pare down your supplies when you realize you have duplicates!
Invest in Organizers
You’re going to need some craft organizers, that’s for sure! After a visual scan of your items, start purchasing organizers by hobby. Keep the receipts! I decided to buy an excess of organizers so that I would have enough, and it’s easy to return them when done.
This step takes a little bit of experimenting with different types and sizes that you like, but you’ll get the hang of it. My initial purchases consisted of metal shelving, shoebox sized organizers (clear), and drawer sets (clear). I wrote a post on how to store craft supplies that you’ll want to check out too.

Dive in With a Method
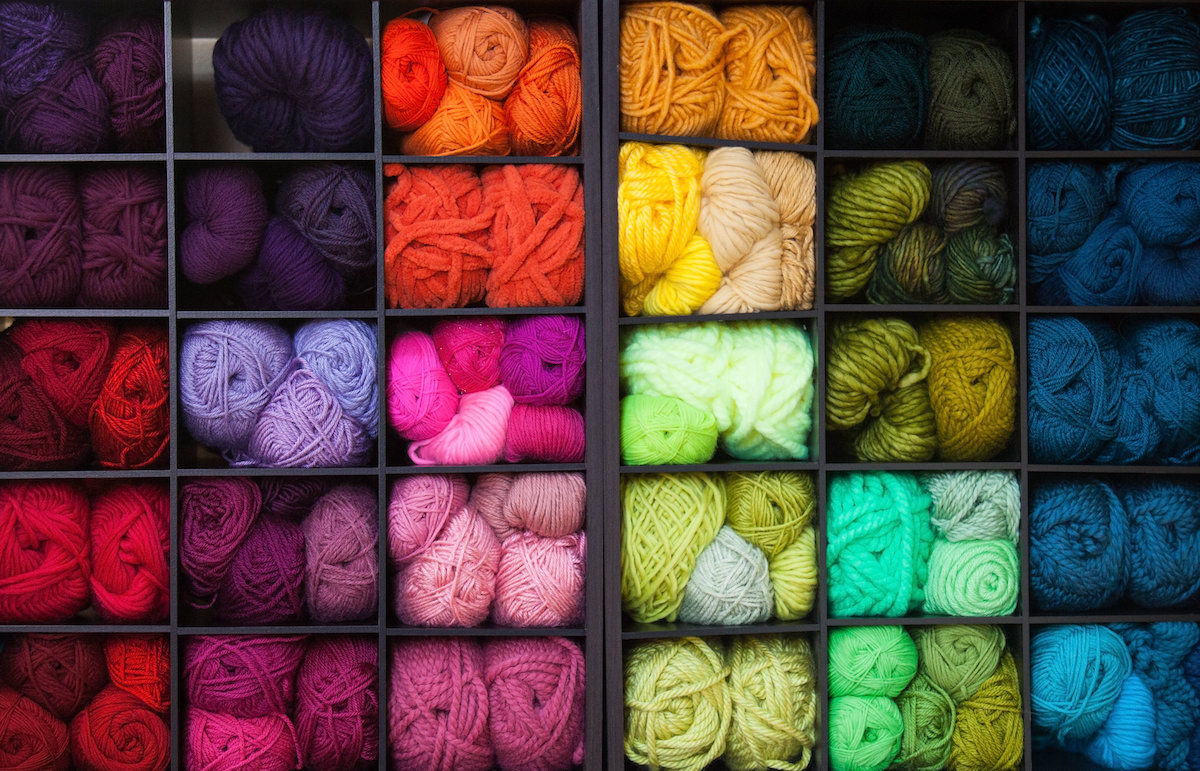
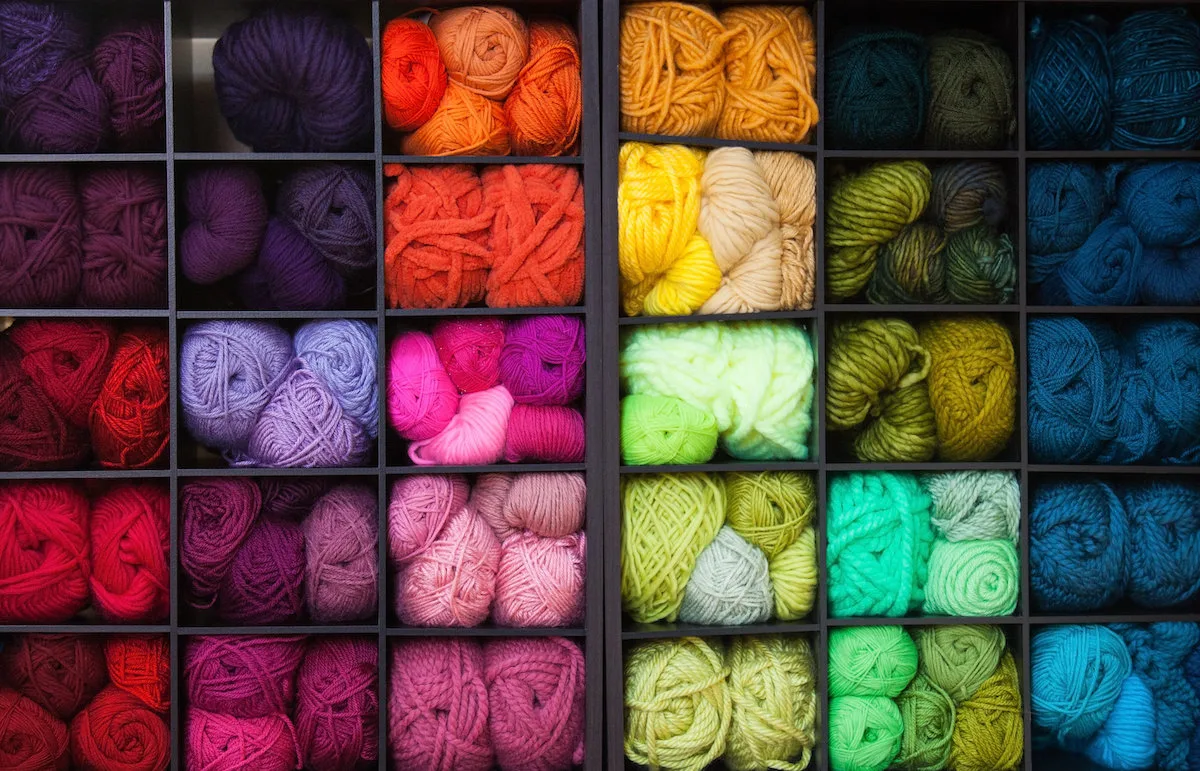
Within each hobby, I chose organizing by the colors of the rainbow as my method. That means all red ribbon is together, then orange, yellow, etc.
I did the same with fabric, yarn, scrapbook paper, glitter, and everything else. Once you know how you want to organize, start placing it in the bins with that method!
Keep Most Important Items at Eye Level
If you have items you commonly access, and we all do (scissors, paintbrushes, etc) then keep those at your eye level. You shouldn’t have to bend over or climb a ladder to reach something you are using every day.
Use Your Vertical Space
Your most important items are at eye level – now work around that. Keep your secondary items down low so that you can simply bend down to get them. Lesser used items should go up high, perhaps even where you need a step stool to access them. You have a lot of vertical space in a room – use it!

Provide Yourself Some Mobile Storage
One thing that was ESSENTIAL in organizing my new space was mobile storage carts. Some things need to be out of the drawer and on wheels – for me it’s paint and Mod Podge. Storage carts can provide easy access to commonly used items.
Don’t Tackle it All at Once
Don’t expect to have your entire craft room organized and ready to roll in one sitting. It can be overwhelming and frustrating to tackle it at once – give yourself a few days or even weeks (a few hours a day) to bring it all together. Be easy on yourself!
What are your favorite tips for craft room organizing? I’d love to know in the comments!
Sandra Thomas
Friday 24th of February 2023
Love your tips. Thank you for sharing. ❤️🙏
Amy
Tuesday 28th of February 2023
Thank you for the kind words!
MB
Tuesday 1st of March 2022
Love the ideas. I have been "de-stashing" & organizing my stuff also. I use a hanging plastic purse holder that zips to hold lots of fabric, then stores in a closet. My punches are hung on the wall on towel bars. Extra or smaller punches are in clear hanging shoe holders and on the wall. My "tools" (heat gun, labeler...) are in a clear plastic hanging shoe holder on the side of a bookcase. Cricut vinyl is upright in magazine holders. A painted pegboard above my craft desk holds lots of stuff. Cricut mats are hung flat on the wall & I have cut lightweight sewing vinyl to place as protectors over them to replace the flimsy ones. Large clear plastic storage containers hold my other stuff in a converted closet. My greatest organizing I am proudest of, is using old CD cases (not slim ones,) tear the insides out, and cut magnetic vent covers to fit in case. Great for dies. Sorted into labeled plastic shoe containers. Never have to dig through a pile again. I do too many things-even when labeled I have to look for stuff! Drives me nuts!
Cara T
Friday 30th of July 2021
I have some old suitcases, the small makeup ones and use then to store all my adhesives in and the other one has paintbrushes. Also over the door shoe storage provides lots of options. I use a knife holder for my scissors.
Kelly Eigler
Thursday 29th of July 2021
I bought a wooden kids cubby organizer online that is made for kindergartner classrooms and stuck it on top of a bookshelf--what a difference to be able to see the stuff and yet have it attractively hoarded. I have both pressboard shelving and wood shelving and if you can swing it, buy the wood--fabric gets heavy, so do jars. I struggle between wanting to display stuff I've collected and keep it organized so I'm not overwhelmed. On top this cubby organizer I have maybe 16 plastic scrapbook organizing boxes stacked as high as I can reach for sewing and paper craft supplies. I have so much glue and decopage that I use a metal 'inbox' basket resting on top of two shelf brackets--it's easy to grab what I need and keep all the bottles upright. Another space saver is a metal kitchen shelving rack that has all the same size mason jars--it holds about 20--with all my trims, buttons, beads, etc. displayed so I can grab one and get going. Good luck to all my fellow artists/crafters/supply hoarders out there!
Amy
Thursday 29th of July 2021
@Kelly Eigler, these are great ideas, thank you so much for sharing!
Deirdre Henry
Thursday 29th of July 2021
You have given me some great ideas on tidying my craft materials. Thank you. Deirdre
Amy
Thursday 29th of July 2021
My pleasure!