If you love glitter and you love bracelets, this is the project for you. This colorblocked glitter bangle is so easy to make with Mod Podge!
Skills Required: None. Even if you’ve never crafted before, you can make this DIY bangle. You’ll be applying glitter with Mod Podge to a bracelet blank.


Hi all! Heidi from Hands Occupied here. This easy DIY bracelet was made with a 25-cent thrift store bracelet and is something I whipped up to go with an upcoming conference outfit. If you like Mod Podge jewelry or glitter crafts (or both!), this is going to be your jam.
I was having a hard time to find a nice metallic bracelet, and this was a super affordable and simple solution to my problem. Here’s how I made this fashion craft.
DIY Glitter Bangle
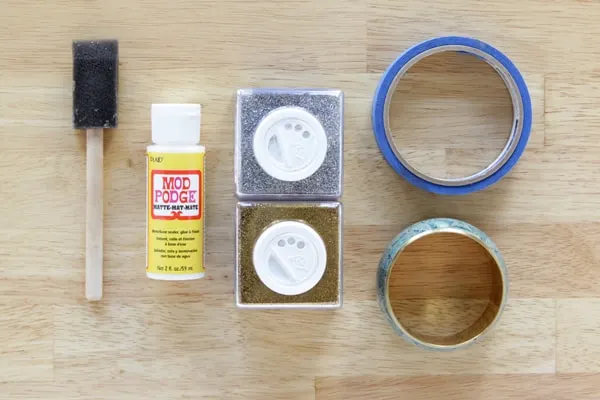
Gather These Supplies
- Mod Podge Matte
- Thrift store bangle bracelet
- Painter’s tape
- Gold glitter – extra fine
- Silver glitter – extra fine
- Sponge brush
- Paper towel (optional)
- Mod Podge Acrylic Sealant (optional)

Directions
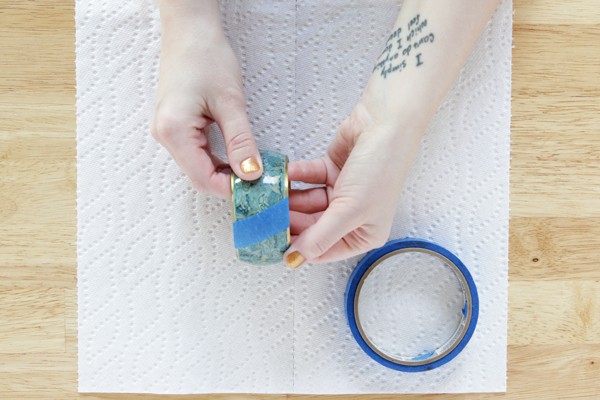
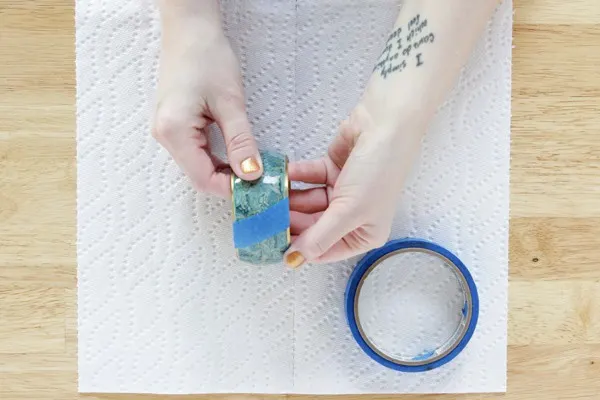
Clean and dry your bracelet before you start. Then, stick some painter’s tape diagonally onto your bangle at two points. They don’t have to be exactly parallel to each other unless you want them to be.
Press down the tape so there are no openings along the edge of the tape. You want your glitter bangle to be perfect, right?
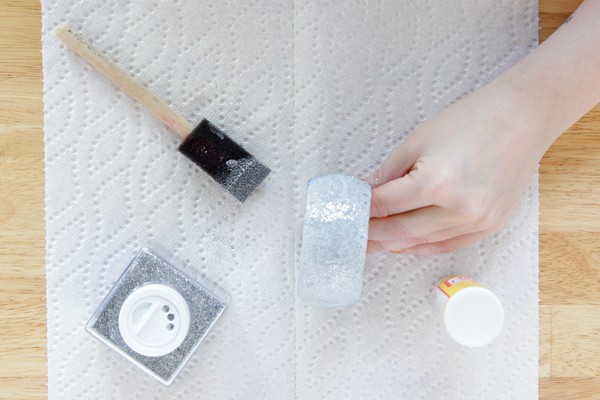
Paint Mod Podge onto one half of the bracelet, right up to the edge of the tape.
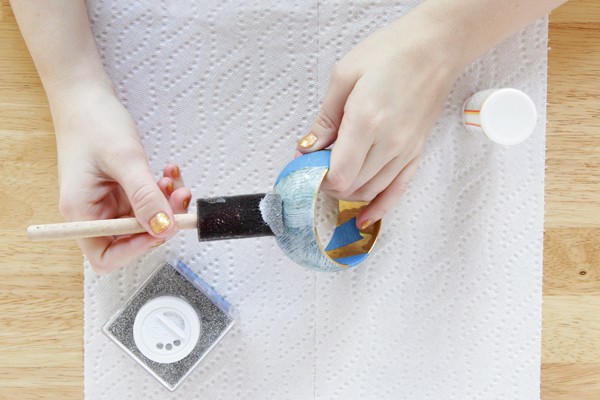

Sprinkle a good amount of extra fine glitter onto the wet Mod Podge, and use your sponge brush to press the glitter into the Podge. Keep adding glitter and extra Mod Podge as needed to your glitter bangle.
Just make sure to also keep pressing it into the Mod Podge until you can’t see any of the bracelet through the mixture. Let dry – the Mod Podge dries clear.

Carefully remove the painter’s tape from the dried bracelet. There should be a hard, straight line along the edge of the removed tape.
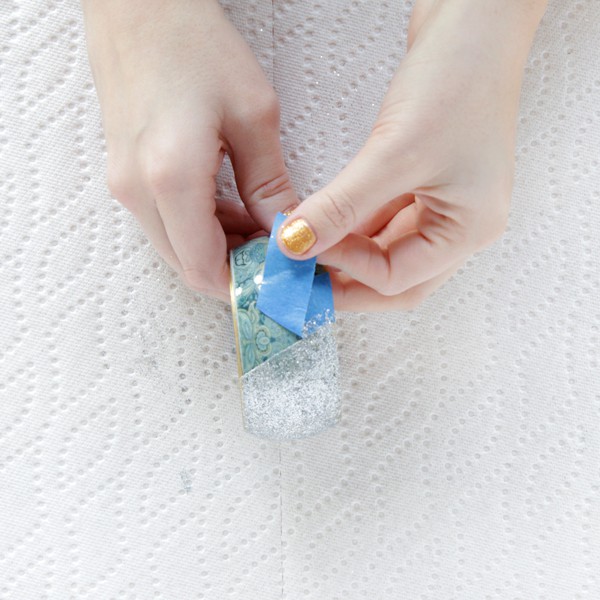

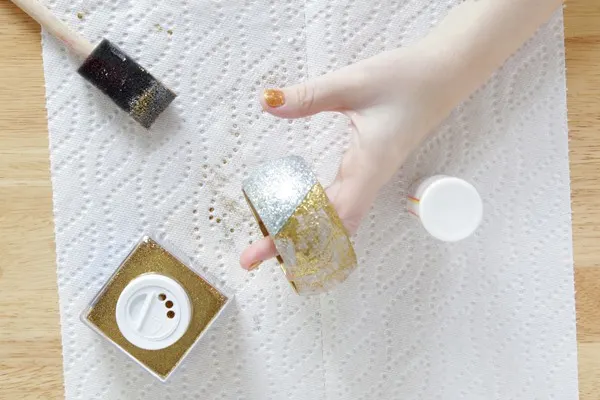
Repeat the Mod Podge application, sprinkling of glitter, etc. on the empty half of the bracelet with the second glitter color.

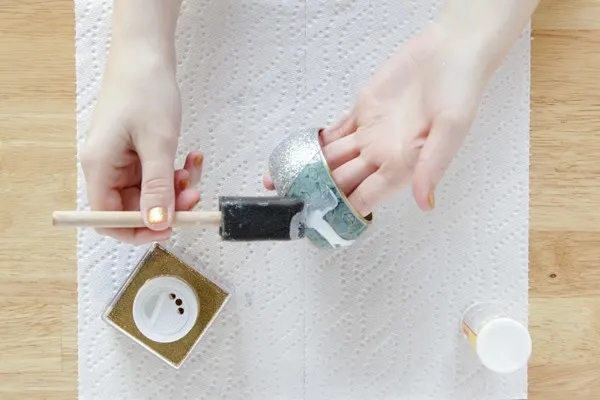
There’s no need to tape this half. Push the second glitter color and Mod Podge mixture right up to the edge of the silver glitter. A hard ridge of the first glitter color will have formed, making it easy to keep the hard line between colors.
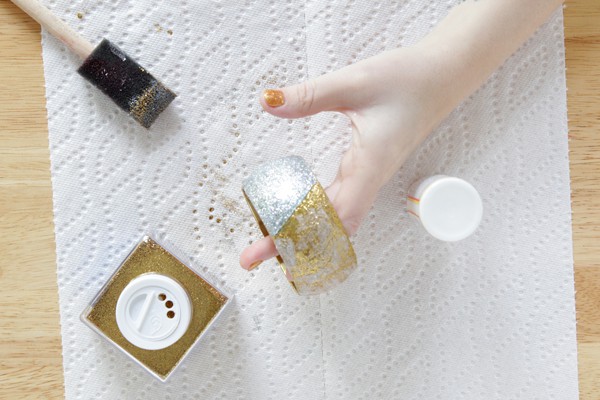
Let the second half of your glitter bangle dry completely before painting over the whole thing with a last layer of Mod Podge to finish.
If it’s a little sticky for your taste, you can apply an acrylic sealant before wearing this out for the night. I think this bracelet will go with tons of outfits!
Glitter Bangle
Learn how to use Mod Podge and glitter to cover a bangle and make a new piece of jewelry. It's easy!
Materials
- Bangle bracelet
- Mod Podge
- Glitter - colors of your choice
- Painter's or stencil tape
Tools
- Paintbrush
Instructions
- Clean and dry the bracelet if needed.
- Stick stencil or painter's tape onto the bangle at two points across from each other. Smooth down thoroughly so that nothing seeps under.
- Paint Mod Podge on one half of the surface. Sprinkle glitter directly on top. Let dry completely.
- Apply another thin layer of Mod Podge over the glitter and sprinkle more on top. Let dry and tap off excess.
- Remove the tape and repeat steps 3 and 4 with the second glitter color. Let dry.
- Seal with a clear acrylic spray sealer if desired (may dull glitter slightly).
Did you enjoy this jewelry craft idea? I’d love for you to check out the following projects:
susan
Tuesday 7th of January 2014
Loving your creativeness!!! Thanks for inspiration!!!