Transfer an Image to Furniture
Do an image transfer on furniture using a vintage style graphic and a unique medium!
Yield: 1 project
Cost: $10
Equipment
- Laserjet printer
- Sandpaper or sander
- Tack Cloth
- Silicone craft mat or wax paper
Materials
- 1 Wood table
- Chalk Paint
- Vintage graphic I always get mine are from The Graphics Fairy (you can download for free!)
- Mod Podge Gloss or Hard Coat
- Mod Podge Photo Transfer Medium
Instructions
- Start by cleaning off the table from dust and dirt.
- This step is optional, but I highly recommend it, even if your furniture is unfinished. Use sandpaper to smooth out your surface and/or rough up the old paint.

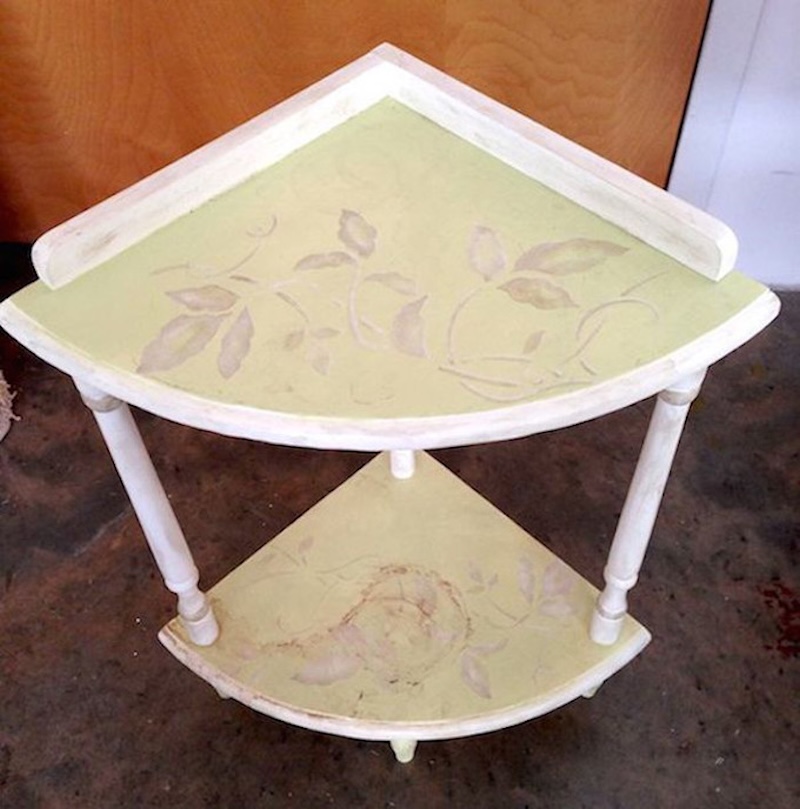
- Choose your main color and paint your table. You’ll want to paint several coats – I did three. Let the paint dry between coats, and let it dry completely when finished.
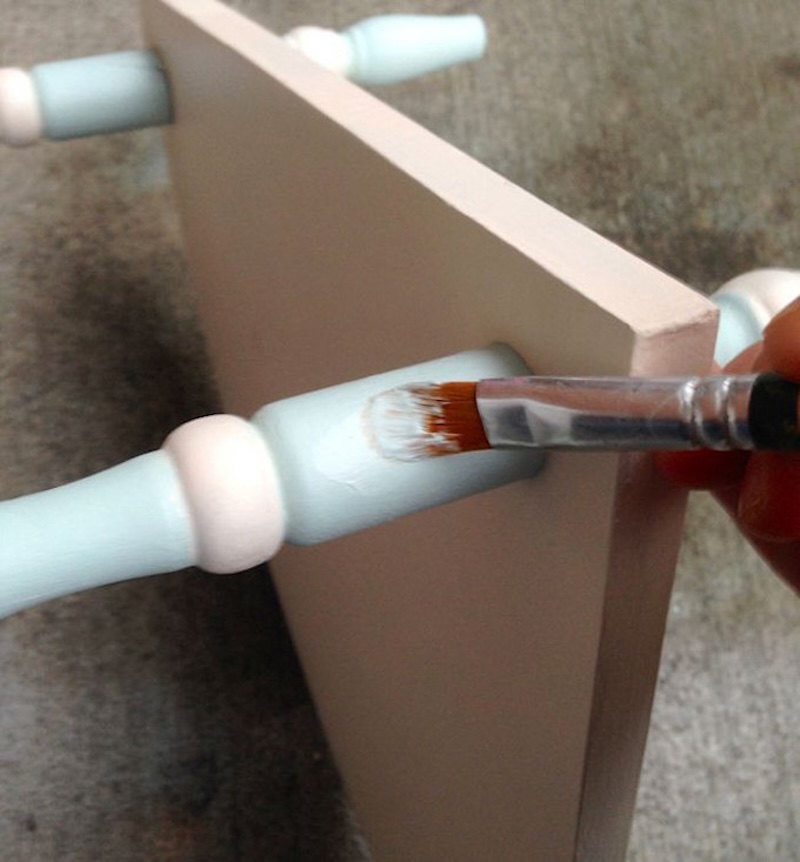
- Paint your second color on the legs or other portions of the furniture project that you would like to accent. Give these areas at least two coats of paint and let them dry.
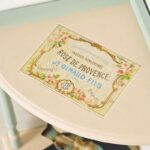
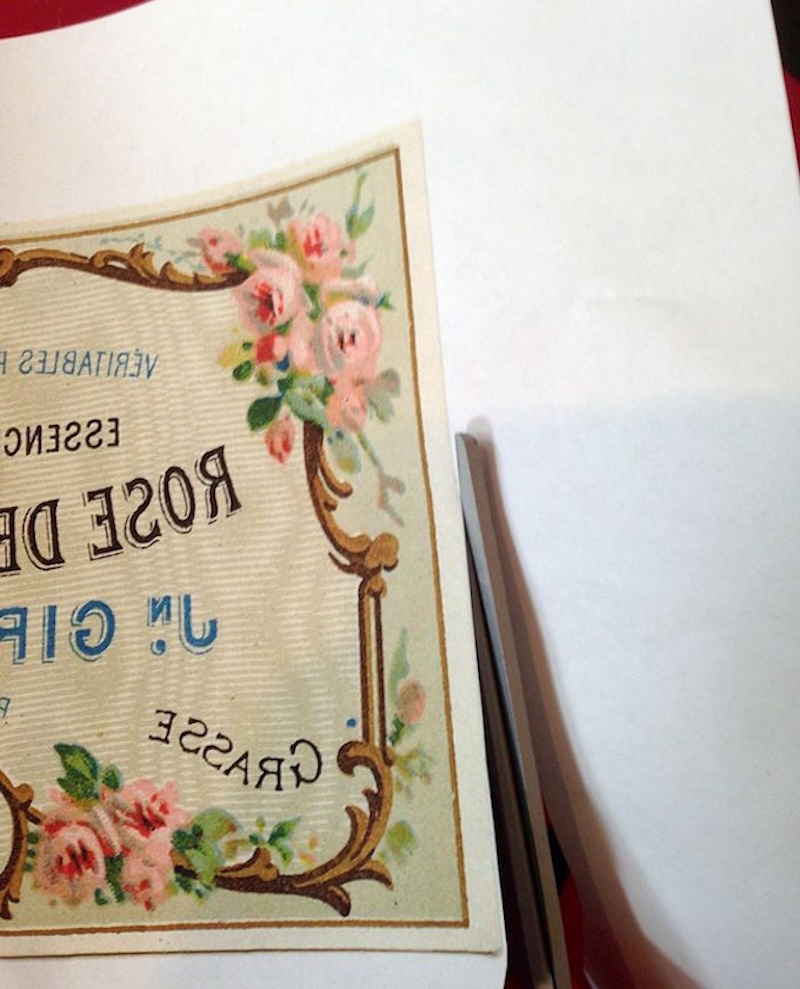
- While your table is drying, print out the image of your choice on an inkjet printer. Make sure it fits your table (or other piece of furniture) and then cut out completely. Don’t leave any white areas around the edges as those will transfer along with the image.
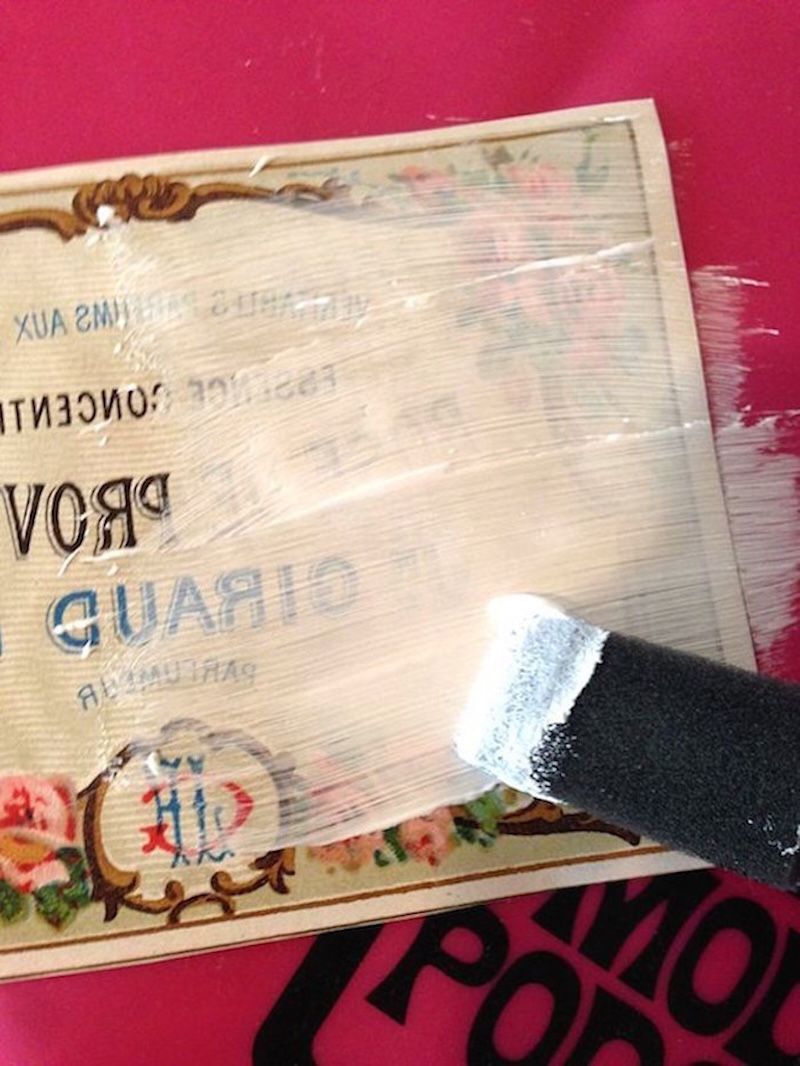
- Use the foam brush to spread photo transfer medium completely over the front of the image – you want to spread enough so that you can no longer see the image.Once the image is covered, flip it over and smooth onto your table or other piece of furniture. Smooth thoroughly and leave to dry for 24 hours.
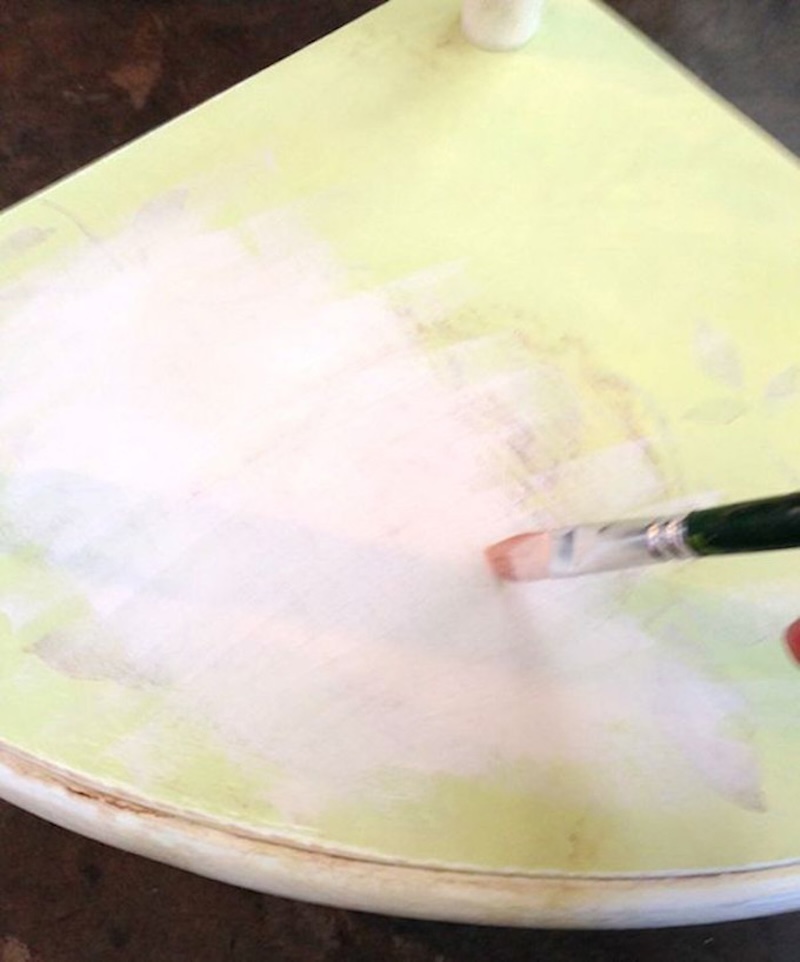
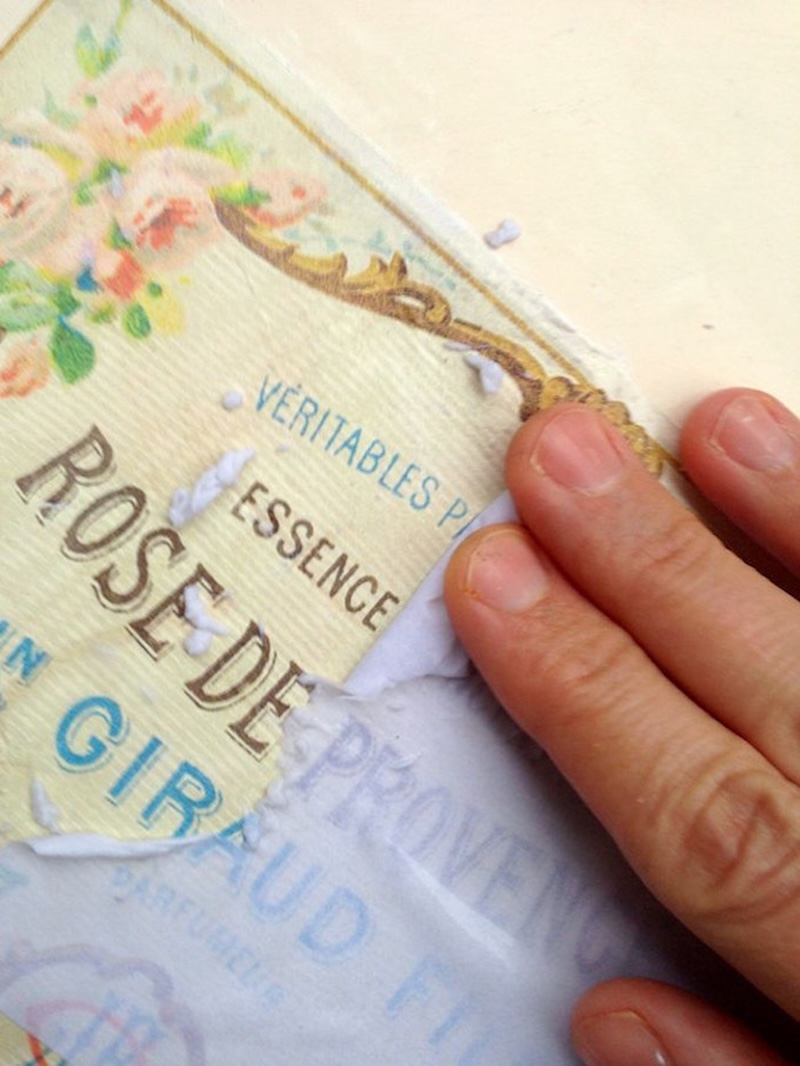
- Use water to dampen the image and start rubbing. Keep rubbing portions of the paper away and the image beneath will be revealed!Use medium pressure when rubbing – you want to use enough pressure so that the top layer of paper is removed, but not too hard. You don’t want to rub off the image underneath! Once you are done removing the top layer, let it dry.
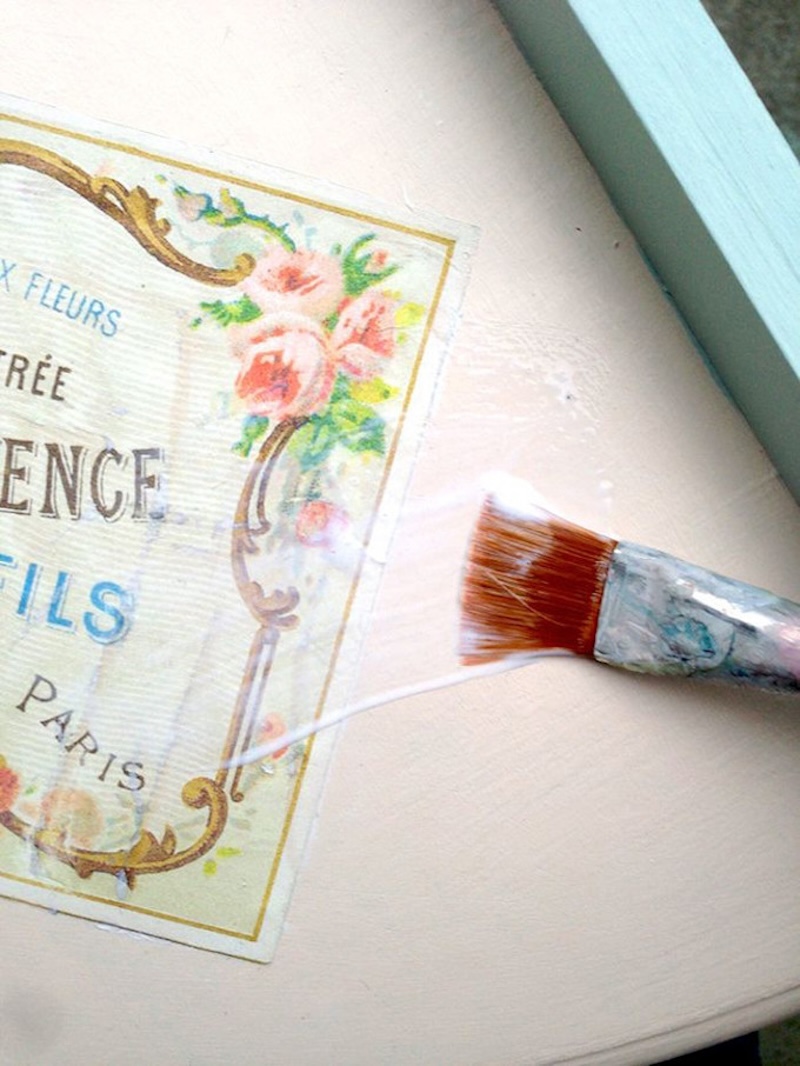
- Use Mod Podge to seal the table top. Add at least three coats and let dry.
If you select an image with words on it, you need to reverse the images before printing, so that when the image is transferred, the words will be going in the right direction.
If any photo transfer medium comes out from under the edges of the image as you are smoothing, simply wipe it away with a wet cloth.