
Ice Cream Stick Photo Frame
Learn how to make a photo frame with ice cream sticks! This is such an easy craft for kids or adults.
Yield: 1 frame
Cost: $1
Equipment
- Scissors or craft knife and mat
Materials
- Washi tape
- 11 Popsicle sticks jumbo size
- Craft glue
- Glue Dots
- Mod Podge Gloss optional
Video
Instructions
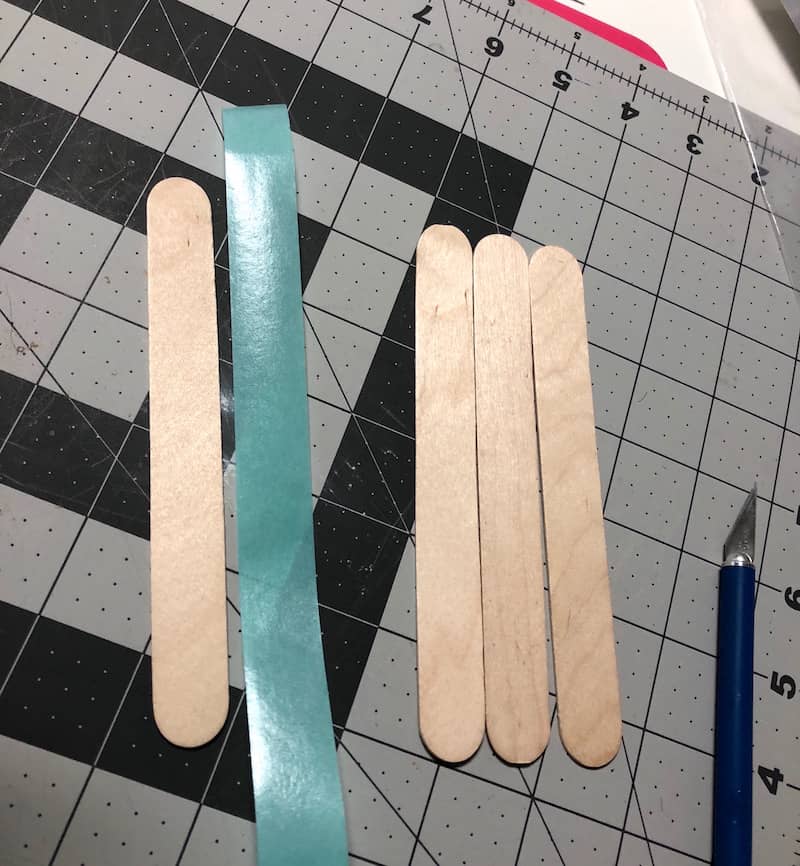
- Lay out the correct number of sticks for your frame. Add a strip of washi tape to the front of the stick, smoothing down and then tearing or cutting carefully after you've reached the end.
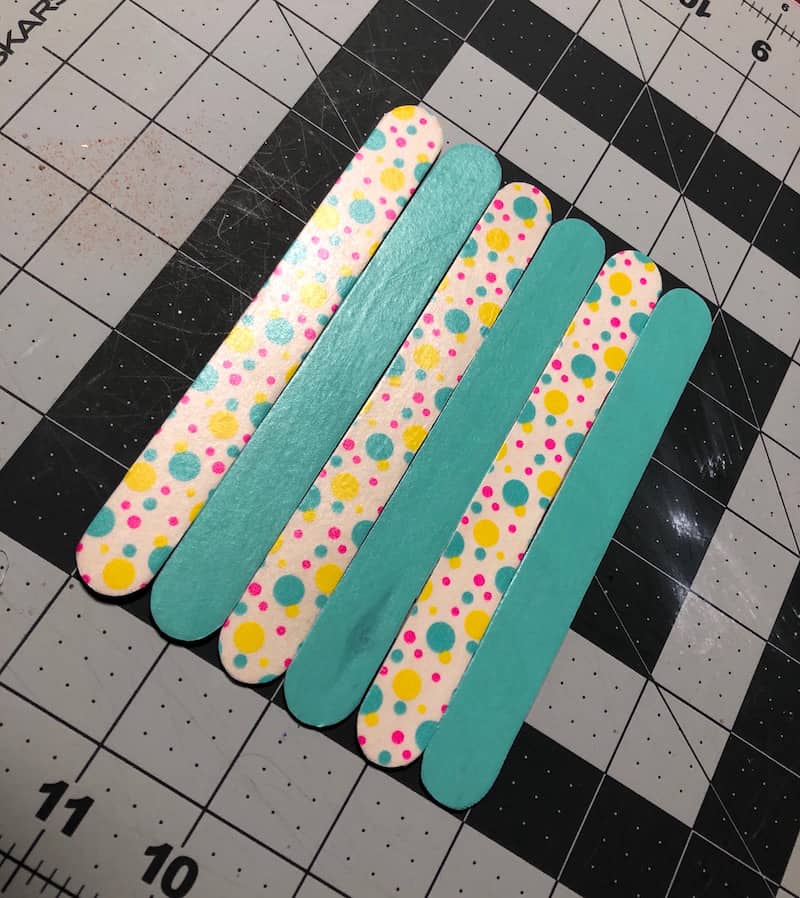
- Trim around the edge of the stick if desired. You can just smooth down the tapes around the edges as well.

- Repeat the process with additional popsicle sticks until you are satisfied with the number you have/size of your popsicle stick frame.
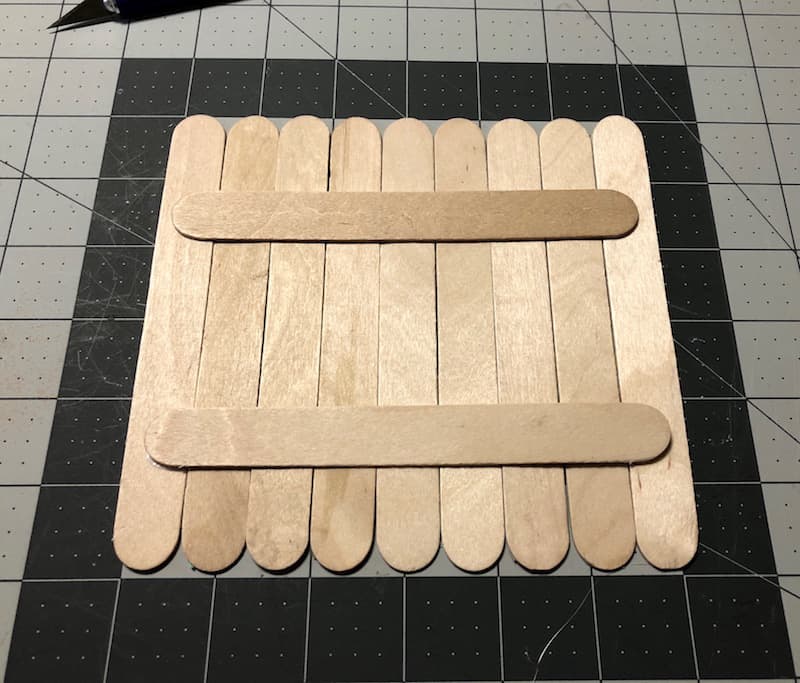
- Use craft glue across the back (with two additional popsicle sticks) to secure your frame. Let dry for about an hour.
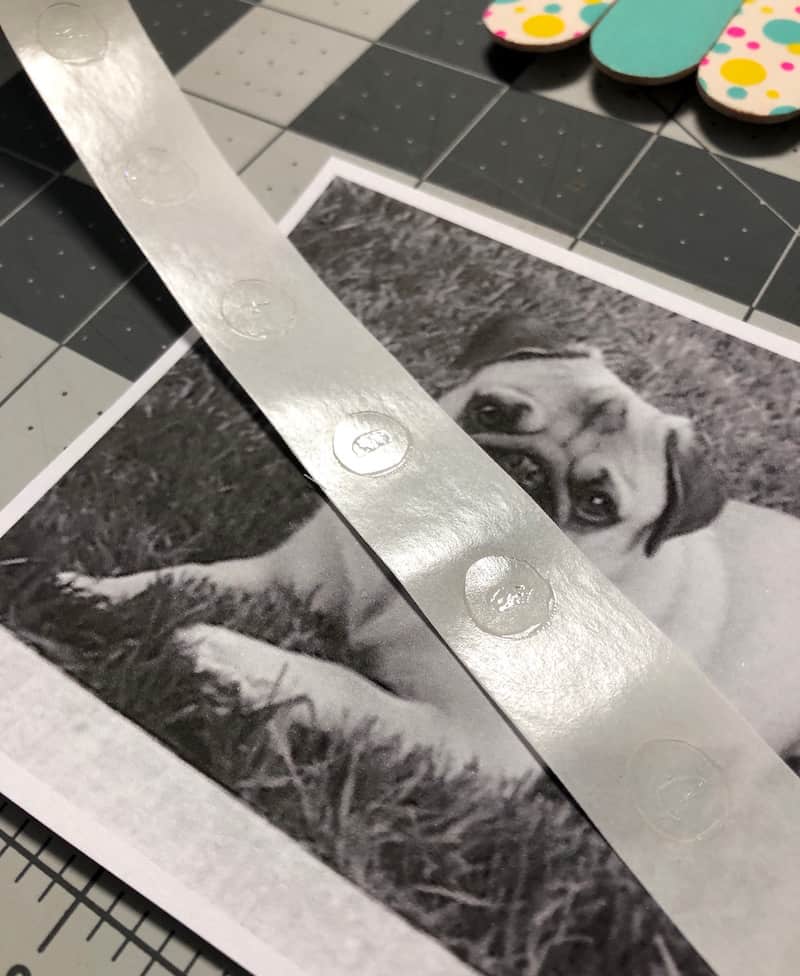
- Print out an image and use Glue Dots to adhere it to the front of the frame.
Notes
There are many ways to display your frame:
- Glue magnets to the back and put on the fridge
- Hot glue string to the back and hang
- Display on a plate stand