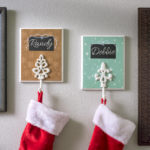
Hang Stockings Without a Mantel
Learn how to make a DIY stocking holder, perfect if you don't have a mantel! Let Santa fill your stockings and have some unique decor at the same time.
Yield: 2 holders
Cost: $15
Equipment
- Drill or screwdriver
Materials
- 2 Wood plaque(s)
- Hooks for hanging on the front 1 per plaque
- Craft paint white
- Mod Podge Satin
- Chalkboard paint
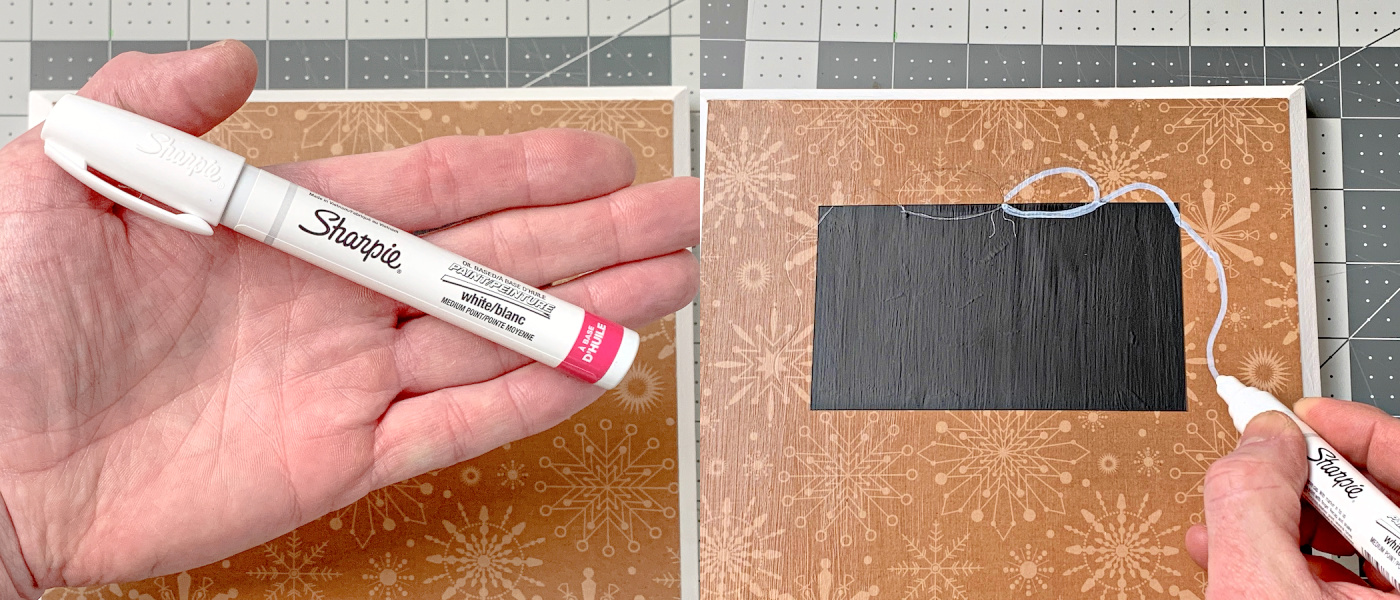
- Paint pen(s) white
- Painter's tape
- Chalk
- Command Strips
Video
Instructions
- Cut the scrapbook paper to fit the top of the plaque. I used a craft knife and ruler since it was rectangular.
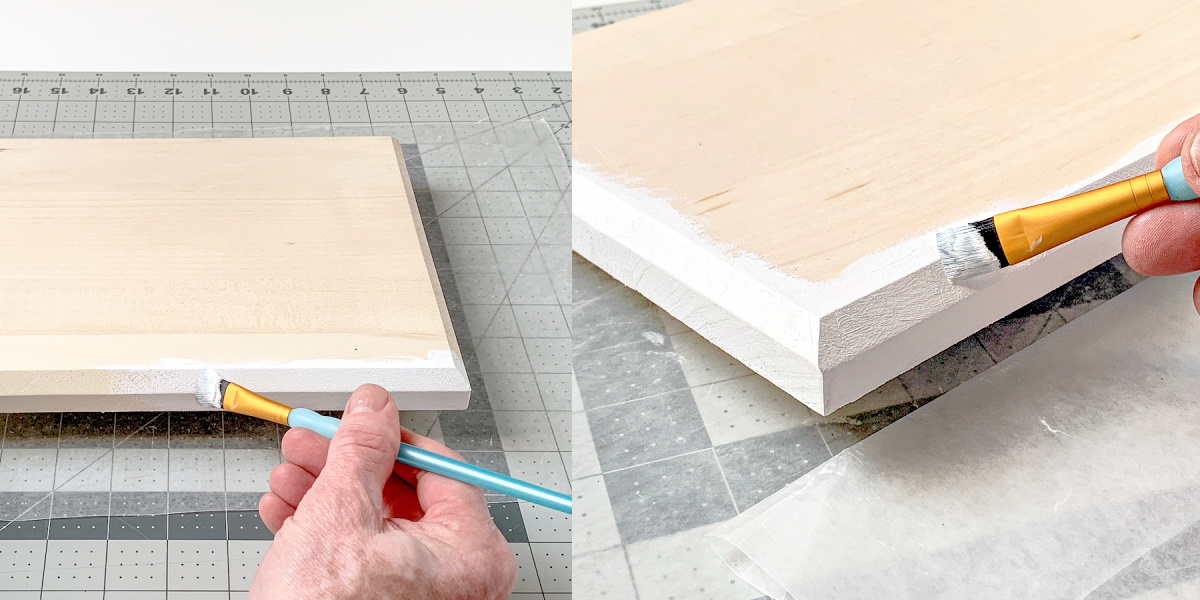
- Use the acrylic craft paint to edge the side of your plaque, and the back too if you like. Let the paint go up over onto the top in case there are any gaps in the paper. Let dry and give a second coat; then let dry completely.
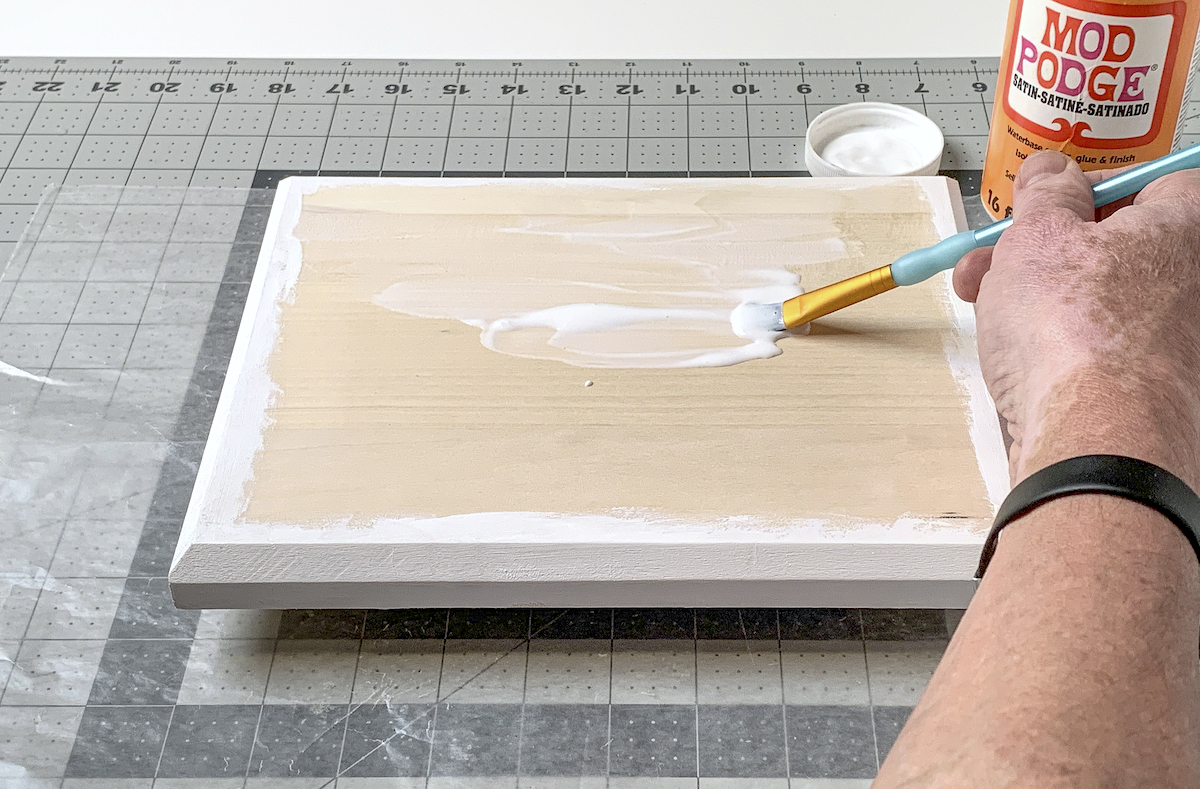
- Put a medium layer of Mod Podge on top of the plaque. Work quickly, as Mod Podge starts to dry right away. If you see a dry area before you apply the paper, put more Mod Podge down. It's better to use too much than not enough.
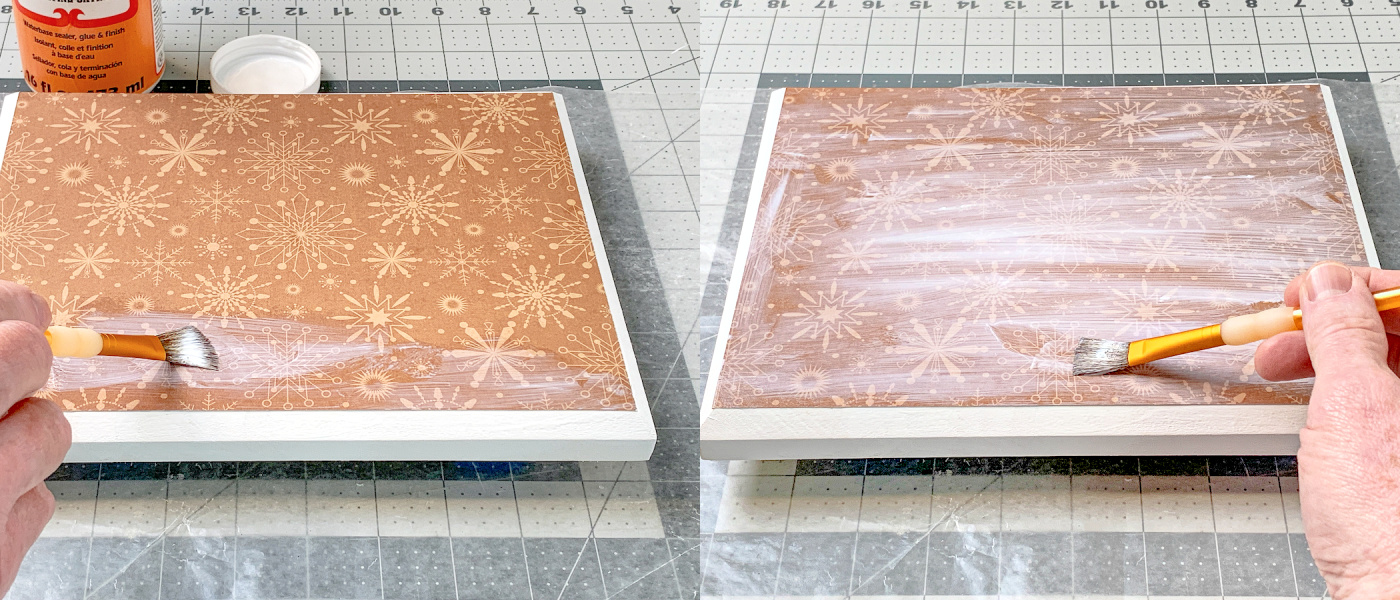
- Take the scrapbook paper you cut and smooth it down onto the Mod Podged surface. Smooth with your fingers, and then use a brayer if you have one. Let dry 15 - 20 minutes.

- Paint a layer of Mod Podge over the top and let dry (include the sides). Repeat and let dry completely, overnight if you can. You want it to be as dry as possible before adding the chalkboard paint.
- Section off the area you would like to be chalkboard with painter's tape.
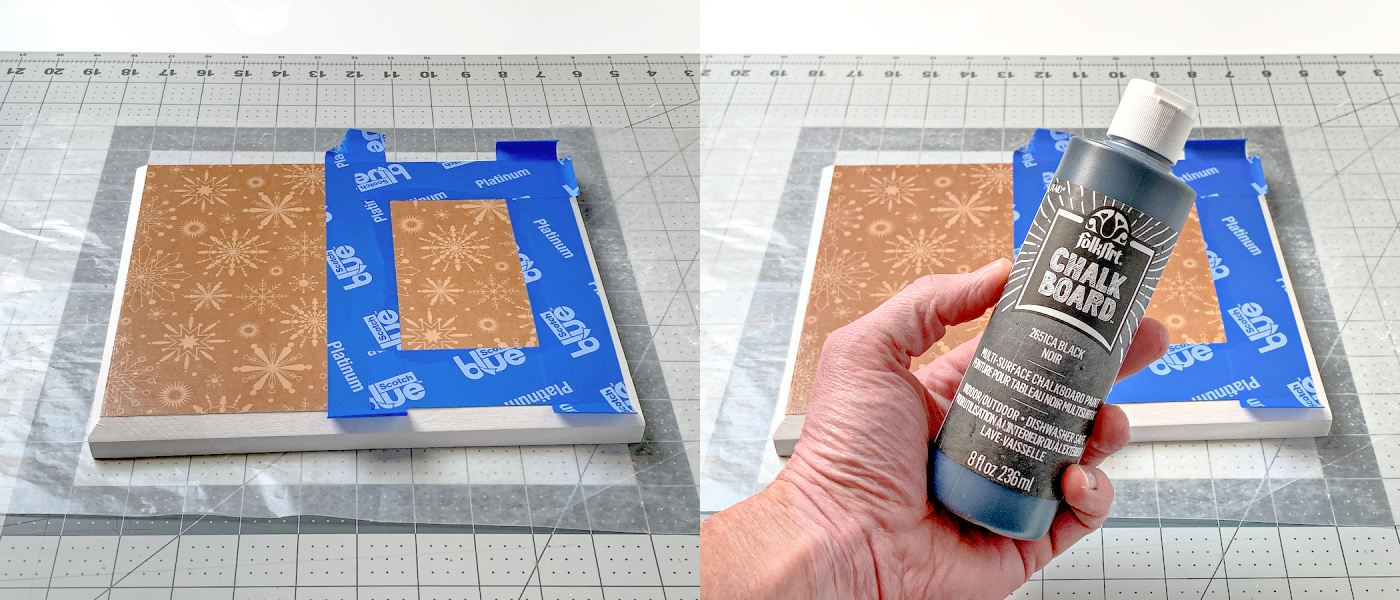
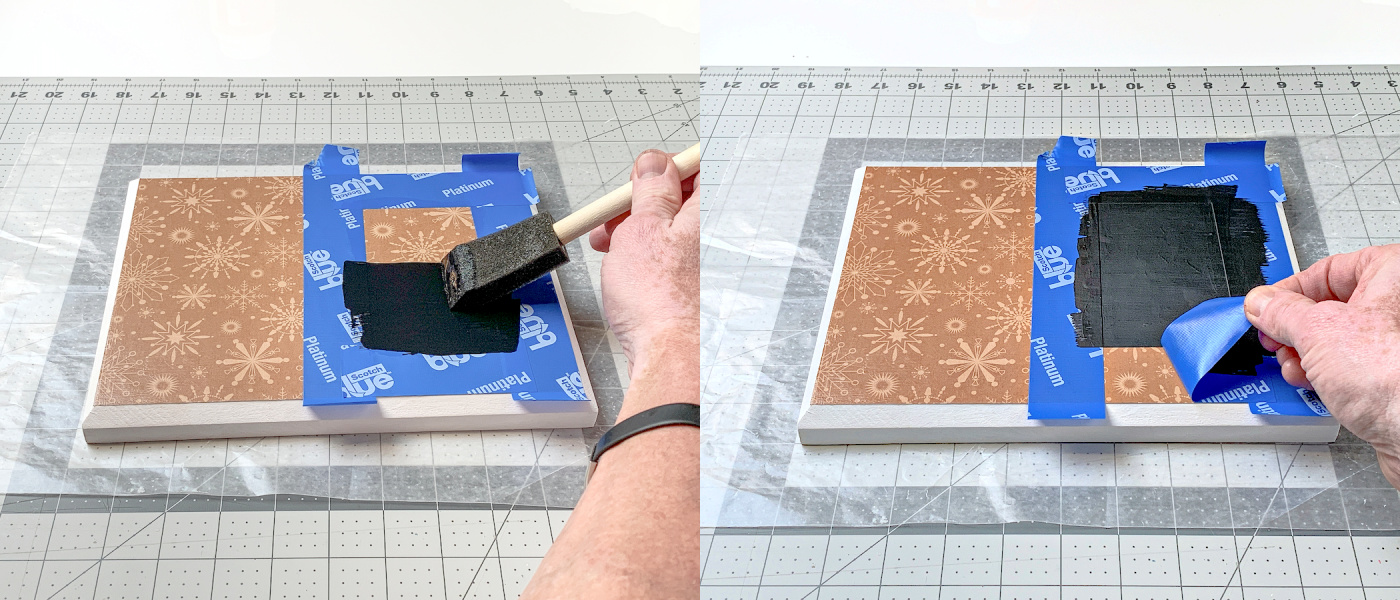
- Paint the chalkboard paint in the area you have sectioned off with a foam brush. Let the paint dry and see if you need two coats. The coats must dry completely before applying another. Once the paint is completely dry, peel away the tape.
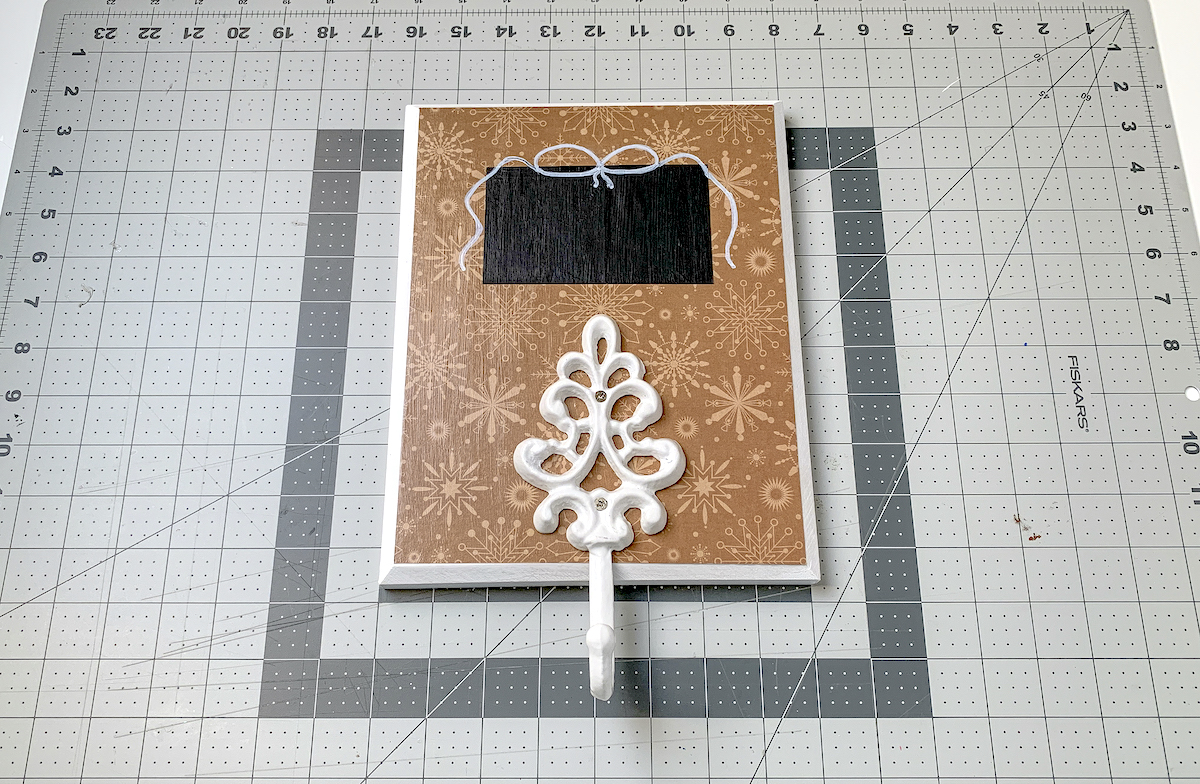
- Remove the painter's tape. Add a bow to the top of the chalkboard rectangle with a paint pen. Start by making your bow (or other design) with a pencil. Then go over it once with the paint pen. Let dry.
- Add the hook to the bottom of the plaque with a screwdriver or drill.

- Attach to the wall with a Command Strip or sawtooth hanger and hook.
Notes
If necessary to cut your scrapbook paper: you can make a template (rubbing) with a piece of tissue paper and a pencil. This is helpful if you use an ornate plaque.
Note: Before you write on the chalkboard paint, you're going to have to prepare it according to the instructions on the bottle. Typically you prep the paint by rubbing chalk on it and then wiping it off. Then you can write a name on it.