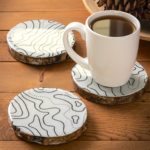
Wood Slice Coasters
Decorate wood slices with napkins, then turn them into waterproof coasters by adding resin on top! This is a fun and unique project.
Yield: 3 coasters
Cost: $7
Equipment
- Mixing supplies (cups, stir sticks)
- Safety equipment
- Paintbrushes and/or a roller
- Lighter (optional)
- Pyramid stands for propping up the wood slices (optional)
Materials
- Wood slice coasters
- Decorative paper napkin(s)
- Craft paint white
- Mod Podge Satin
- Epoxy resin
- Sandpaper
- Parchment paper
- Mini felt feet
Instructions
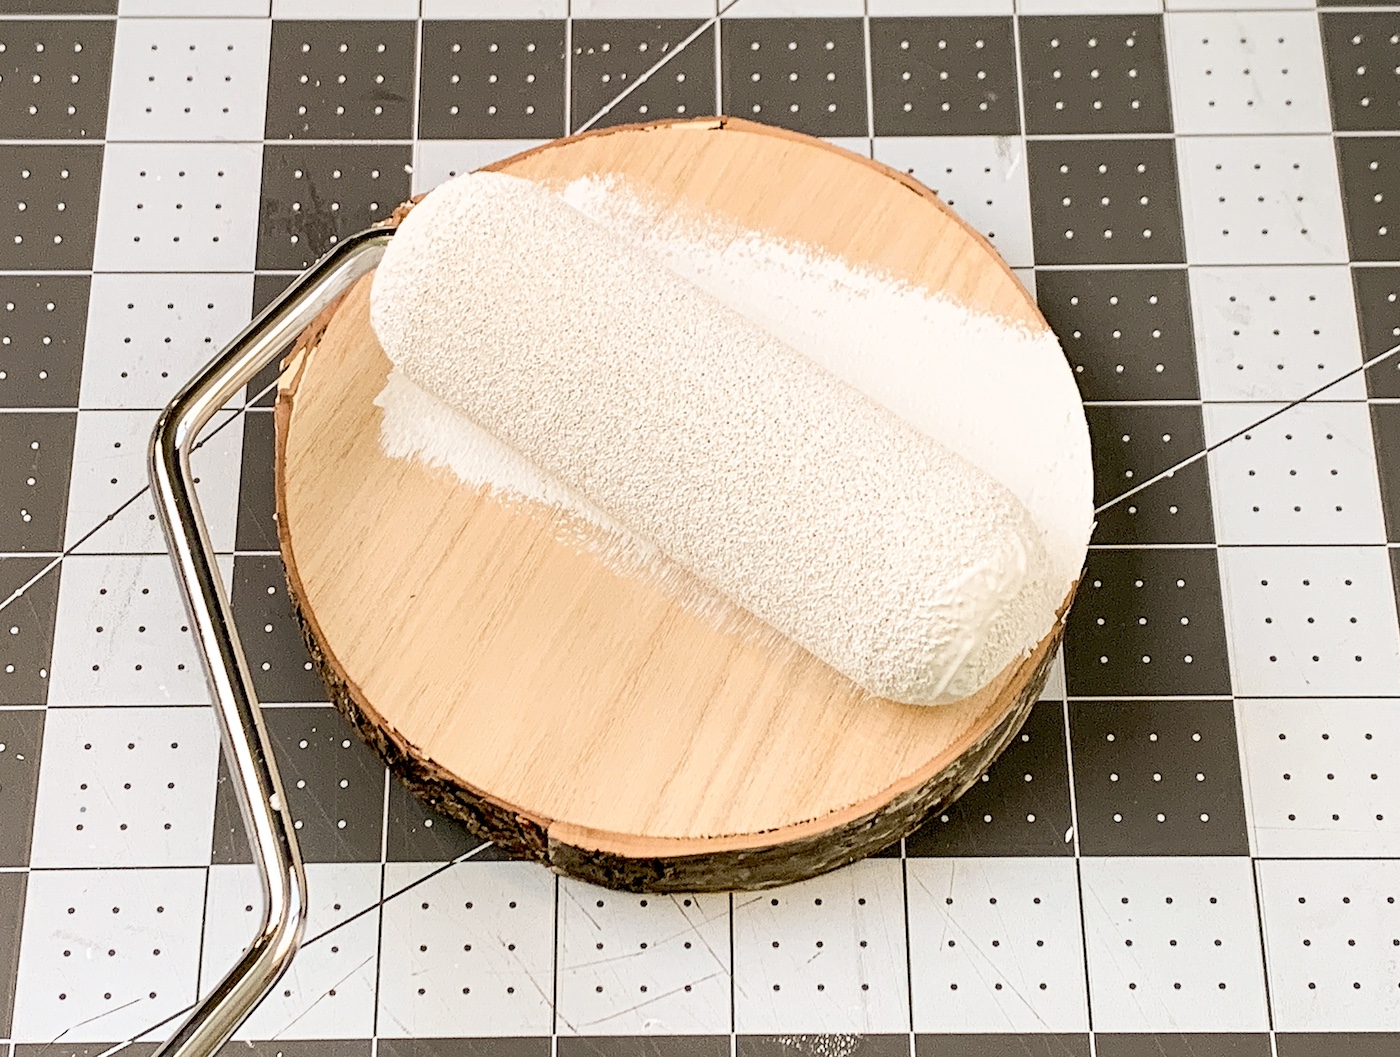
- Use a paintbrush or roller to add white paint to the top of the wood slices. Let dry.
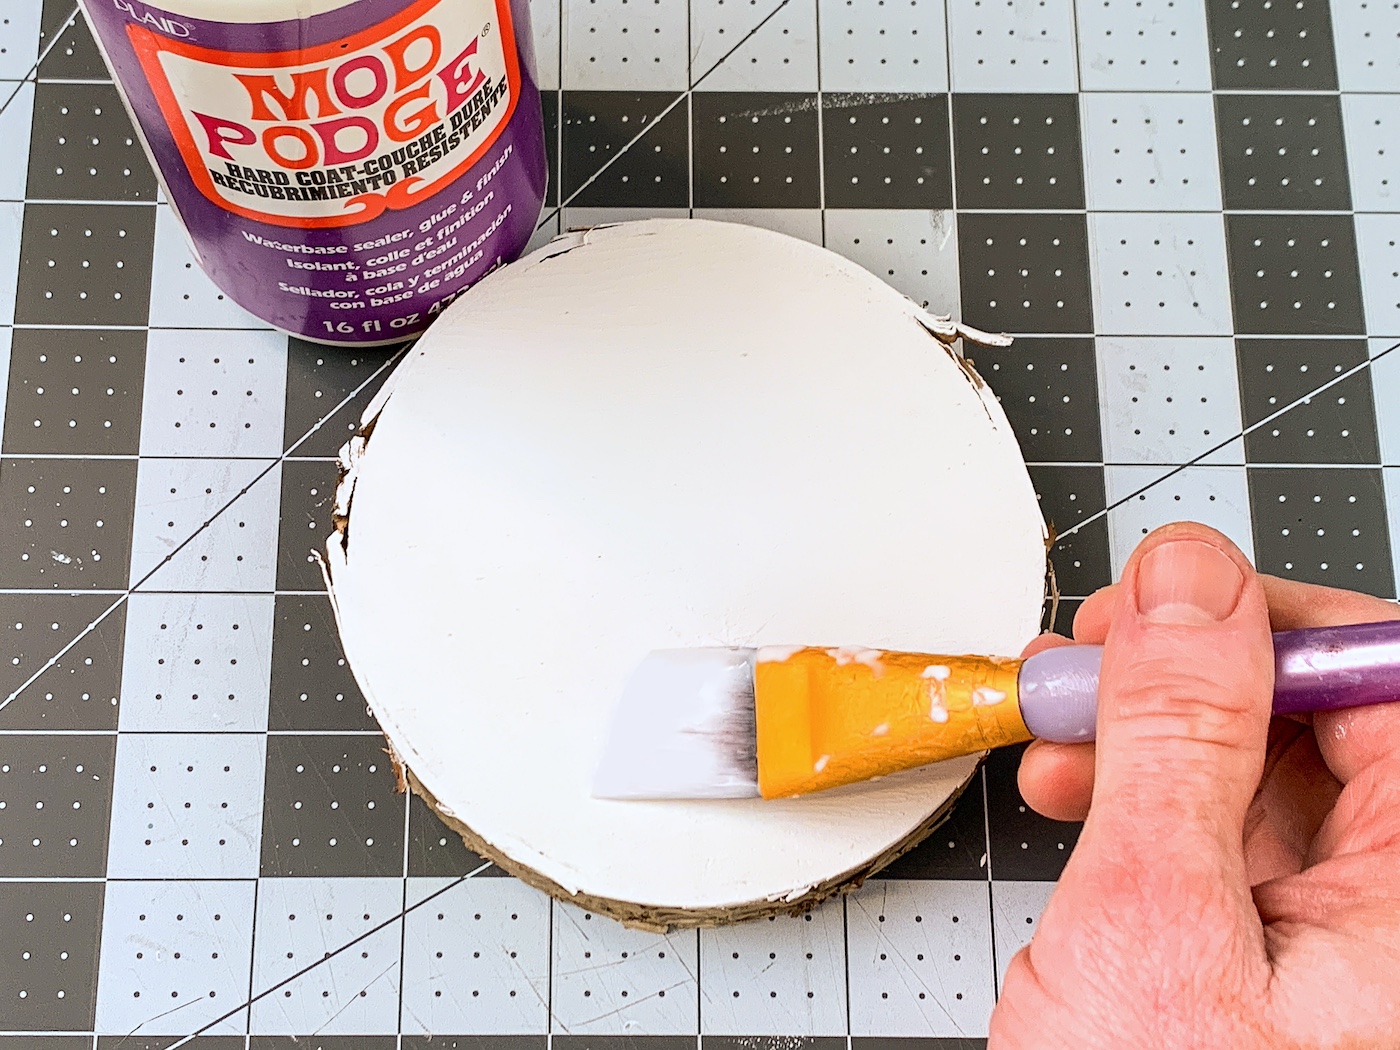
- Apply a medium coat of Mod Podge to the top of the word. Let dry and repeat. Wipe away any Mod Podge that dripped over the edges. Let the two coats dry completely.
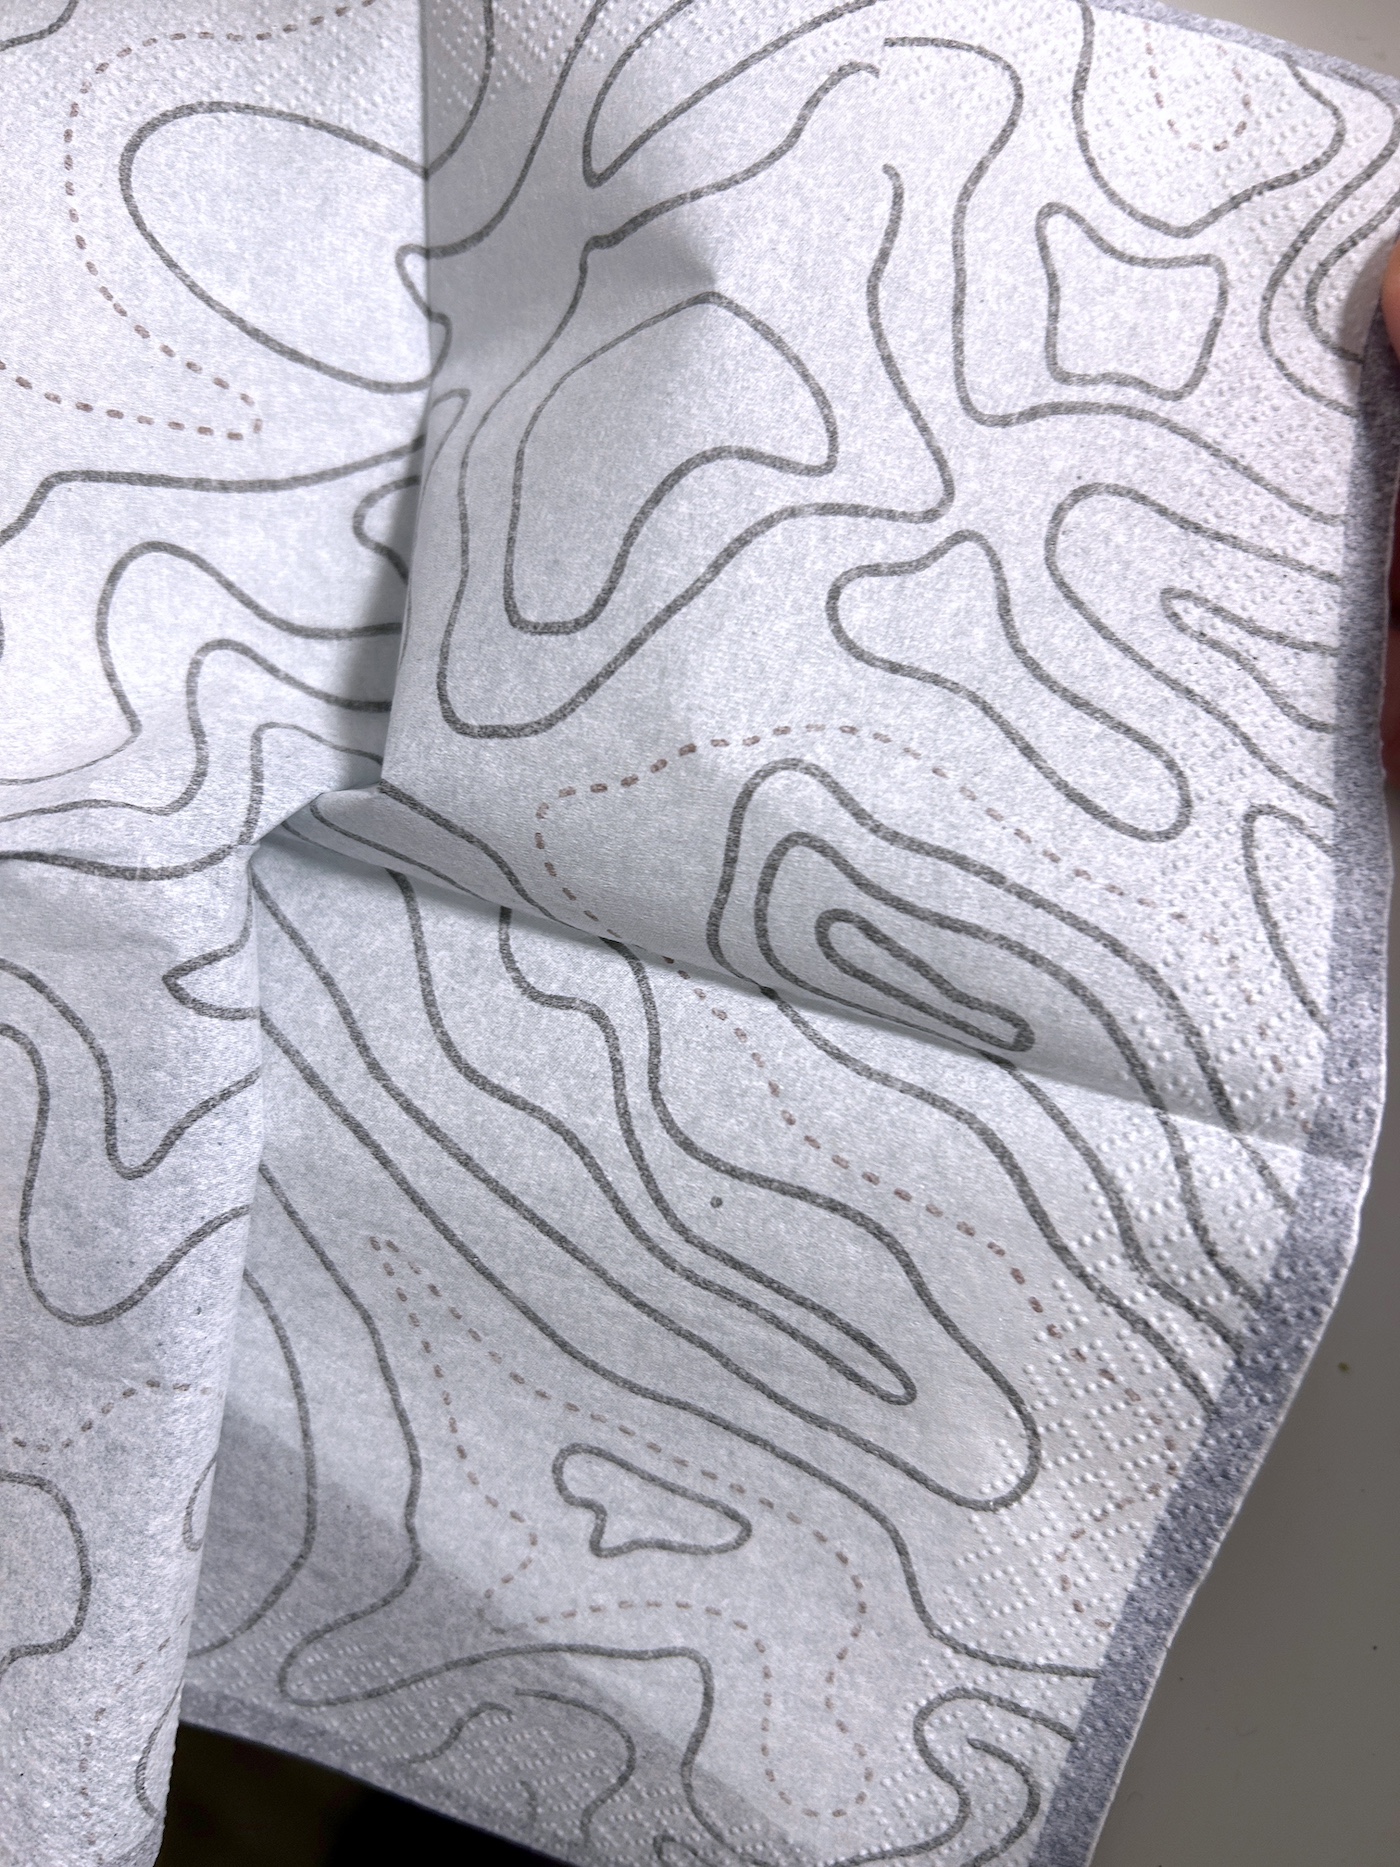
- While the Mod Podge is drying, separate the napkin from the bottom layers. You can use tape to help. You just want the top layer with the design.
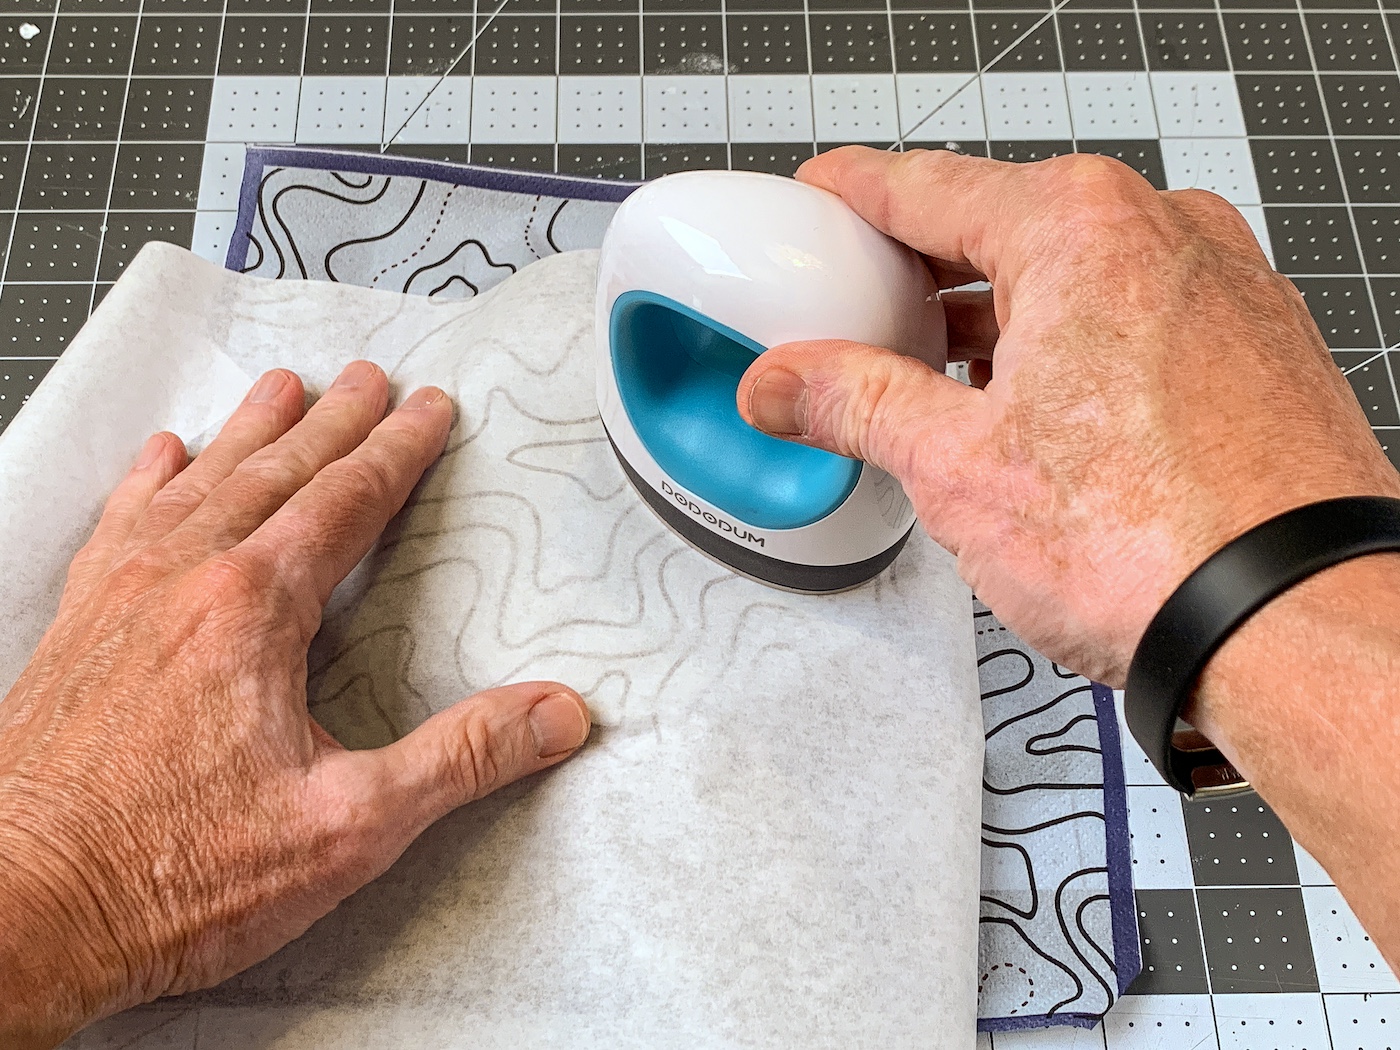
- Place the napkin down onto the word. Place a piece of parchment paper on top of the napkin, and run the craft iron across the top several times. While you are doing this, the Mod Podge is melting below the napkin, and the napkin is adhering. Keep going until the napkin is fully adhered, including the edges.
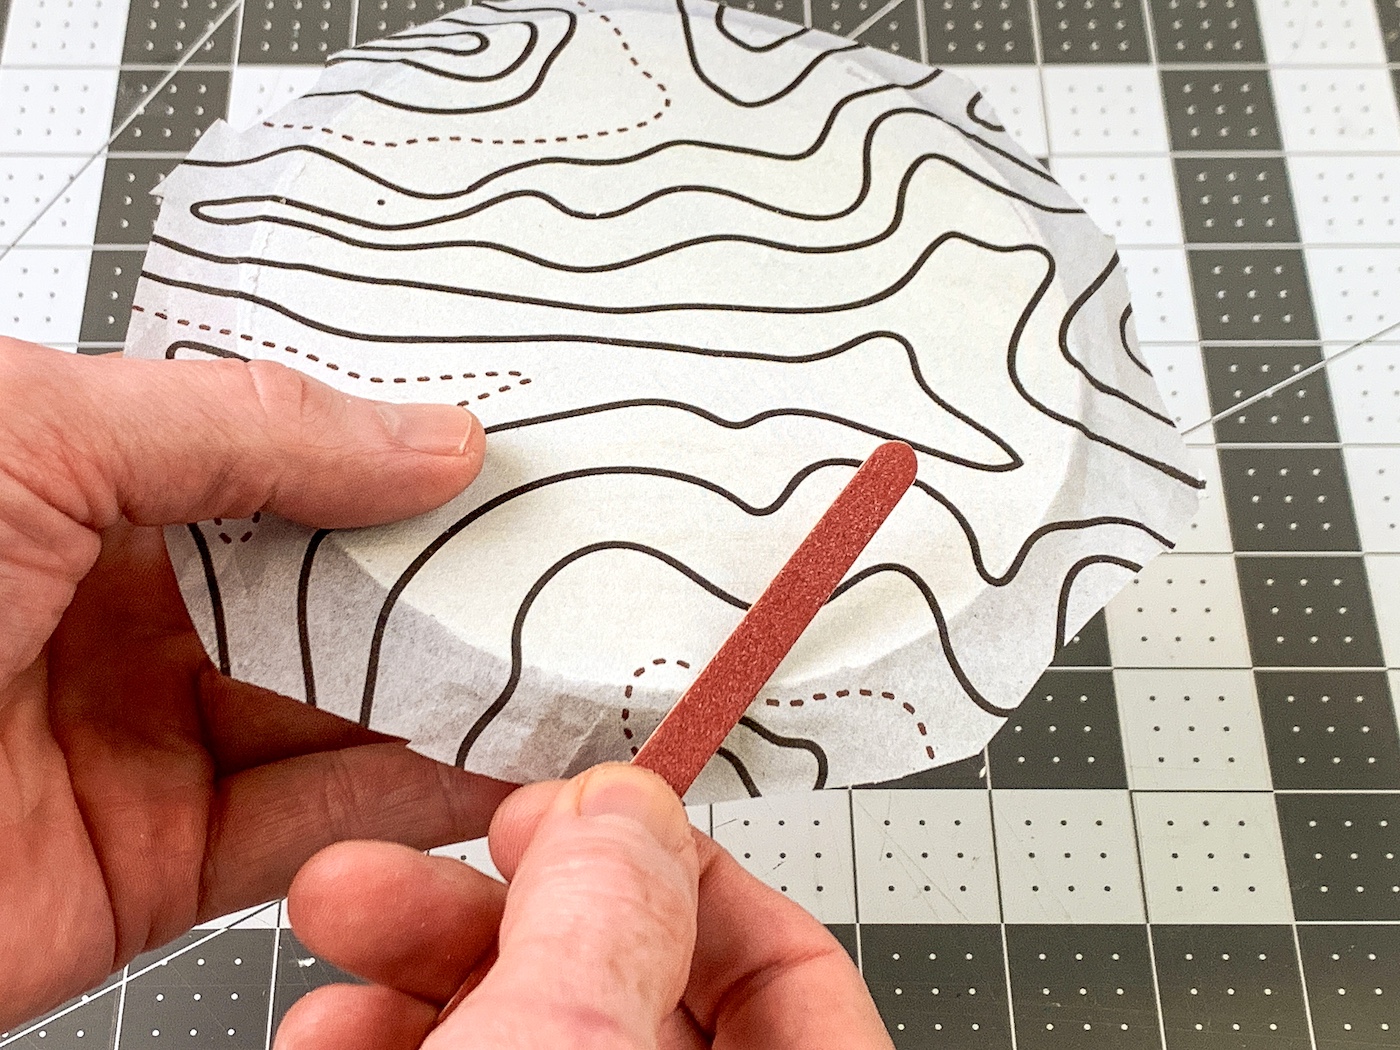
- Let the wood cool after ironing. Use an emery board to gently sand away the excess napkin. Sanding at an angle works very well. Continue until all the extra napkin is removed.
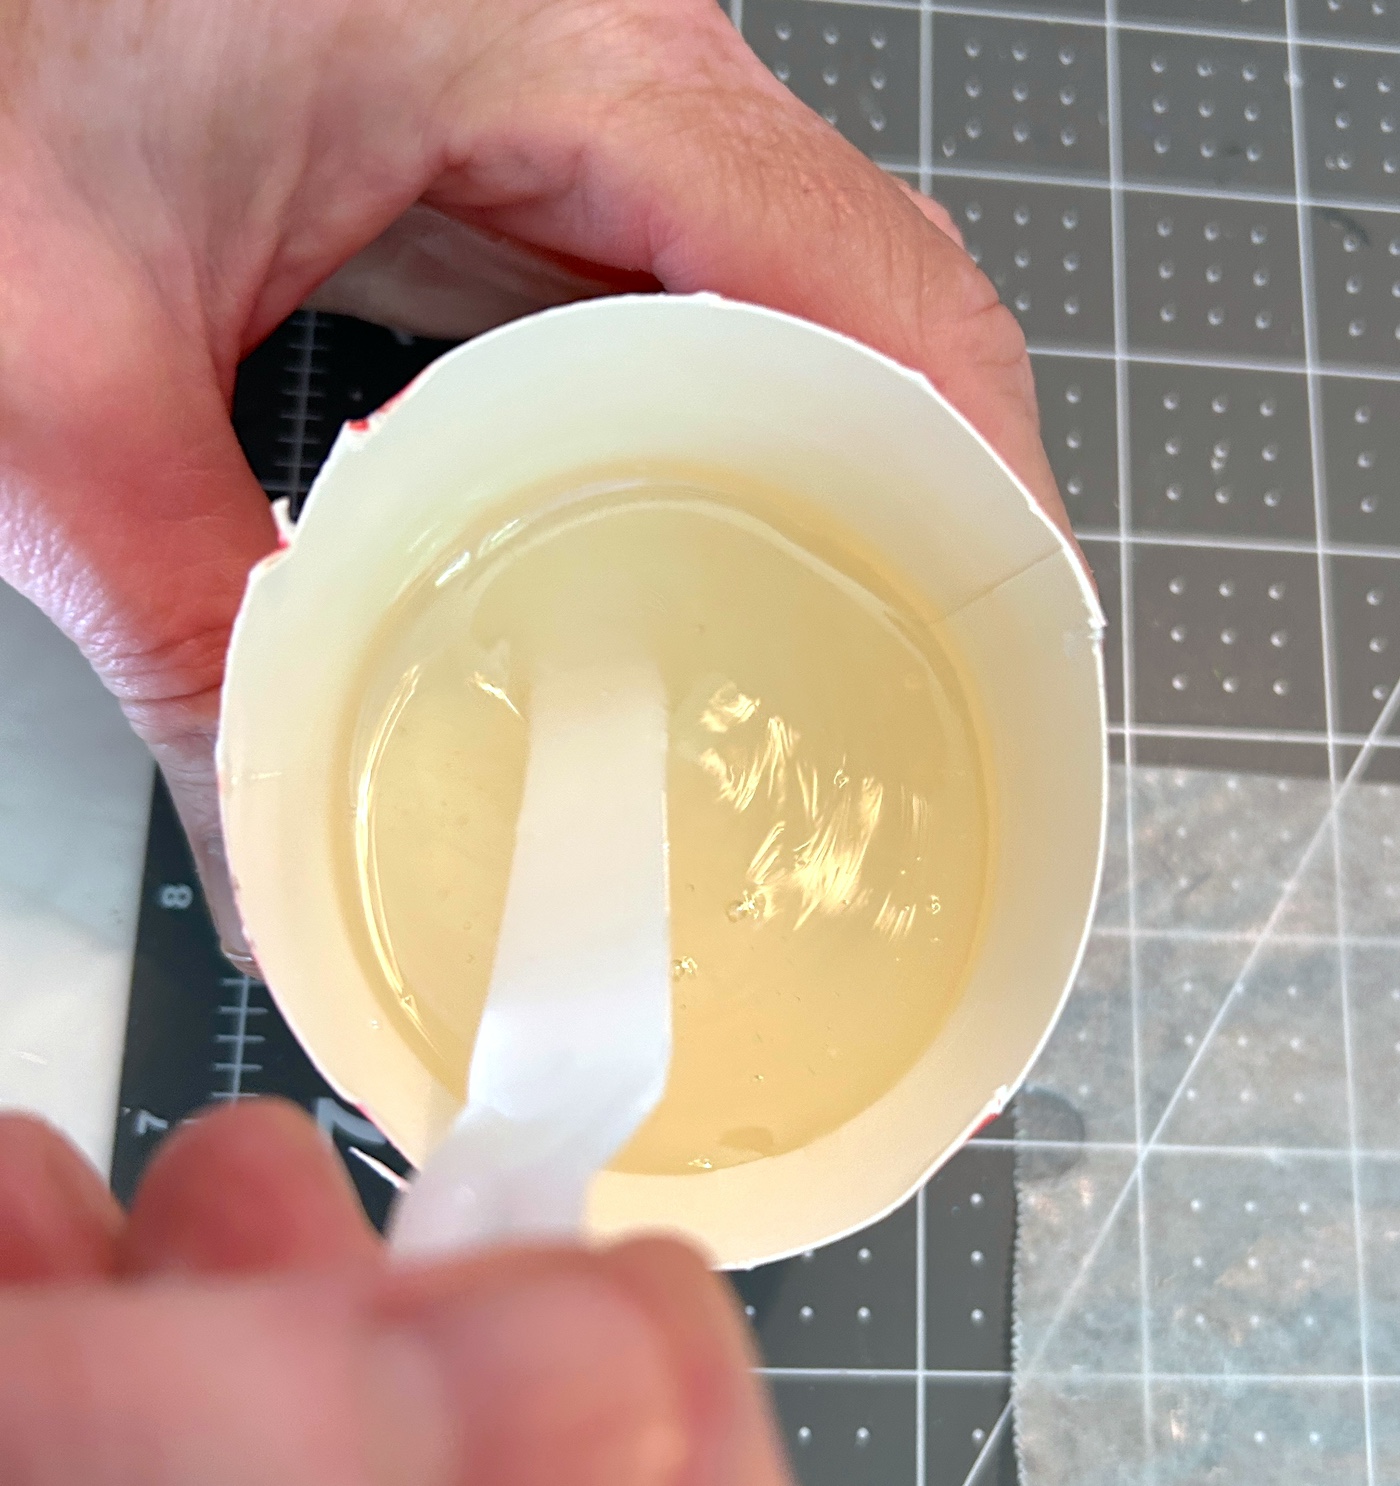
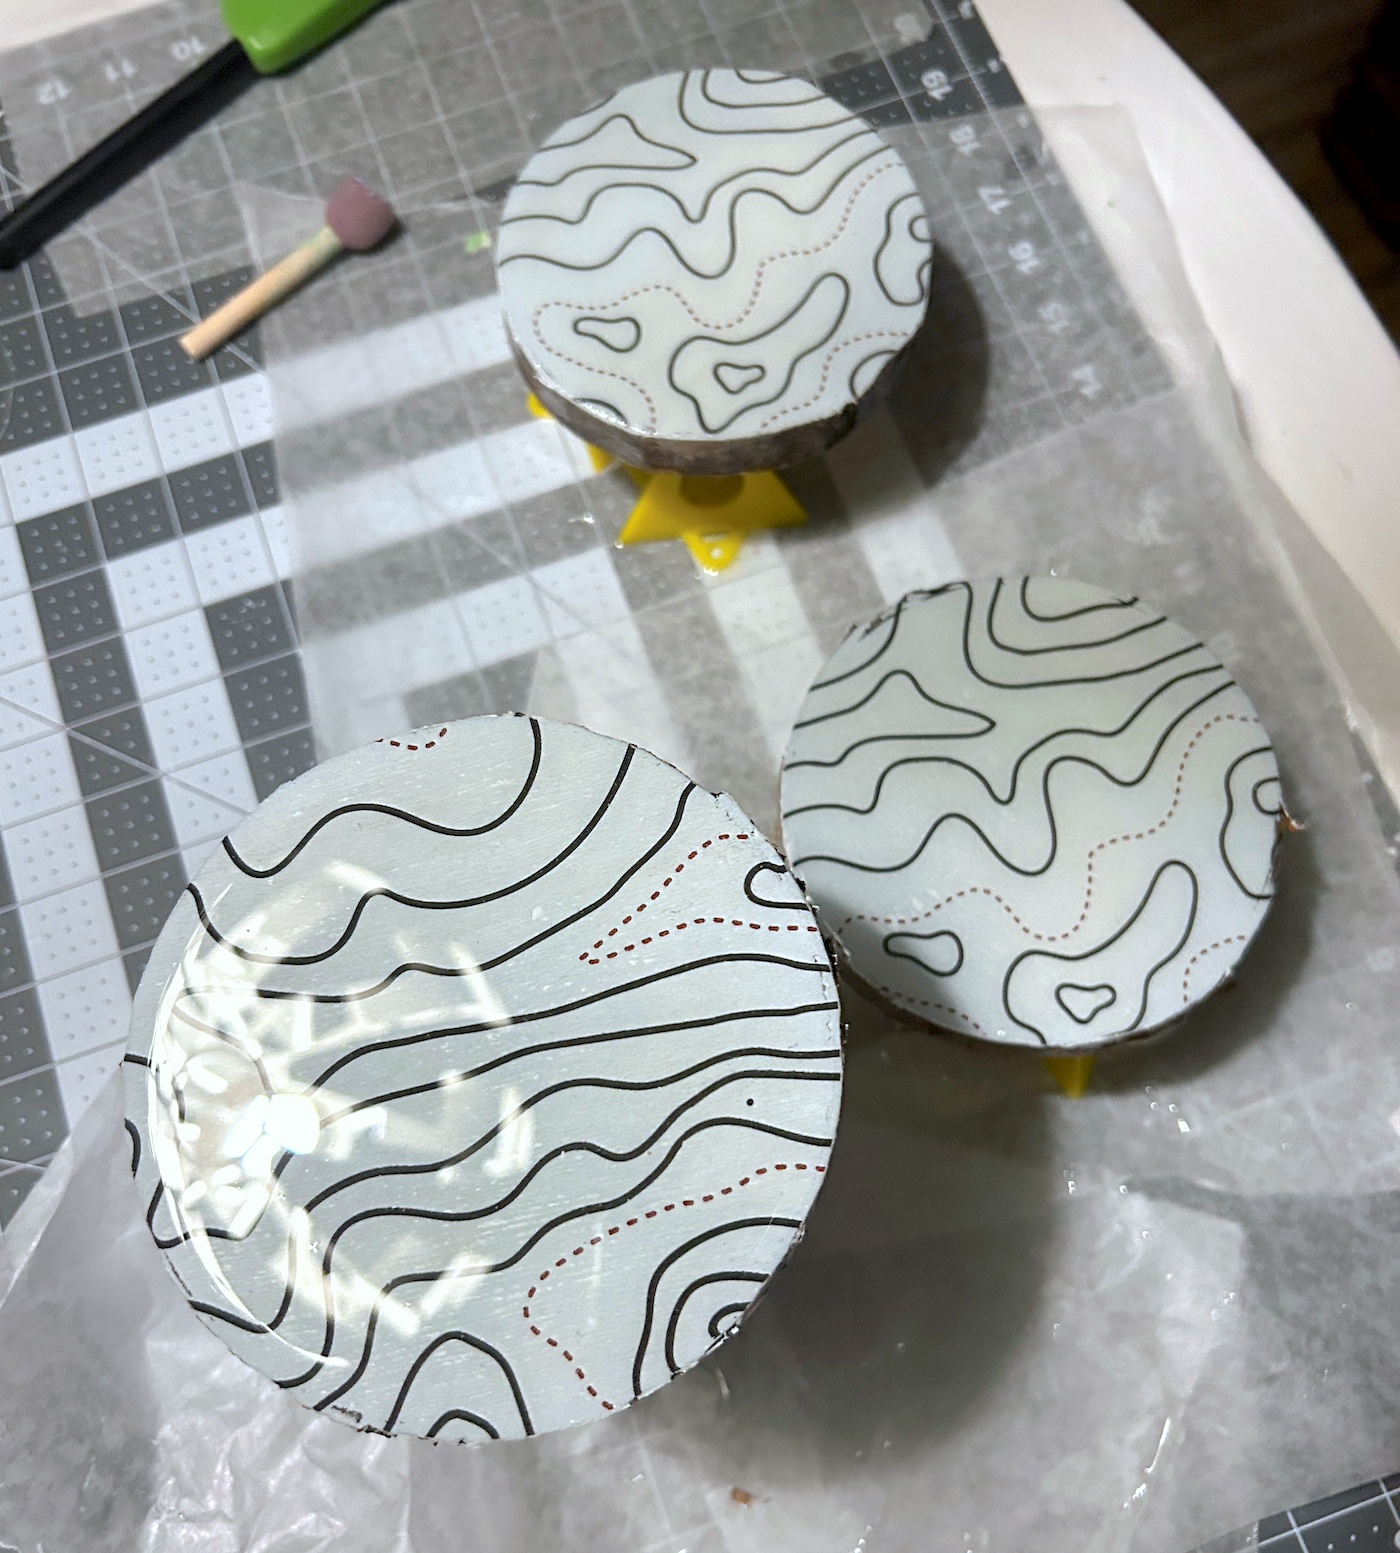
- Following the instructions on your resin to mix. I used a small cup and spatula to mix. Prop up the coasters on stands.
- Pour the resin over the top of one of the coasters. Start with a little and wait a minute to see how it spreads.

- Smooth out the resin a bit with the stir stick. If you see that you need more resin, add it. It's okay if some of the resin flows over the edges.

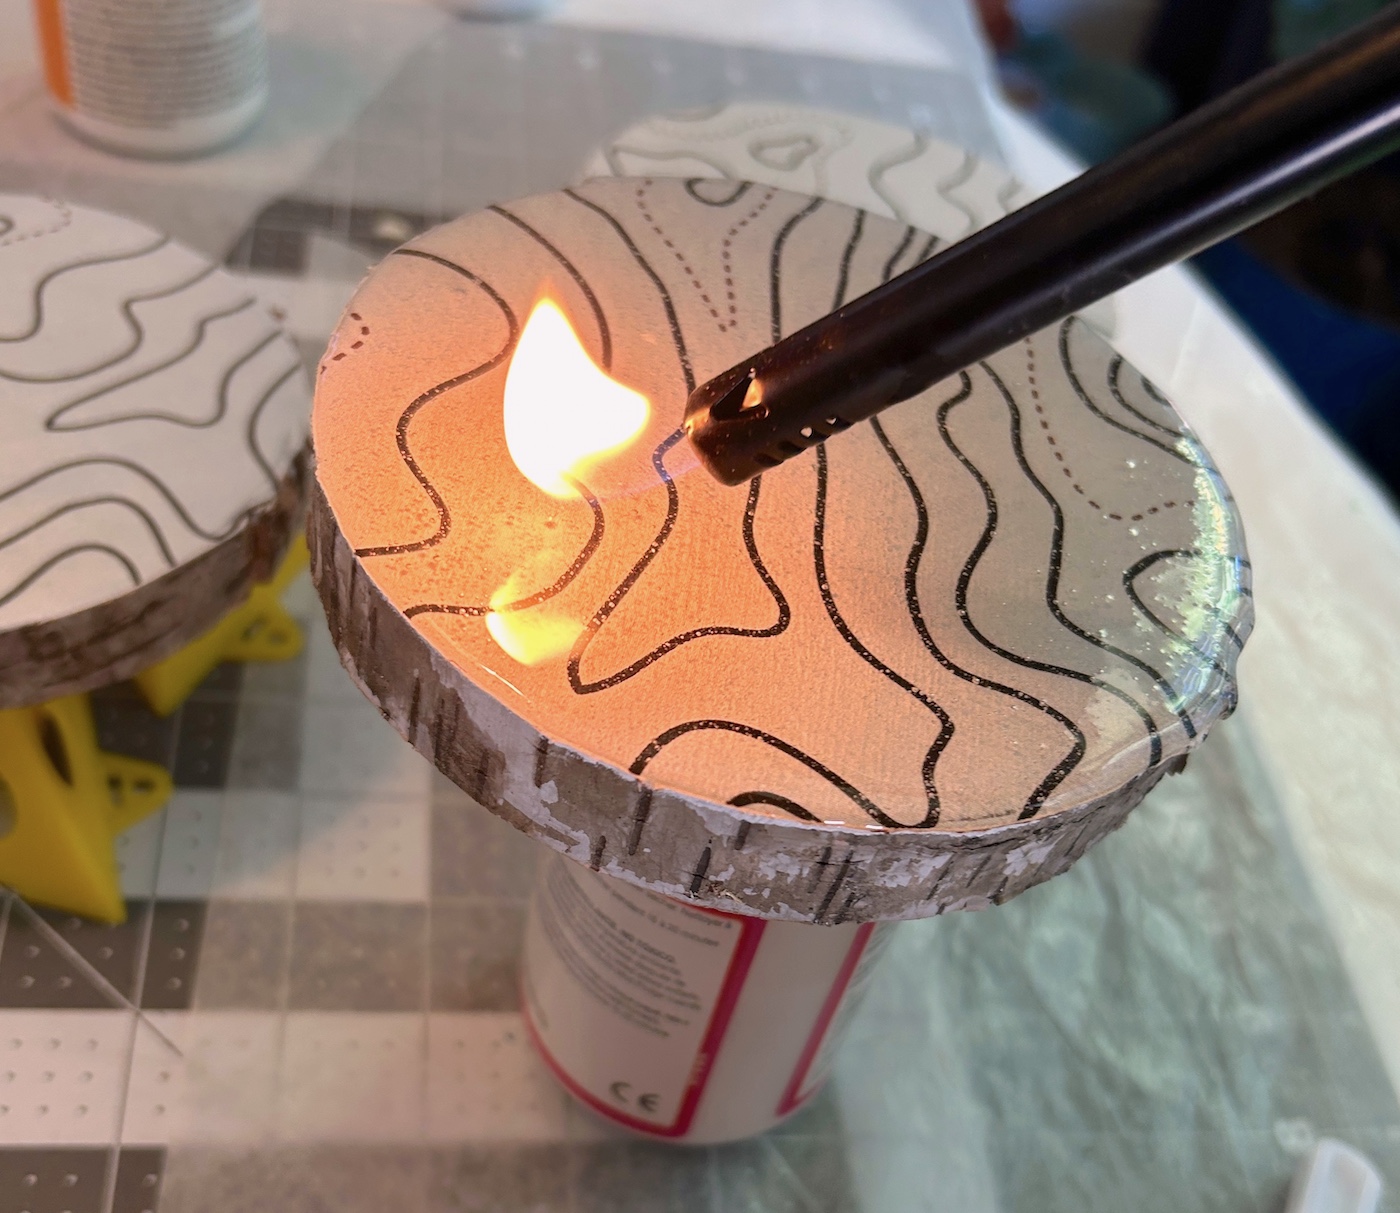
- Let the coasters sit for a few minutes, then remove bubbles by exhaling on the surface, or using a torch close to the surface as I did. Wait five minutes and repeat.
- Repeat with the remaining coasters. Leave them to dry overnight.
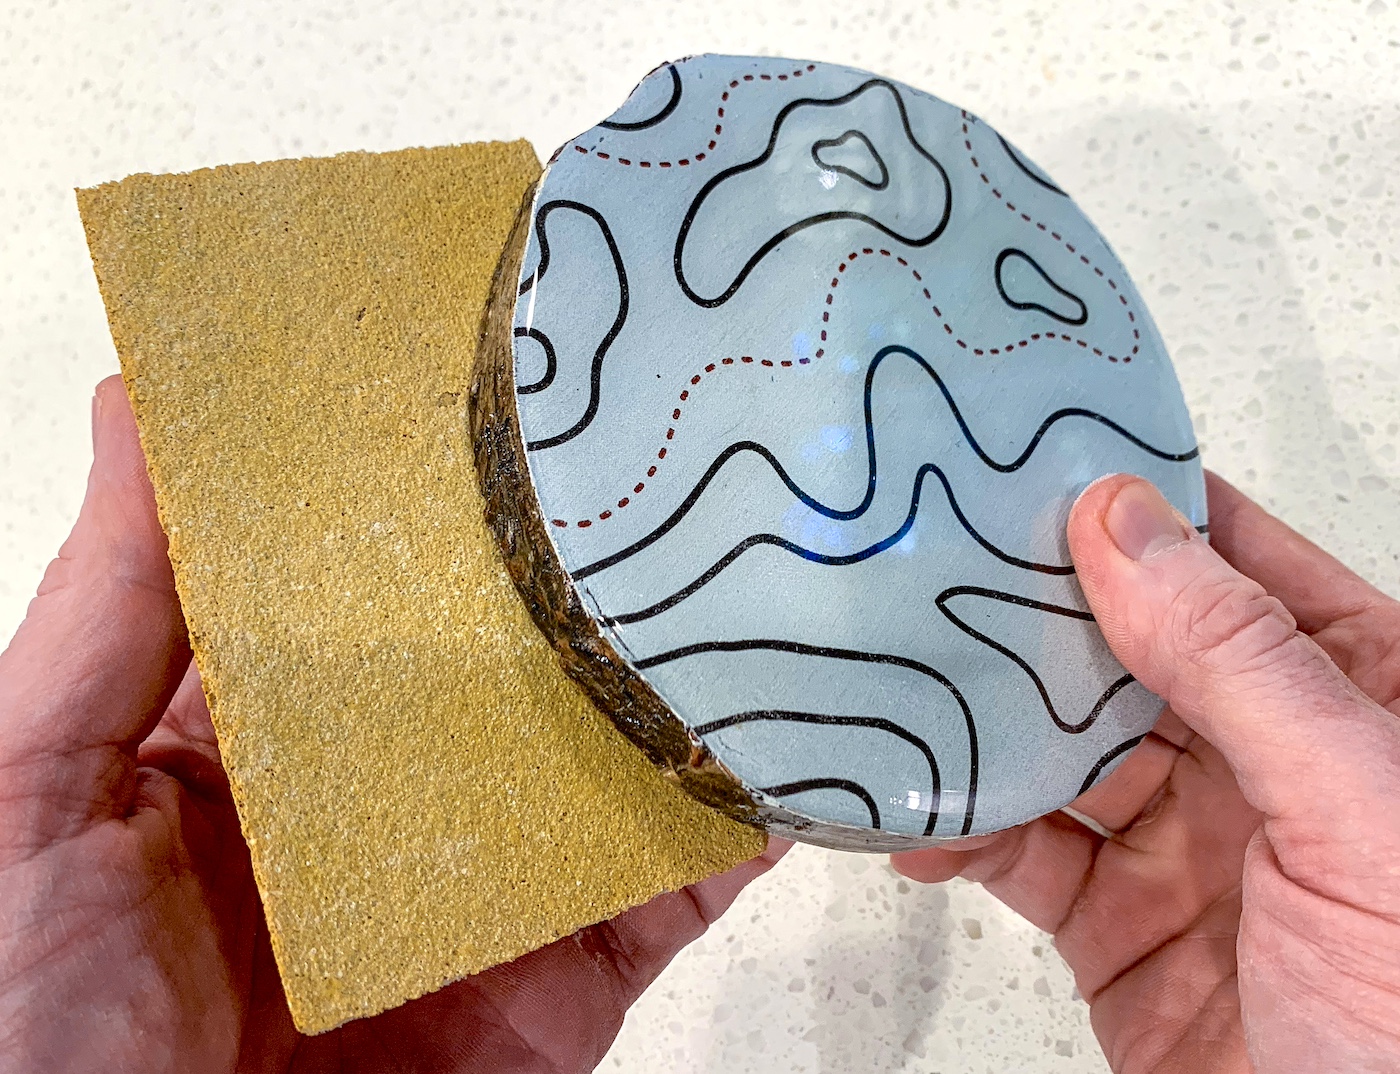
- If any resin came over the edges of the coasters and drips dried on the bottom, you can remove them with sandpaper.
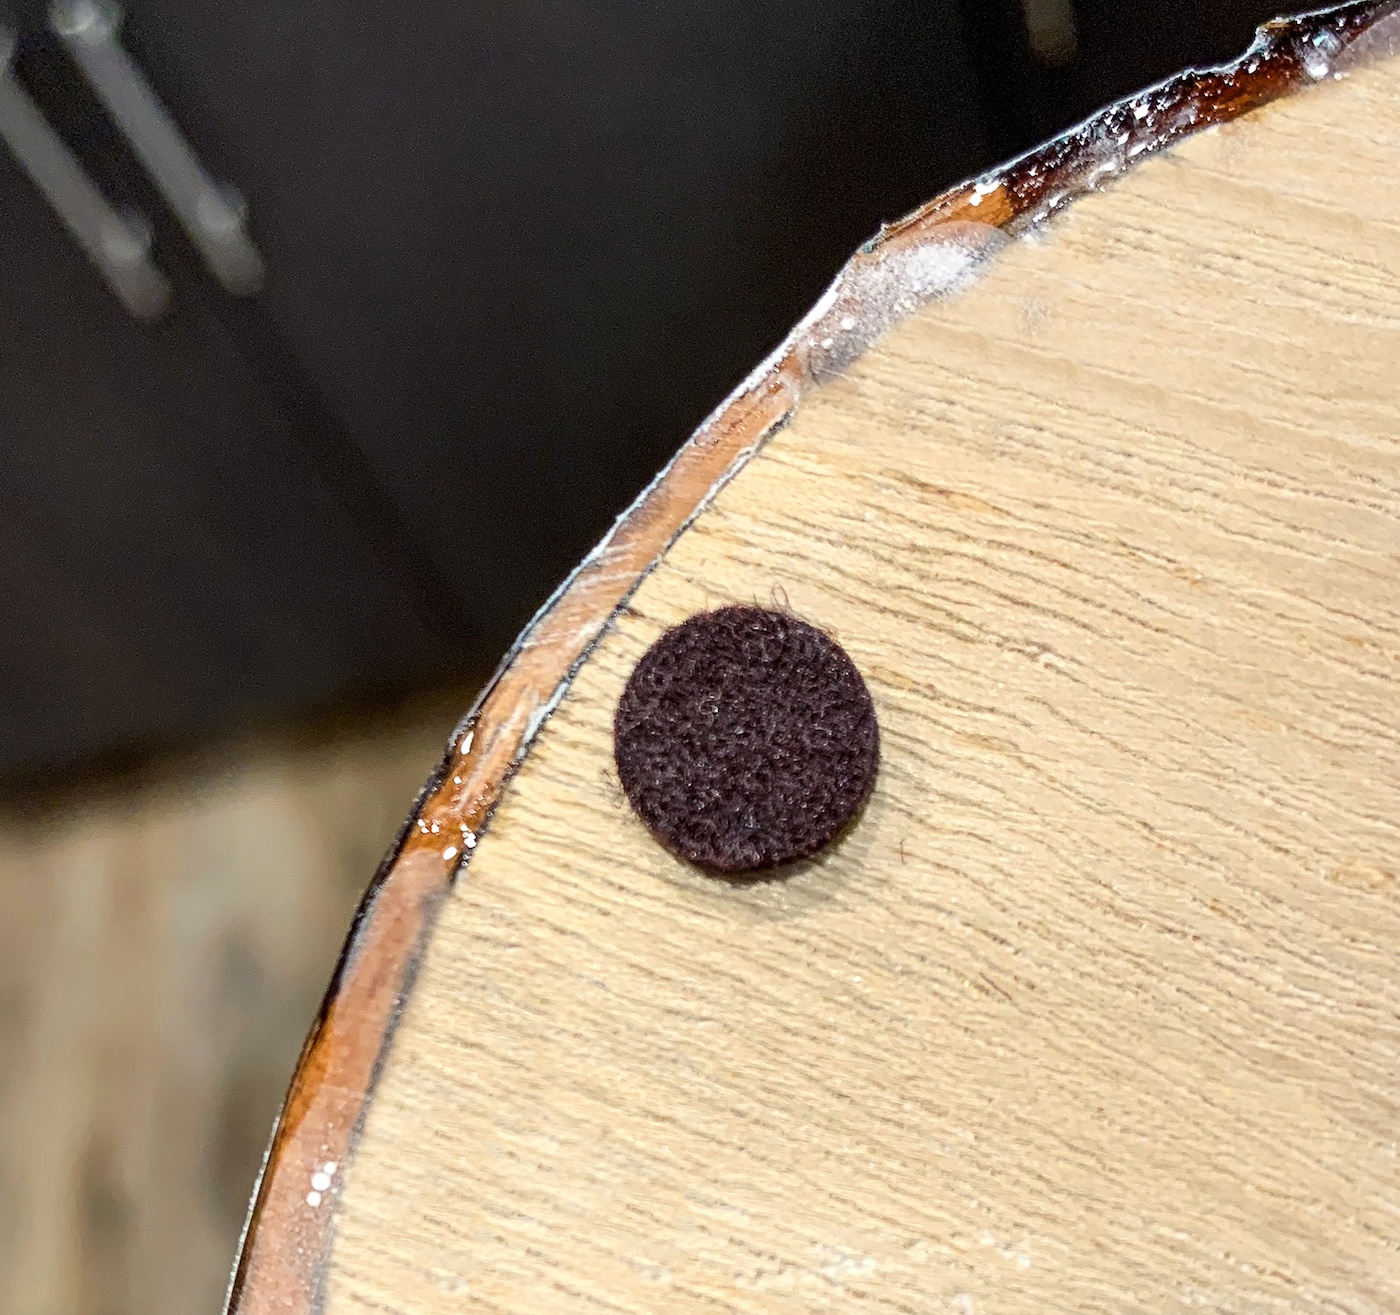
- Add several adhesive felt feet to the bottom of each wood slice to protect your surfaces and finish the coasters.