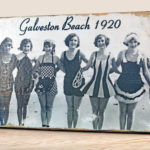
Photo Transfer to Wood
Learn how to transfer photos to wood in three simple steps! All you need is your favorite image and a medium.
Yield: 1 transfer
Cost: $5
Materials
- 1 piece 1/4″ plywood cut to 13 x 8 or the size of your choice
- Mod Podge Photo Transfer Medium
- Mod Podge Matte
- Acrylic paint
- Damp rag
- Image printed on regular paper using a laser printer or photocopier
Video
Instructions
- Print the image or photograph to fit the surface using a laserjet toner printer. Remember to reverse any words so that they will read correctly.
- Paint the surface with acrylic paint. Let dry completely.
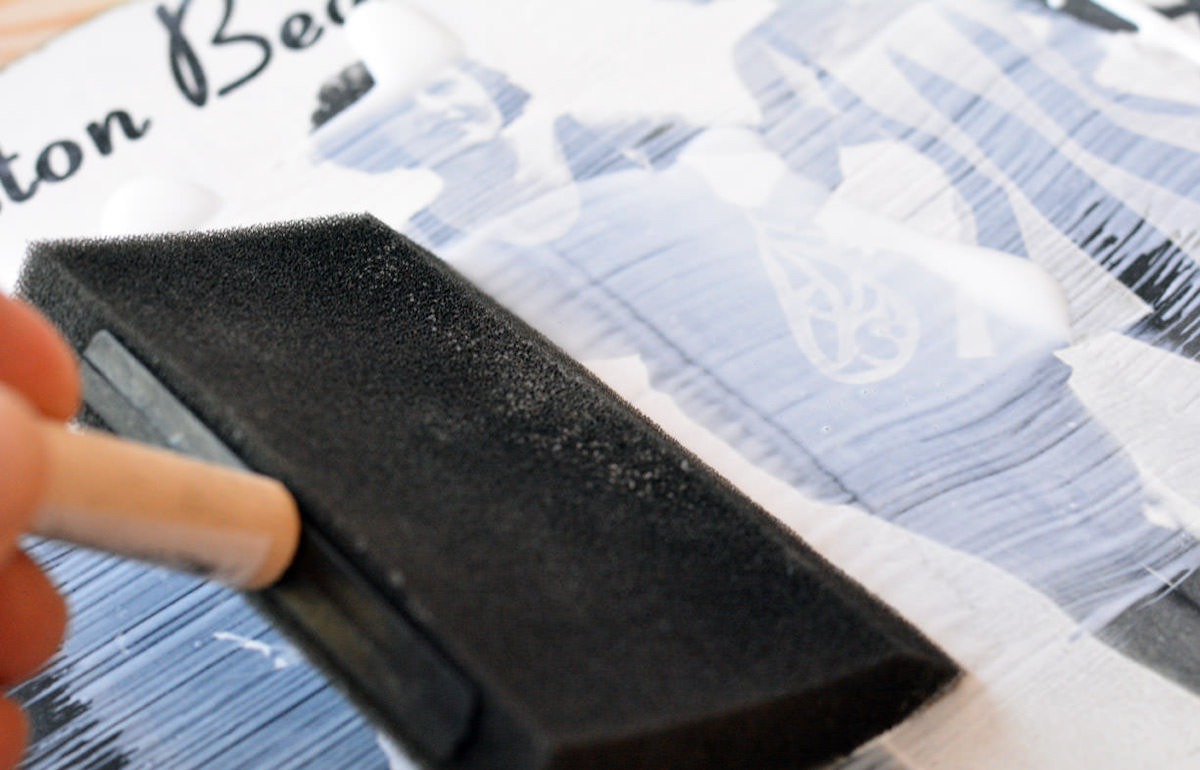
- Place your image on a mat with the ink side up. Squeeze a generous amount of Mod Podge Photo Transfer Medium onto the photo and spread with a foam brush.
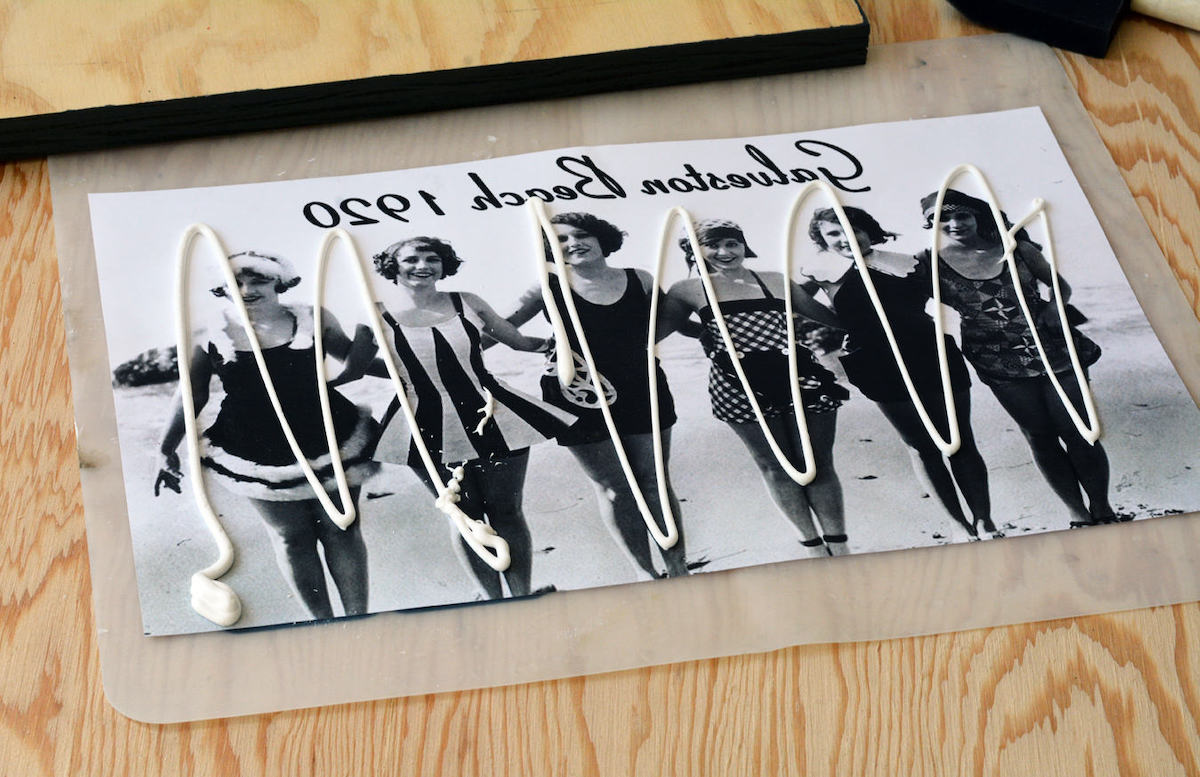
- Continue spreading the medium until it obscures the image. Be sure to get the corners well.
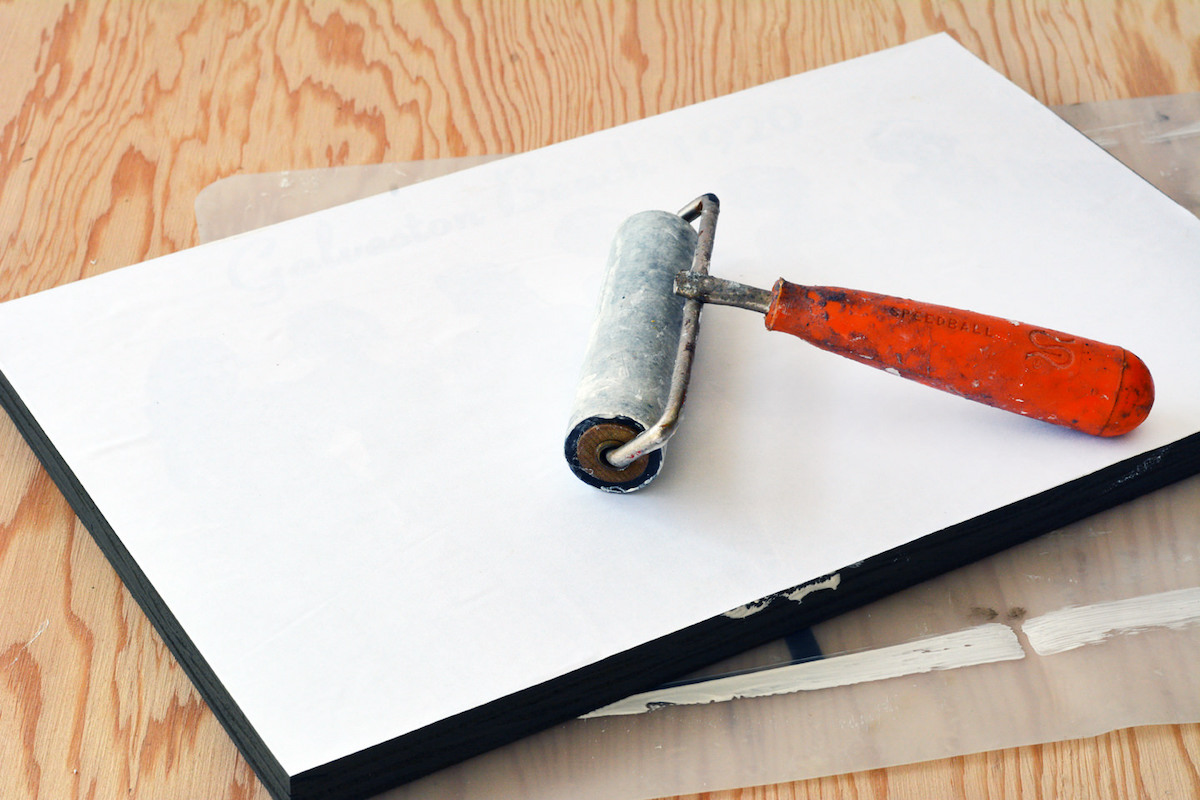
- Lay the picture image side down onto the surface. Smooth down, removing any air bubbles. A brayer helps here, as does having a wet rag (see Notes section).
- Set aside for 24 hours to dry.
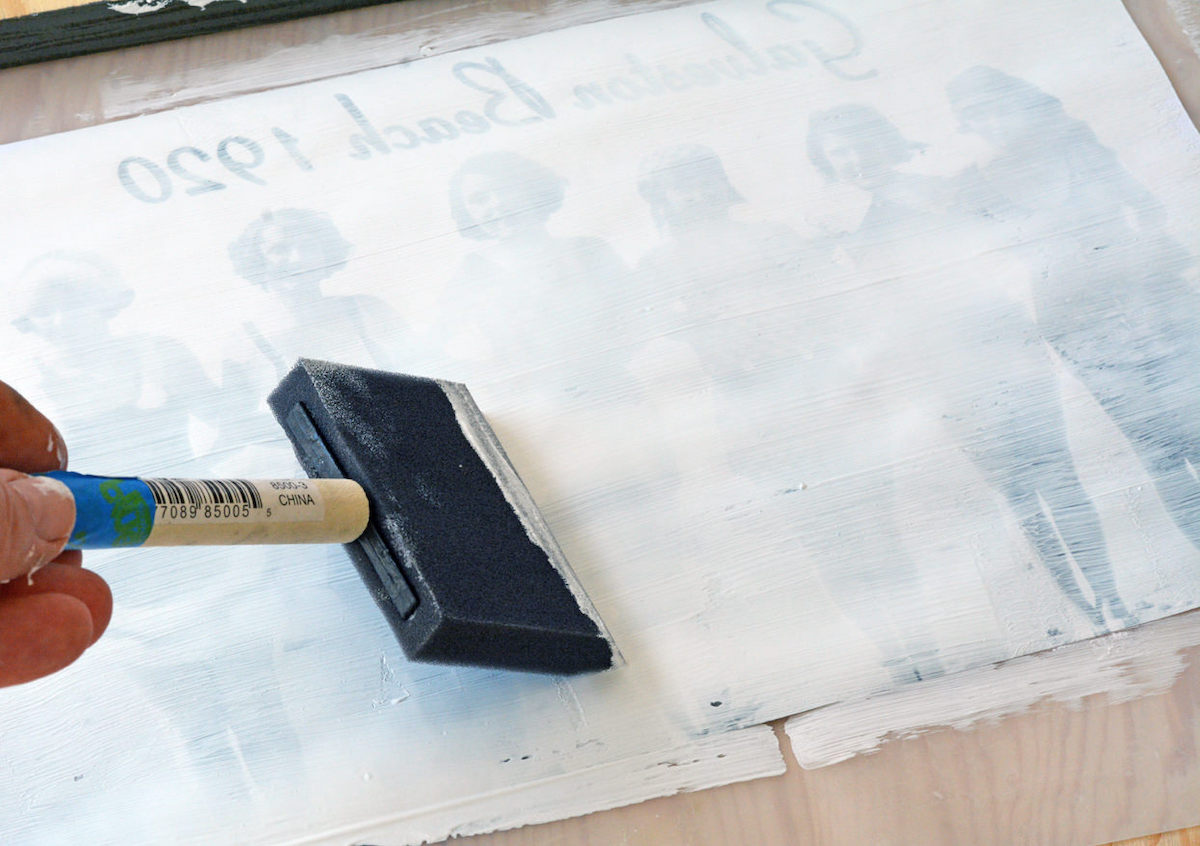
- Place a damp cloth down onto the back of the photo for several minutes. Start rubbing away the paper very, very gently. Rub harder as you get more comfortable, but use a light touch.
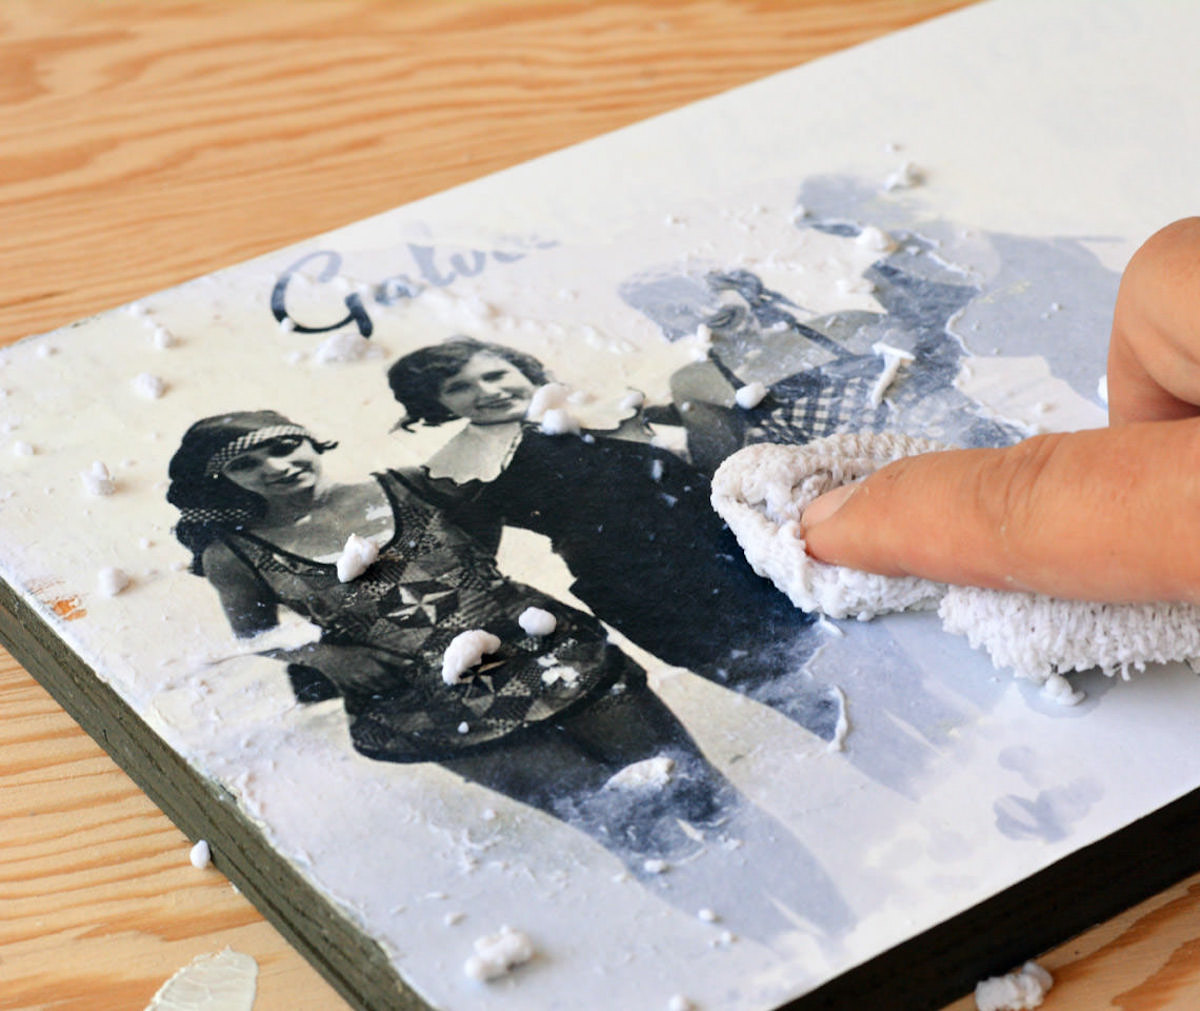
- After removing the top layer of paper, let dry a little and then repeat. It's better to rub gently and repeat the wetting process several times than to rub too hard and rub the image away.
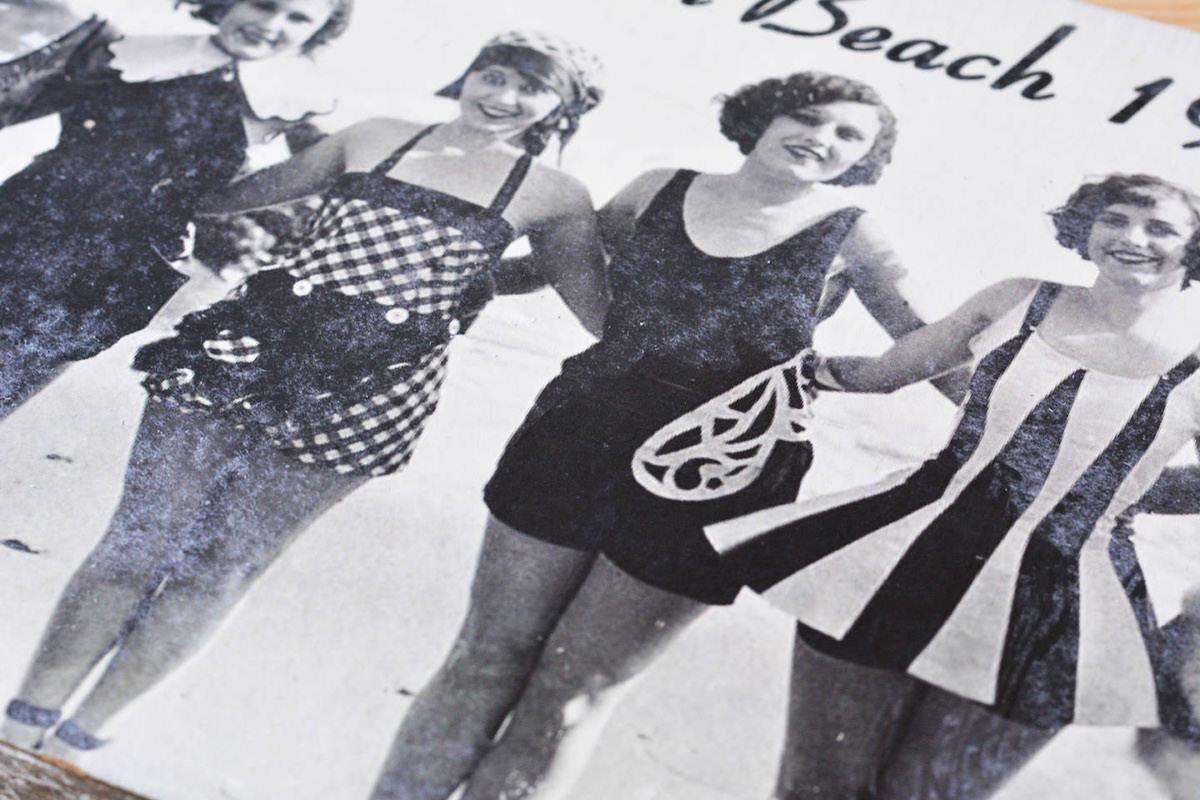
- Once you're satisfied with the image, further distress the piece with sandpaper if you like. Add a coat of Mod Podge Matte (or two) on top and let dry.
Notes
Your best source for laserjet print outs is a copy store like FedEx Kinko's! But I'm sure you can order them online as well.
Make sure to keep a damp rag nearby to clean up any oozy extra transfer medium (like you see on the bottom edge of the plywood in the picture) as when it dries is pretty hard and tough to get rid of.