
Photo Transfer to Fabric
Learn how to transfer images to fabric using Mod Podge Photo Transfer Medium! You'll love the results.
Yield: 1 pillow
Cost: $10
Equipment
- Cutting mat
- Squeegee
- Sponge or rag
Materials
- 1 Pillow cover white, cotton
- Printout of graphic laserjet
- Mod Podge Photo Transfer Medium
- Wax paper
Video
Instructions
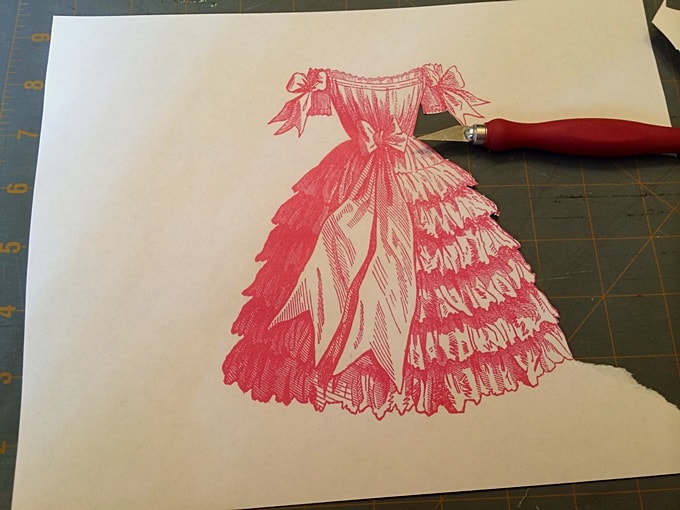
- Get a laserjet photocopy of the image you'd like to use in the correct size to fit your fabric. Use a craft knife and carefully cut out the image. Trim off any excess white around the edges, otherwise it will also transfer to the fabric.
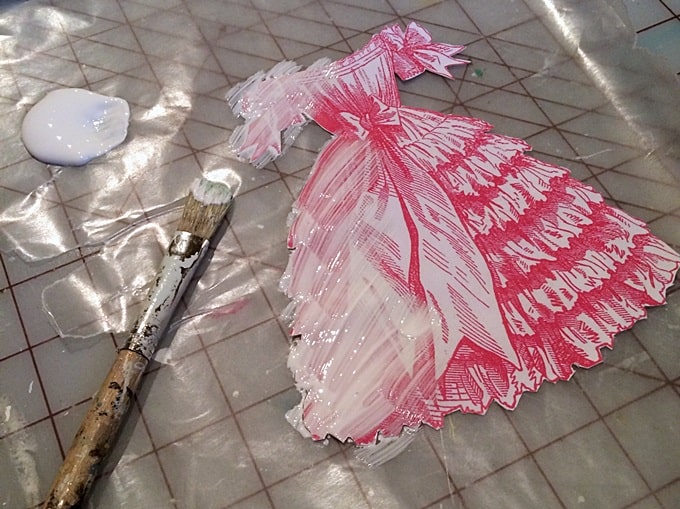
- Protect the work space using wax paper. Also, lay a sheet of wax paper inside the pillow cover so that the back of the pillow cover is protected. Brush a thick layer of transfer medium over the image. Use enough so that the image is obscured - just obscured.
- Lay the paper (glue-side down) on the fabric. Smooth out any bubbles in the glue using a squeegee and clean up any of the medium that extends beyond the paper. Allow the glue and paper to dry for 24 hours.
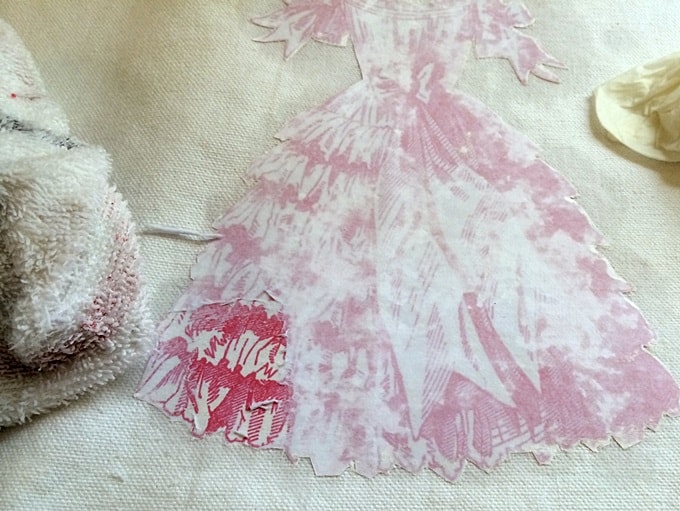
- Using a damp rag, moisten the paper. After about a minute, use a damp sponge or rag and gently rub the paper off in a circular motion to reveal the image.
- Once all of the paper is rubbed off, let dry. Add a pillow form inside the cover.
Notes
The key to a successful photo transfer is to work slowly and carefully so you do not tear or rub the image off.