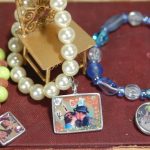
Photo Pendant
Learn how to make a simple DIY picture pendant in a few simple steps! Great for gifts.
Yield: 1 pendant
Cost: $12
Equipment
- Tweezers
- Jewelry tools
Materials
- Pendant blank
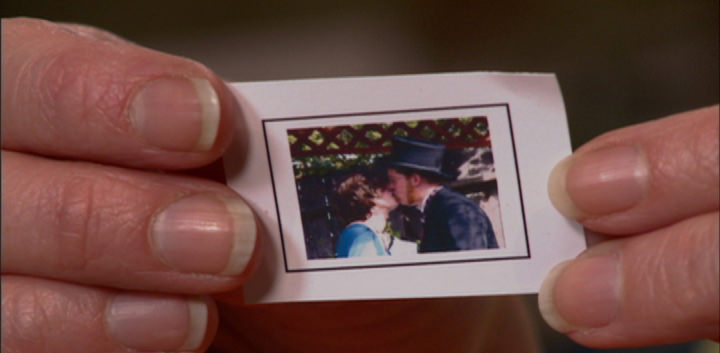
- Printed photo to fit your blank - laserjet
- Scrapbook paper or magazine cutouts optional
- Embellishments rhinestones, glitter
- Mod Podge Matte
- Mod Podge Dimensional Magic
- Beads and jewelry findings
- Craft glue optional
Video
Instructions
- Print out your photo on a laserjet printer and trim down to fit your bezel or surface. Trim your paper or magazine cutouts at this time also (optional).
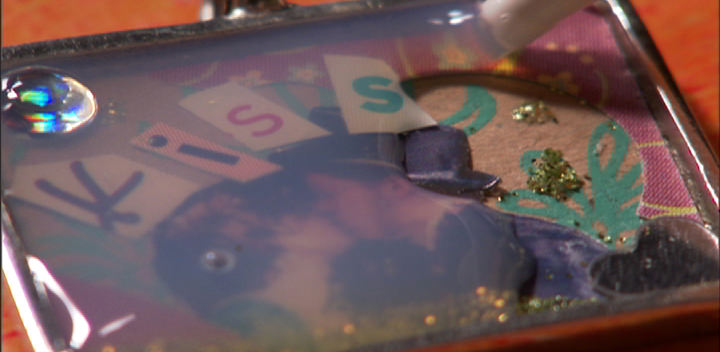
- Add to the bezel or surface using Mod Podge. Add any embellishments you like with craft glue. Let dry for several hours.

- Add Dimensional Magic to the bezel or surface, filling until you reach the sides and top. Pop all bubbles with a pin and let dry on a flat surface for 24 hours.
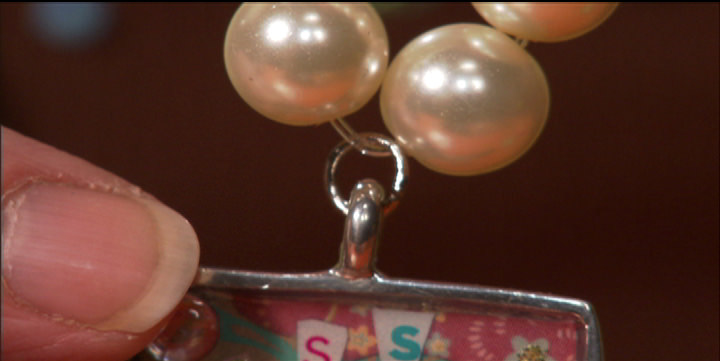
- Create a necklace or bracelet using basic jewelry tools and findings.
Notes
- Dimensional Magic can sometimes sink in the center as it dries. You can apply a second coat to fill in over the top of the first coat.
- Allow Dimensional Magic to dry in a room temperature environment or warmer. Cold weather or fans will make it crack.