Peace Wood Decor
Decorate a wood word from the Dollar Tree to create this unique peace sign! It's easy to do with Mod Podge and other supplies.
Yield: 1 sign
Cost: $2
Equipment
- Parchment paper
Materials
- Wood word
- Holiday or winter napkin(s)
- Mod Podge any formula
- Craft paint white, metallic blue, metallic silver blue
- FolkArt Glitterific Hologram
- Painter's tape
- Clear acrylic spray sealer optional
Instructions
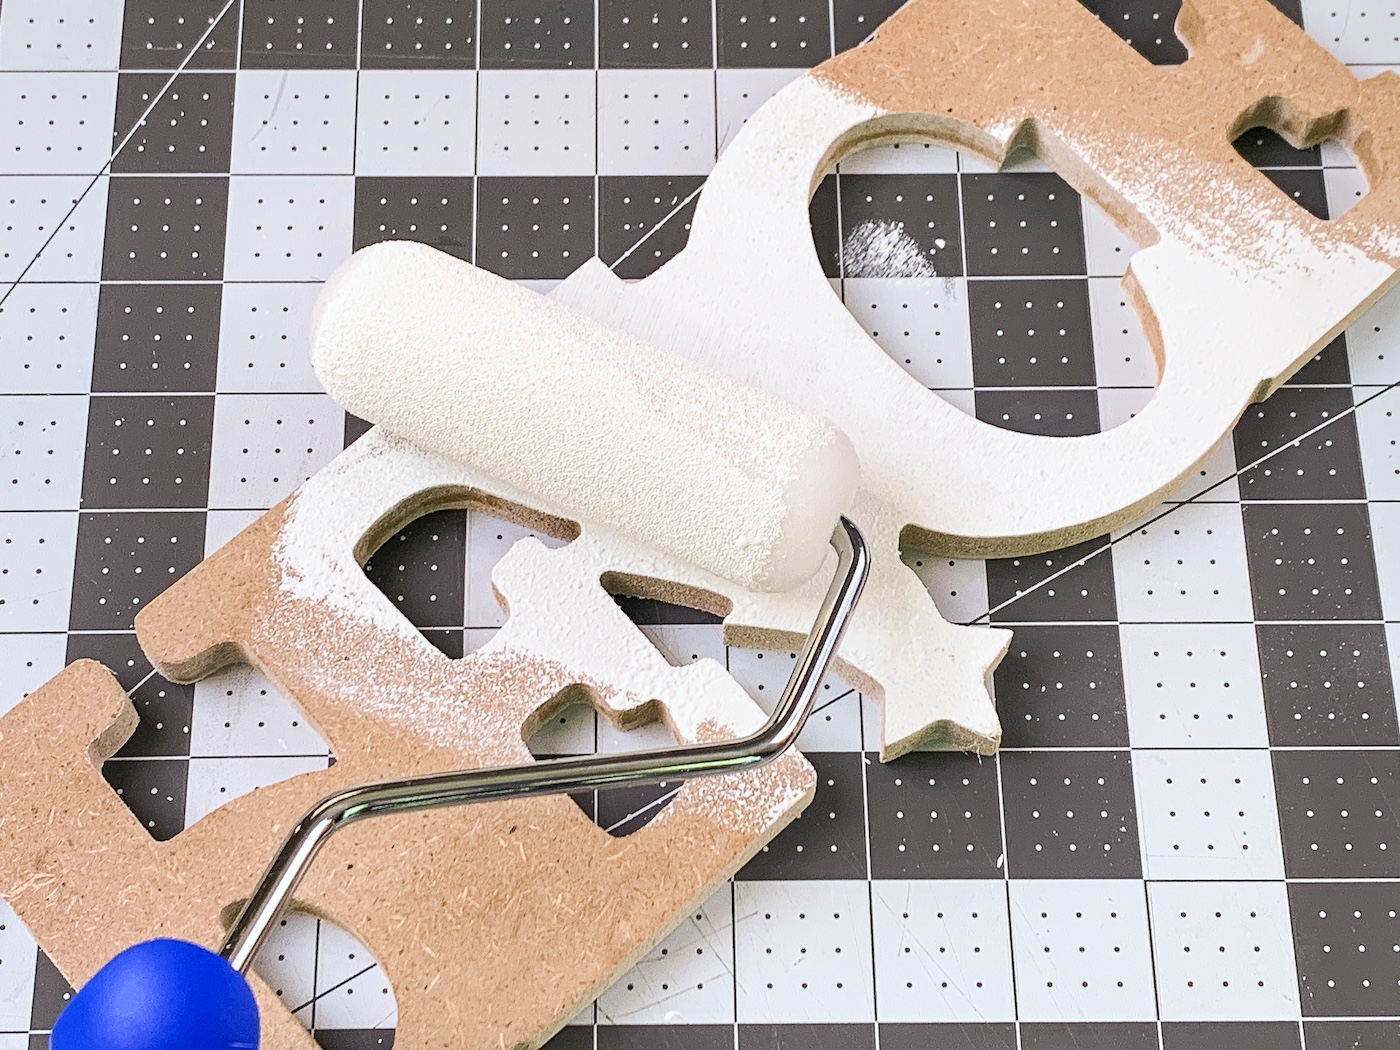
- Paint the wood word using white craft paint. Roll on one side, let dry, and flip over. Paint other side and let dry. Use a small brush to get inside the letters. Let dry completely.
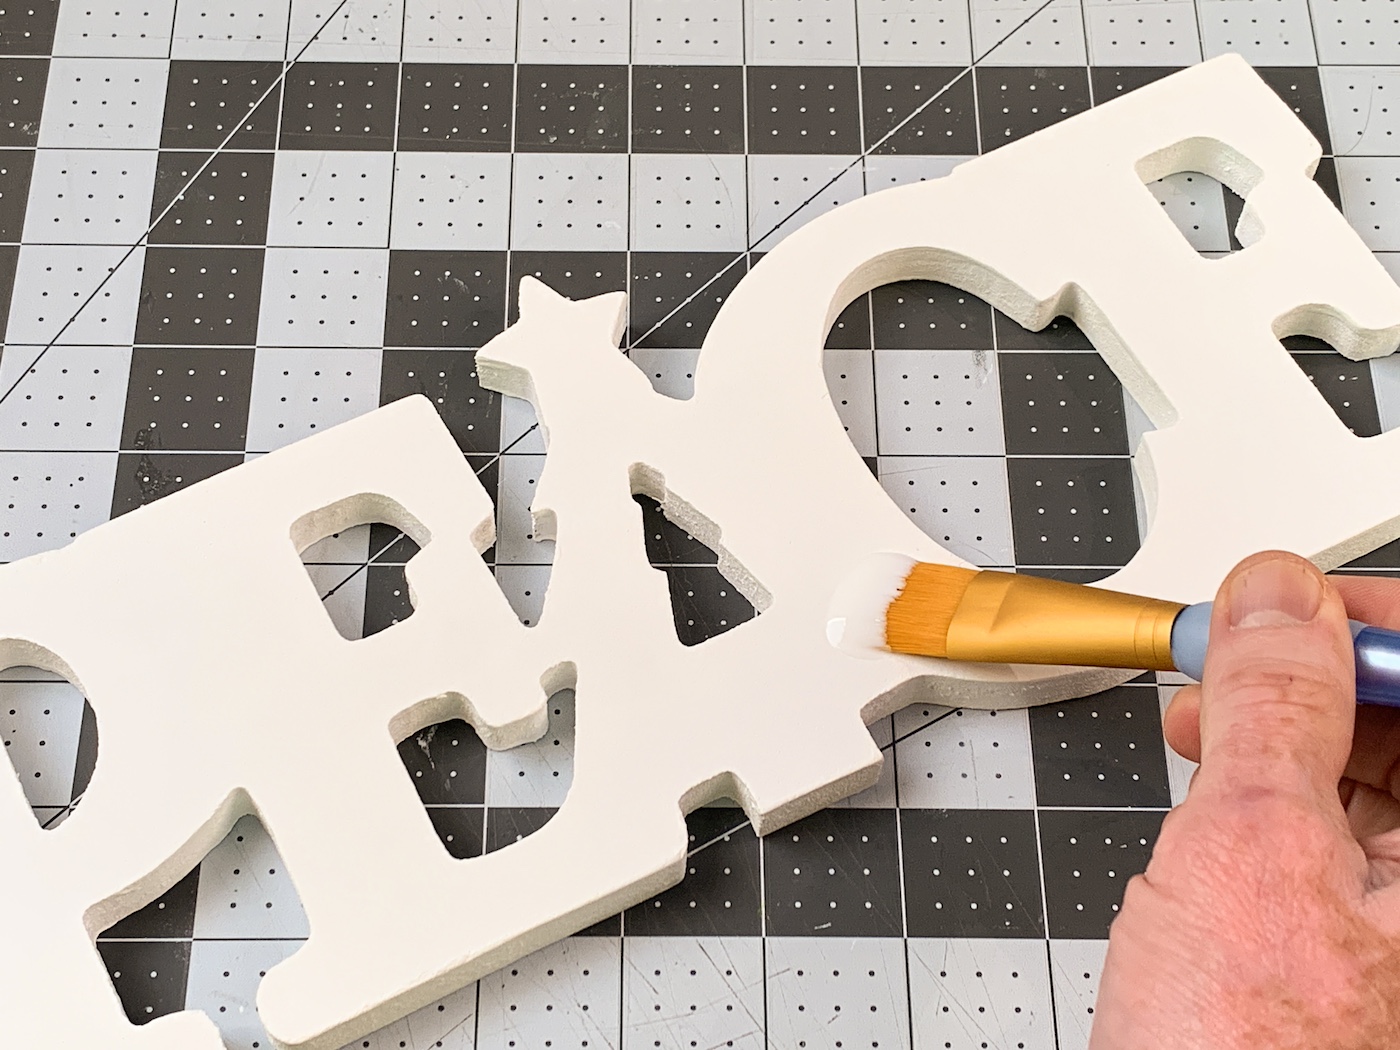
- Apply a medium coat of Mod Podge to the top of the word. Let dry and repeat. Wipe away any Mod Podge that dripped over the edges. Let the two coats dry completely.
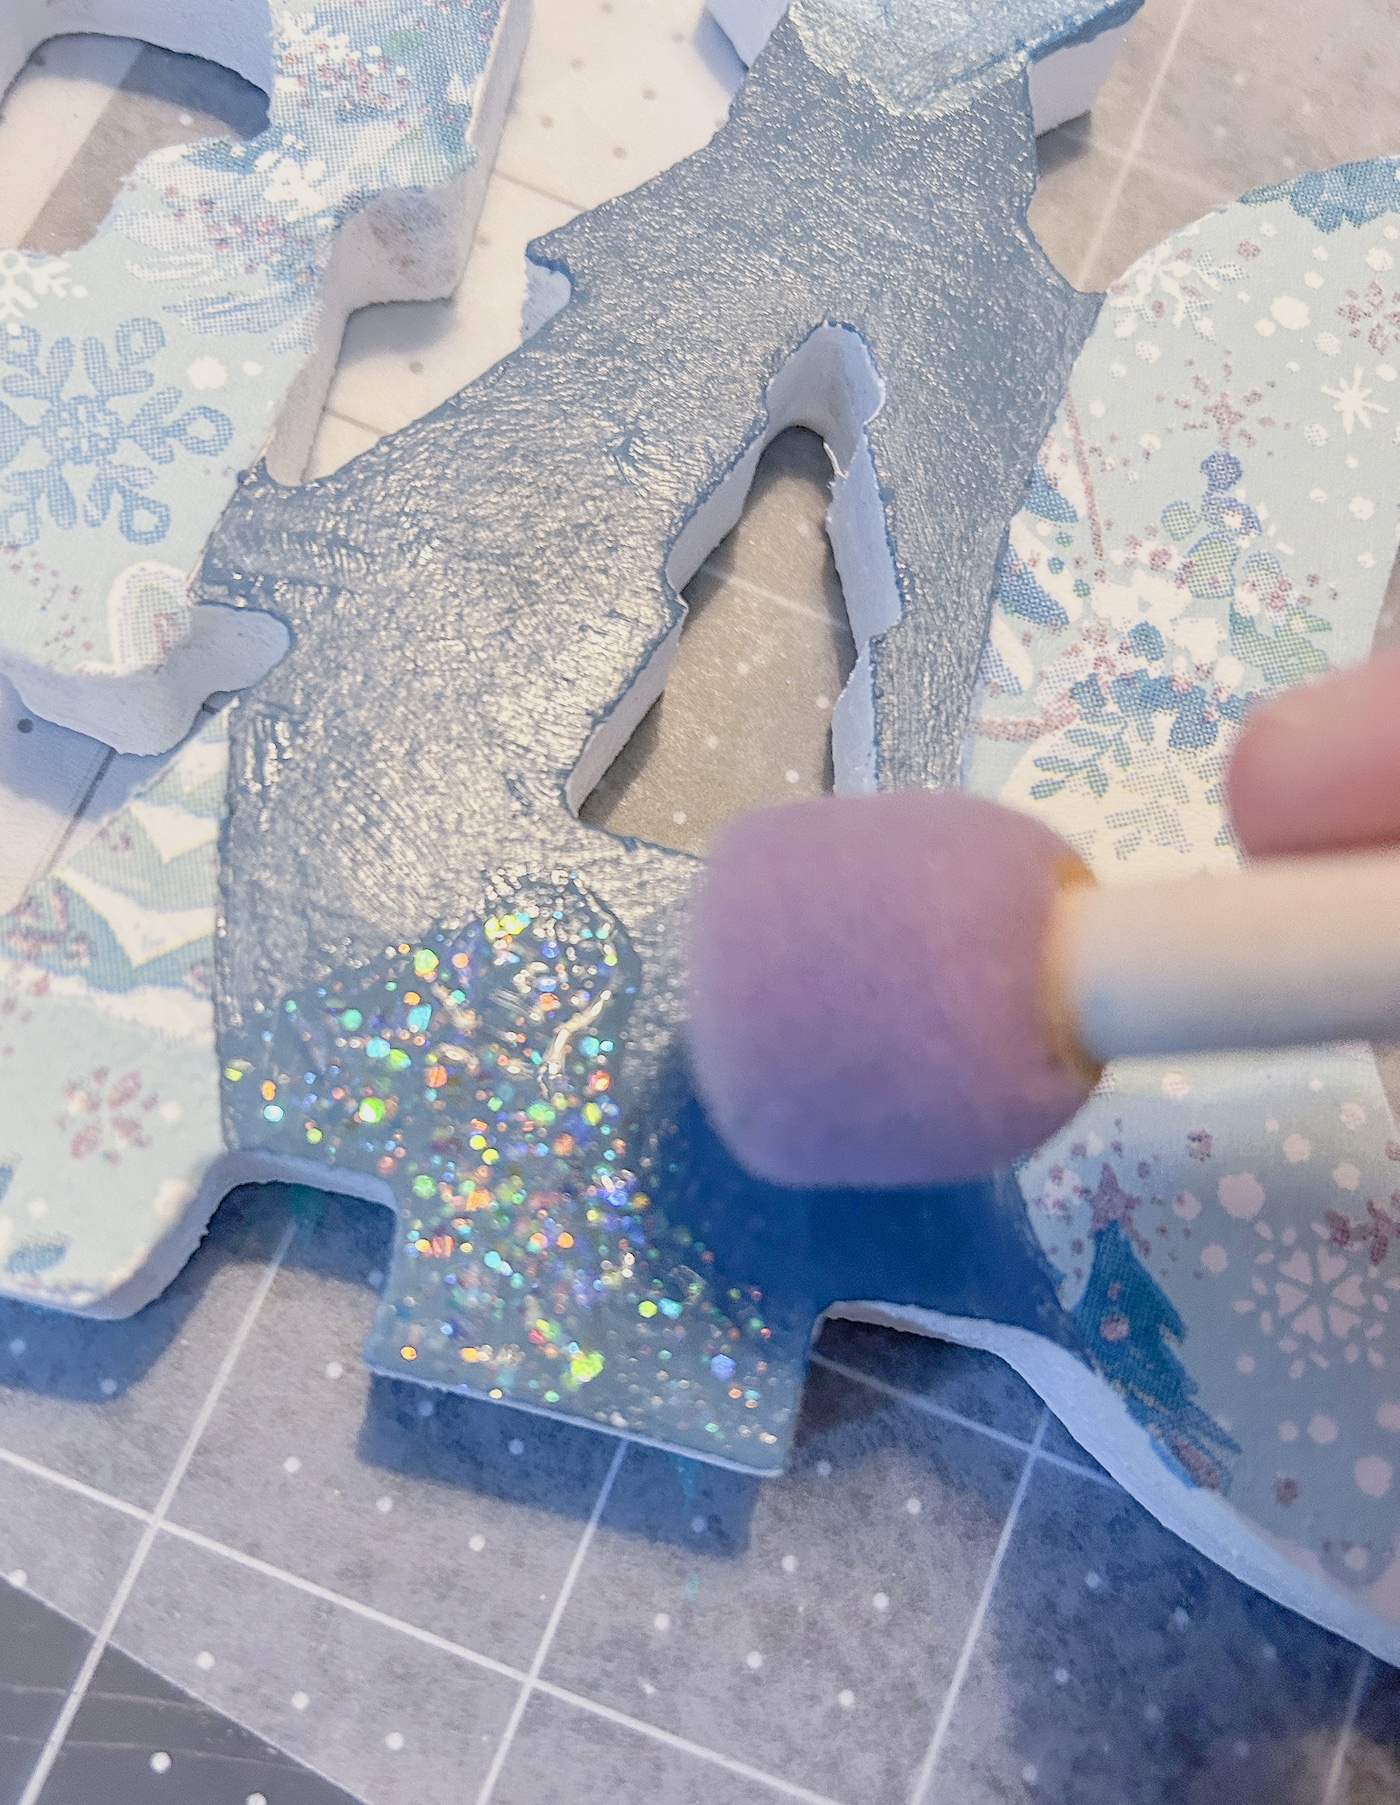
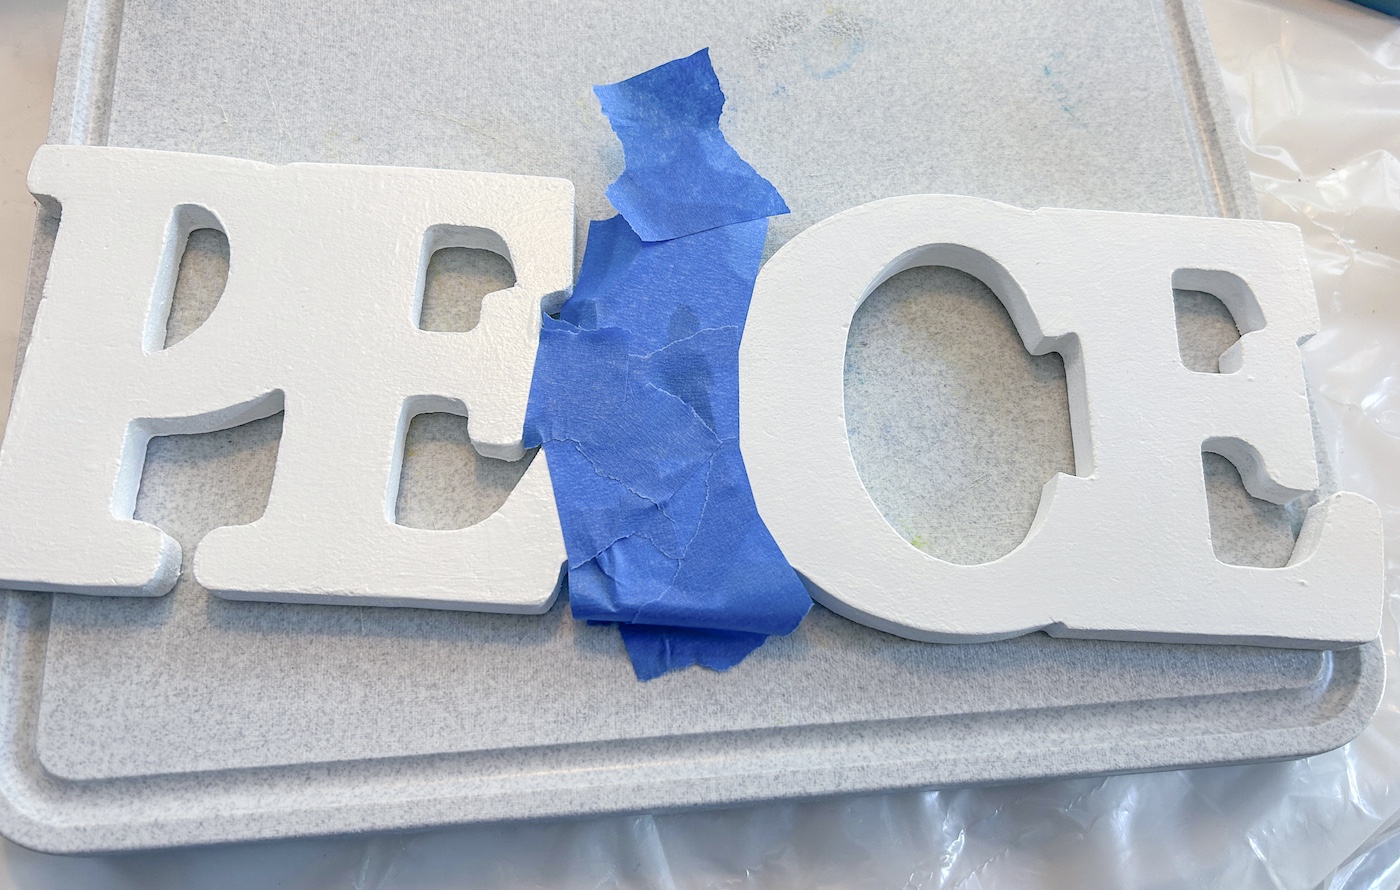
- Use painter's tape to tape off part of the design, if desired. I taped anywhere that I didn't want the napkin to adhere. You can use a craft knife to trim the painter's tape.
- While the Mod Podge is drying, separate the napkin from the bottom layers. You can use tape to help. You just want the top layer with the design.
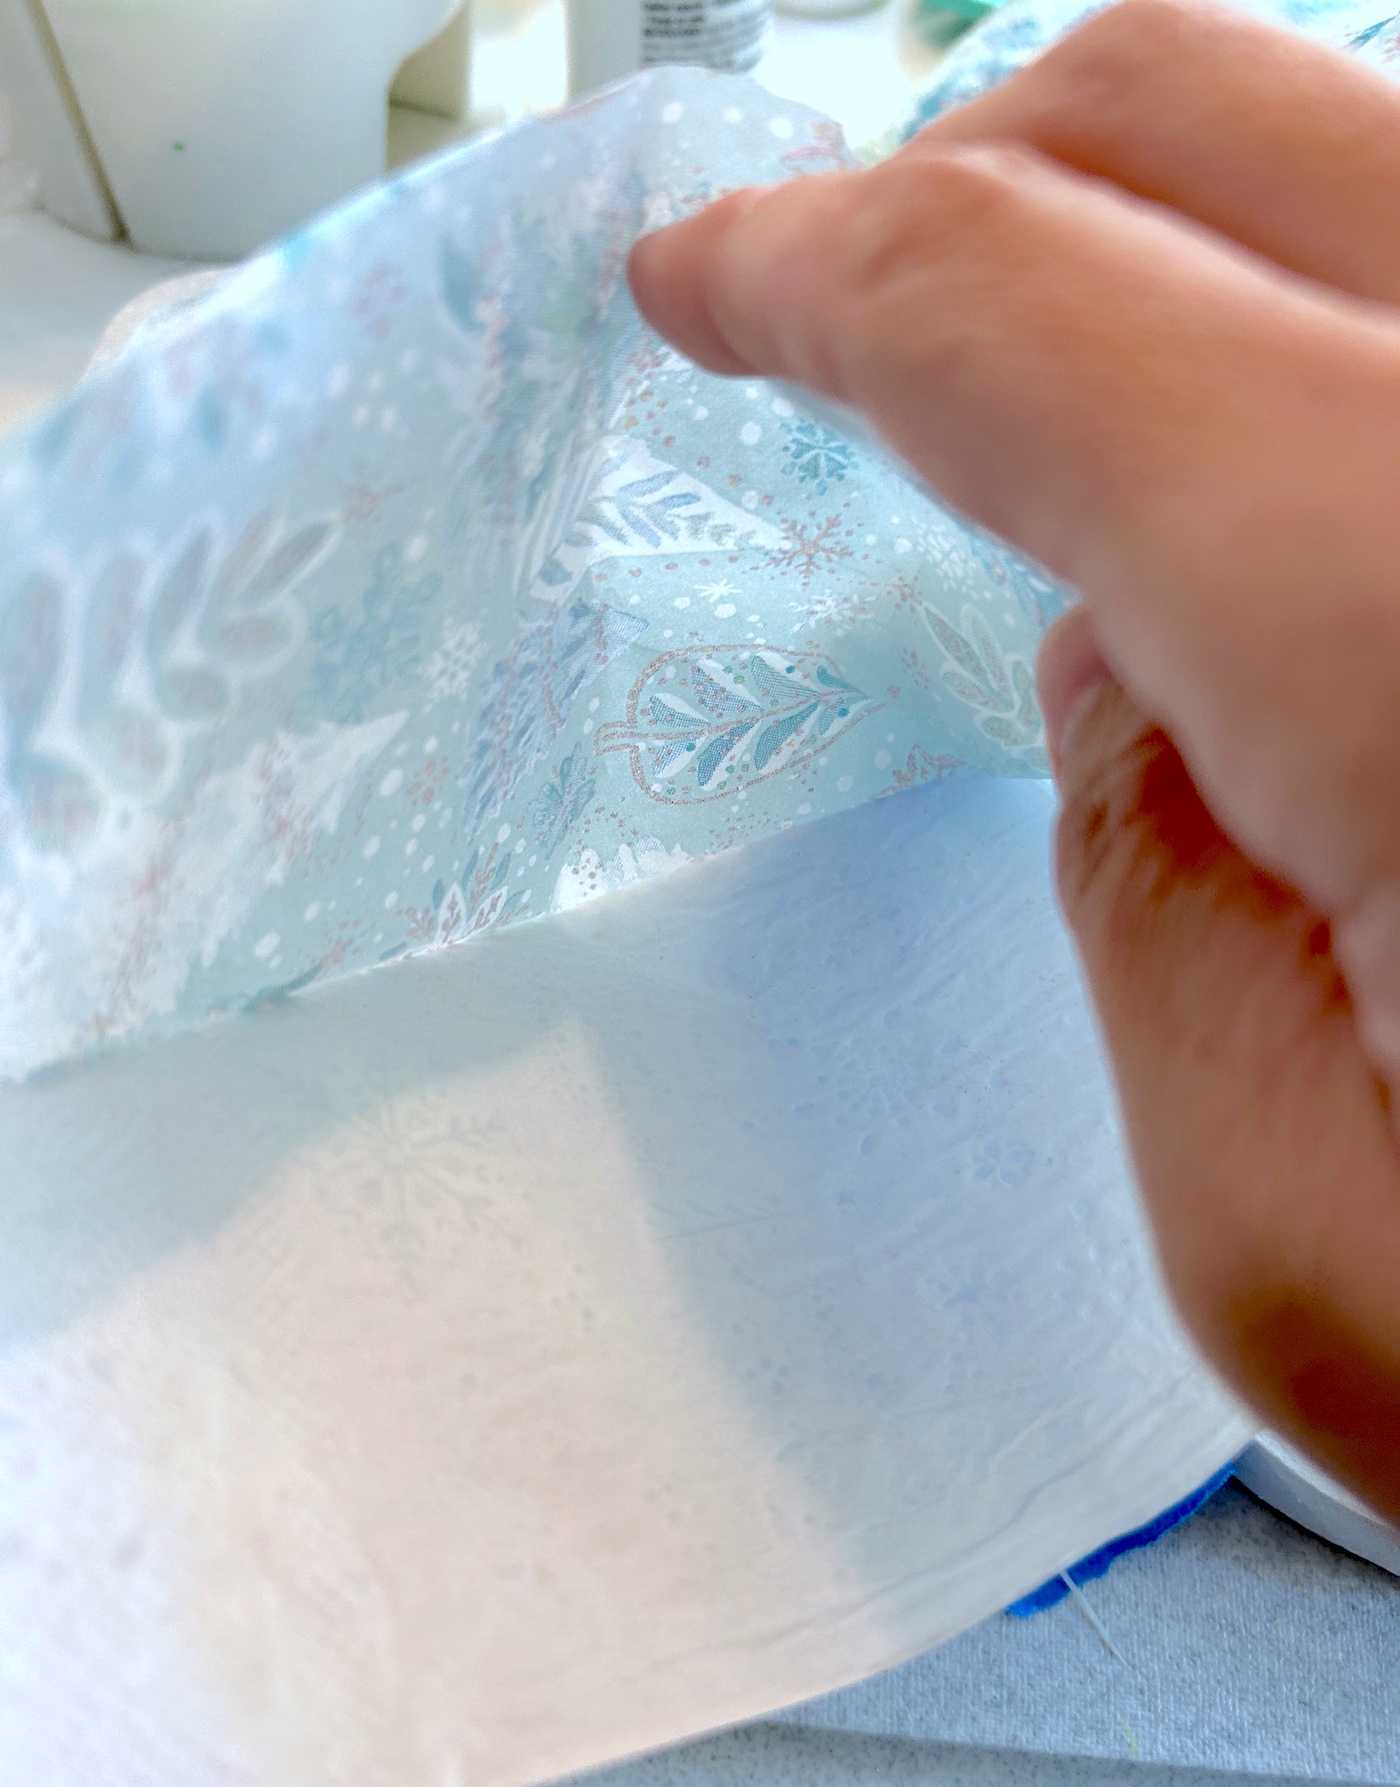
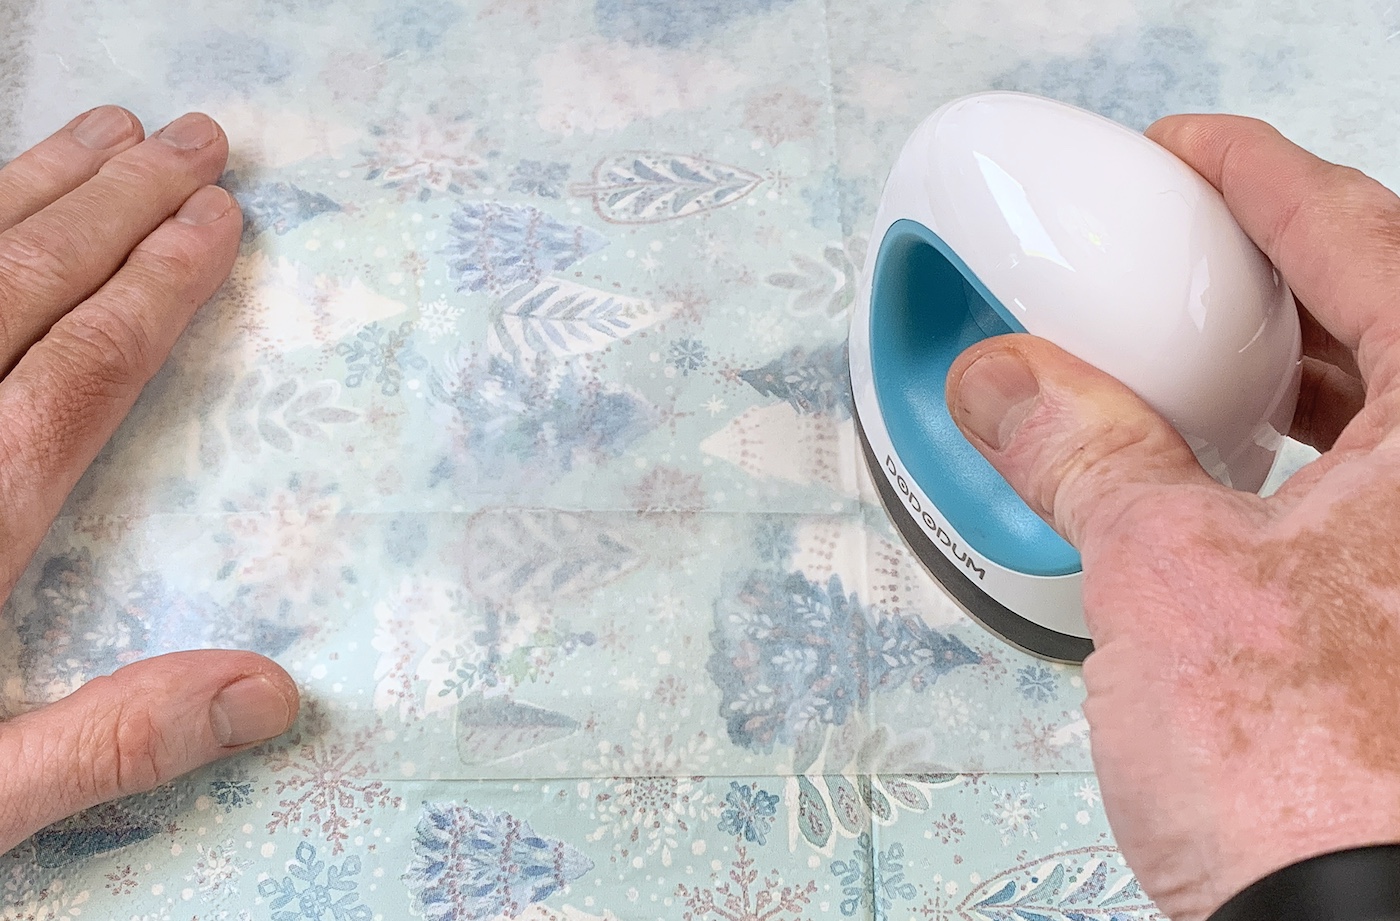
- Place the napkin down onto the word. Place a piece of parchment paper on top of the napkin, and run the craft iron across the top several times. While you are doing this, the Mod Podge is melting below the napkin, and the napkin is adhering. Keep going until the napkin is fully adhered, including the edges.
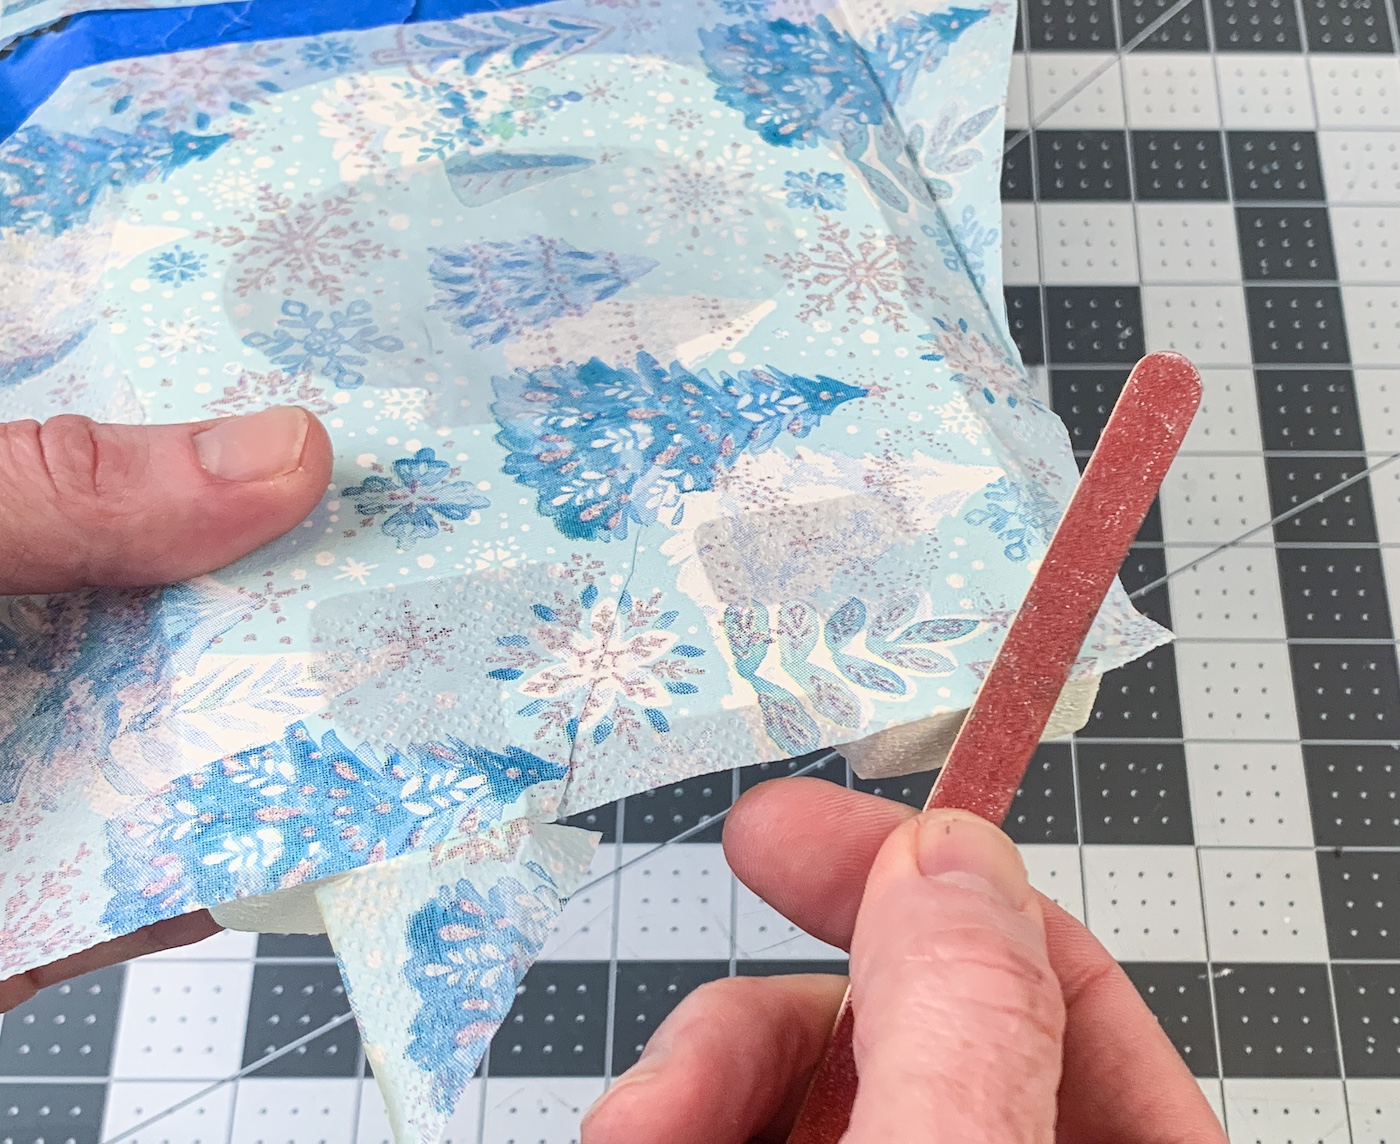
- Let the word cool after ironing. Use an emery board to gently sand away the excess napkin. Sanding at an angle works very well. Continue until all the extra napkin is removed. I used a craft knife to remove the napkin around the painter's tape area.
- Remove the painter's tape and paint the tree area using the metallic paint. I used two blues; one for the base of the tree, and one for the star. Let dry.
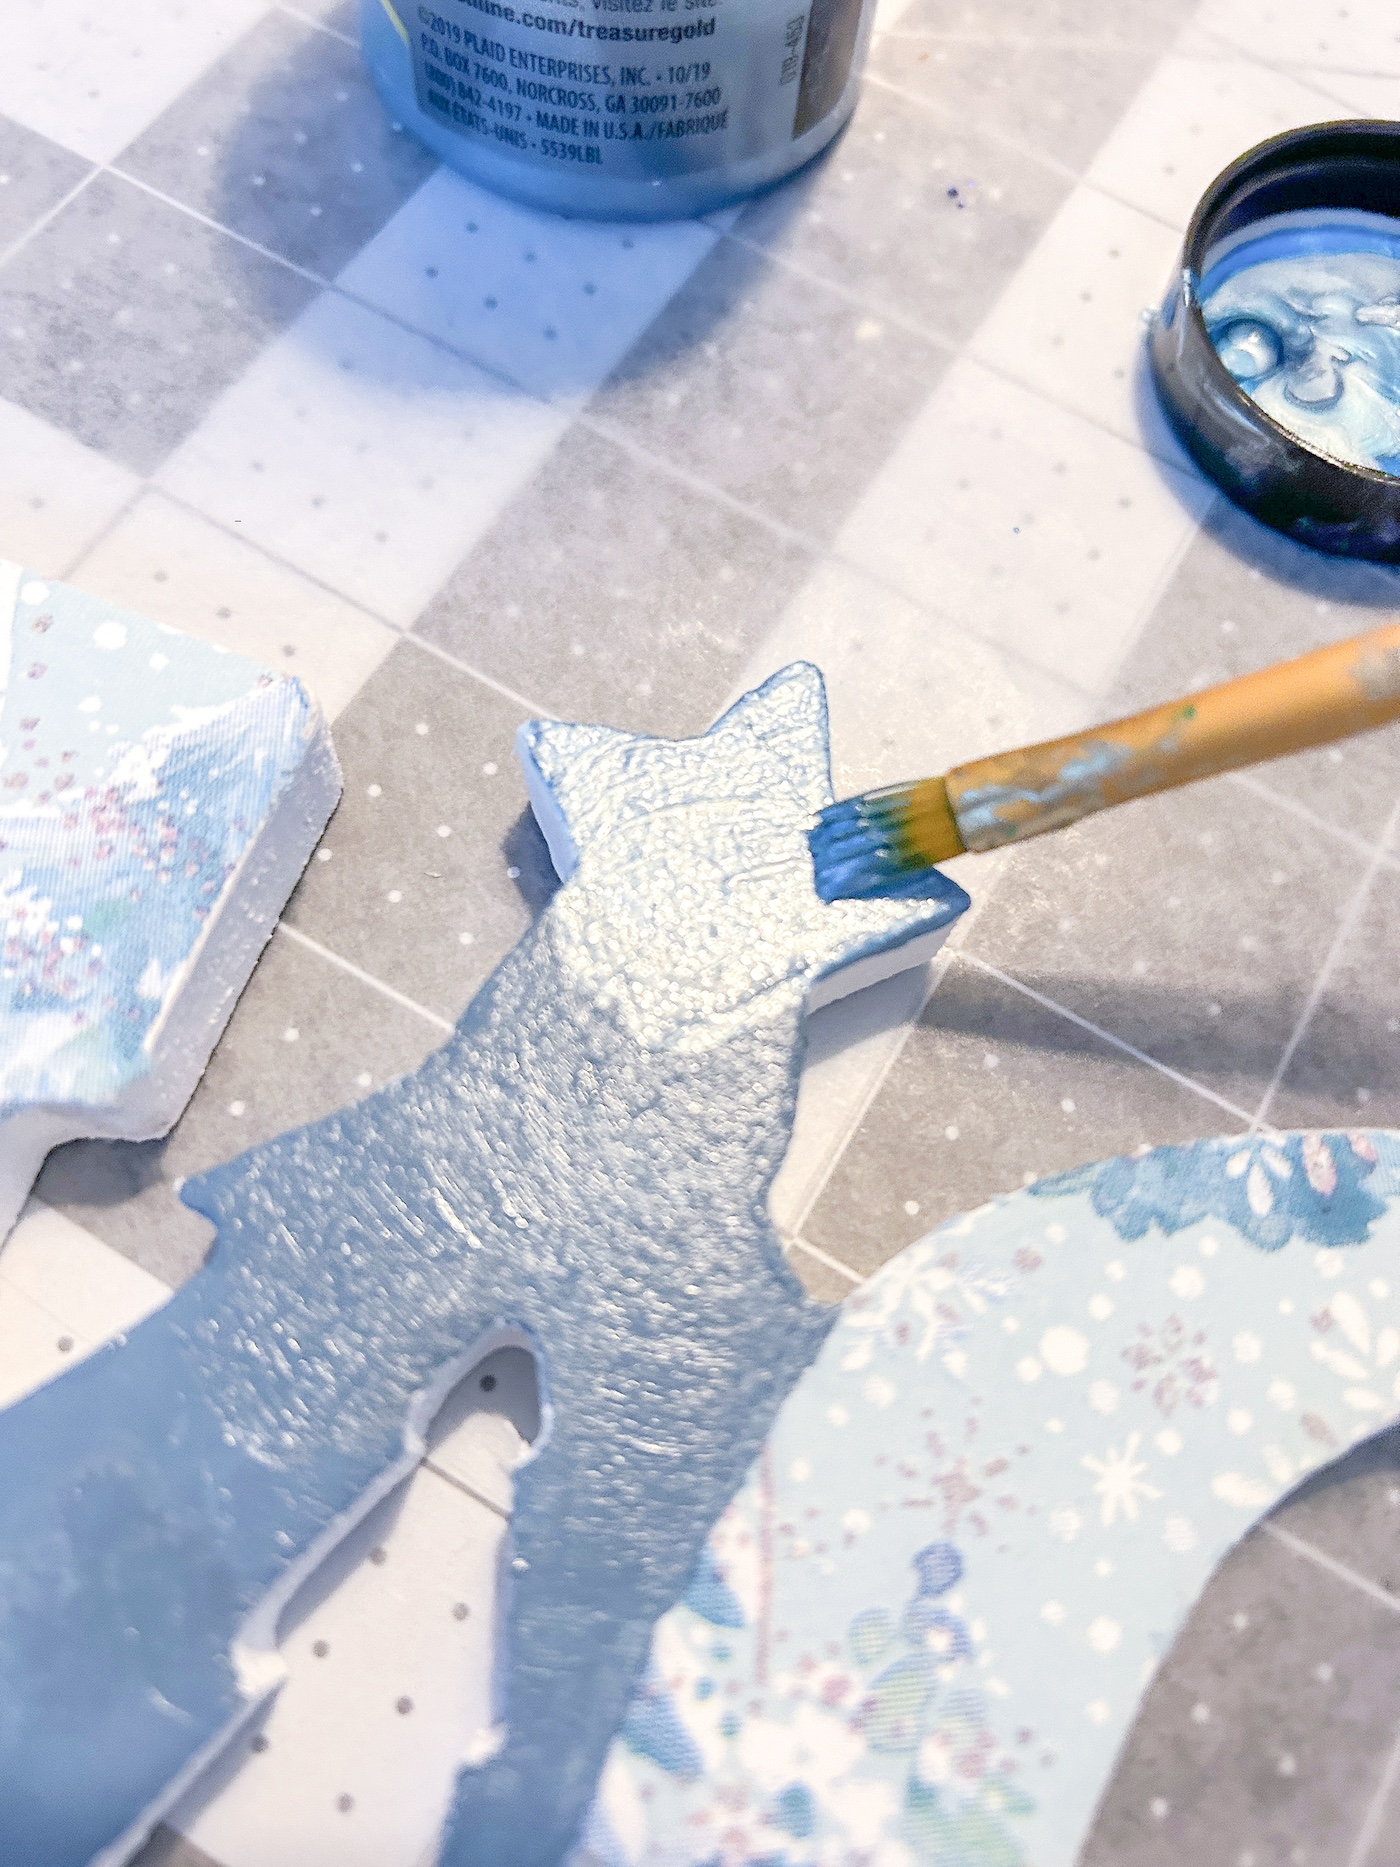
- Apply Glitterific to the tree area with a spouncer. Let dry completely before displaying.