
Mod Podge Photo Transfer with Inkjet
This inkjet photo transfer to wood is easy with Mod Podge and regular school glue. Do it in five simple steps!
Yield: 1 project
Cost: $5
Equipment
- Printer and paper
- Sandpaper
Materials
- Plastic stencil sheet
- PVA glue normal school glue
- Mod Podge Matte or Gloss
- Wood block(s)
- Wood stain
Video
Instructions
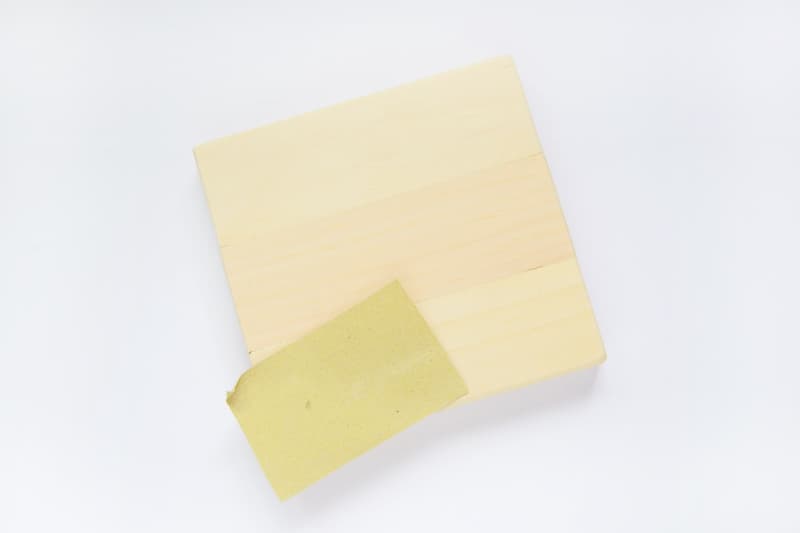
- Sand the wood block - you want the surface to be as smooth as possible for better image transfer. Wipe away any dust with a tack cloth or wet cloth.
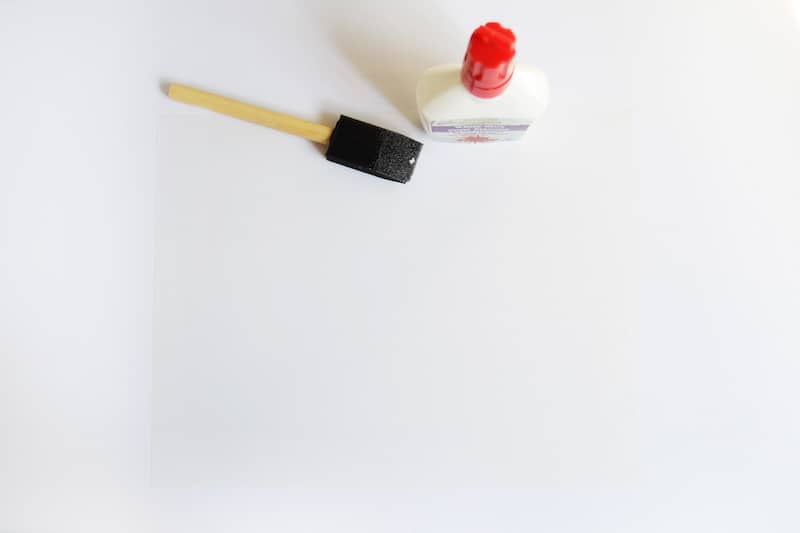
- Paint two thin layers of glue onto the shiny side of the stencil sheet. You can use transparency films as well, if that is what you have on hand.
- Once fully dry, print the image onto the glue covered stencil sheet with the printer. Allow the printed image to FULLY DRY before proceeding to the next step.
- Paint a layer of Mod Podge onto the wood block and carefully lay the image on top. Using the stencil sheet will allow you to align it much easier with the wood edges. Smooth slightly with your hands.

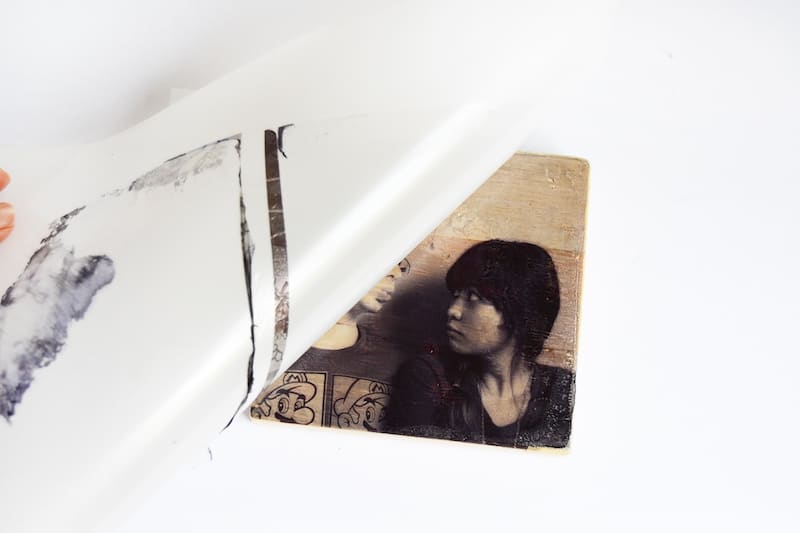
- Wait until the Mod Podge is dry on the inkjet transfer to wood (I let mine dry overnight - 24 hours is recommended). Lightly run the tip of a craft knife onto the sides of the wood before peeling to separate the image from the rest of the glue that dried. Peel carefully, again making sure the image is fully dry or it won't transfer perfectly.
- Stain the sides and the back of the wood block and let that dry to finish.

Notes
Step 3: if you're using text in the image, you'll need to reverse it when print so that it shows up (and reads) correctly.