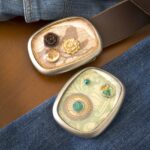
Homemade Belt Buckles
Learn how to decorate belt buckles using simple craft supplies! This is a fun, fashion forward project that is easy to customize.
Yield: 1 belt buckle
Cost: $10
Materials
- 2 Belt buckles I got mine from Etsy (search for "belt buckle blank")
- Mod Podge Dimensional Magic
- Mod Podge Gloss
- Scrapbook paper
- Embellishments stickers, brads, rhinestones, glitter . . . whatever you have in your stash
- Vellum
- Painter’s tape
Instructions
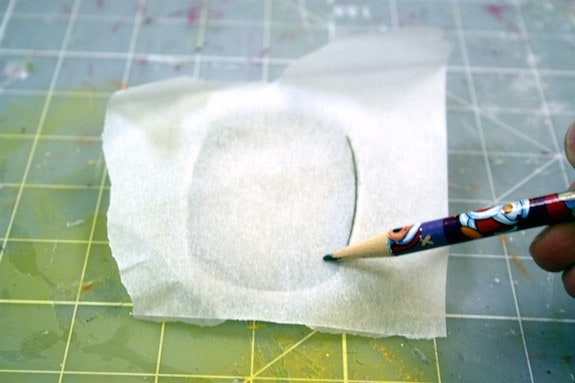
- First, use a piece of vellum (or another scrap of paper) as a template - trace the inside of the belt buckle with your pencil. I did a rubbing of the edge and it worked well.
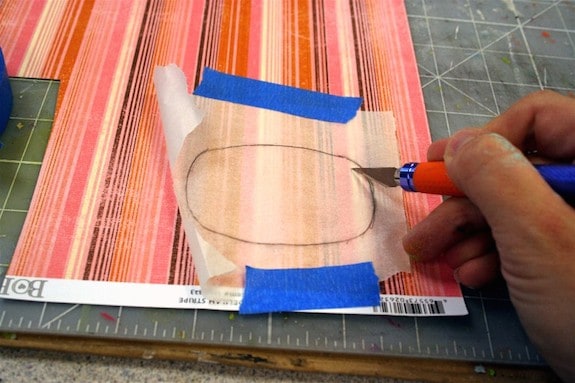
- Tape the template on your paper and cut it out (with scissors or a craft knife).
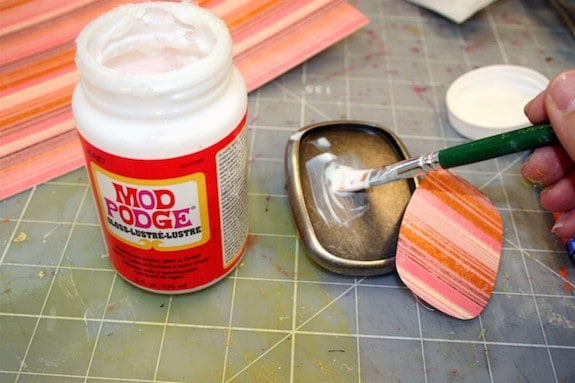
- Mod Podge the paper into the buckle blank and let it dry for a few hours.
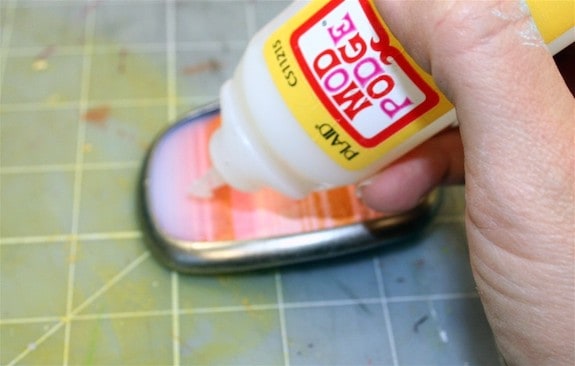
- Add embellishments (you can't see them under my hand in this photo, ha!) and then add Dimensional Magic. Here's the whole trick to the belt buckles: THREE layers.I did one layer and allowed to dry in a warm place (to prevent cracking). I did a second layer and allowed to dry again. THEN I did a third layer and added the scrapbooking brad embellishments so that they would be "dimensional" on the top of the Dimensional Magic.
- Let dry overnight, preferably for 24 hours, before attaching to a leather belt.
Make sure to let the paper completely dry - if there is moisture under the Dimensional Magic, the entire project can dry cloudy.