
Handprint Ornament
Make these hand print Christmas ornaments using this simple tutorial! This is a very easy craft to do with children, and you'll also be making holiday memories.
Yield: 1 ornament
Cost: $3
Equipment
- Rolling Pin
- Knife or craft knife
- Cookie sheet
Materials
- Air dry clay
- Acrylic paint washable/kid safe
- Mod Podge
- Mini pom poms
- Sparkly foam
- Wiggly eyes
- Baker’s twine
- Sharpie
- Wax paper
Video
Instructions
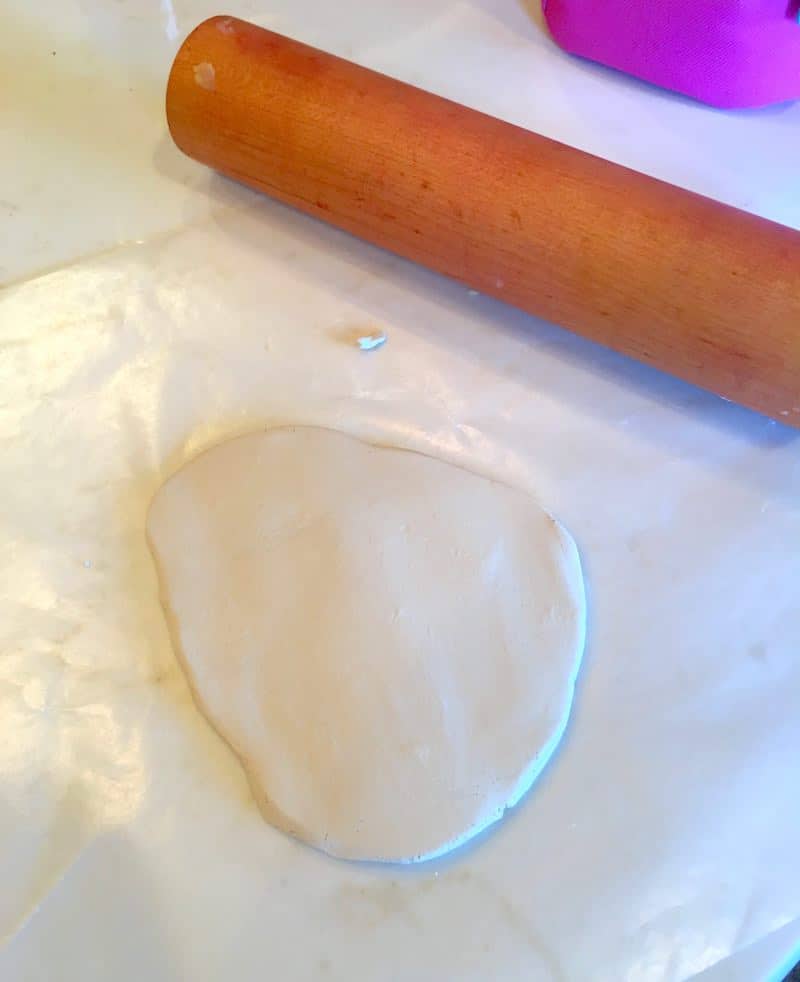
- Break off a large piece of clay and place it on the wax paper. The amount you’ll need depends on the size of the hand or foot you’re imprinting.
- Roll out the clay to about 1/2″ thick. If you find the clay you’ve rolled out isn’t big enough, add more.
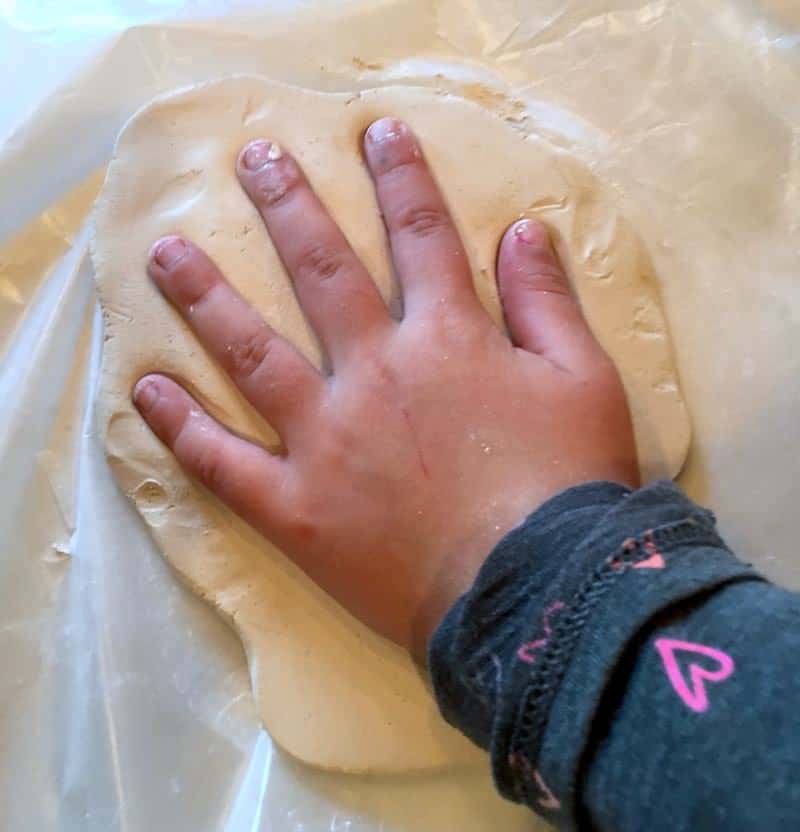
- Place the hand down into the clay and push. Help toddler age or small children with this by pushing each individual finger and then the base of the palm down.
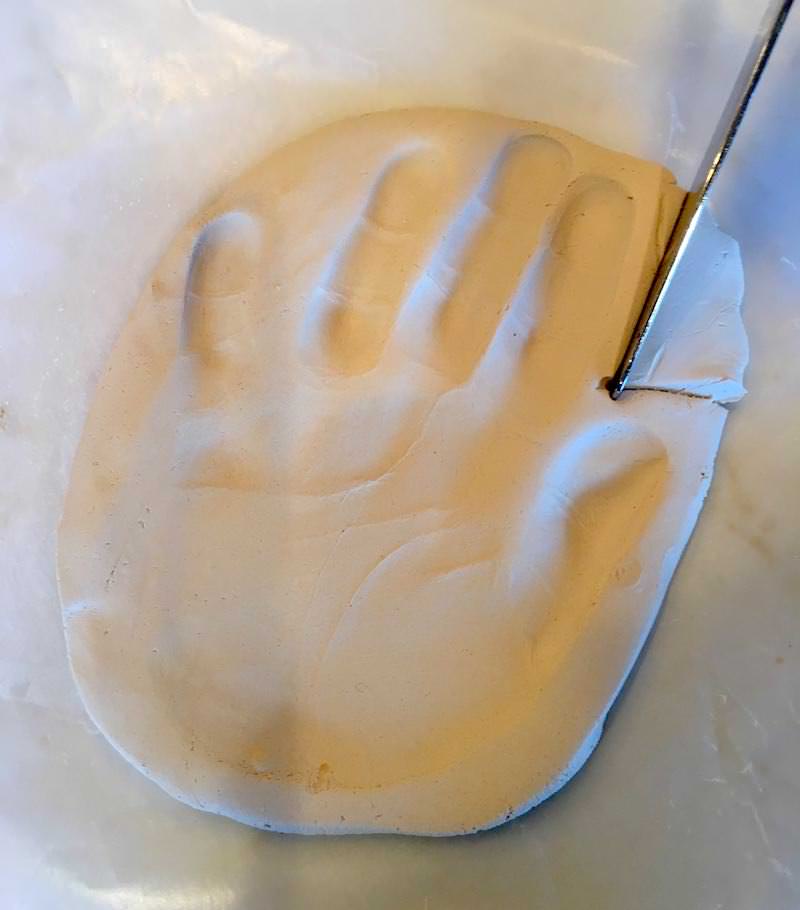
- Pull the hand out of the clay and then cut around the edge.
- Lay the clay ornaments out on the wax paper, then on top of the cookie sheet. Let dry overnight (this can take longer if you live in a humid area). DO NOT BAKE.
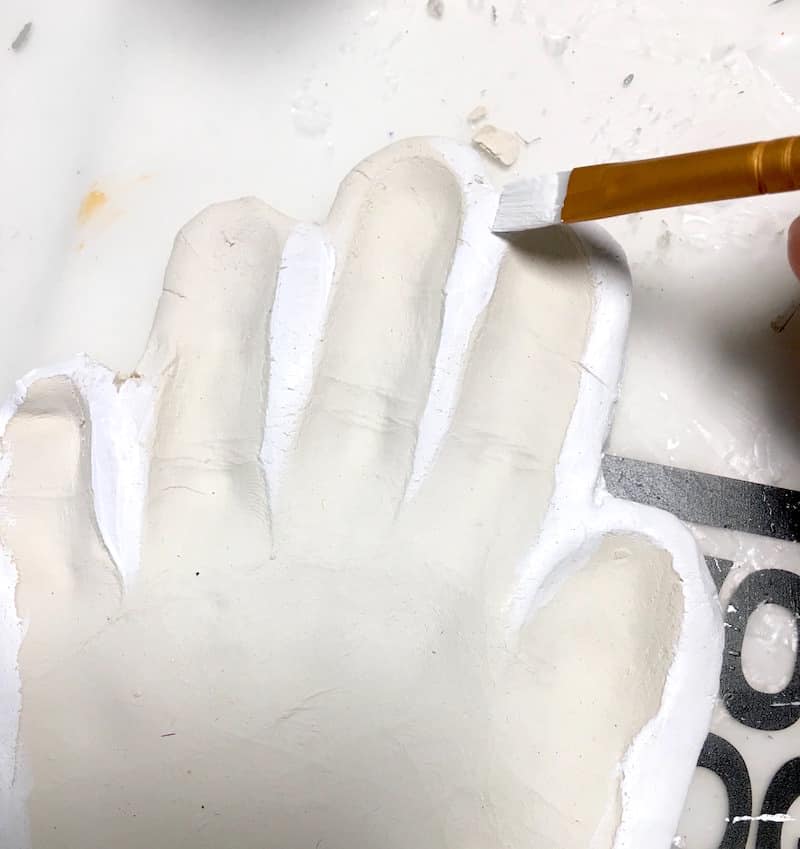
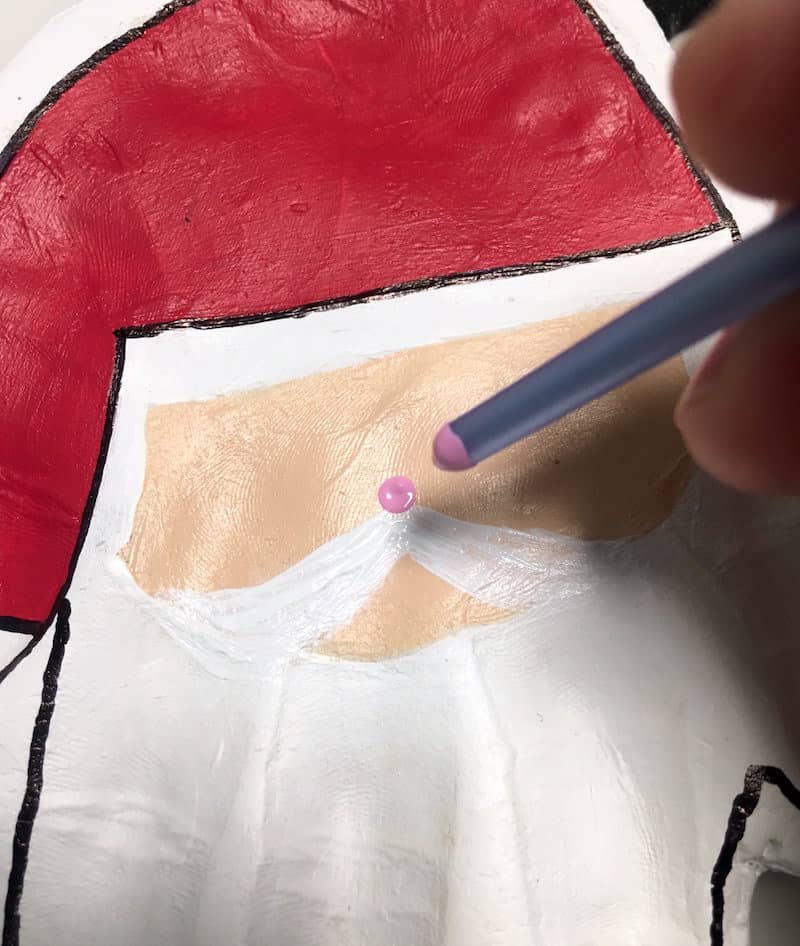
- Once the handprints are fully dry, paint them with acrylic paint. Use any colors you like; let dry. Don't forget to add accents like Santa's nose with the end of a paintbrush.
- Use a Sharpie on the Santa handprint to trace around the edges and accent the beard and hat. Then use the Sharpie to draw a face on the reindeer ornament.
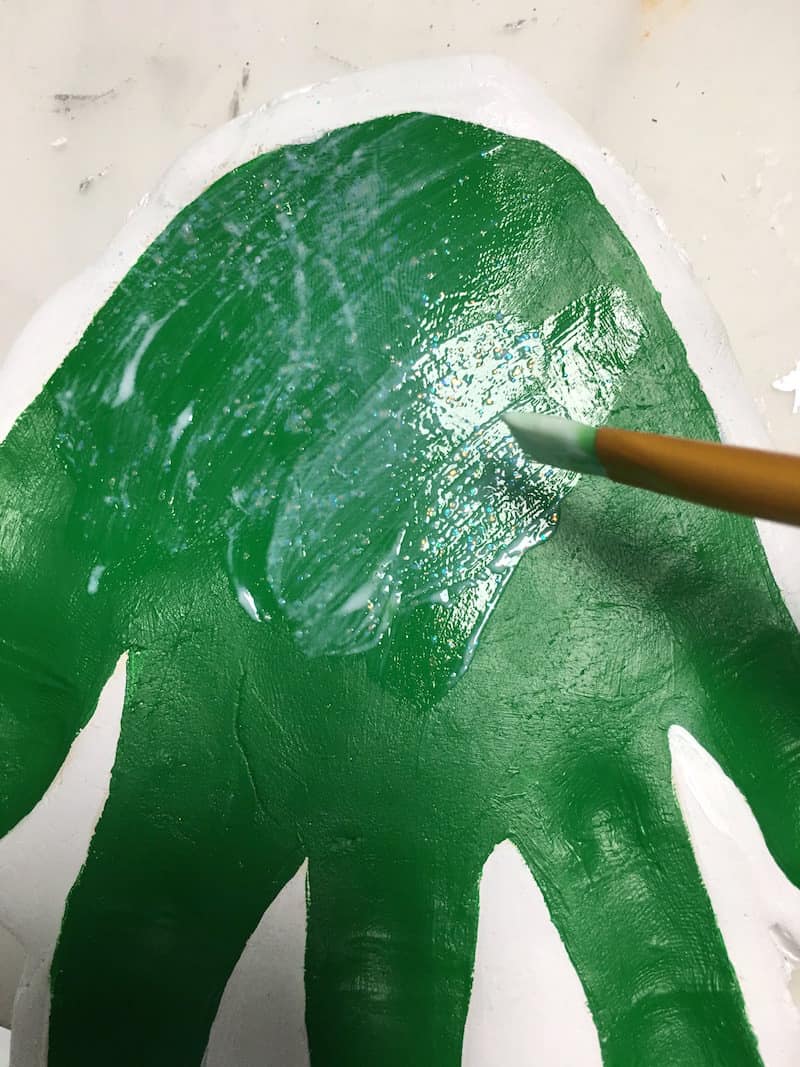
- Seal the handprint ornaments with Mod Podge and let dry. I used Mod Podge Sparkle on the Christmas tree.
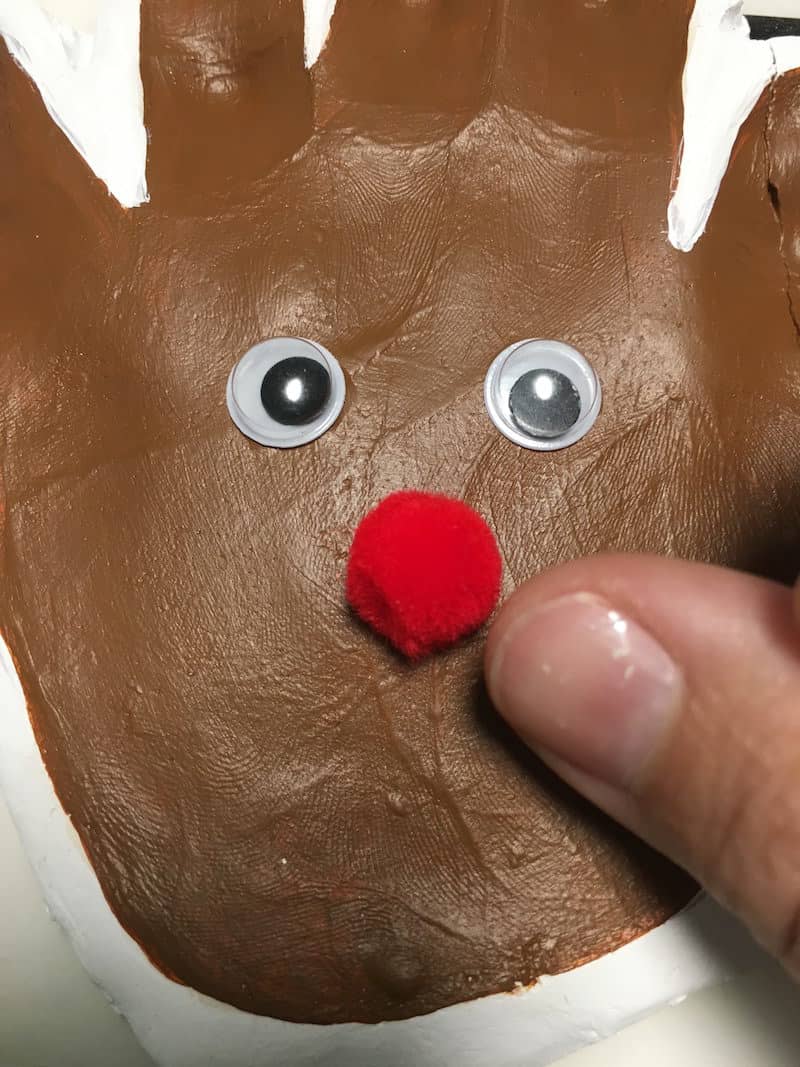
- To embellish, add wiggly eyes, pom pom noses, pom pom ornaments, and even cut a star out of craft foam for the tree. Attach with craft glue or a hot glue gun.
- Cut a length of baker's twine and hot glue to the back to hang.

Notes
One thing I did was stick the baker's twine into a hot glue dab I put on the back of the ornament, then put more hot glue on top to really secure it. They are kind of heavy and I didn't want them falling off the tree.