
Easy Suncatcher Craft
Learn how to make the easiest, most inexpensive kids craft with recycled lids! These sun catchers will be a favorite spring or summer project.
Yield: 3 suncatchers
Cost: $1
Equipment
Materials
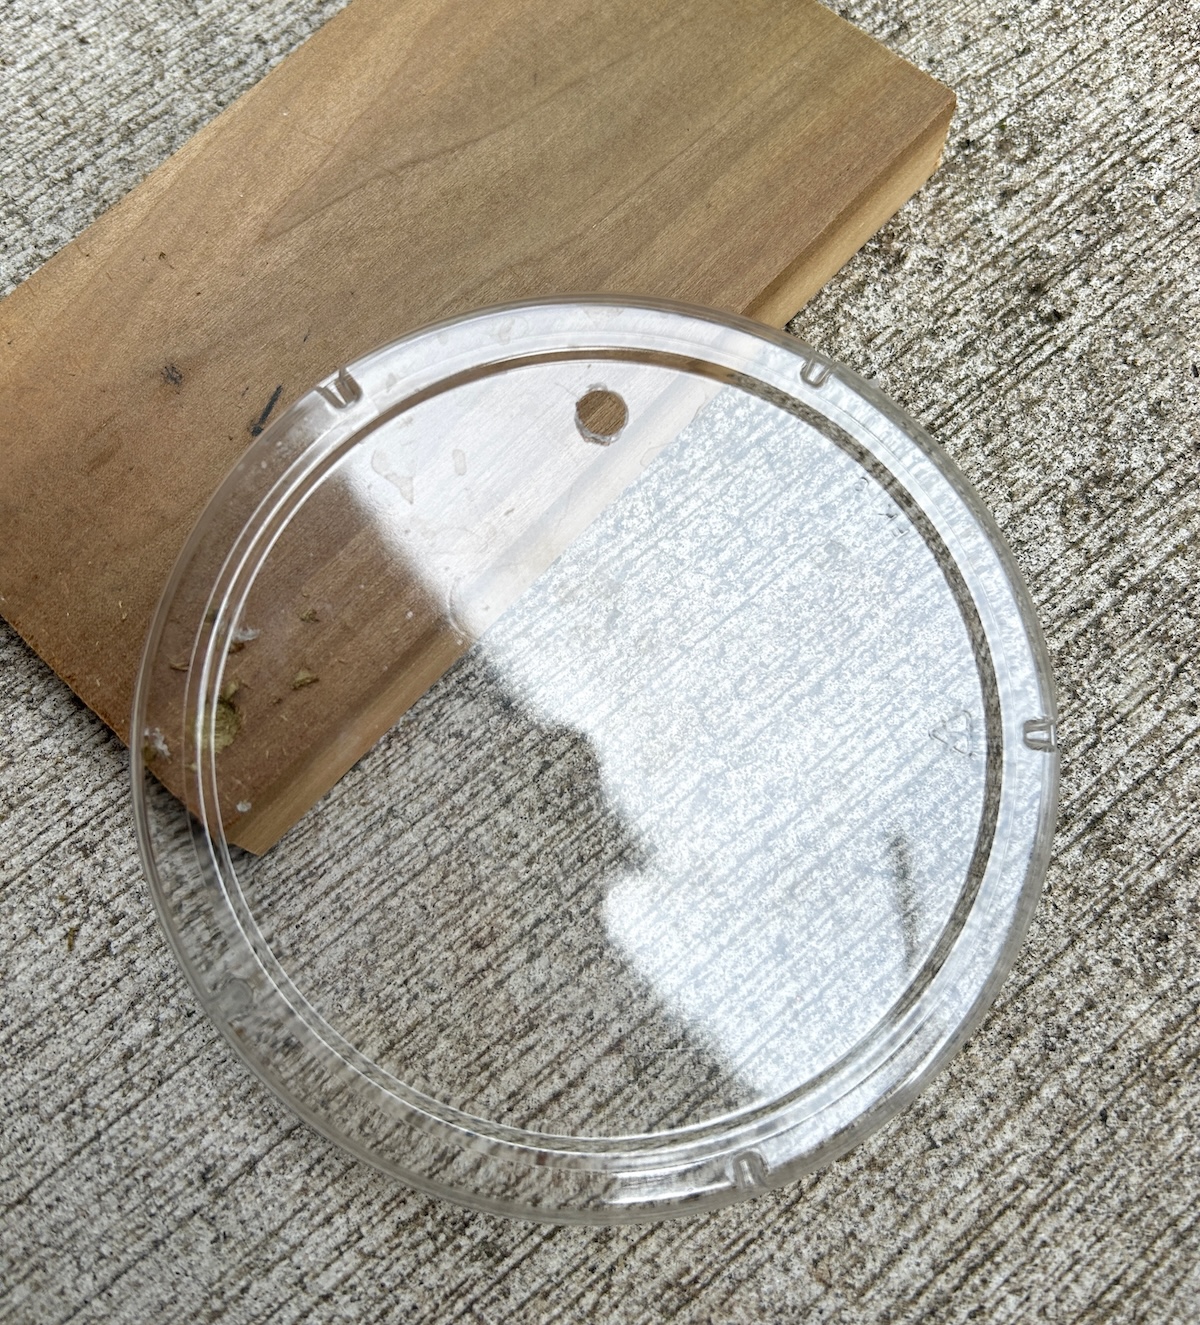
- 3 Plastic lids
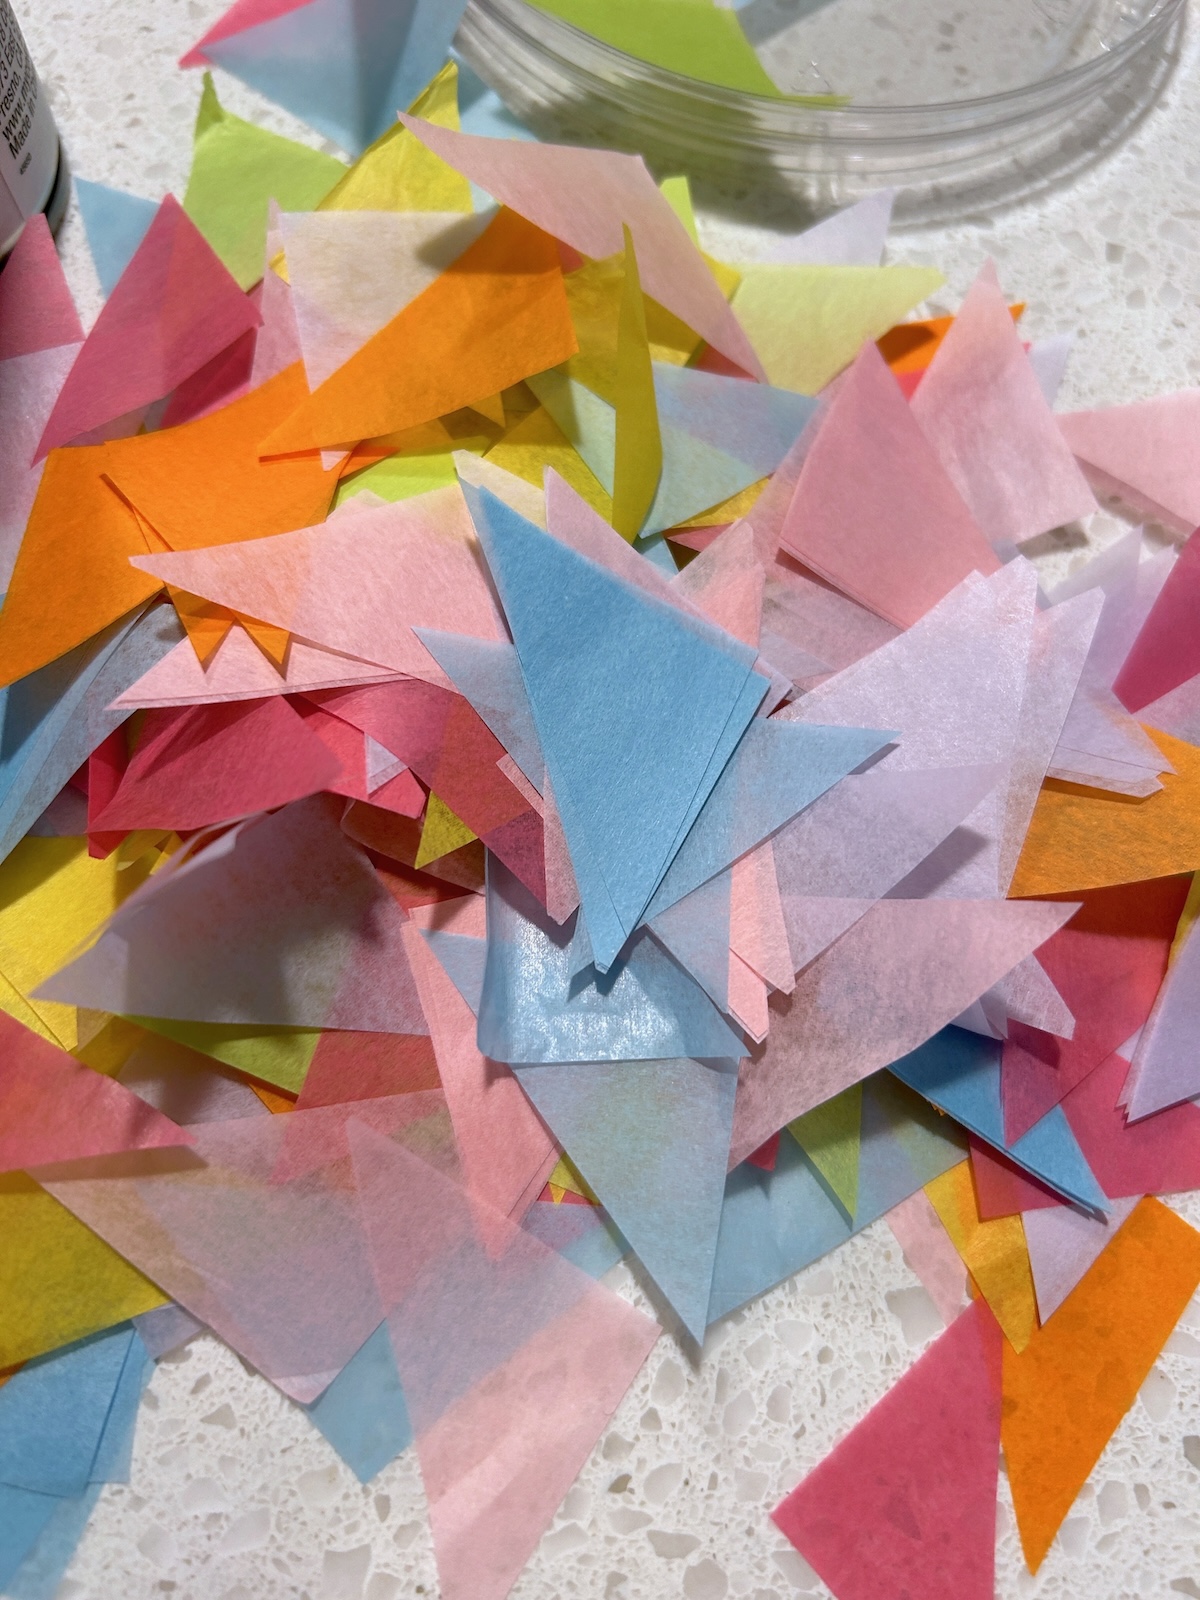
- 8 sheets Tissue paper various colors
- 1 bottle Mod Podge Gloss
- 1 roll Twine
Instructions
- Poke a hole in the top of each lid using an awl, scissors, or a nail and hammer. This step should be done by an adult.
- Cut the tissue paper into various sizes and shapes. I used many different colors and cut them into triangle shapes. I encourage you to experiment!
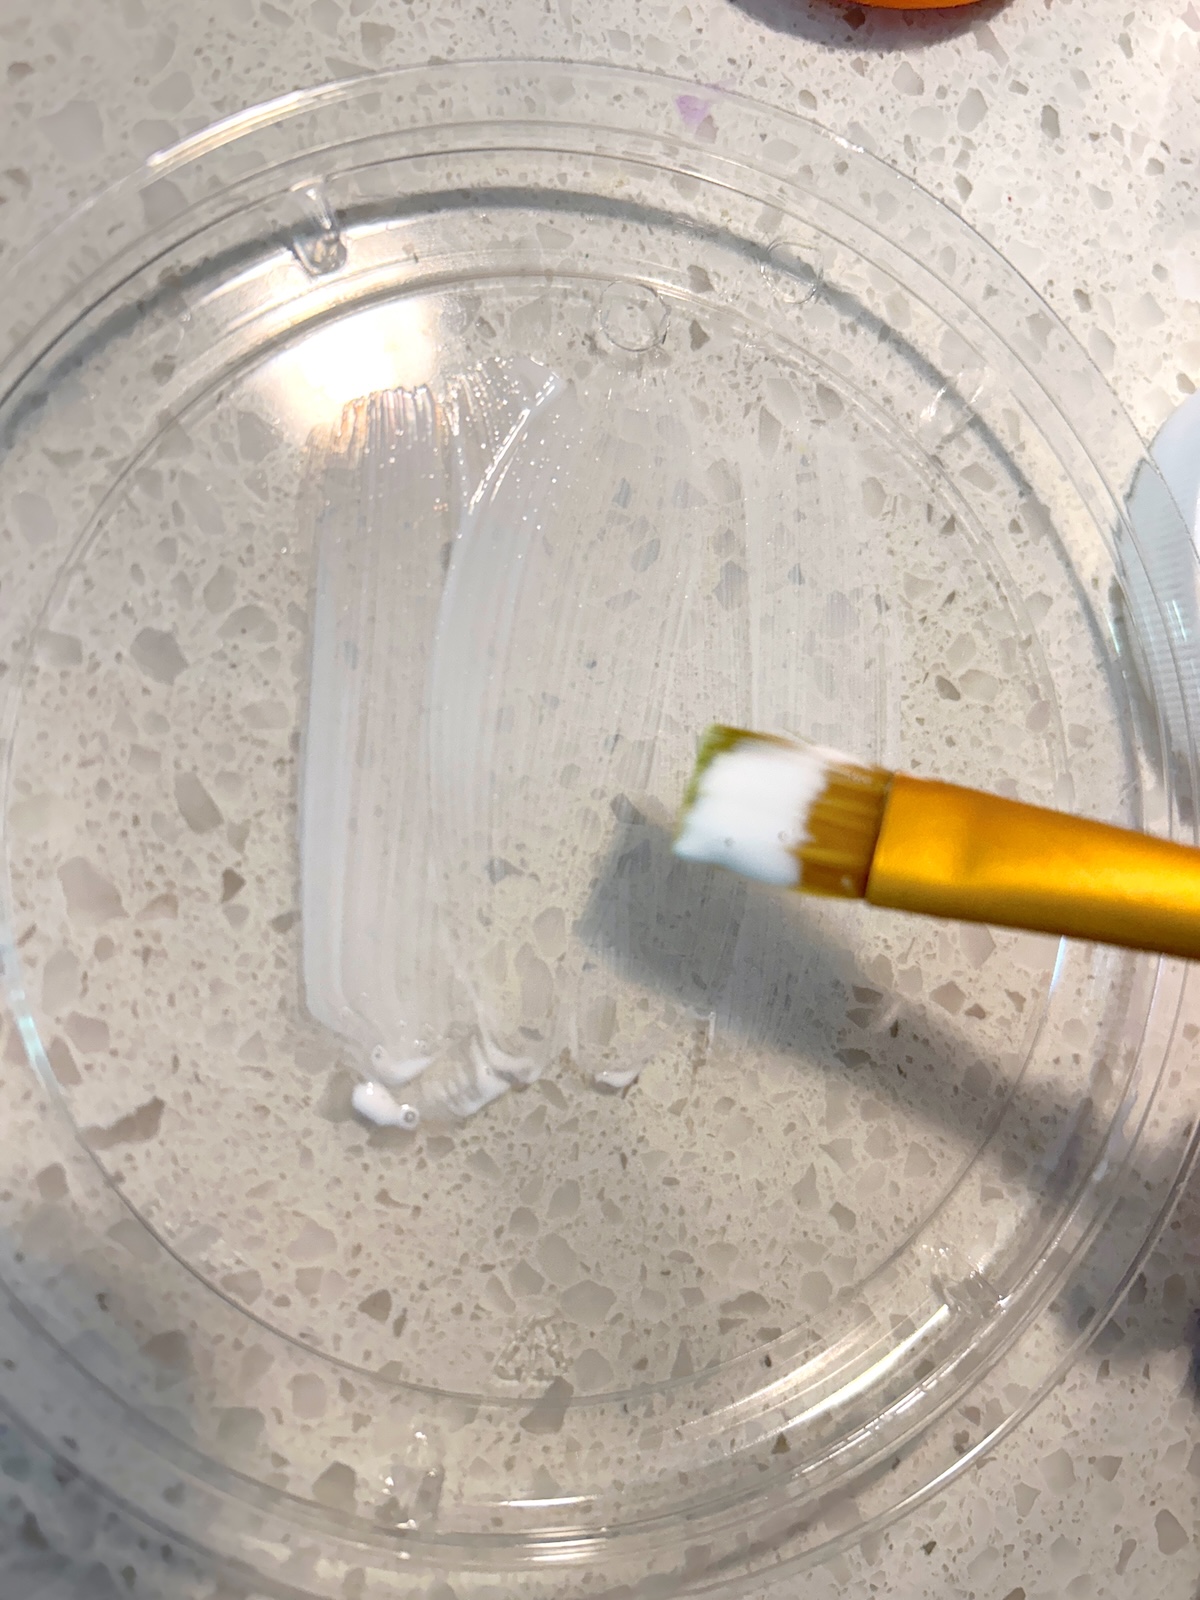
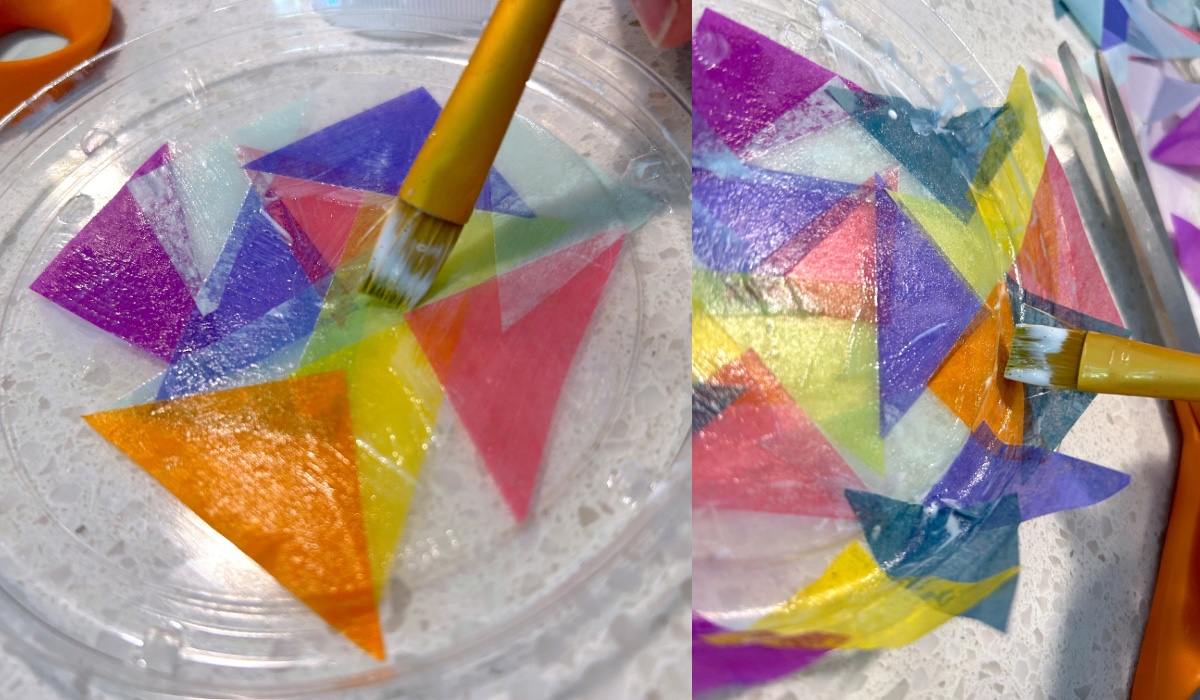
- Apply a layer of Mod Podge glue to the inside of the lid in a small area.
- Apply several pieces of tissue paper and brush over the top.
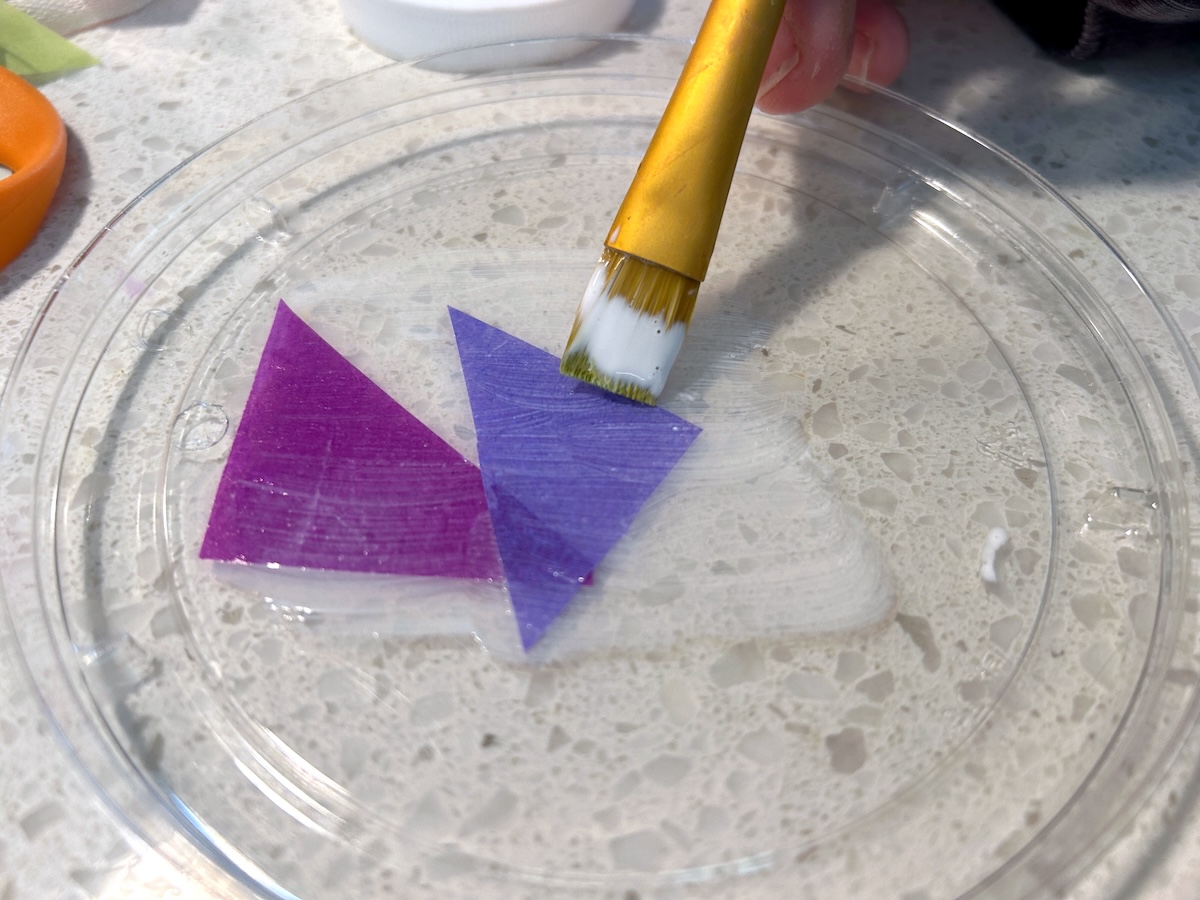
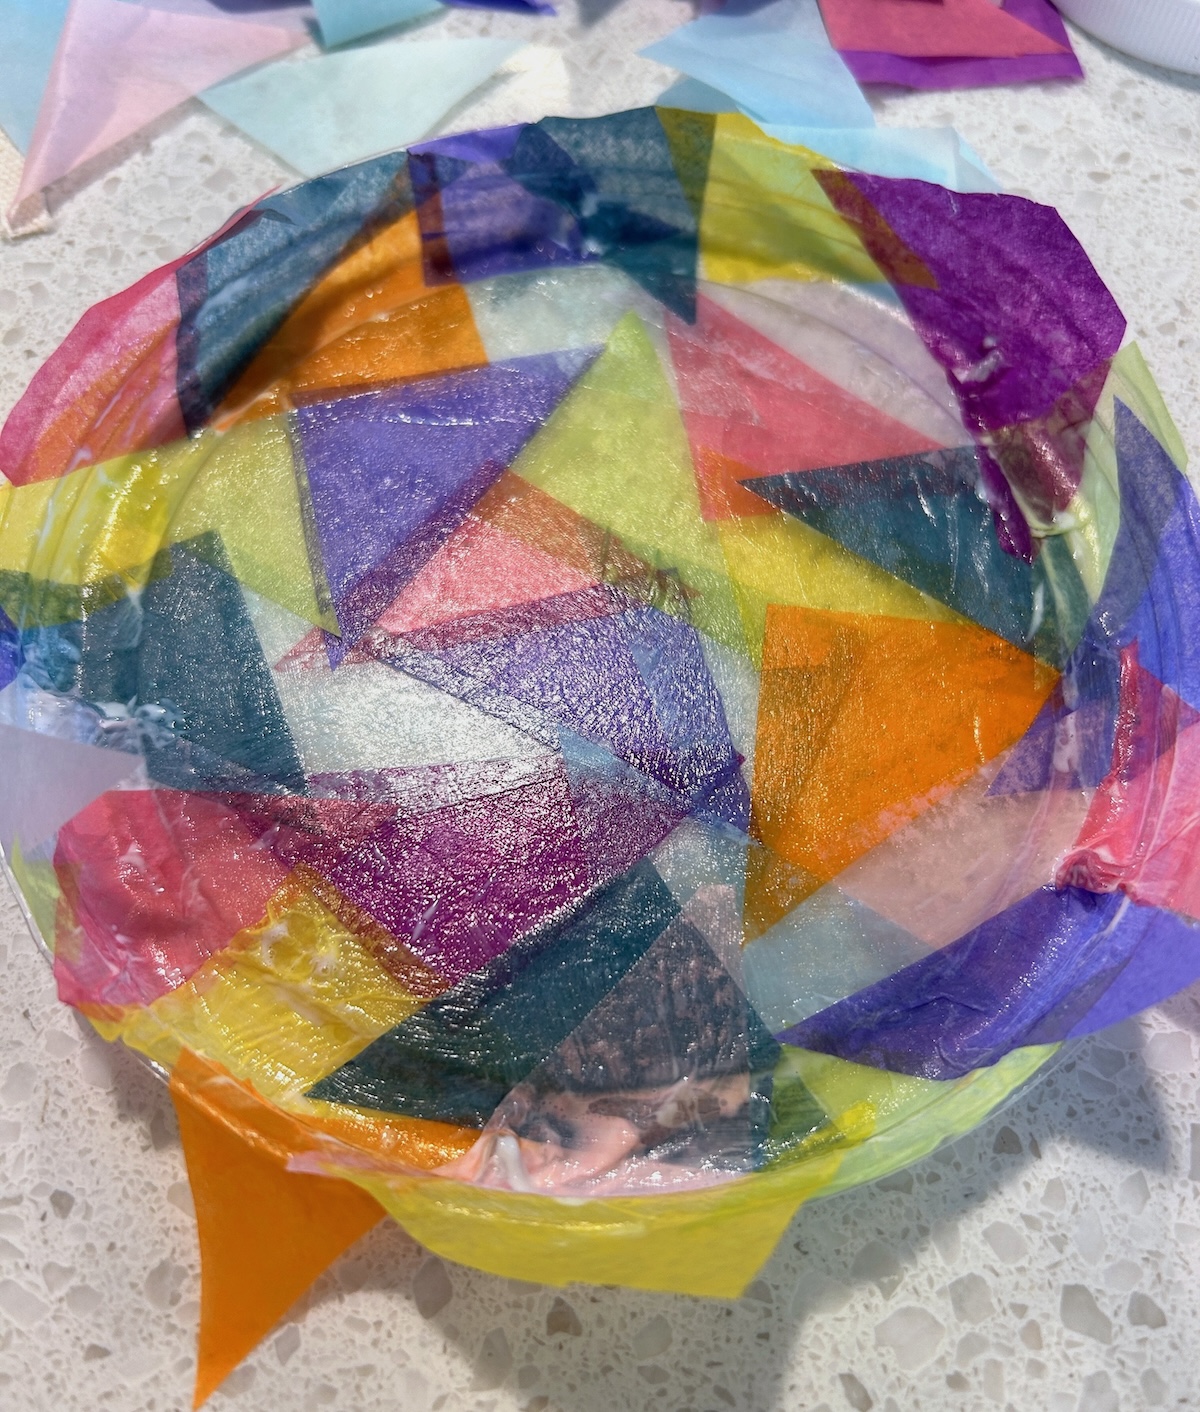
- Continue applying glue and tissue paper, overlapping the pieces to create various color combinations. Continue applying until the entire lid is covered.
- Let the tissue paper and lid dry.
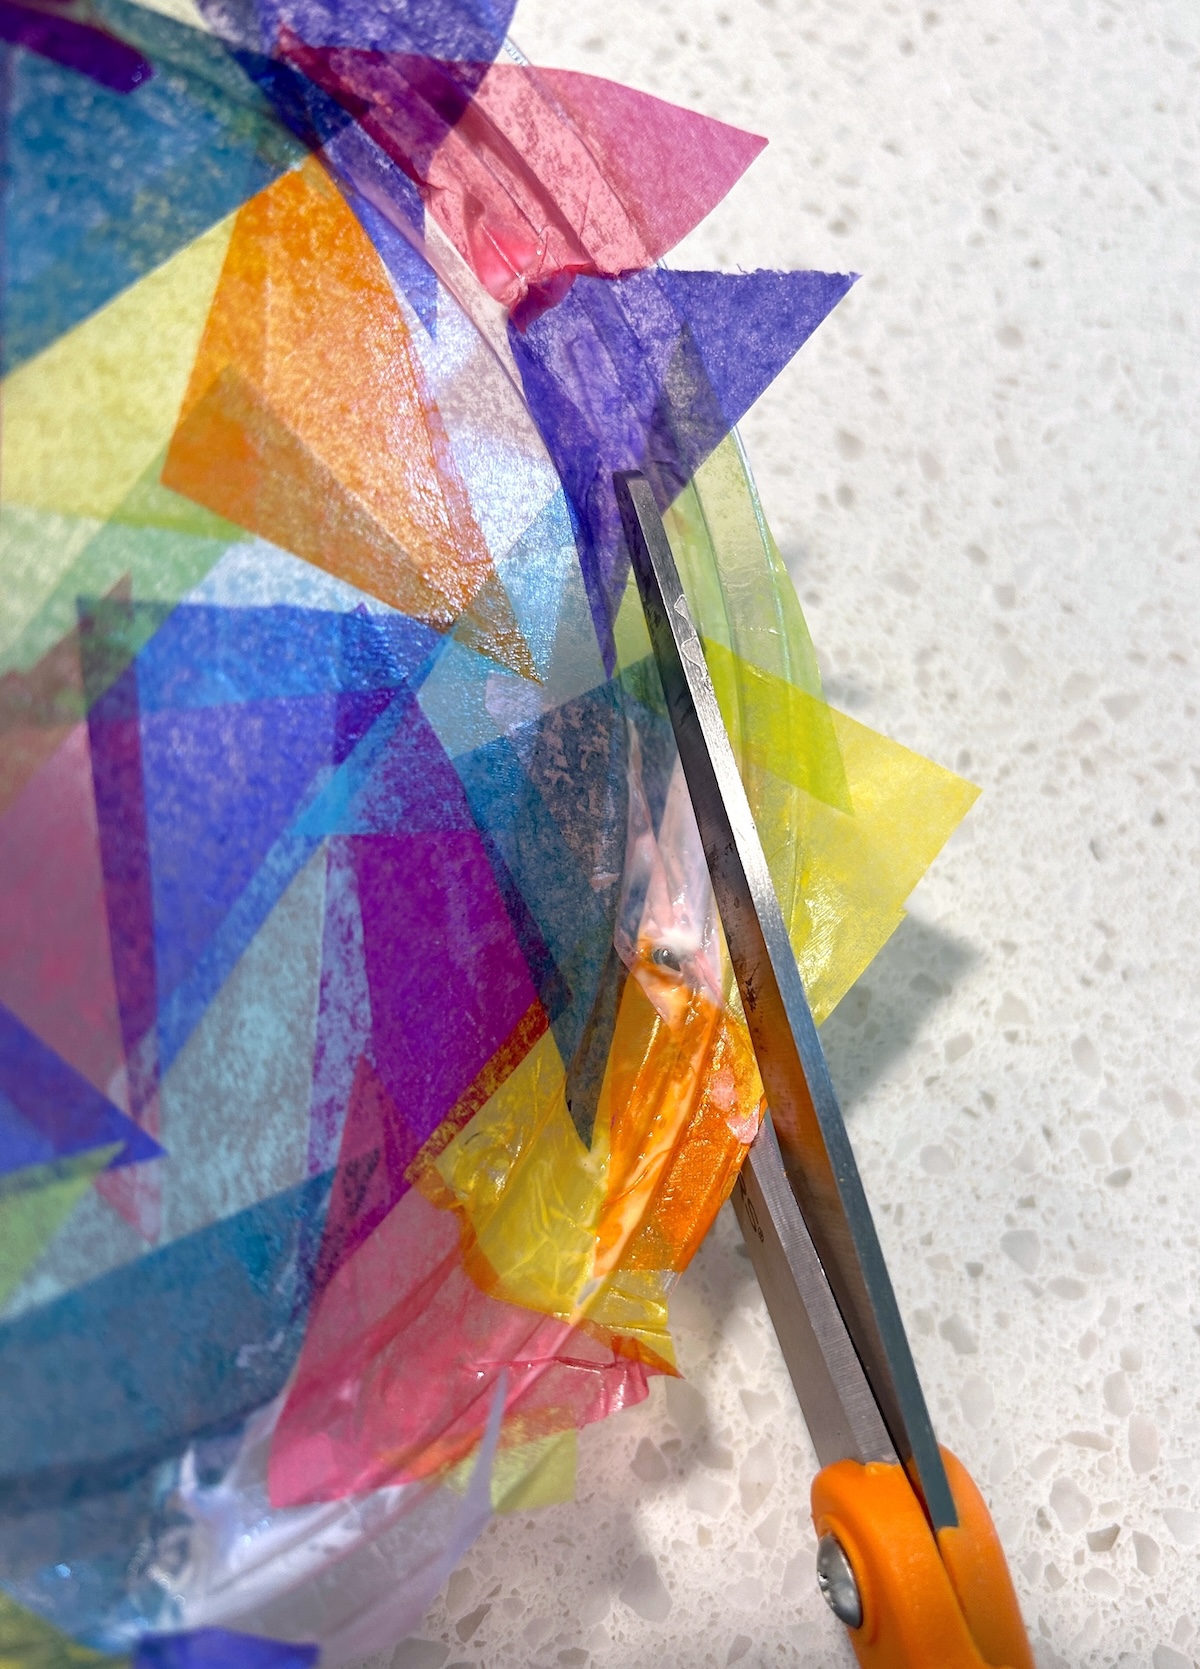
- Trim around the edges with a pair of scissors to remove the excess tissue.
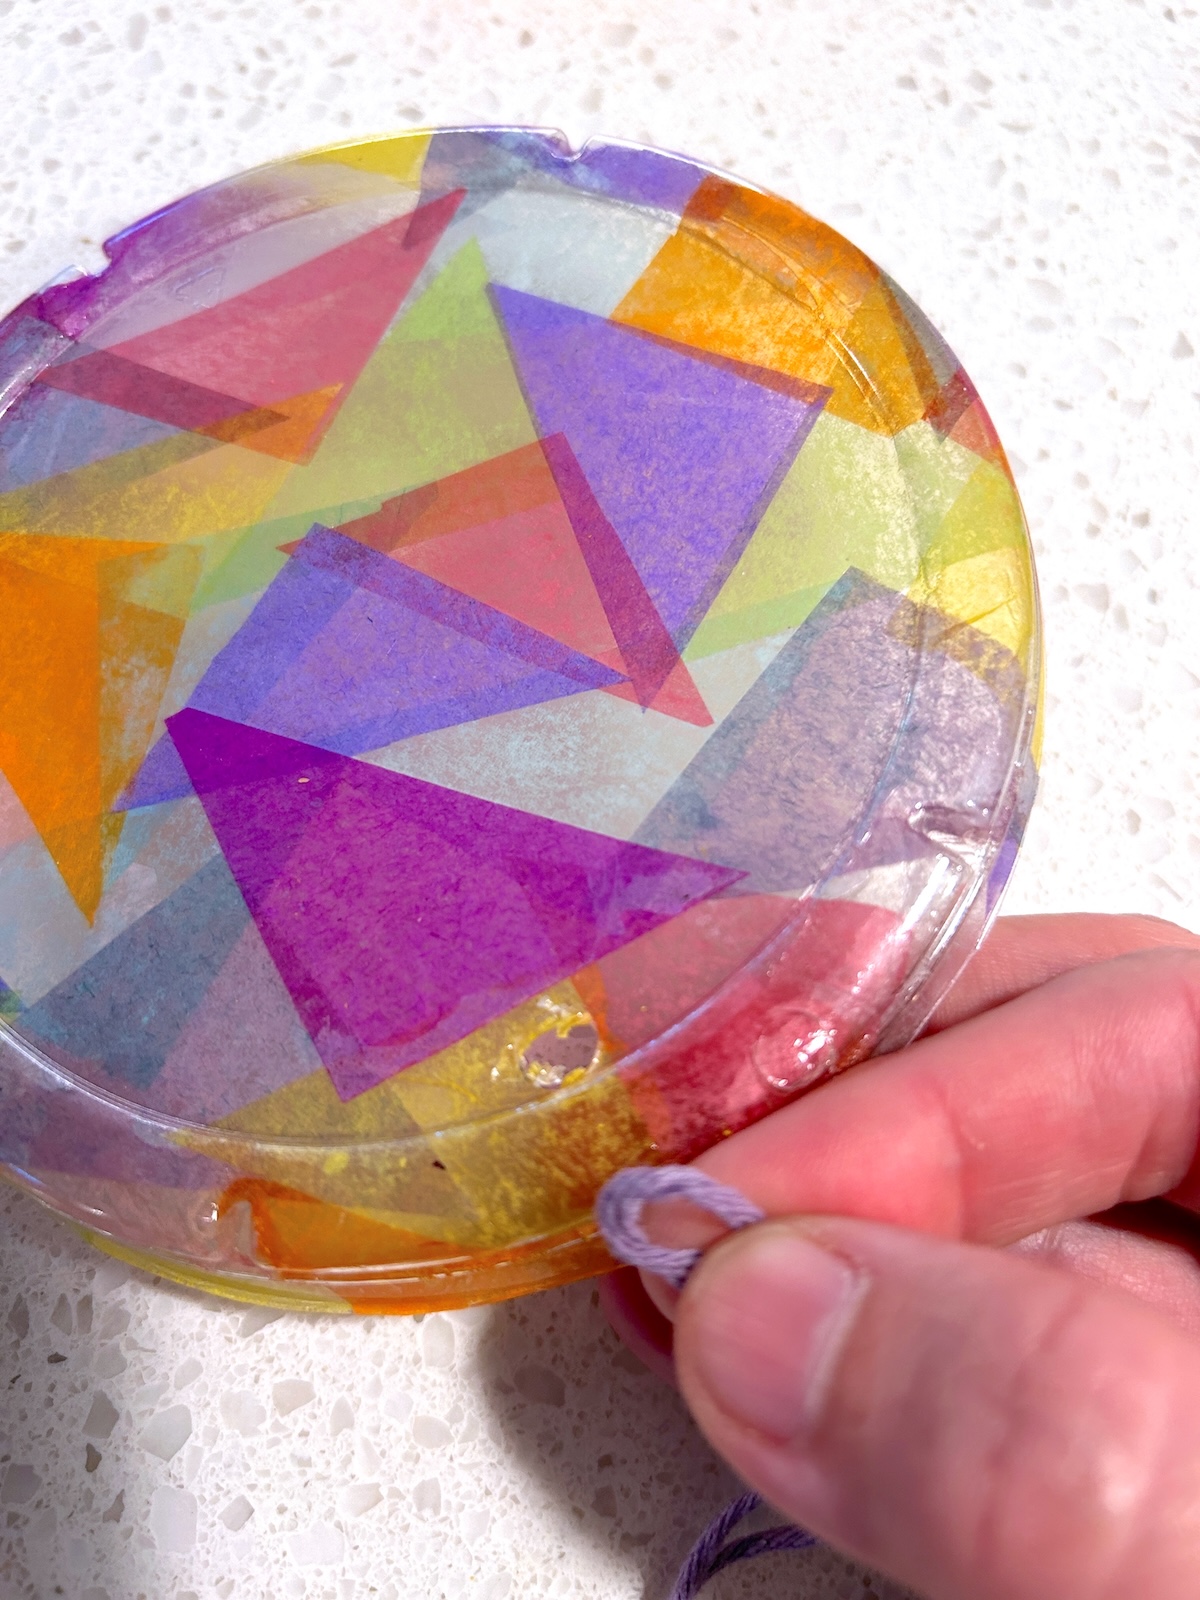
- Cut a length of twine and thread through the hole at the top of the lid to display. Repeat with remaining lids.
Notes
Step 5 - if you are using inexpensive tissue, be careful how many times you brush over it with the Mod Podge. Some tissue papers start releasing the dye if they get too wet with acrylic products. You don't want to continue brushing and brushing them or all the colors will start mixing.