Dollar Tree Wood Pumpkin DIY
Learn how to decorate a wood pumpkin from Dollar Tree using Mod Podge and other basic craft supplies.
Yield: 1 pumpkin
Cost: $2
Equipment
- Parchment paper
Materials
- Wood pumpkin shape Dollar Tree
- Craft paint white
- Mod Podge any formula
- Halloween napkin
- Adhesive letters
- Halloween ribbon
Instructions
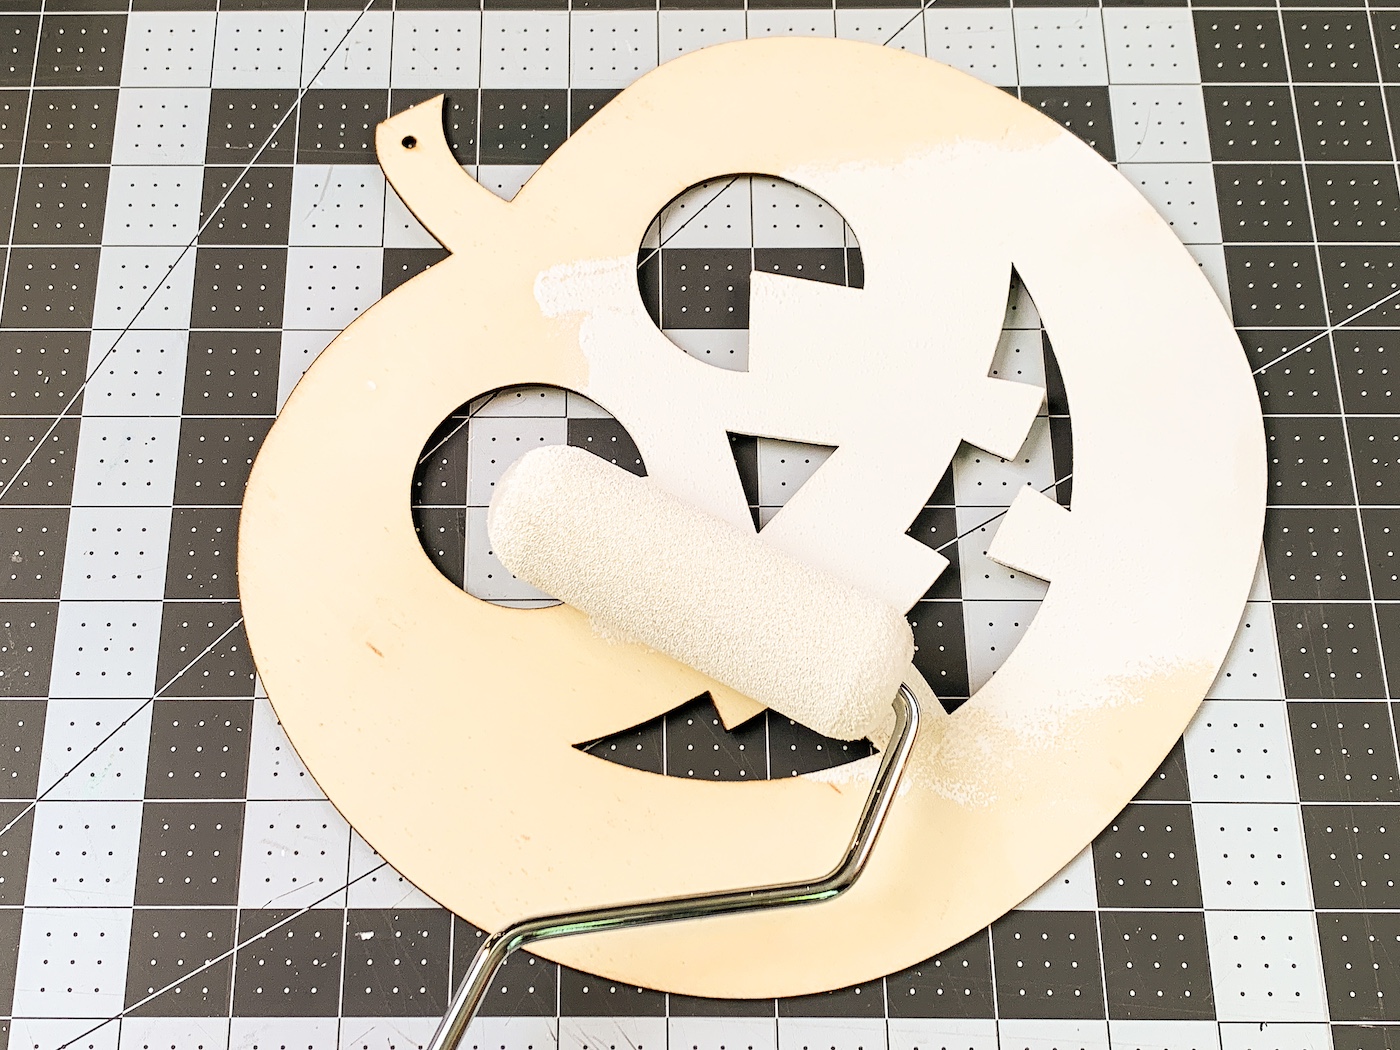
- Paint the wood using white craft paint. Roll on one side, let dry, and flip over. Paint other side and let dry.
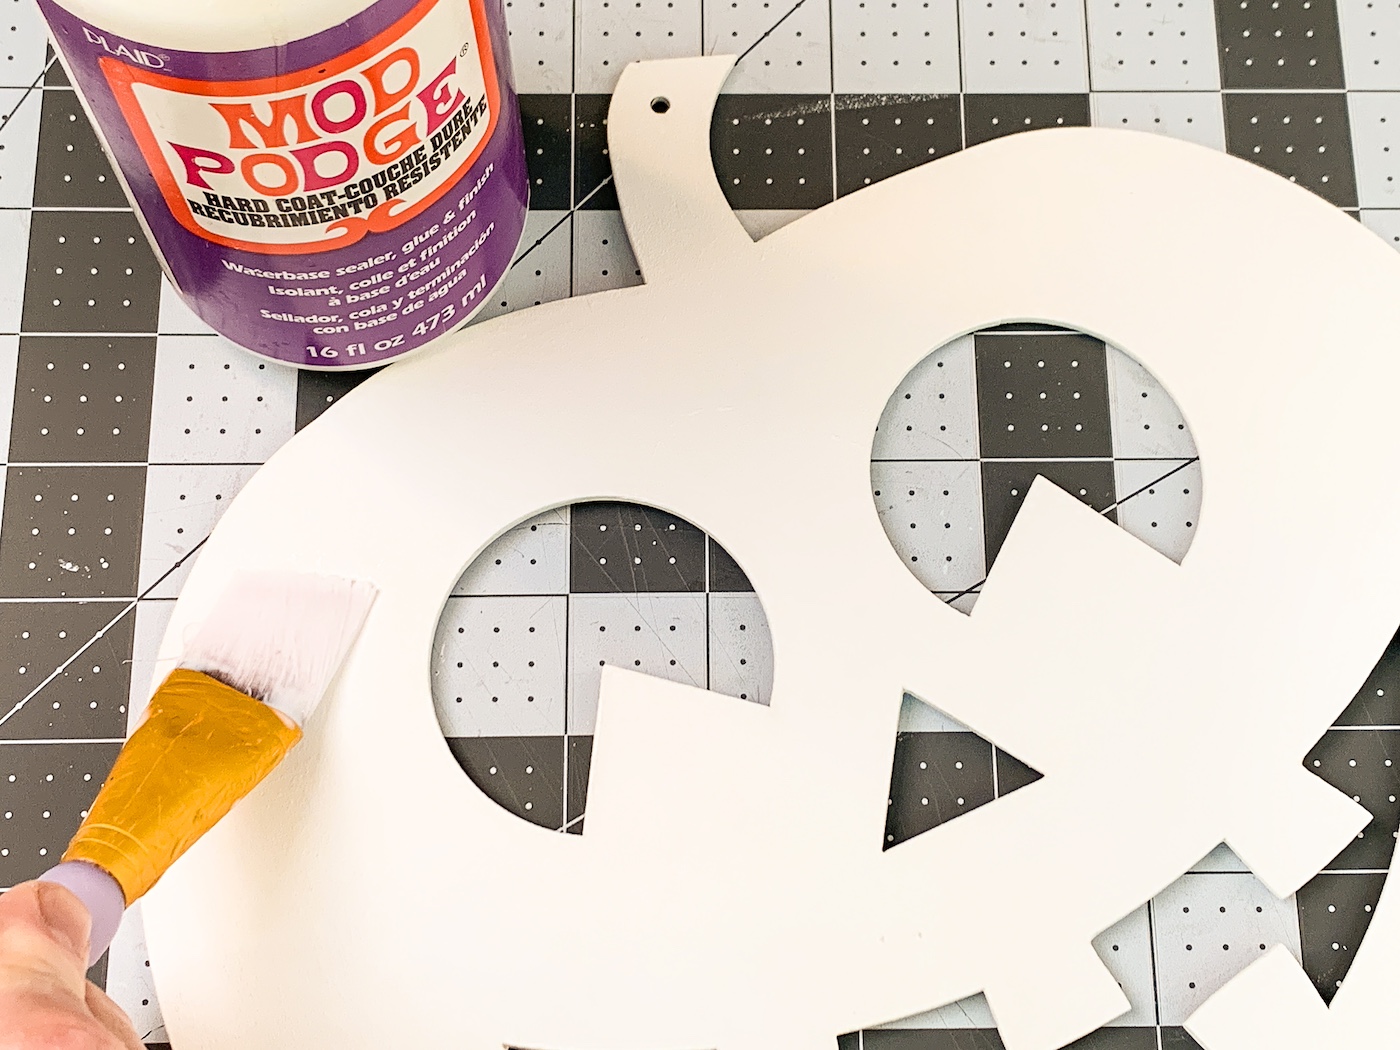
- Apply a coat of Mod Podge to the wood; don't do the edges. Let dry 15-20 minutes and repeat.
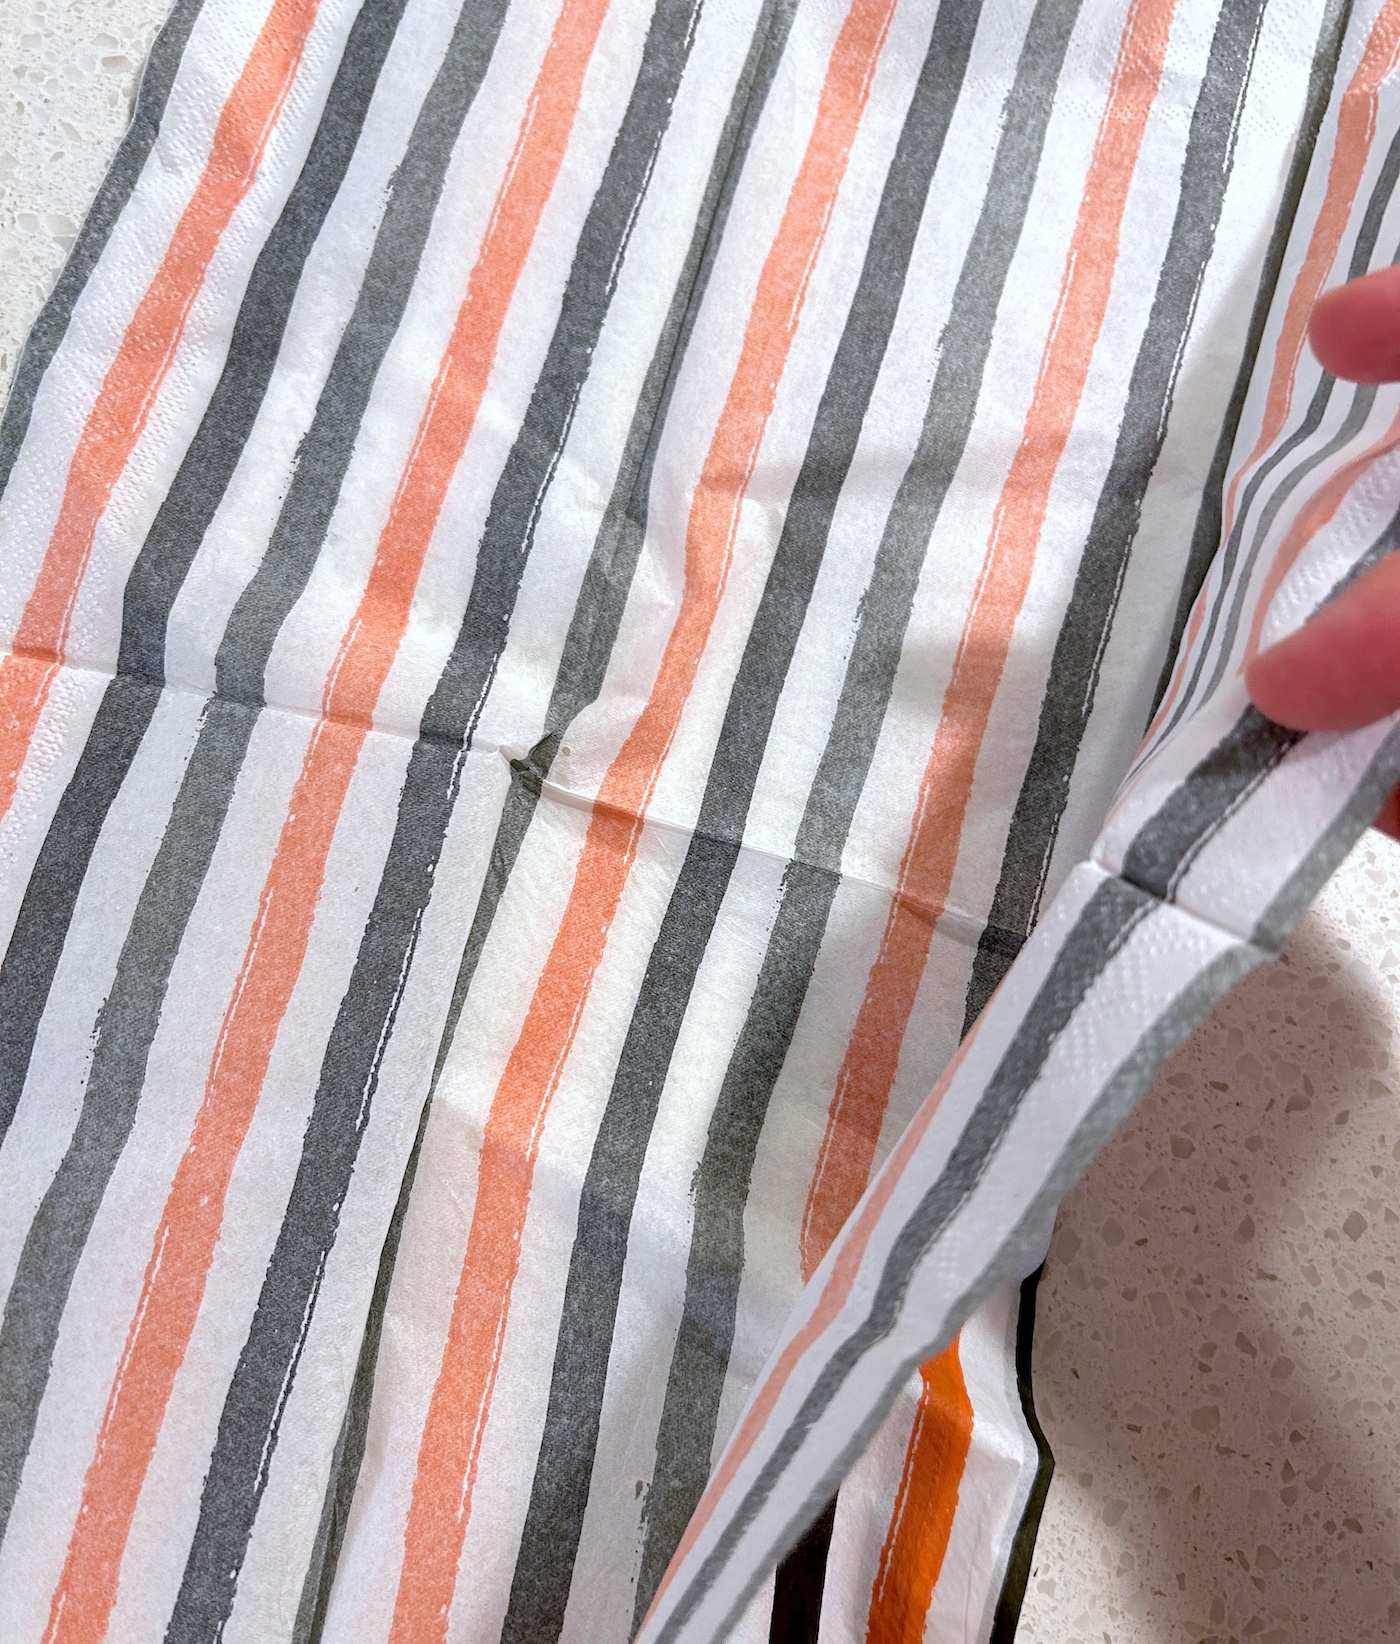
- While the Mod Podge is drying, separate the napkin from the bottom layers. You can use tape to help. You just want the top layer with the design.
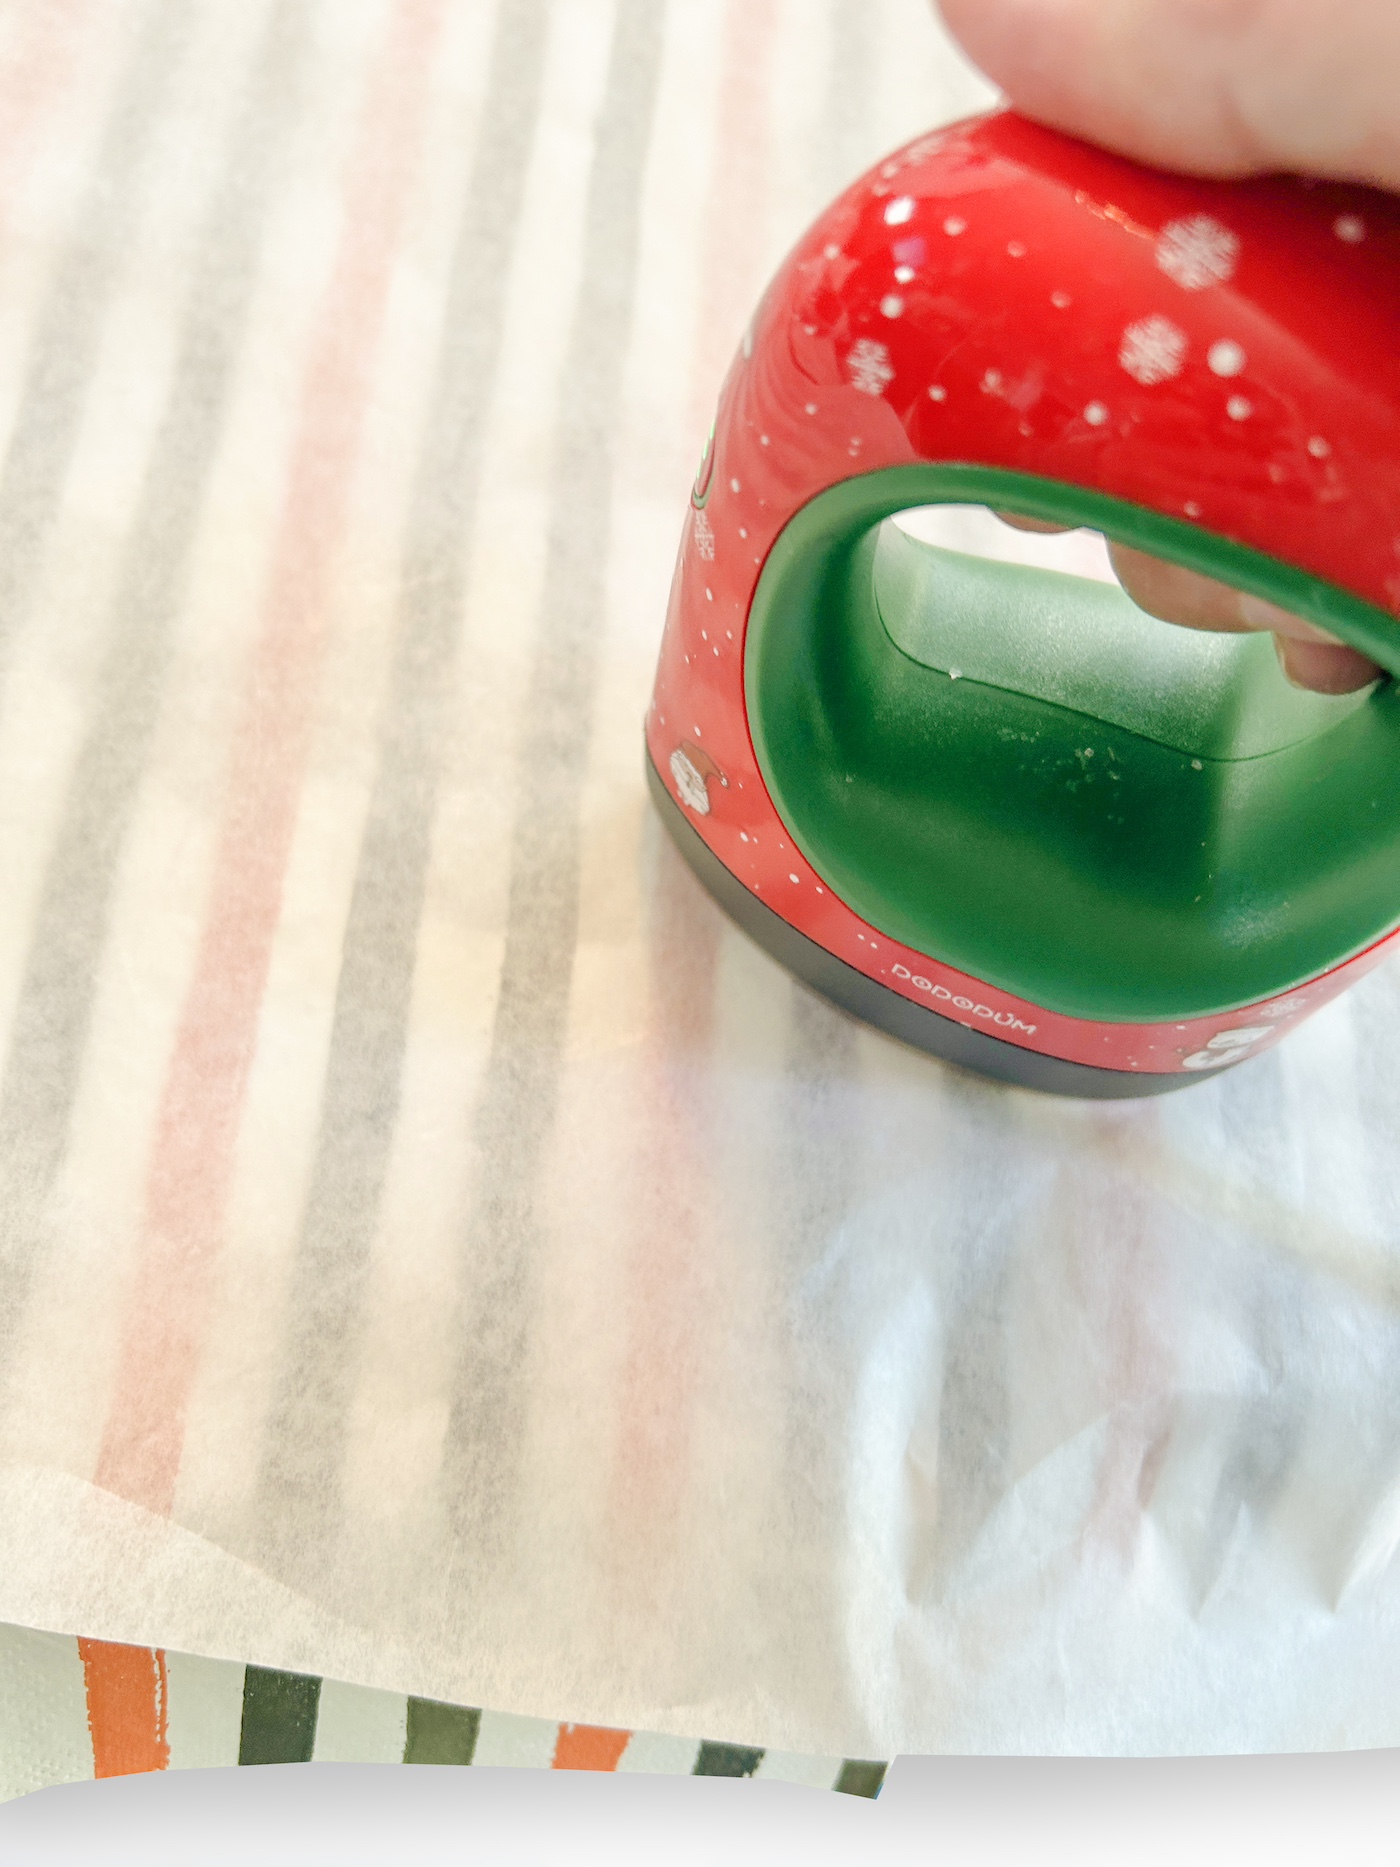
- Place the napkin down onto the wood and align. Place a piece of parchment paper on top of the napkin, and run the craft iron across the top several times. While you are doing this, the Mod Podge is melting below the napkin, and the napkin is adhering. Keep going until the napkin is fully adhered, including the edges.
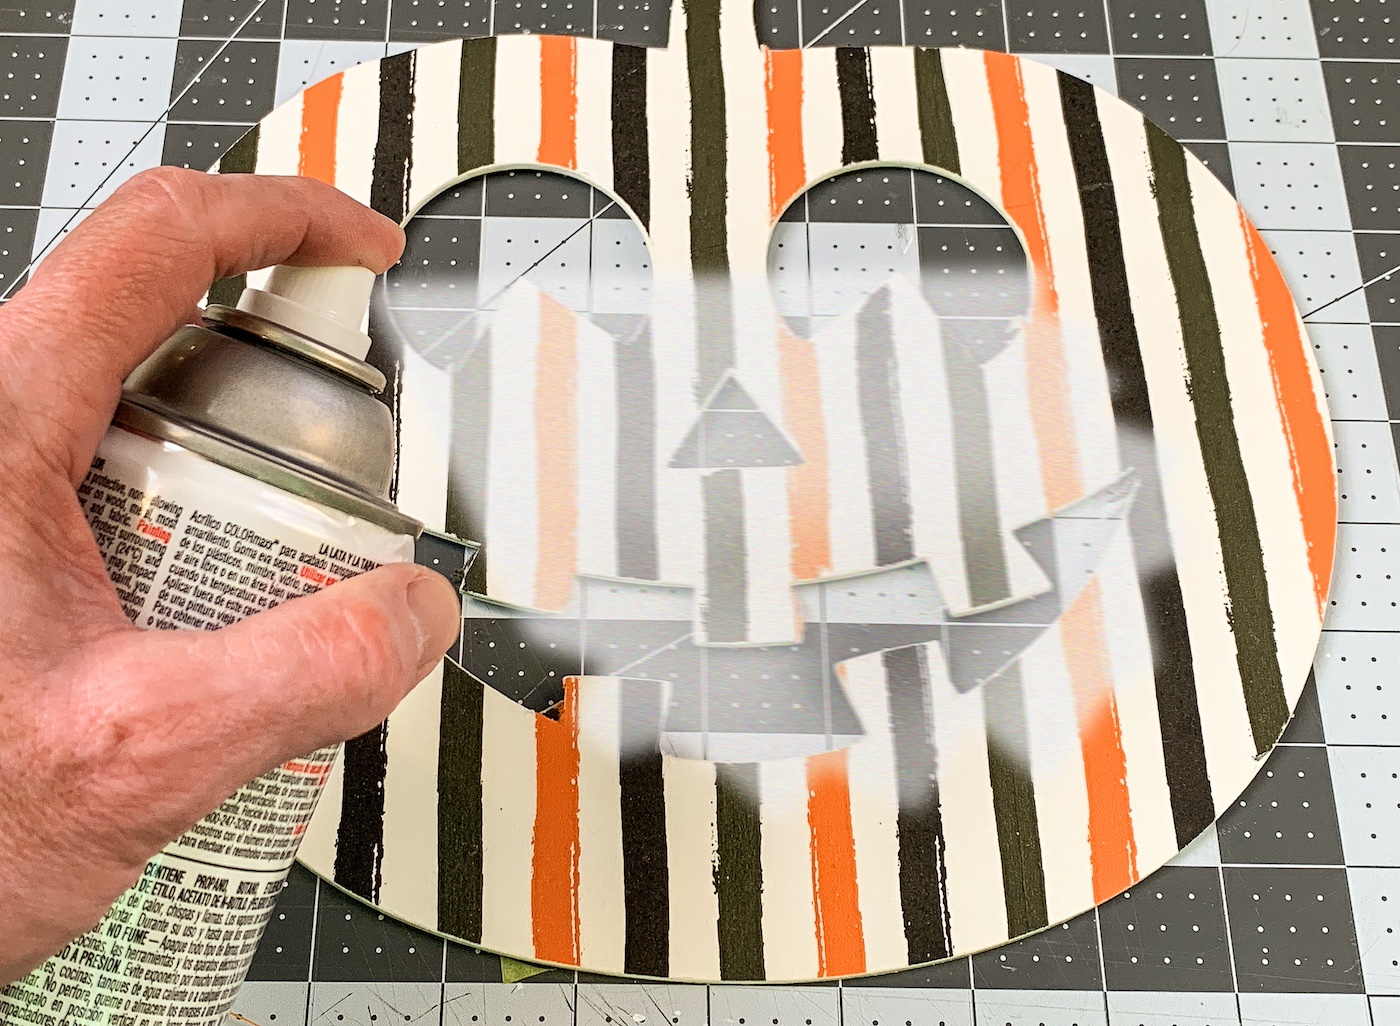
- If desired, spray the top of the napkin with clear sealer. Let dry.
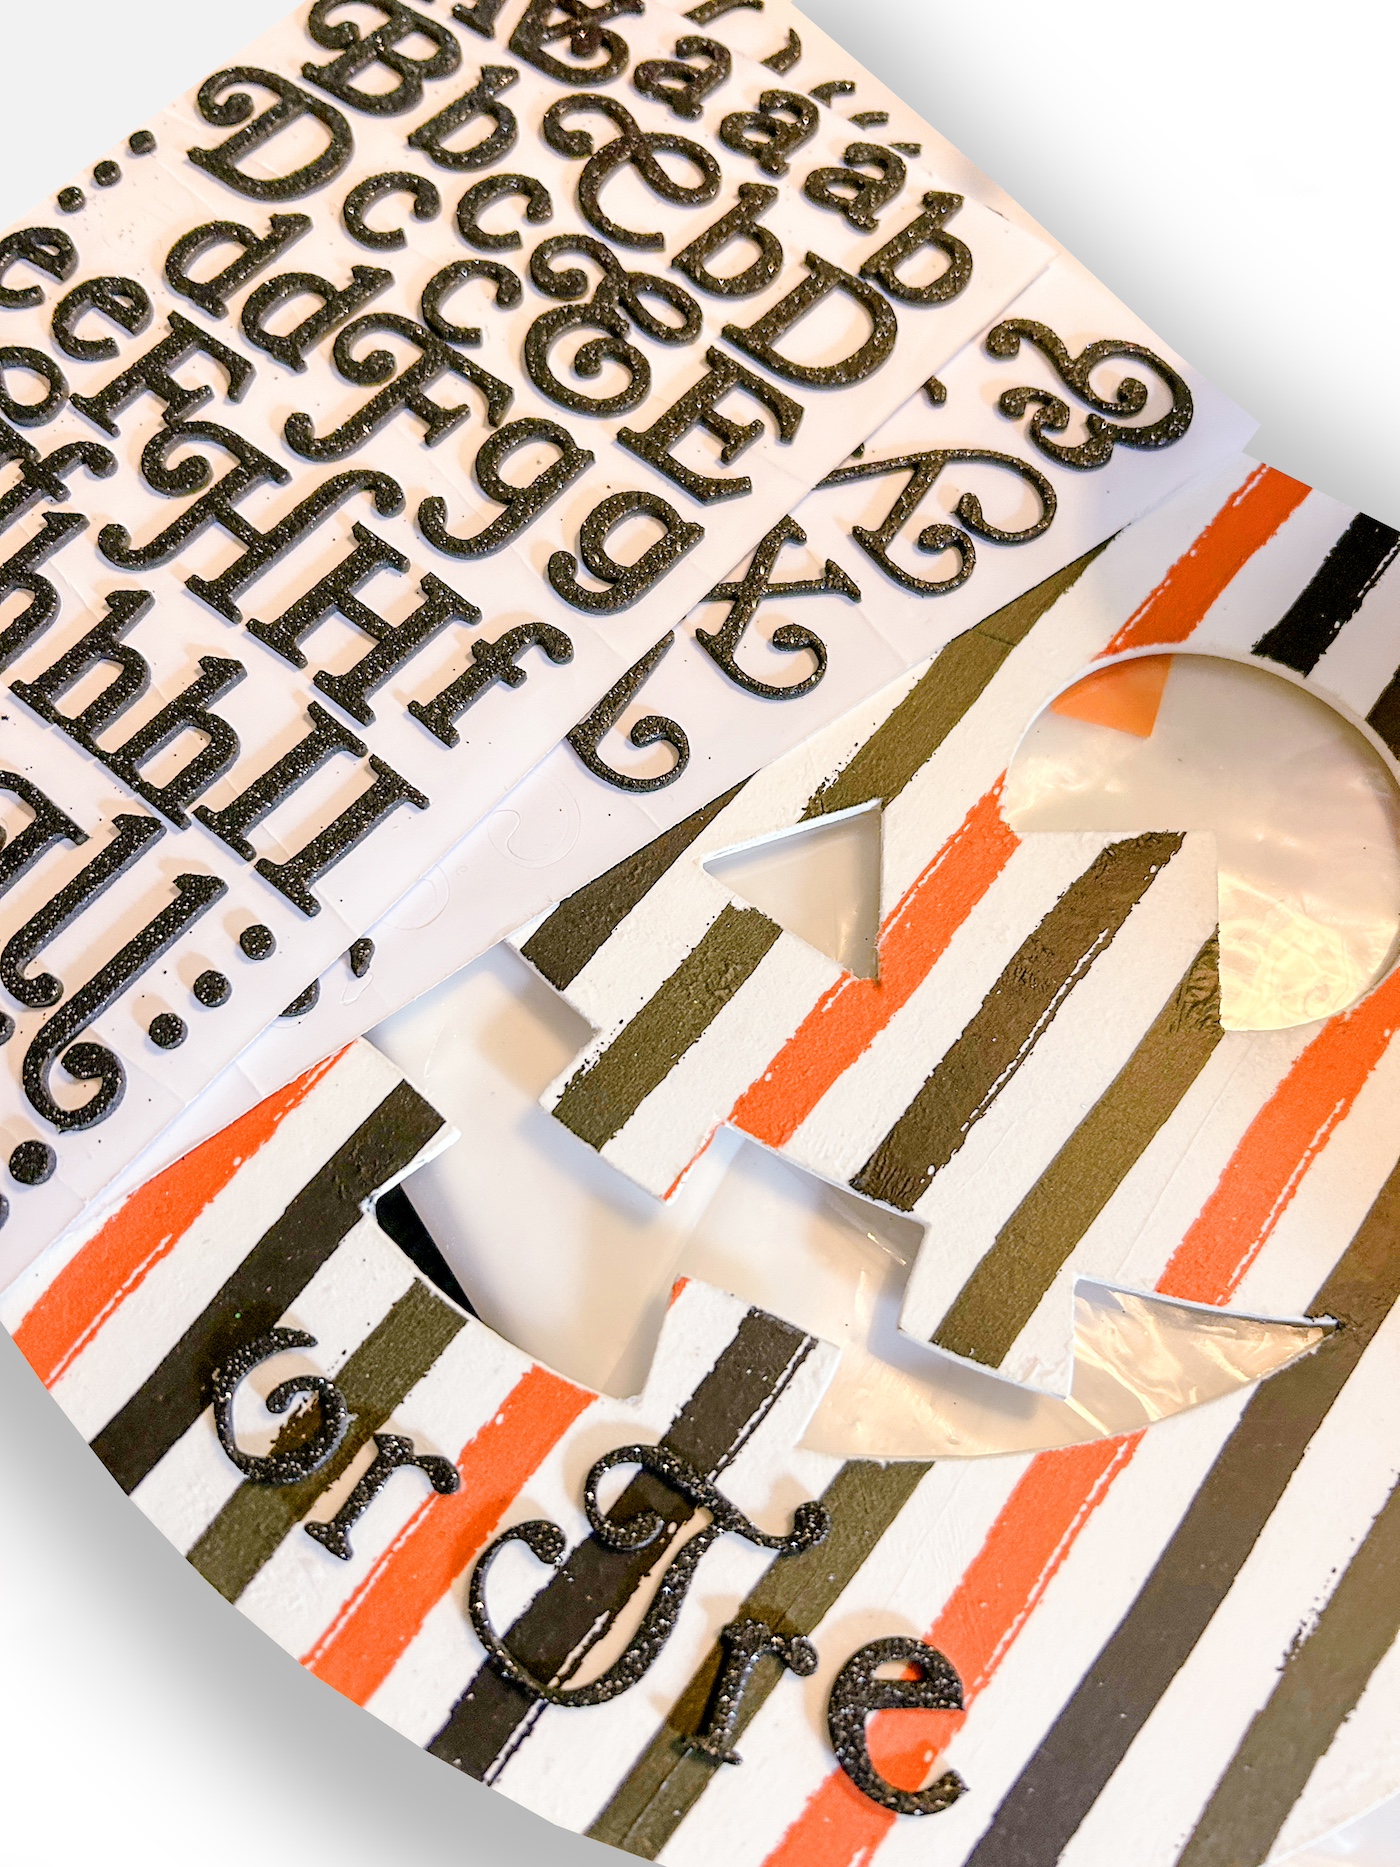
- Apply letters to the front of the pumpkin spelling whatever you like. I spelled "Trick or Treat."
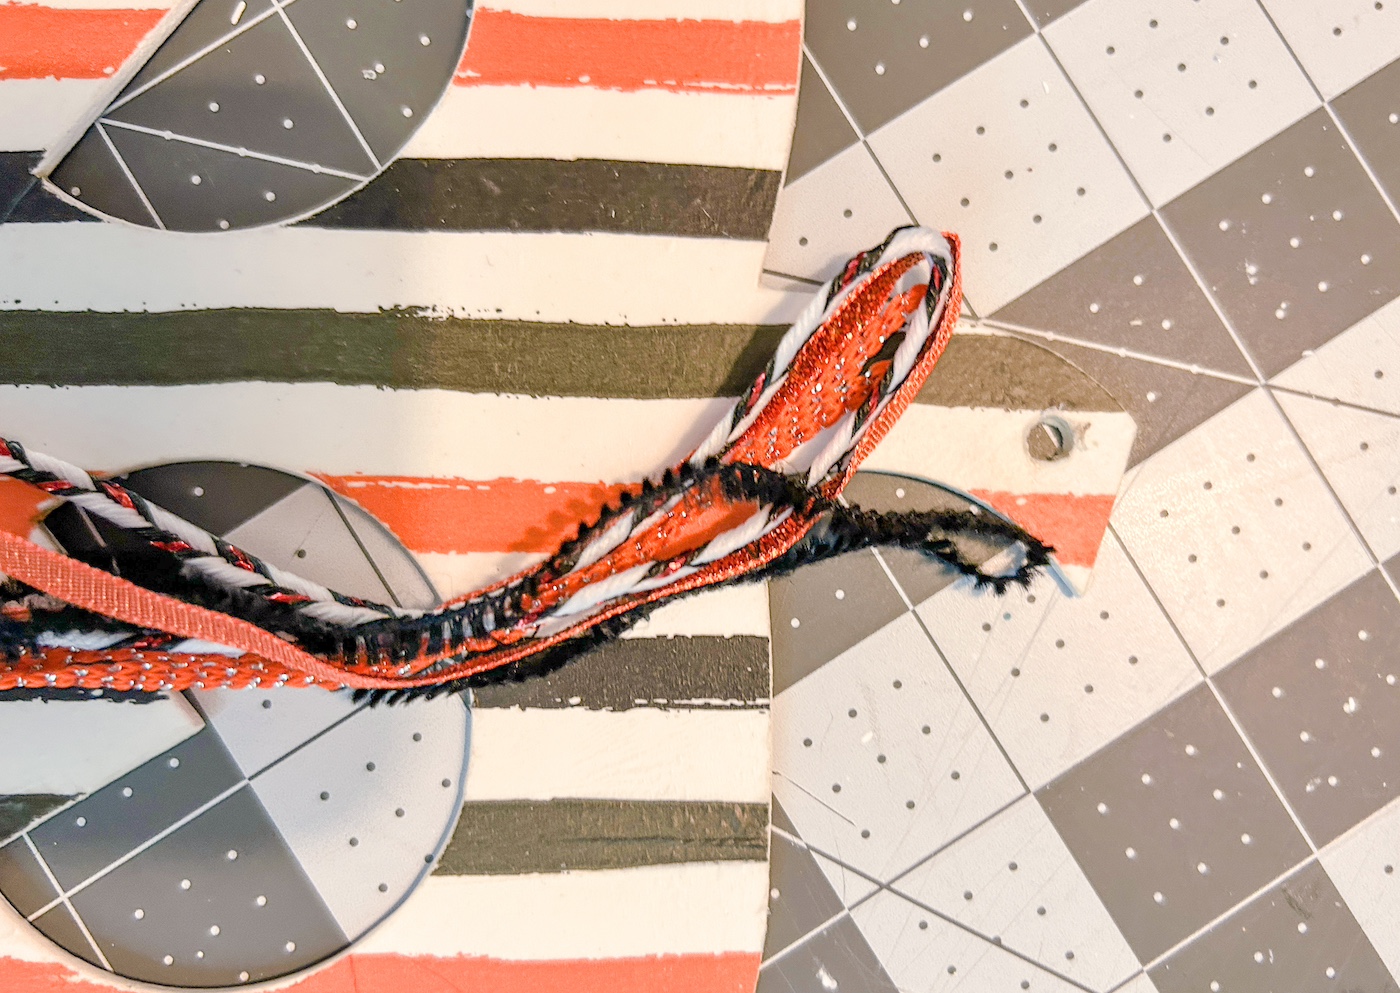
- Cut lengths of Halloween ribbon in a variety of designs. Attach them to the hole at the top of the pumpkin to hang.