
DIY Push Pins
Learn how to make cute magnets with this simple tutorial! This DIY is easy, and perfect for gift giving or dorm room decor.
Yield: 7 pins
Cost: $3
Equipment
- Jewelry cutters
Materials
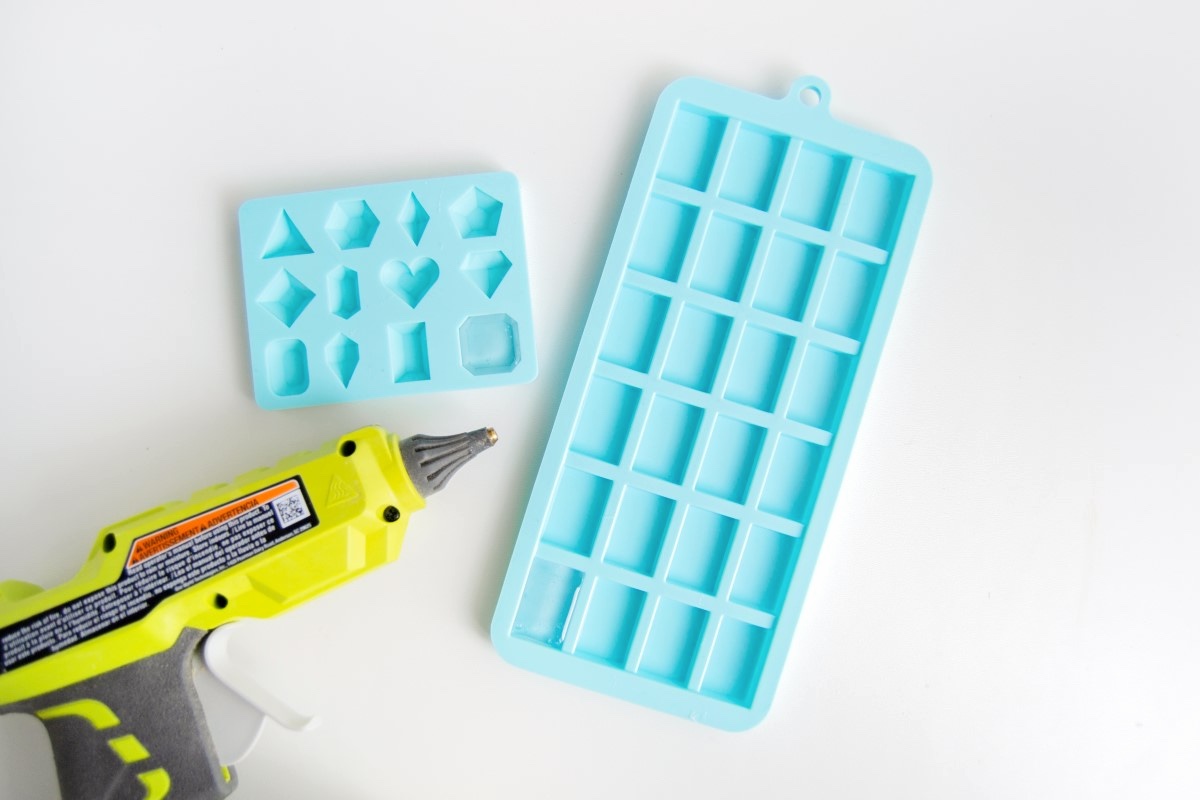
- Silicone molds
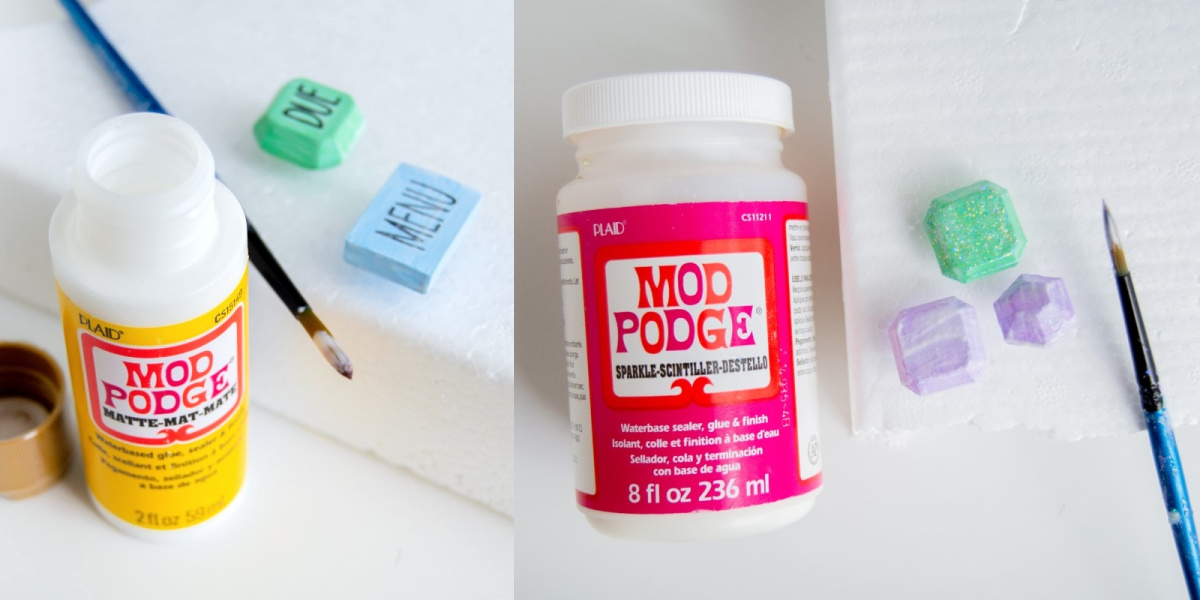
- Mod Podge I used Matte and Sparkle
- Push pins
- Acrylic paint
- Die cutter and adhesive vinyl or sticker labels optional
Instructions
- I had these two silicone molds from the craft store (from the baking aisle) and used the rectangle and gemstone shapes. Use a high-heat hot glue gun to melt some hot glue and squeeze inside your choice of mold. Make sure to try and get glue to the corners to lessen the chance of a bubble forming. Fill the mold with hot glue, and wait for it to harden (mine took about 20 or so minutes).
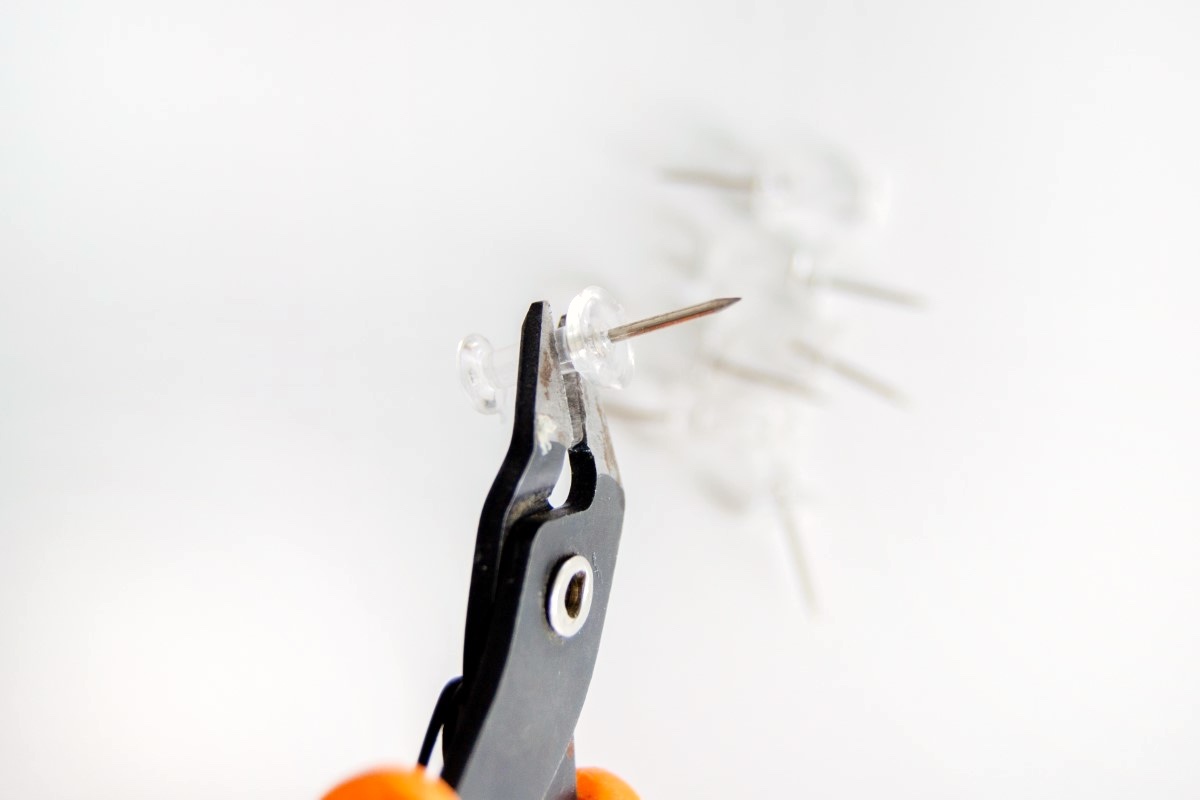
- Use a jewelry cutter/plier to cut off push pin tops if you are using the clear plastic-topped ones to make them shorter. If you are using just metal flat topped ones, this step can be skipped.
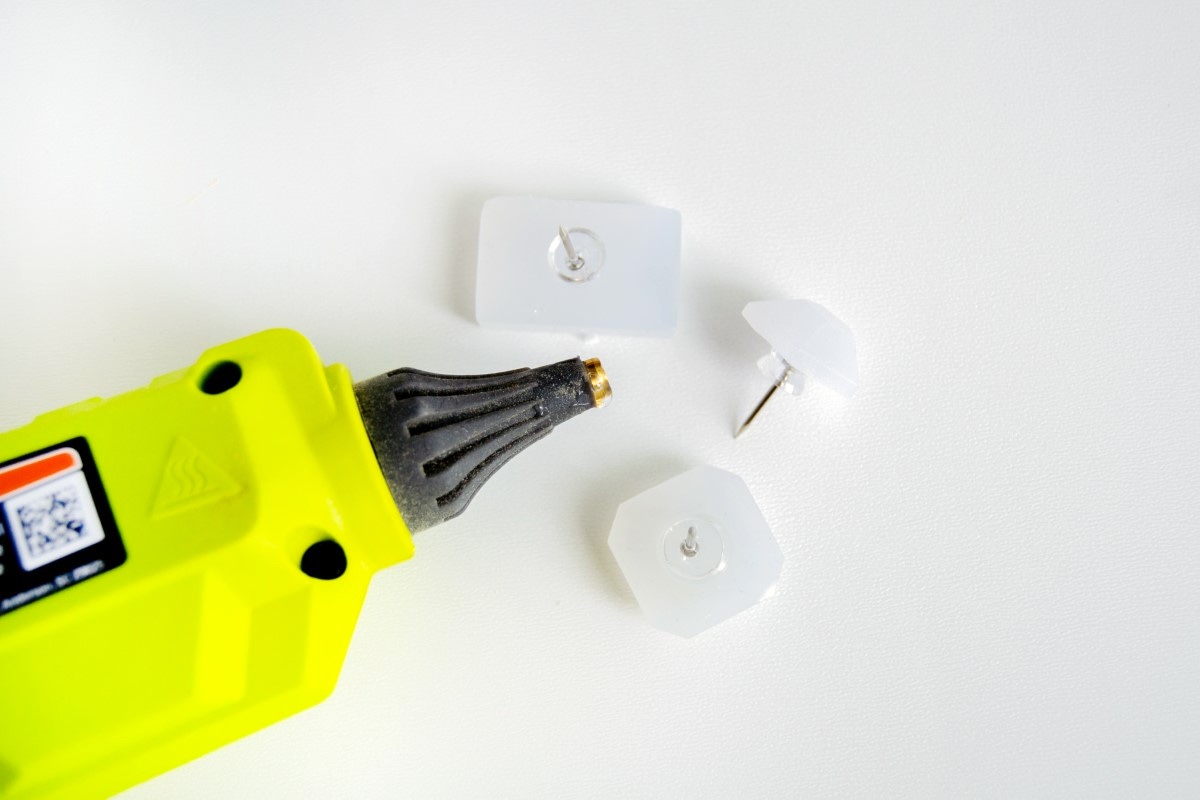
- Add your cut push pins to the back of your gems by hot gluing them on. I find this step much easier than putting the push pin onto your gem directly as there is less room for error - if you put the push pins in the gem directly, it may sink to the bottom of the mold or may not be straight.
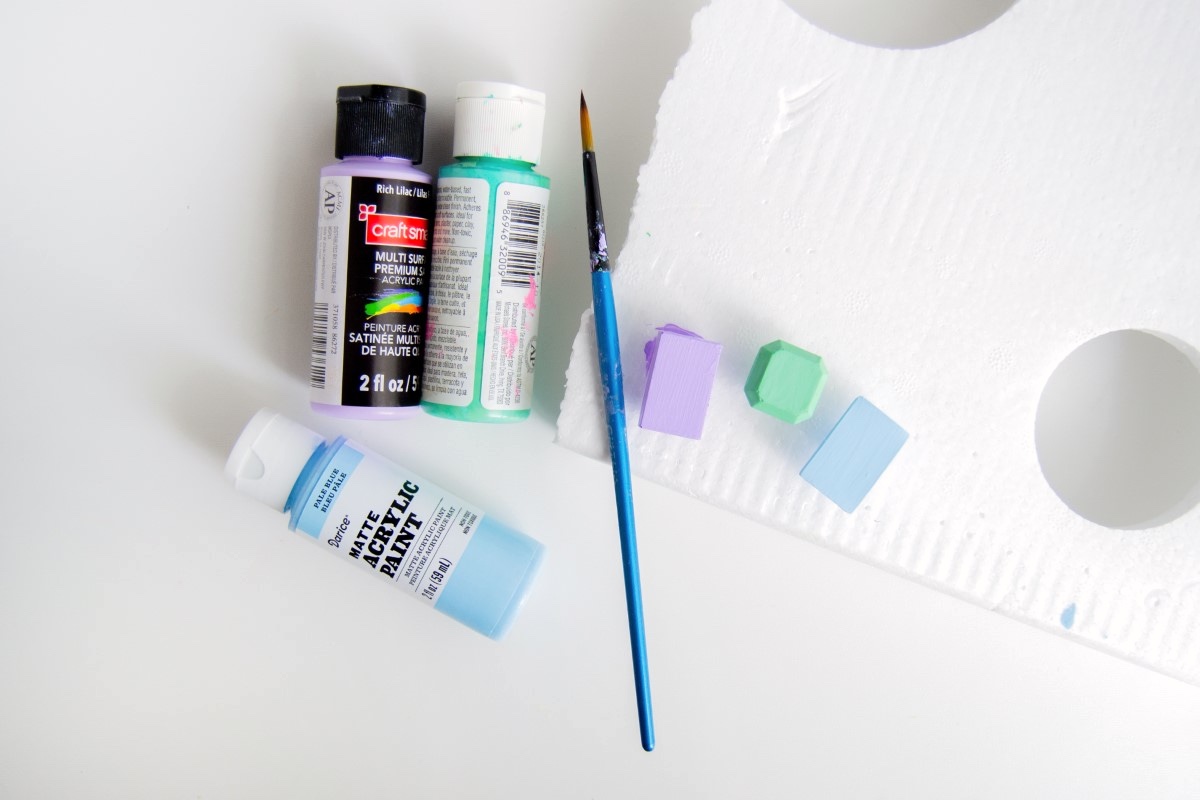
- Use the colors of choice to paint the tops of your gemstones. This could take as little as two coats depending on the type of paint you use. Wait for each paint layer to dry before adding another one.
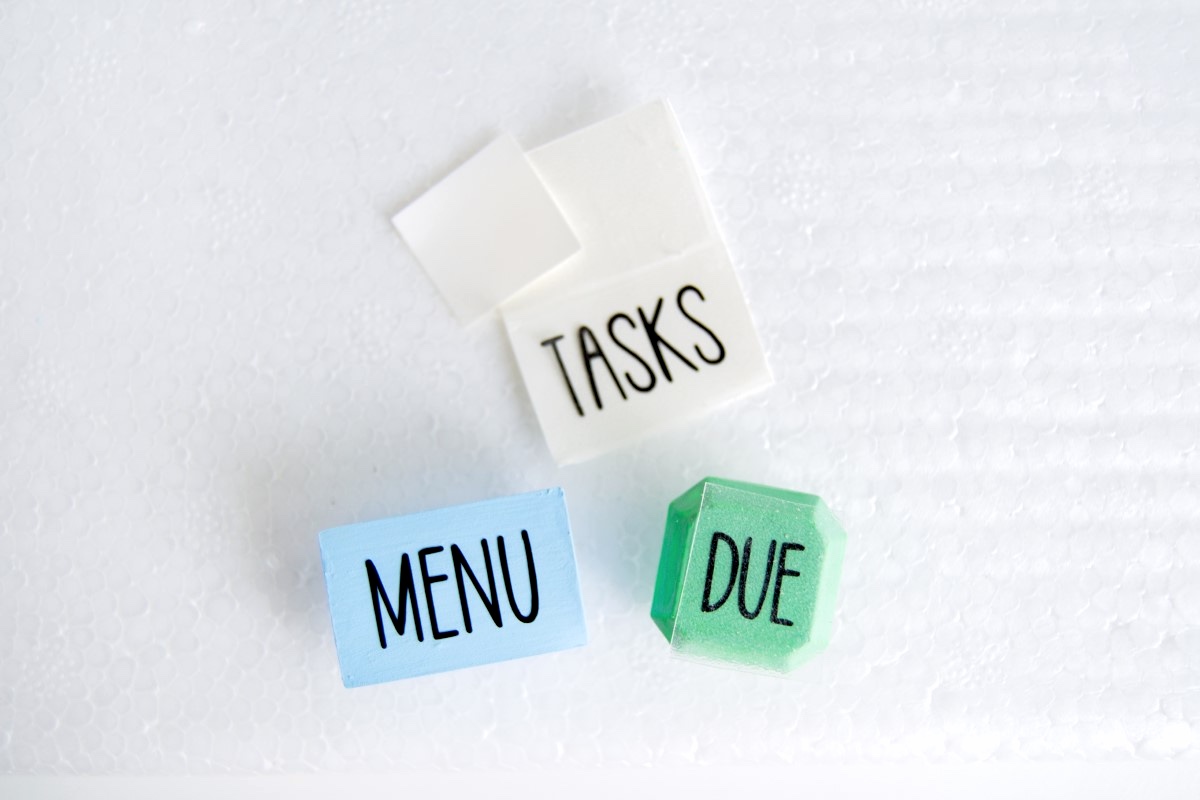
- Add words to the top of your gemstones if desired - I did ‘Menu’, ‘Due’, ‘Important’ and ‘Today’. For mine, I cut them using my vinyl die-cutter, but you can also use planner stickers from the craft or dollar store.
- Add a layer of Mod Podge onto your push pins to give them extra durability and sparkle. For the text ones, I used a Matte Mod Podge. For the plain ones, I used Sparkle to make them extra fun. Let dry before using.
Notes
Note: once you purchase the silicone molds, you can make as many pins as you like, as well as other crafts. Therefore an accurate cost for this project depends on how many you make.