DIY Pins for Kids
Learn how to make fun, easy DIY pins with salt dough - a perfect craft for kids to express their creativity!
Yield: 4 pins
Cost: $1
Equipment
- Bowl
- Fork
- Cookie sheet
- Cookie cutters
- Rolling Pin
Materials
- Acrylic paint any colors
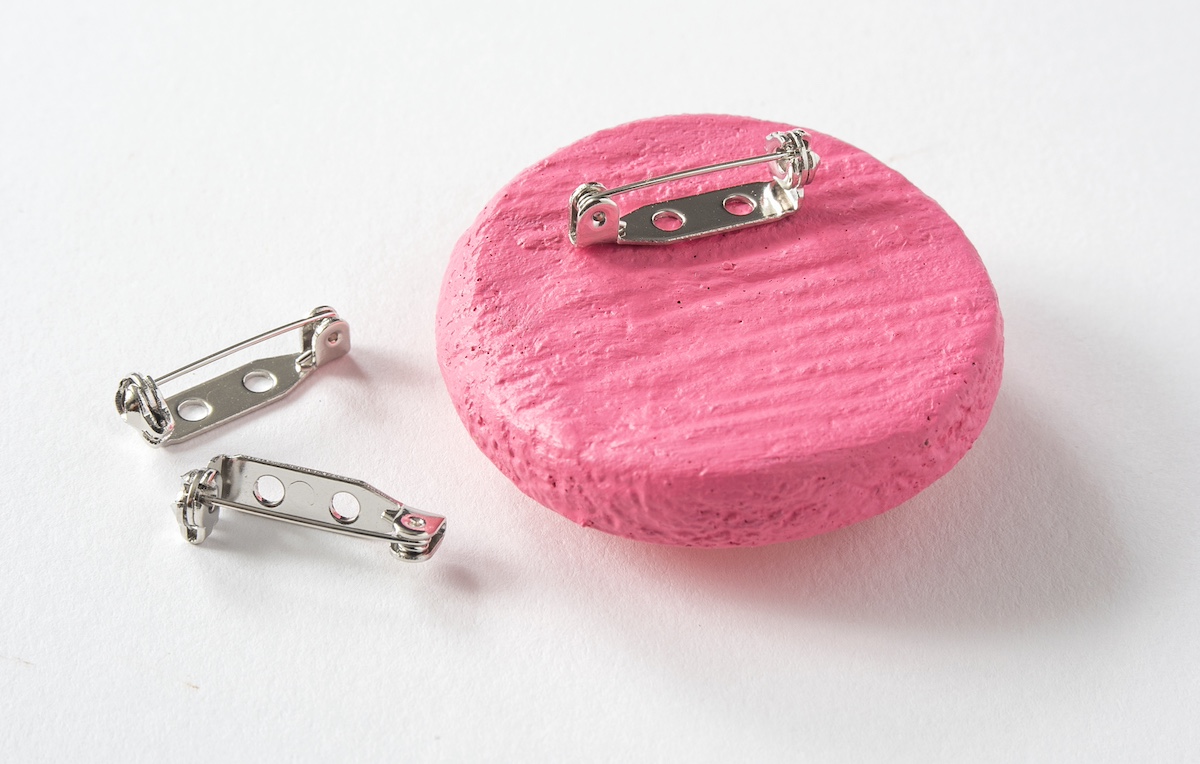
- Pin backs
- Craft glue
- Mod Podge
Instructions
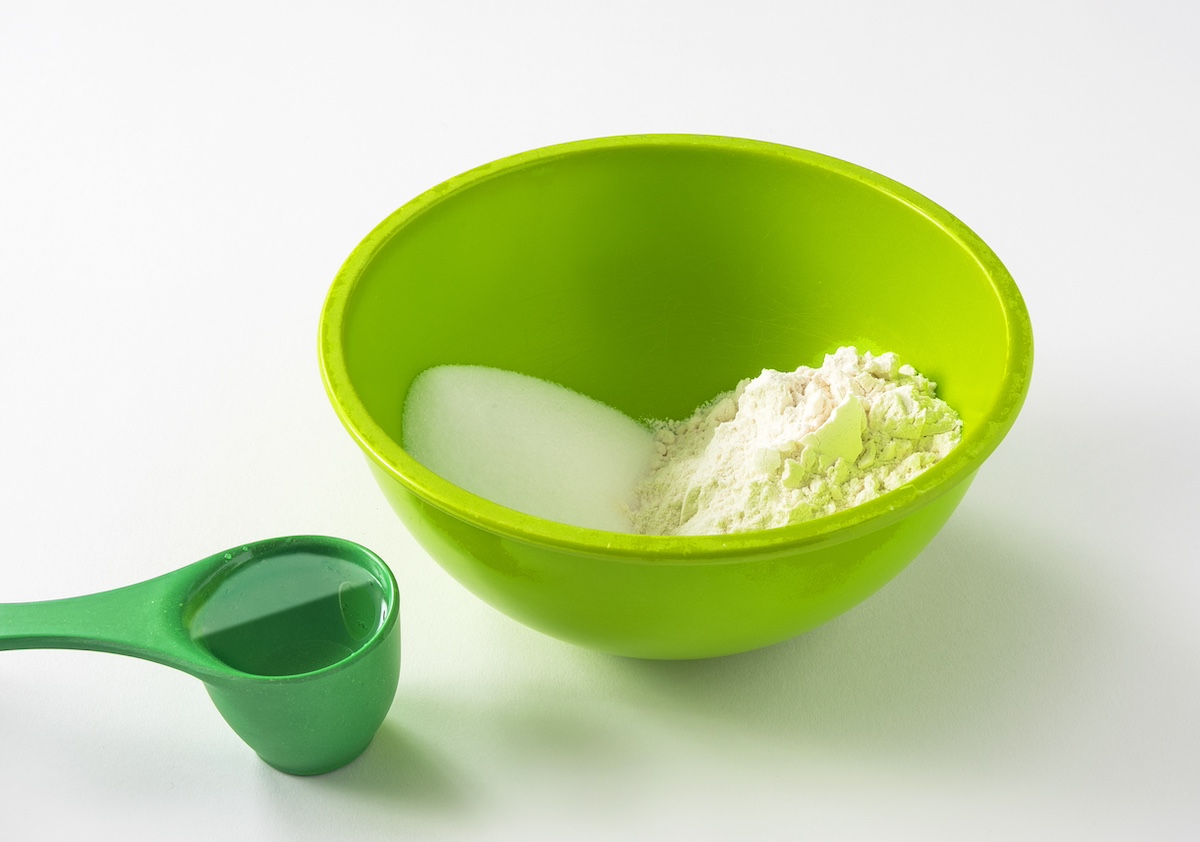
- Place the bowl on your work surface. Add the flour and salt to the bowl and combine with the fork. Add the water and stir.
- Continue mixing, and eventually the mixture will solidify enough that you can begin kneading it with your hands. If you find the dough is too dry, add a bit more water. If it's too wet, just add more flour.
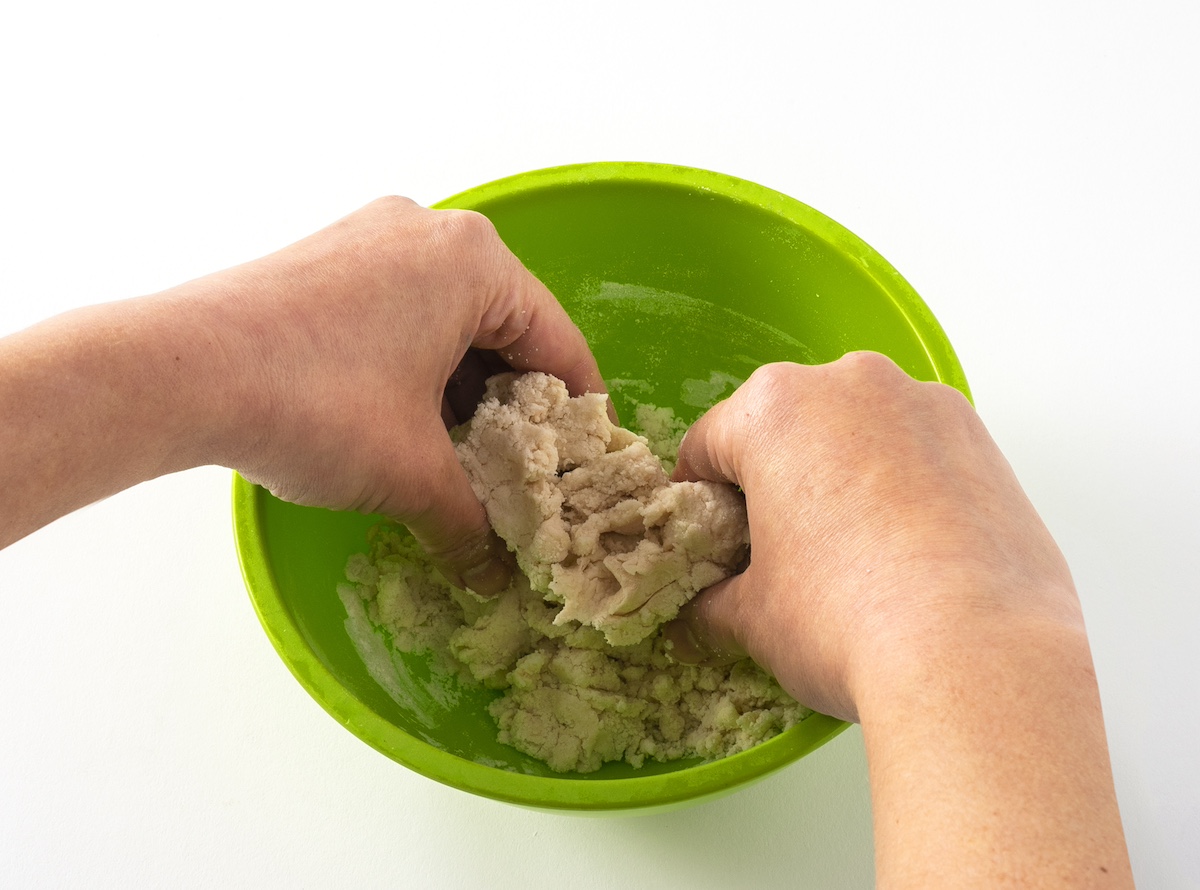
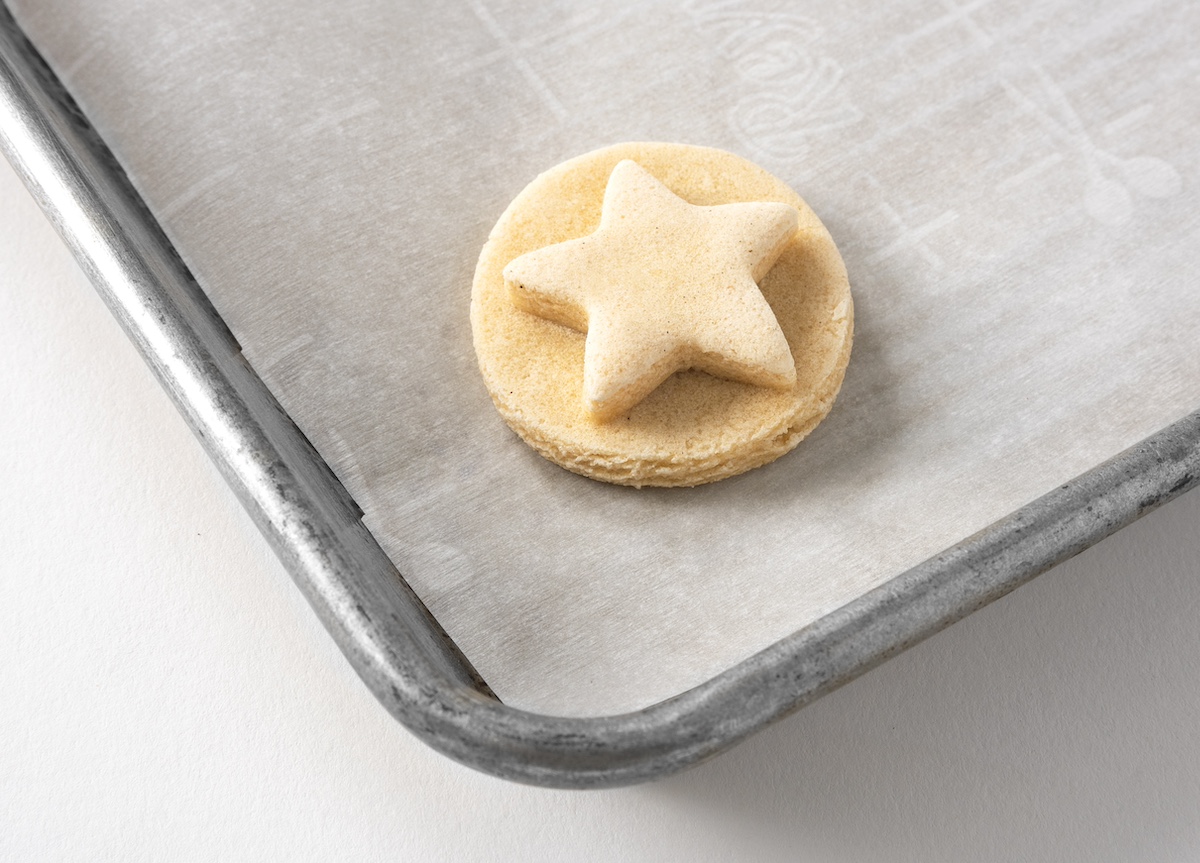
- Knead until fully combined, and then roll out the dough on your work surface with a rolling pin.
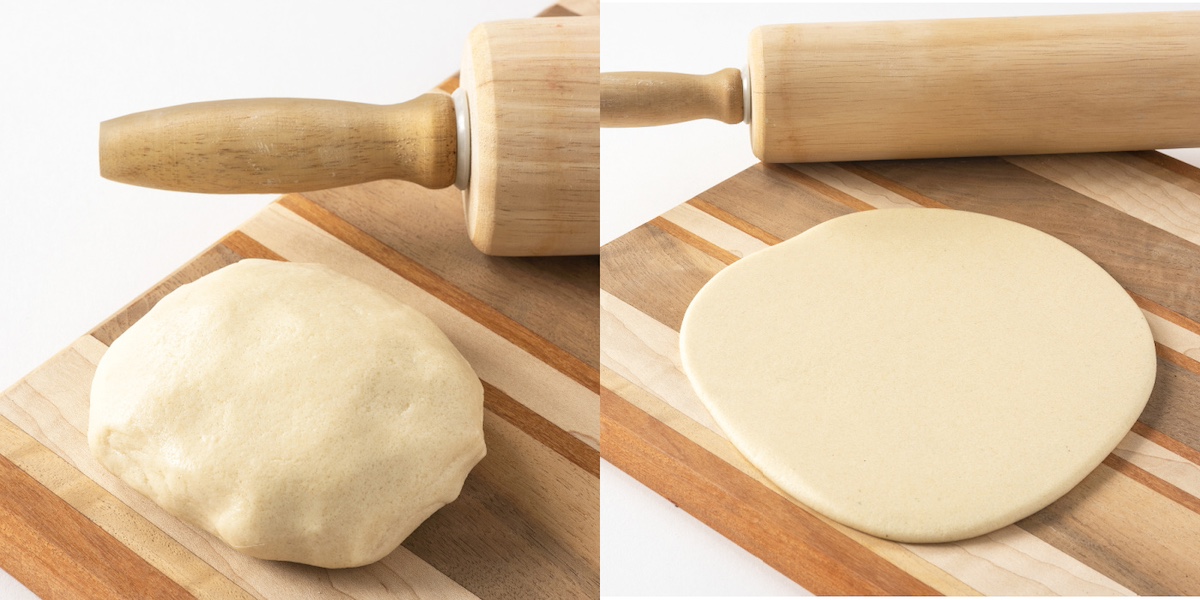
- Cut out the shapes you’d like with cookie cutters. You can also use items around the home (a pill bottle lid makes a small round shape, for example). Feel free to stack them as well.

- Place the dough shapes on a cookie sheet and into the oven at 250 degrees for 2 – 3 hours. It may take longer depending on your oven. Check every 30 minutes until done and let cool completely.
- Use the acrylic colors to paint your pins in the designs of your choice.
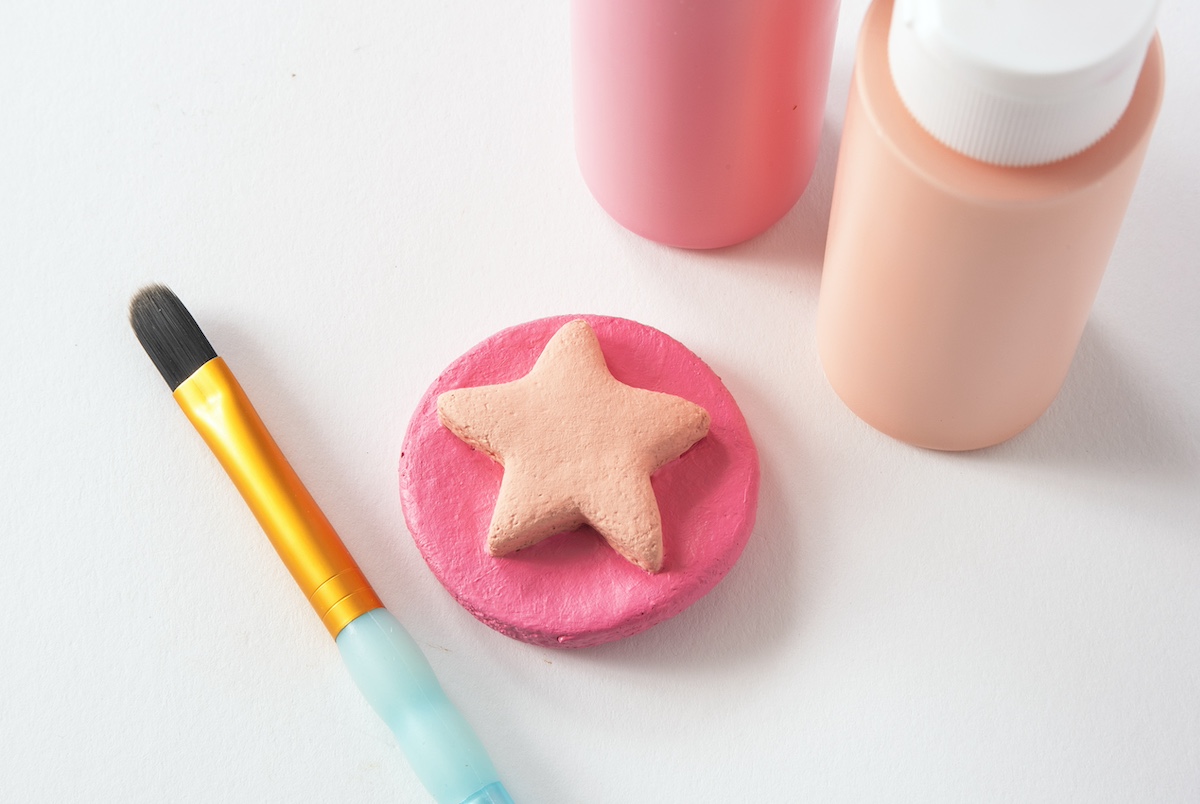
- Add dots with the end of a paintbrush as desired. Dip the end of a small paintbrush in paint, press down directly on the surface, and pull up to create a dot. Let dry. To make your pins more durable, paint a coat of decoupage medium over the top (optional).
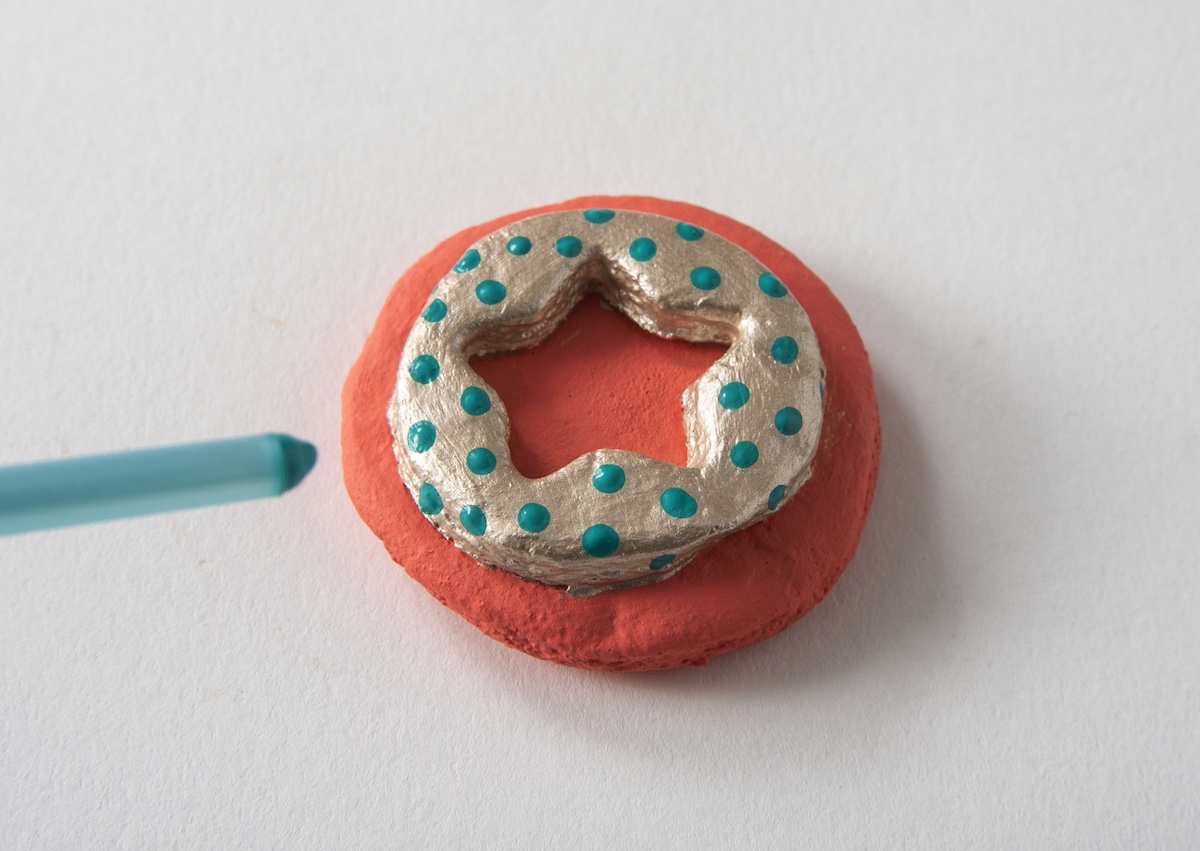
- Flip the shapes over and add pin backs to them with craft glue. Let dry completely before wearing or gifting.