DIY Merry Christmas Decor
Learn how to make this unique Merry sign with a wood plaque, paper mache letters, and other simple supplies. It's great for displaying on a holiday mantel!
Yield: 1 sign
Cost: $23
Equipment
- Pen or pencil
- Hot glue gun and glue sticks (or craft glue)
- Sandpaper
- Wax candle
Materials
- 1 Wood plaque(s) 23.2″ x 5.4″ - mine's from JoAnns
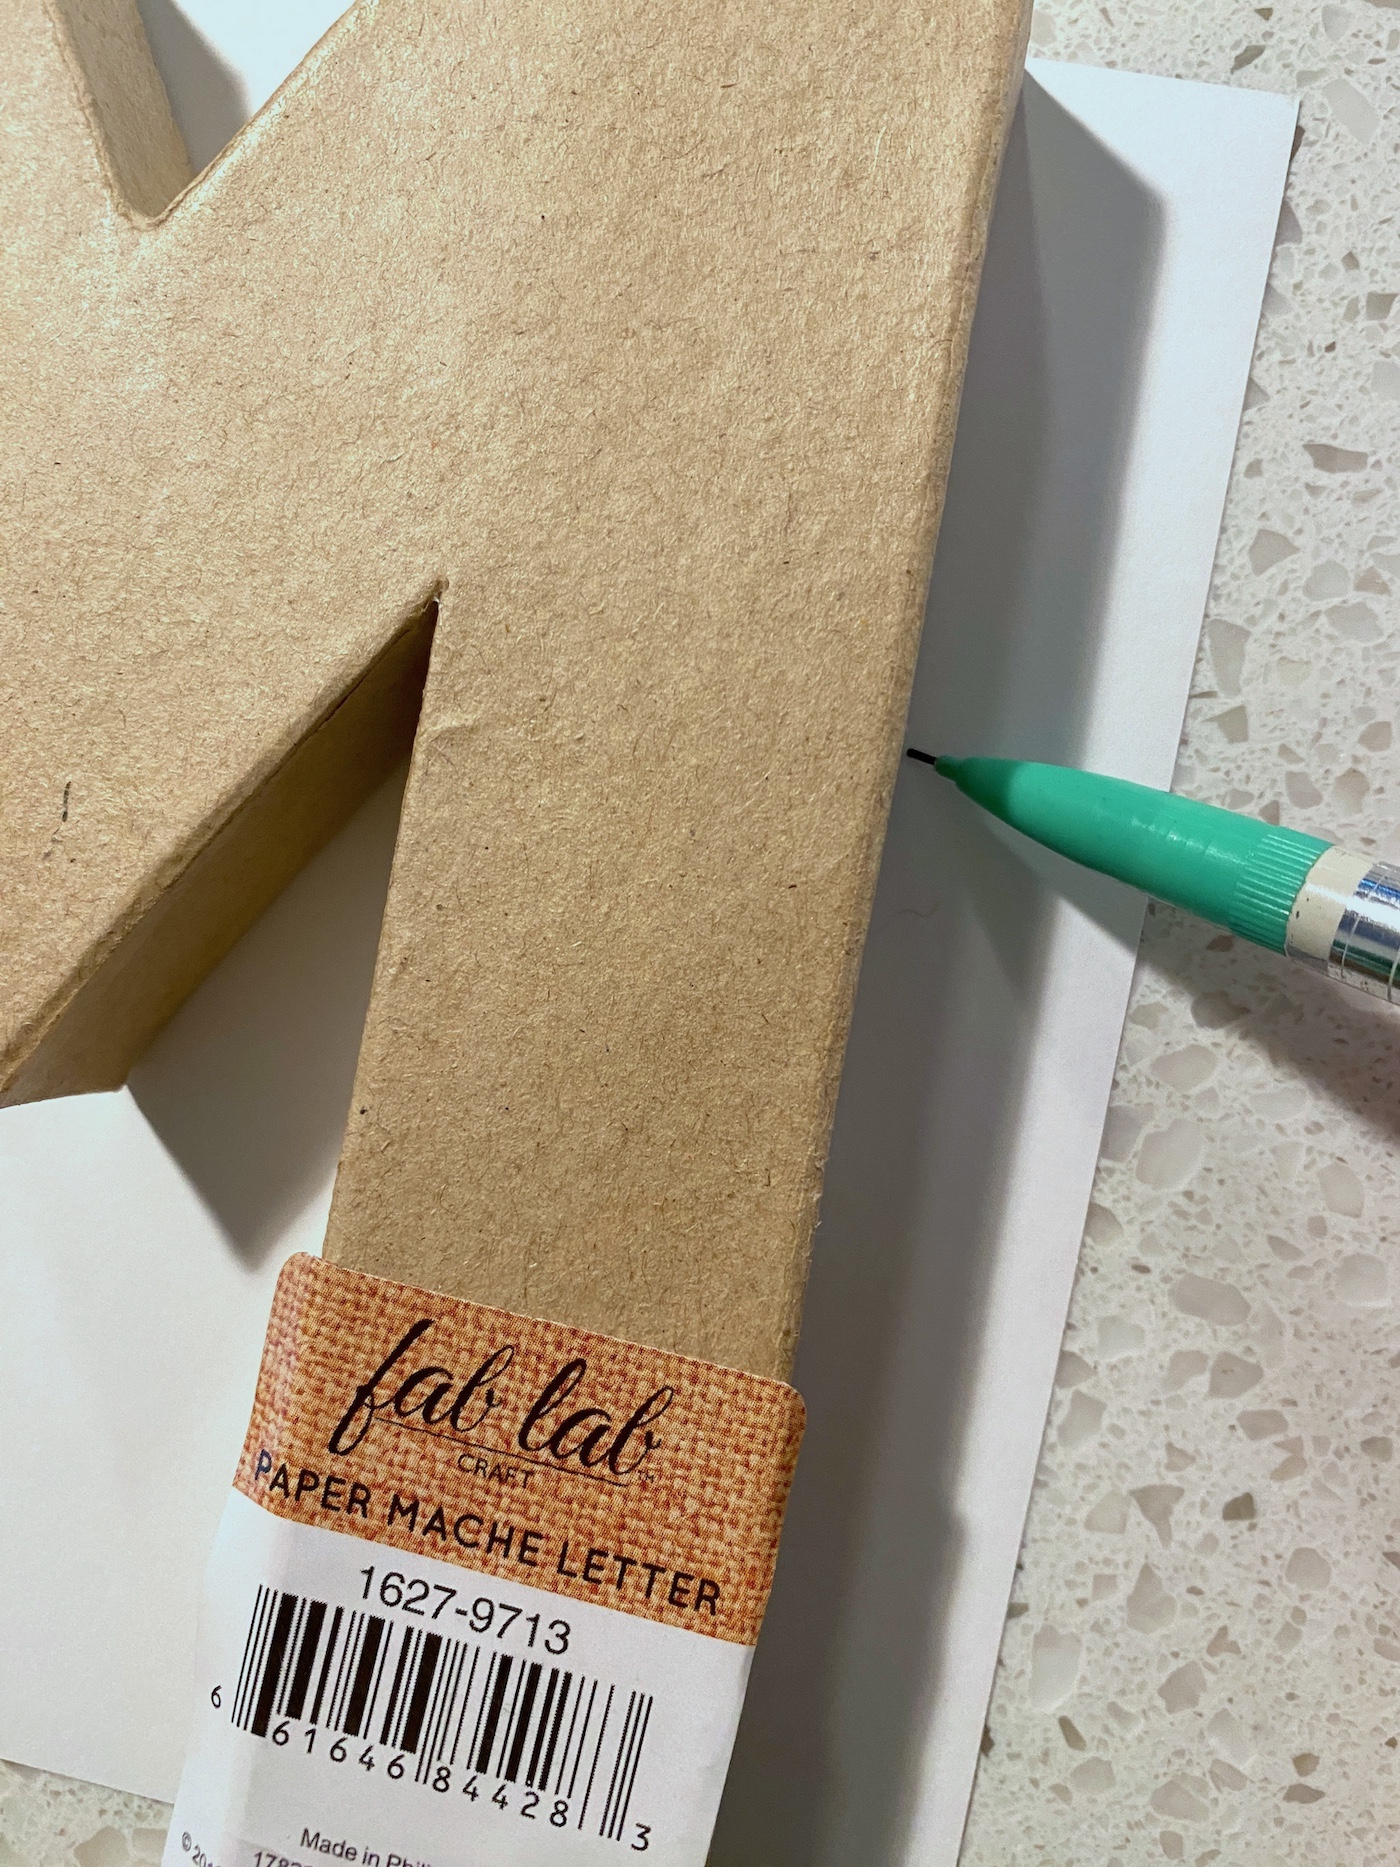
- Paper mache letters – 6″ spelling “MERRY”
- Craft paint colors to coordinate with your papers plus white
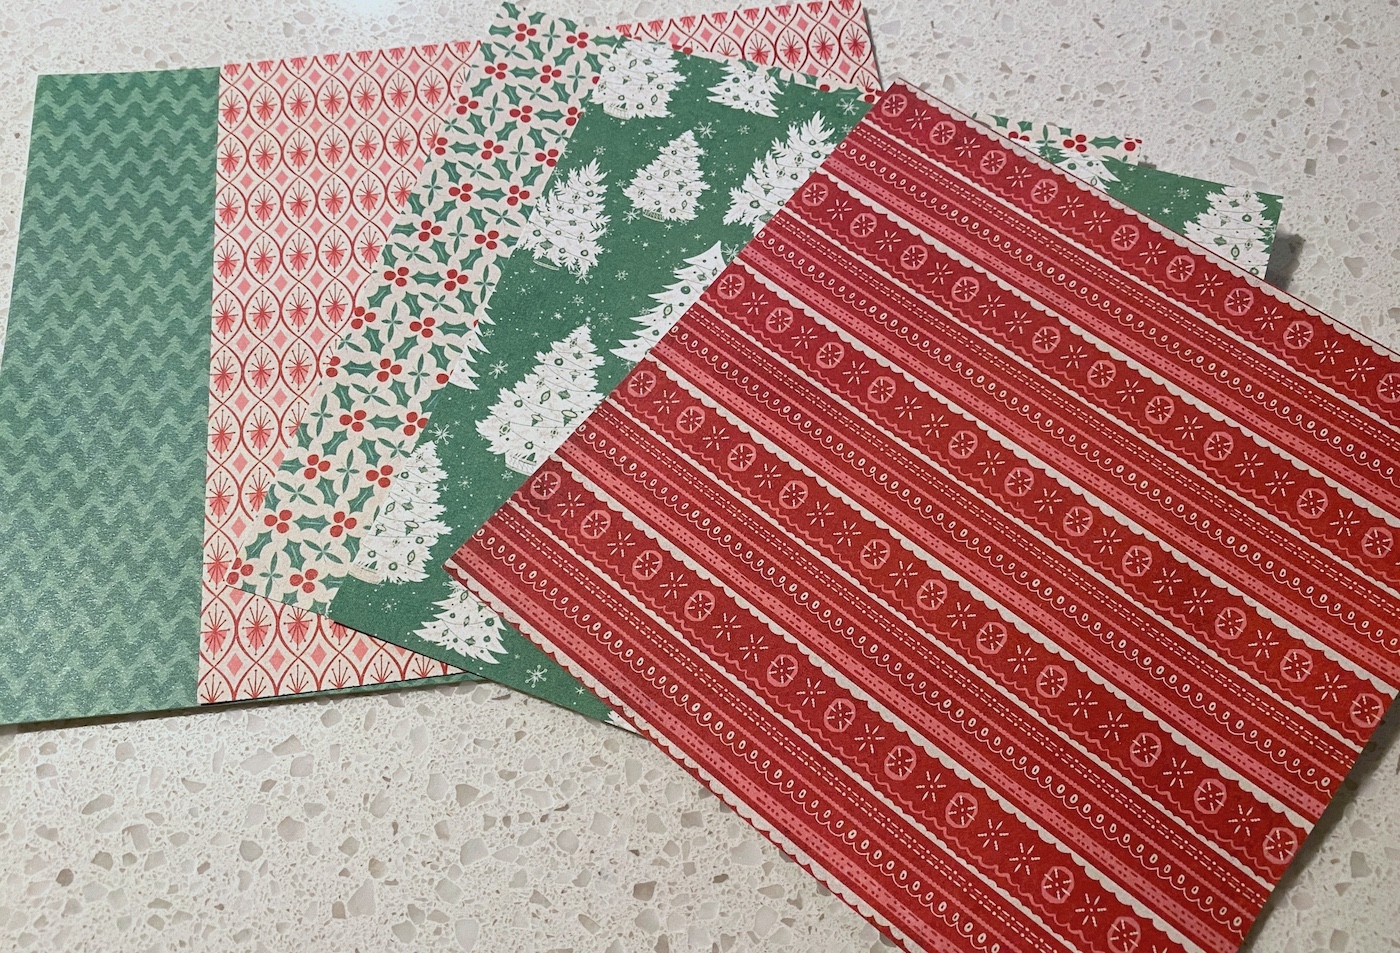
- 5 sheets Scrapbook paper
- Faux snow
- Mod Podge Satin
- Bottlebrush trees and other Christmas embellishments deer, snowmen, wreath, etc
Instructions
- Choose the papers to cover your letters. Lay out the papers and decide on your paint colors for each letter.
- Trace the letters onto the back of the scrapbook paper using a pencil or pen.
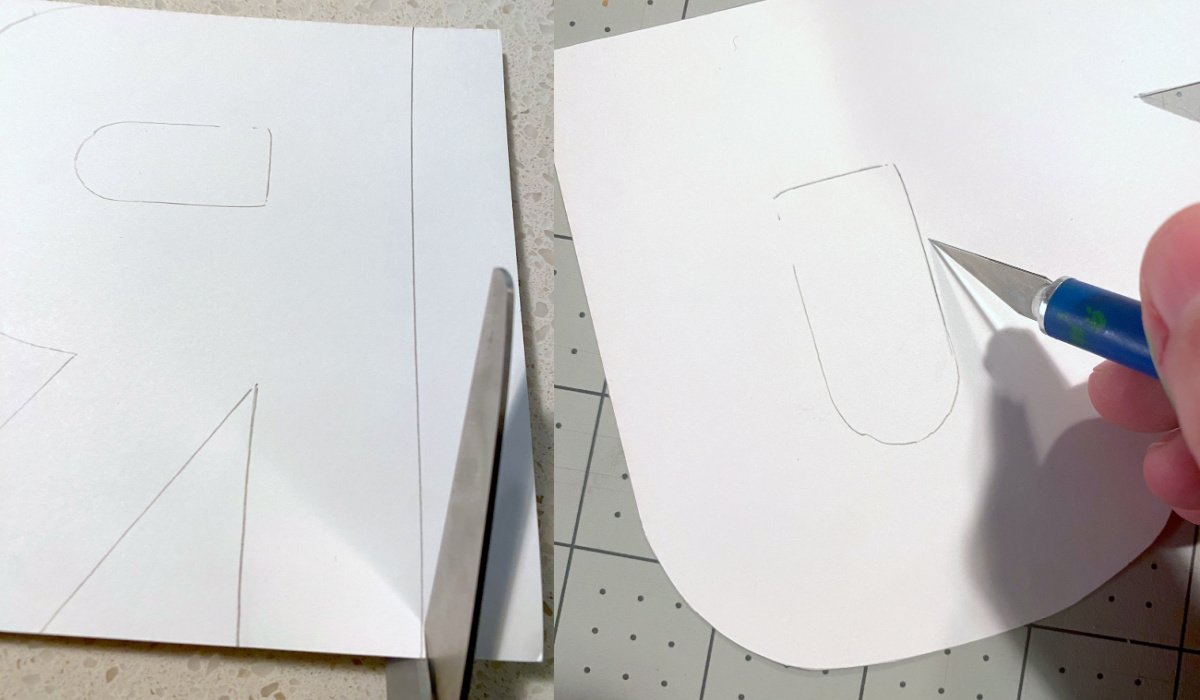
- Cut out the letters using your scissors. For tricky areas like the insides of some of the letters, it's easier to use a craft knife.
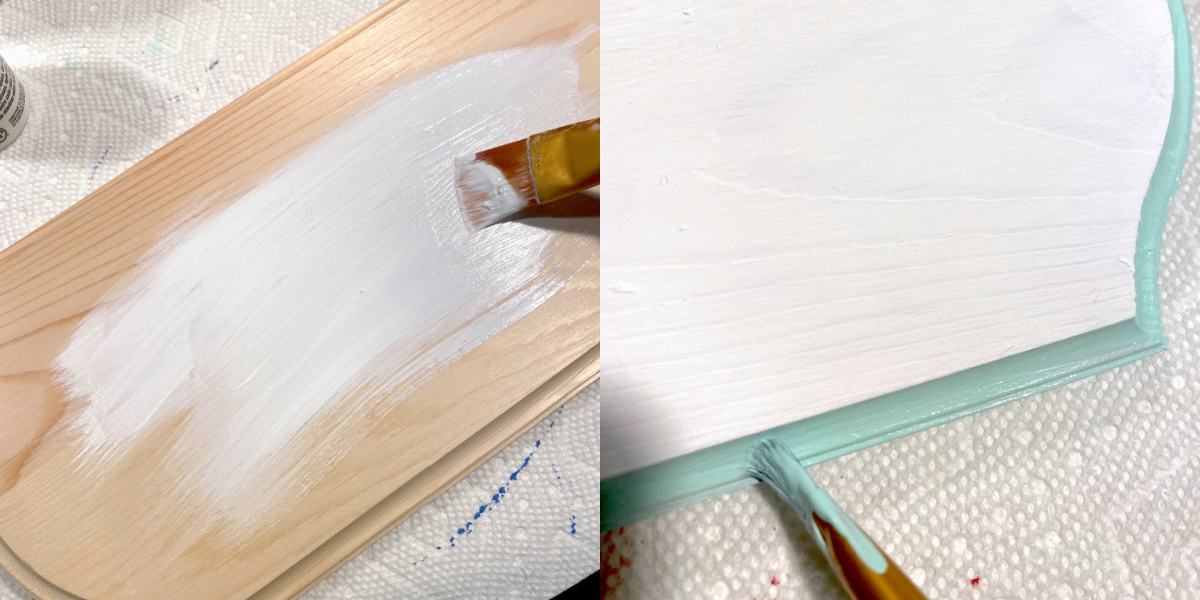
- Paint the top of the wood plaque with white craft paint. Paint the edges of the plaque with another color (I used light green) and a smaller brush. Paint the sides and back of the letters with the colors of your choice at this time. Let dry.
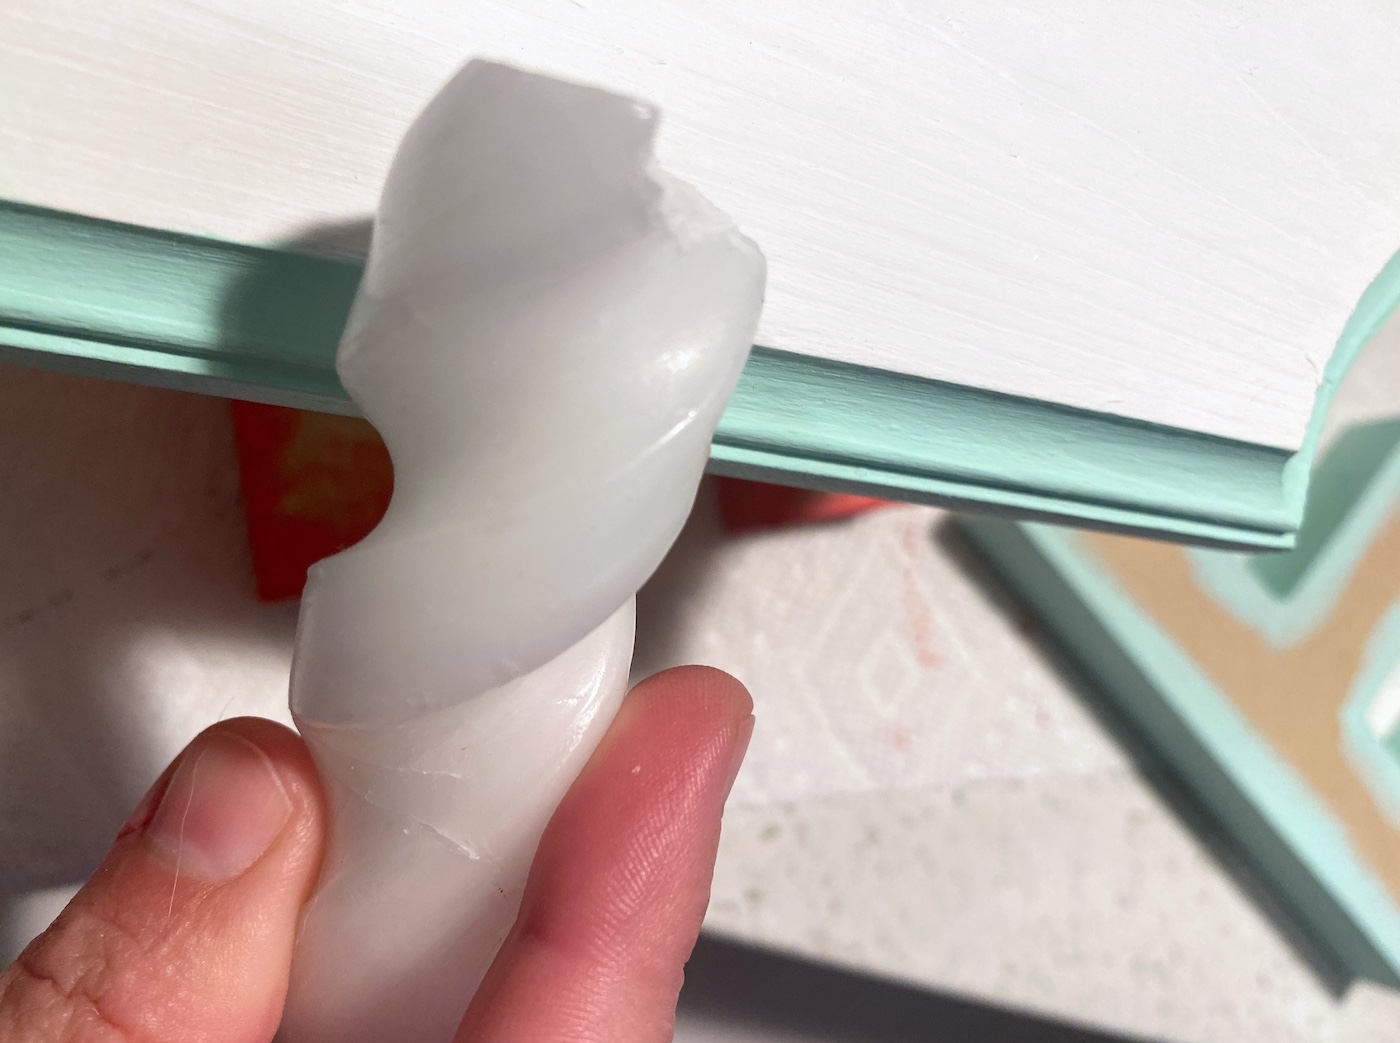
- Wax the edges of the plaque with a white candle. Just do it lightly all the way around the plaque.
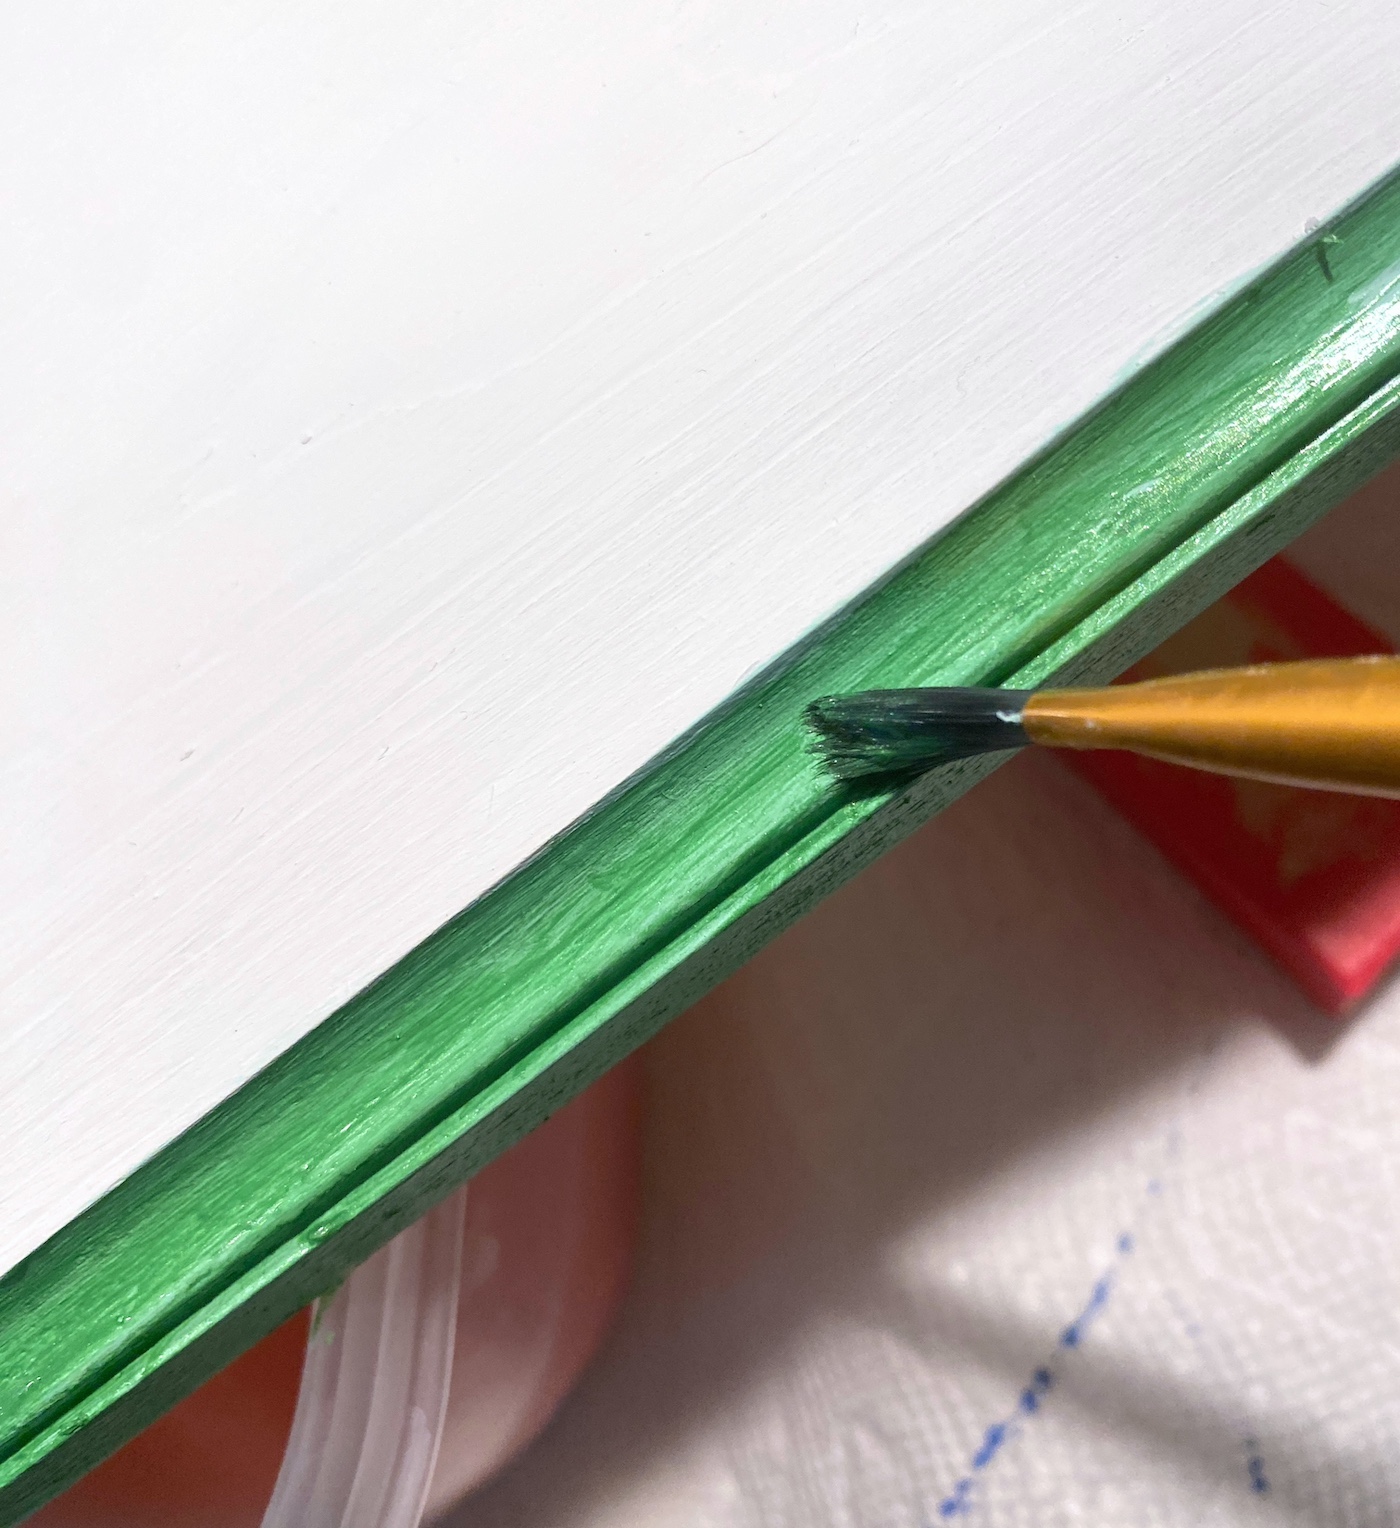
- Paint around the edge of the plaque with green metallic paint, or your choice of color. Let dry.
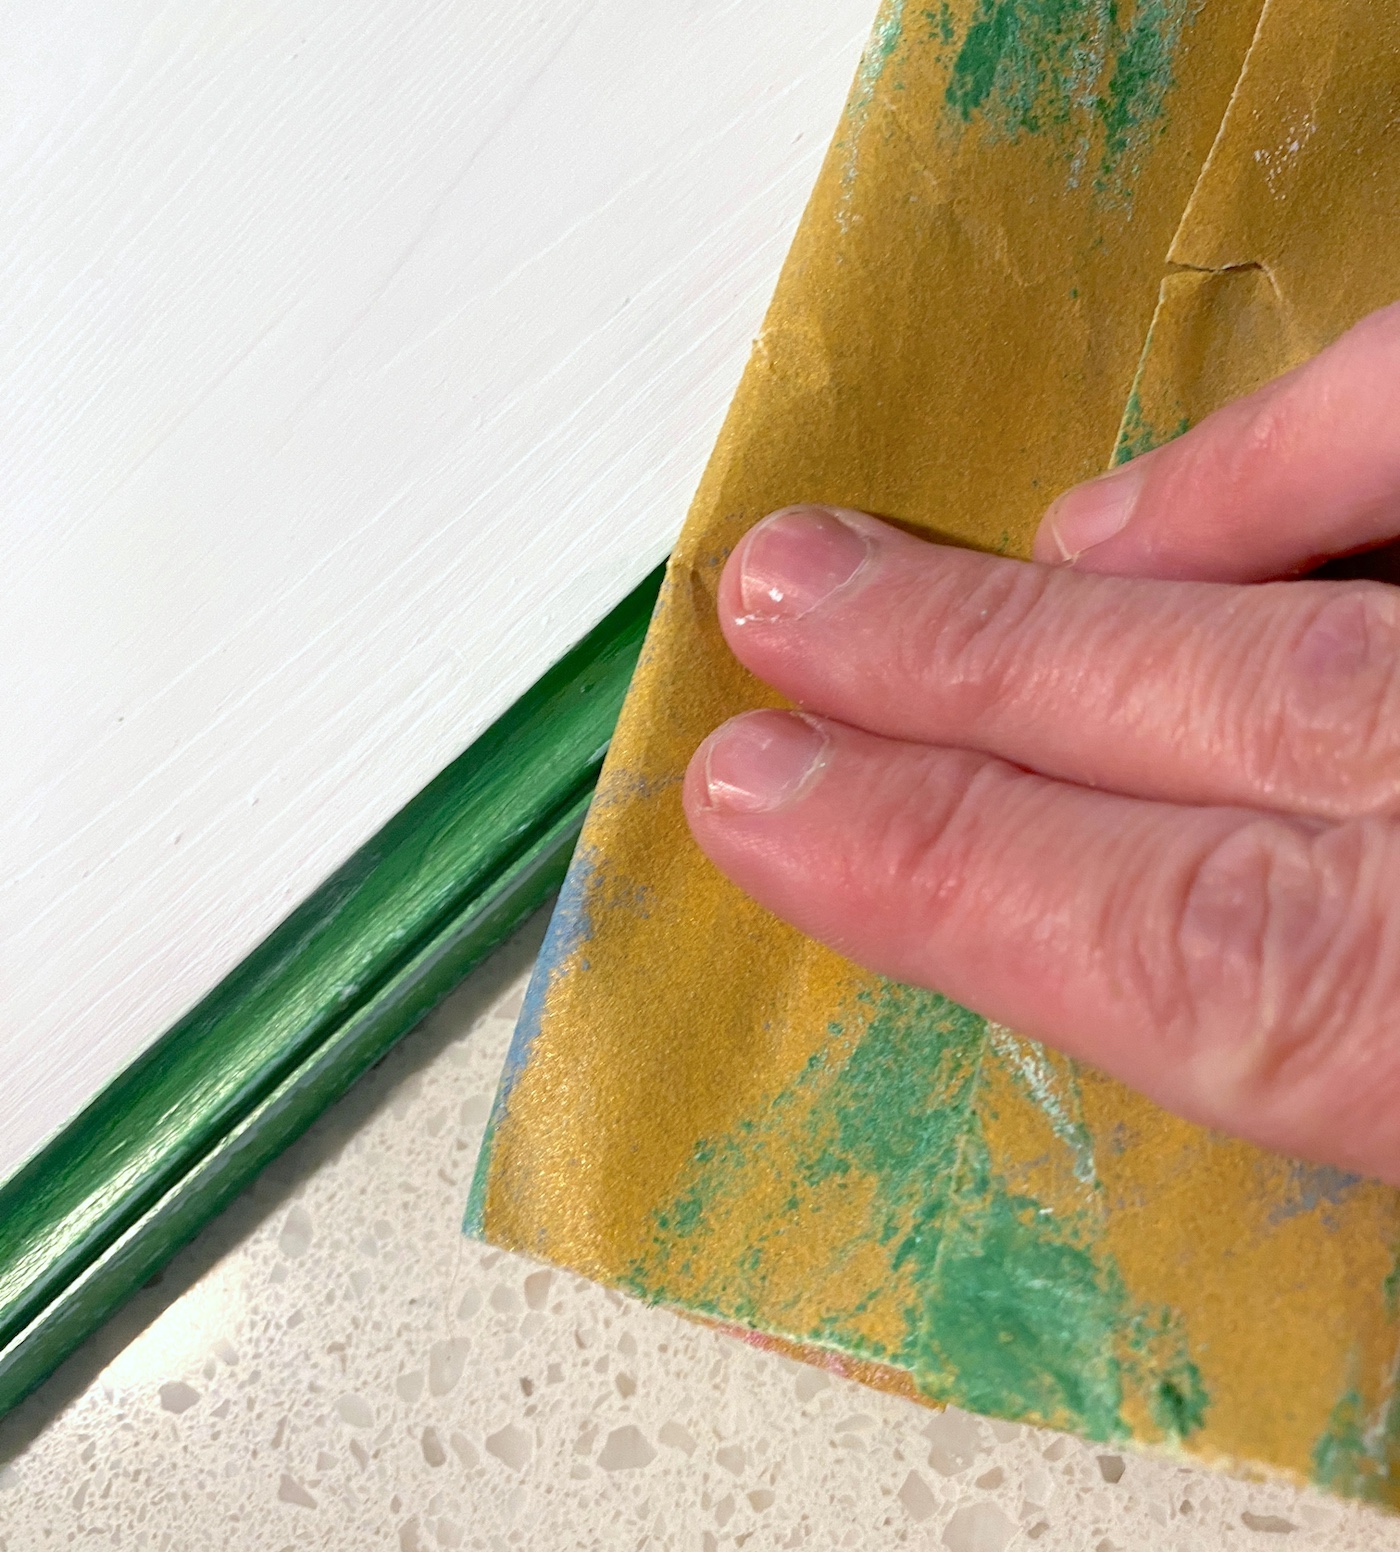
- Use the sandpaper to lightly remove some of the metallic paint. Wherever the wax is, you'll reveal paint below. Sand until the desired effect is reached.
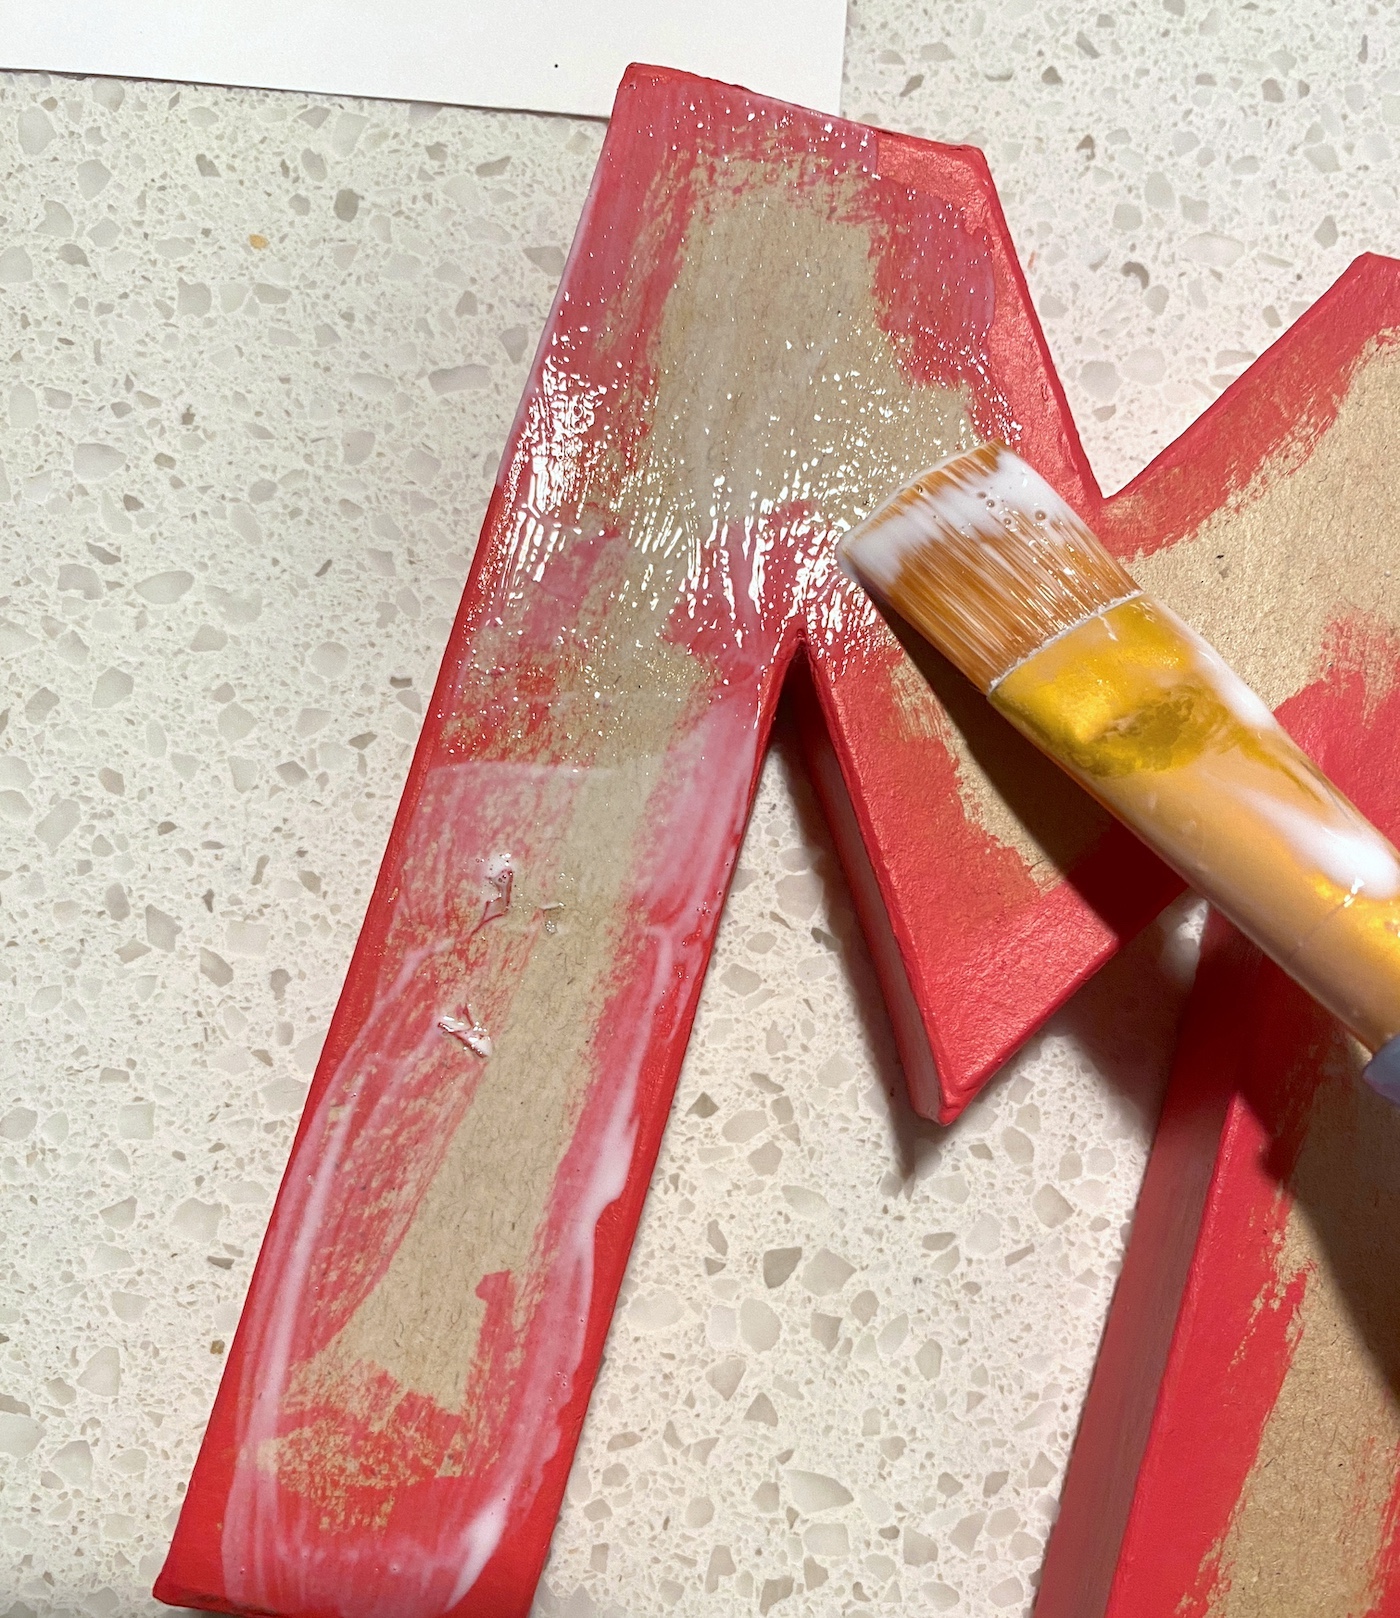
- Apply a medium coat of Mod Podge to the letters, one at a time.
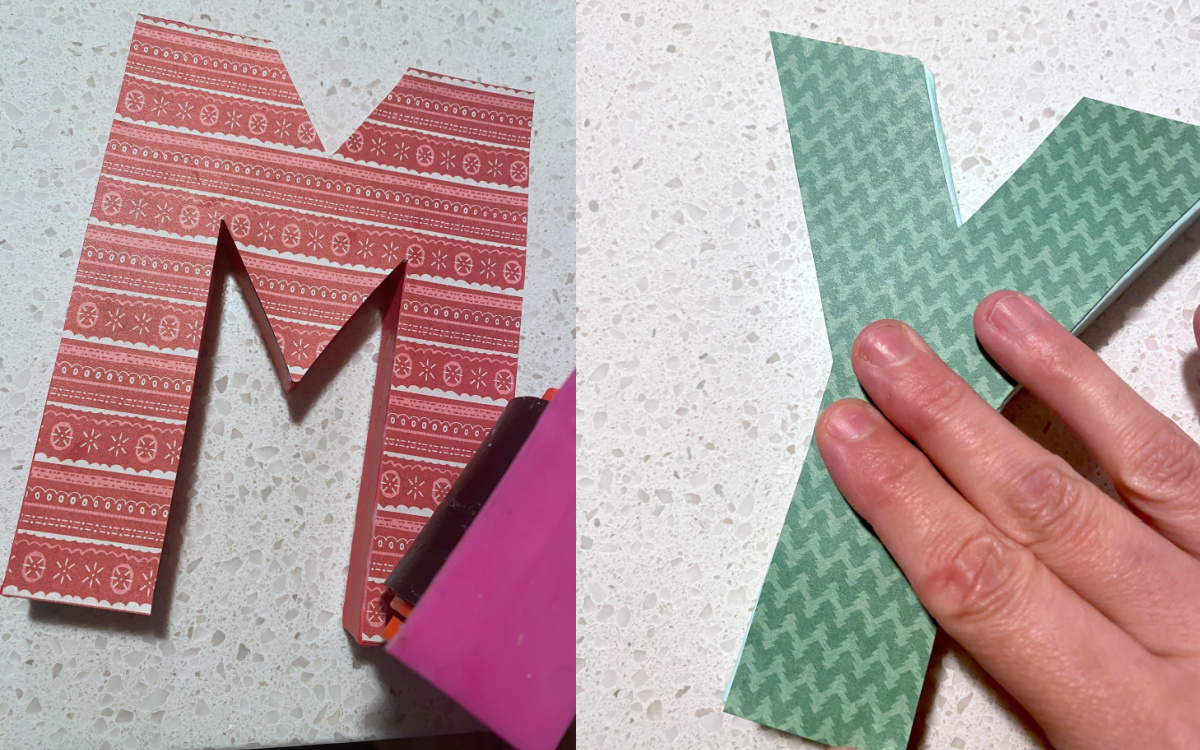
- Smooth the paper down on top of the first letter, using a brayer or your hands. Wipe away any excess Mod Podge that comes out the edges. Let dry. Repeat with remaining letters.
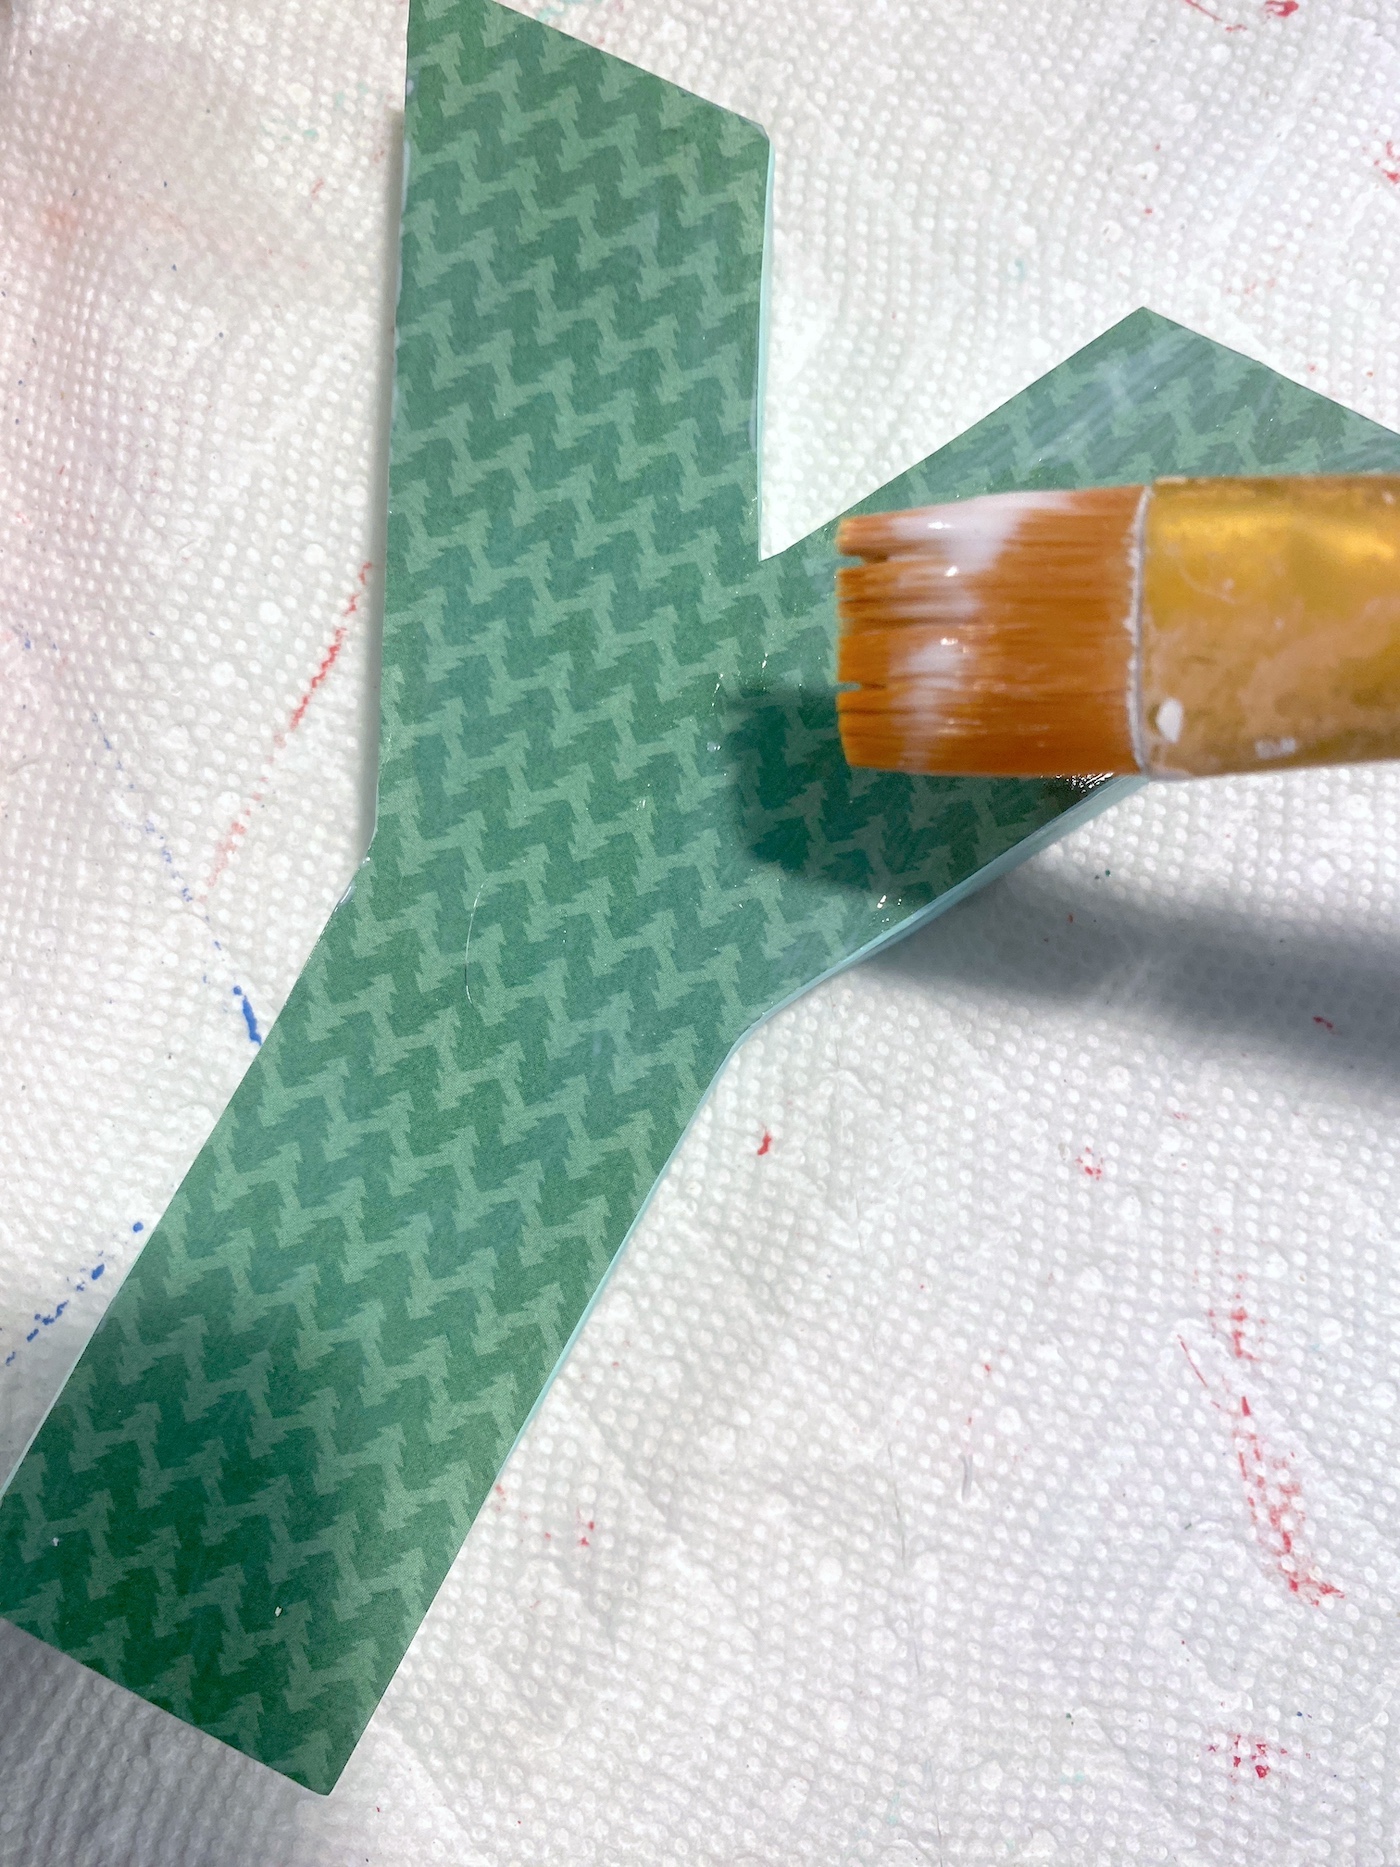
- Once all the letters have the paper on the fronts and are dry, coat them all with a layer of Mod Podge. Let dry.
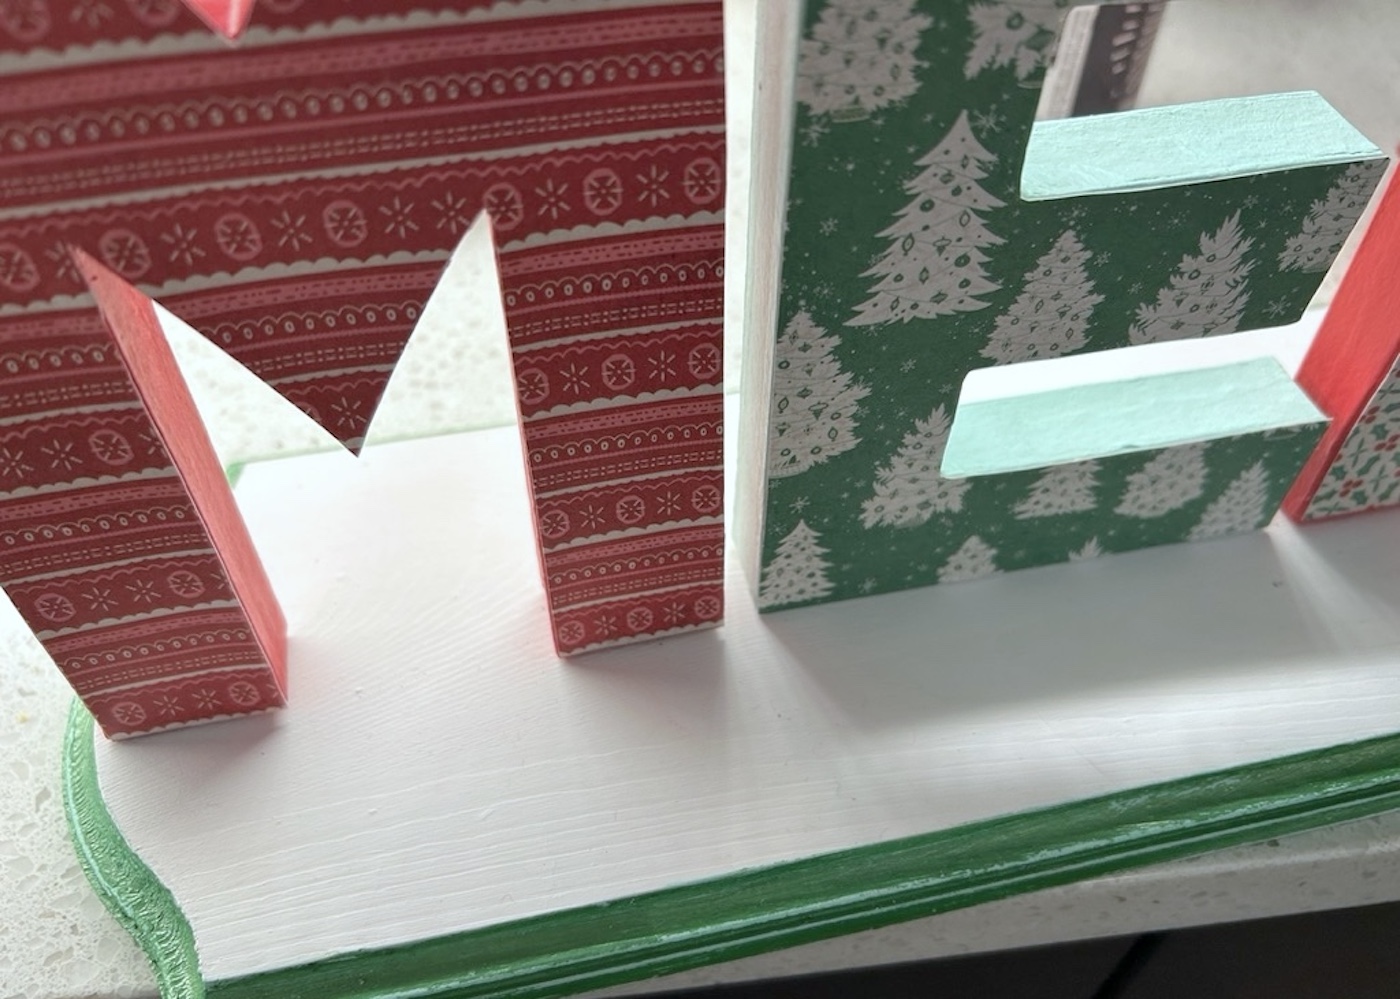
- Place the letters on the plaque in the desired format. Once you have the placement you like, tilt the letters back in place and add some hot glue to secure. Tilt the letters forward to adhere to the plaque.
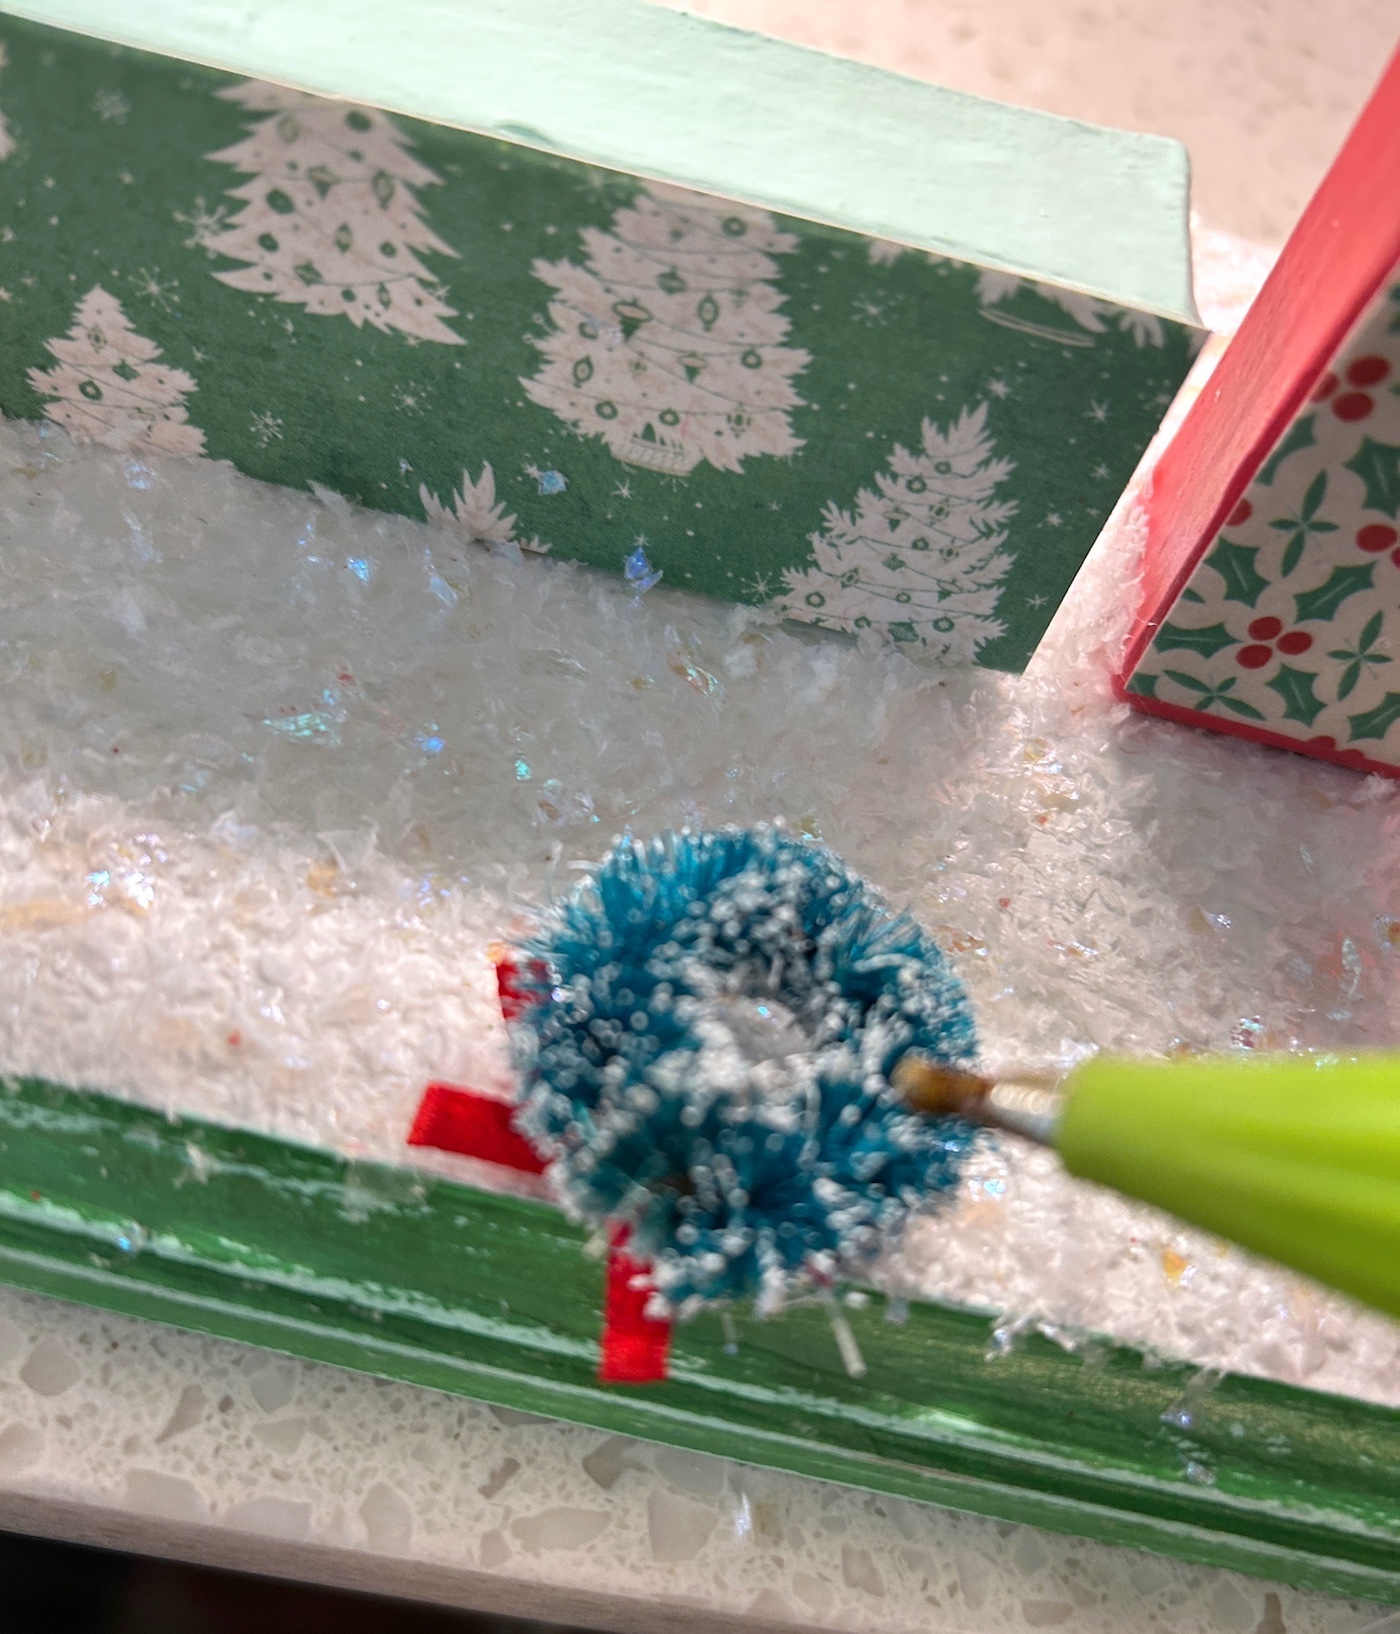
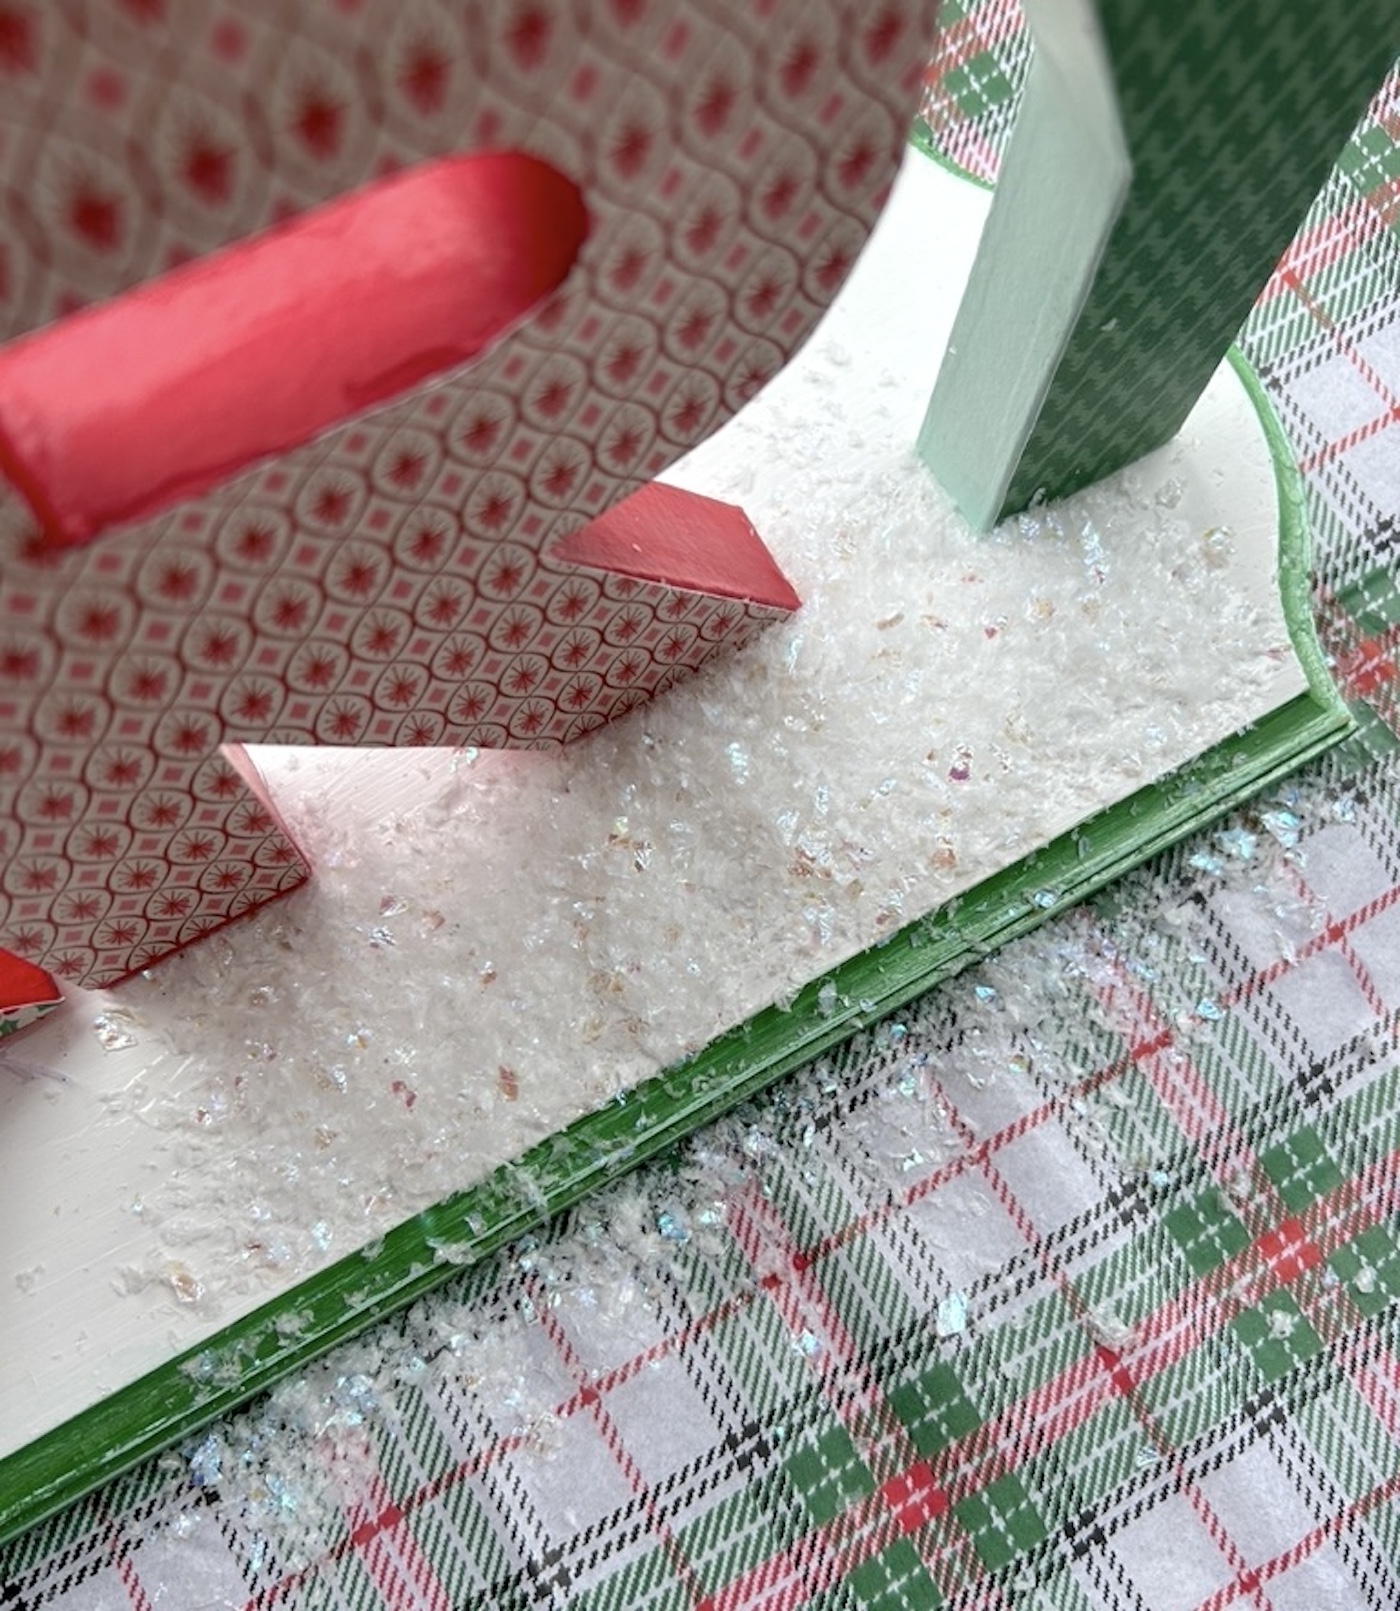
- When the letters are secure, add a layer of Mod Podge to the top of the plaque. Sprinkle on the faux snow and tap off the excess.
- Decide where the embellishments are going. Hot glue them directly to the plaque and let set before displaying.