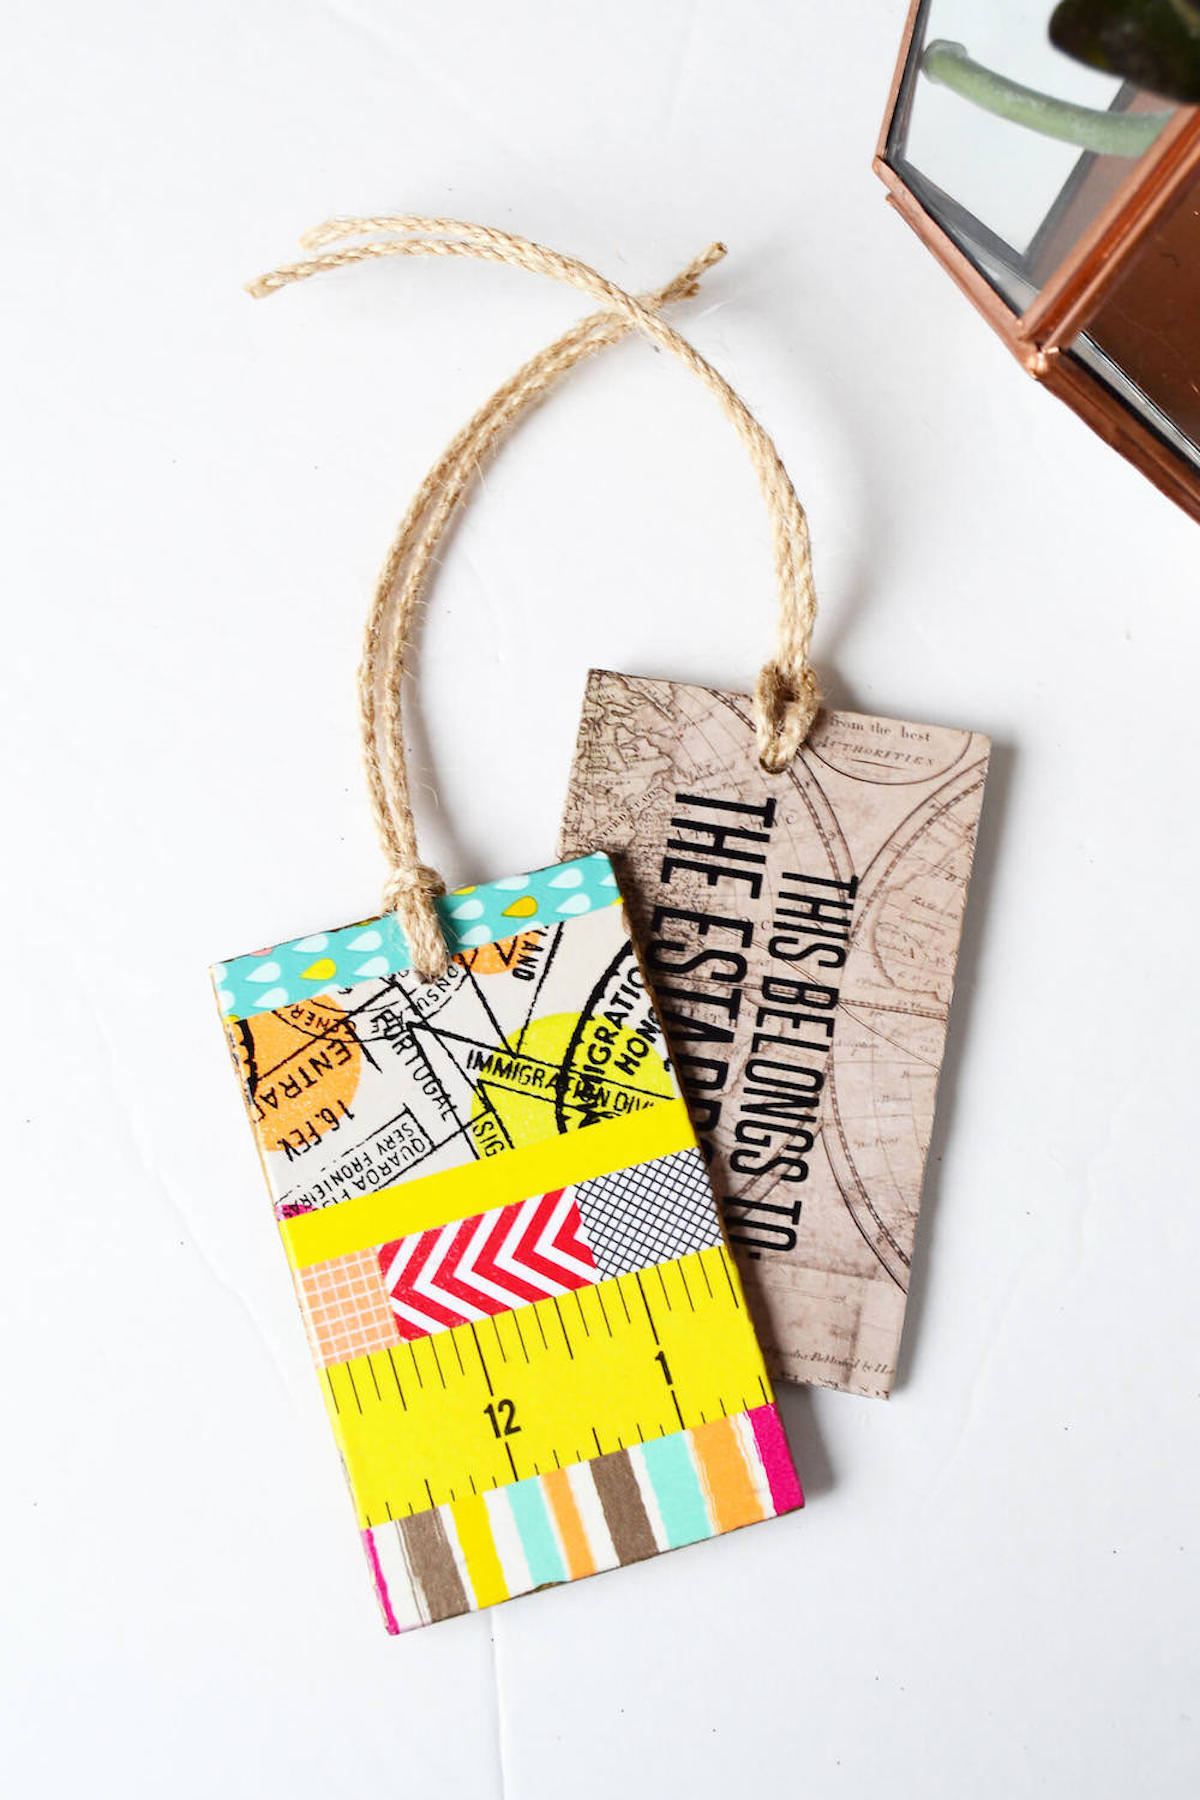
DIY Luggage Tags
Learn how to make these cute wooden luggage tags with Mod Podge and scrapbook paper! You'll never lose your bags again.
Yield: 2 tags
Cost: $2
Equipment
- Craft knife or box cutter
- Steel ruler
Materials
- Thin MDF wood piece or tag
- Cardstock or scrapbook paper
- Mod Podge Matte
- Sandpaper
- Washi tape
- Liquid Leaf
- Jute twine
- Painter's tape
- Acrylic paint optional
Instructions
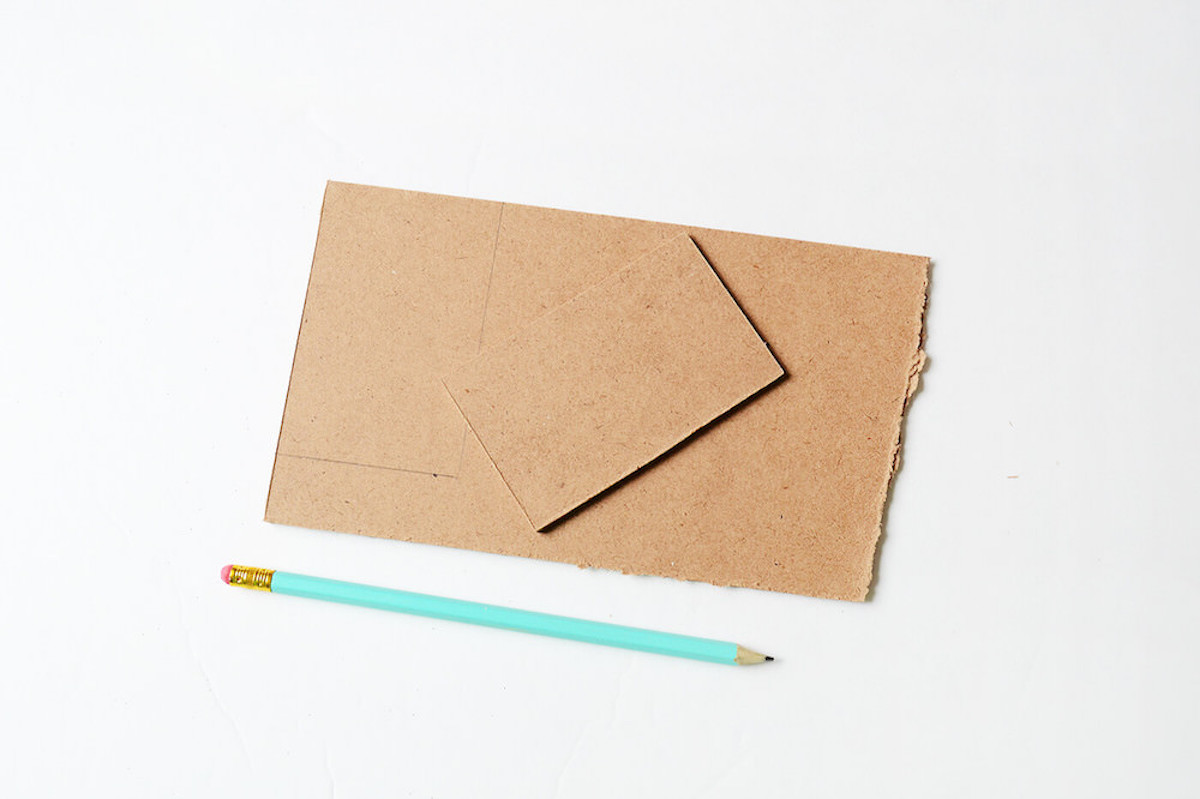
- Cut your MDF wood to 2.5" x 4", or the size of your choice. Use a cutter to score the back and the front (along the same line). Once it is scored, you can snap it pretty easily.
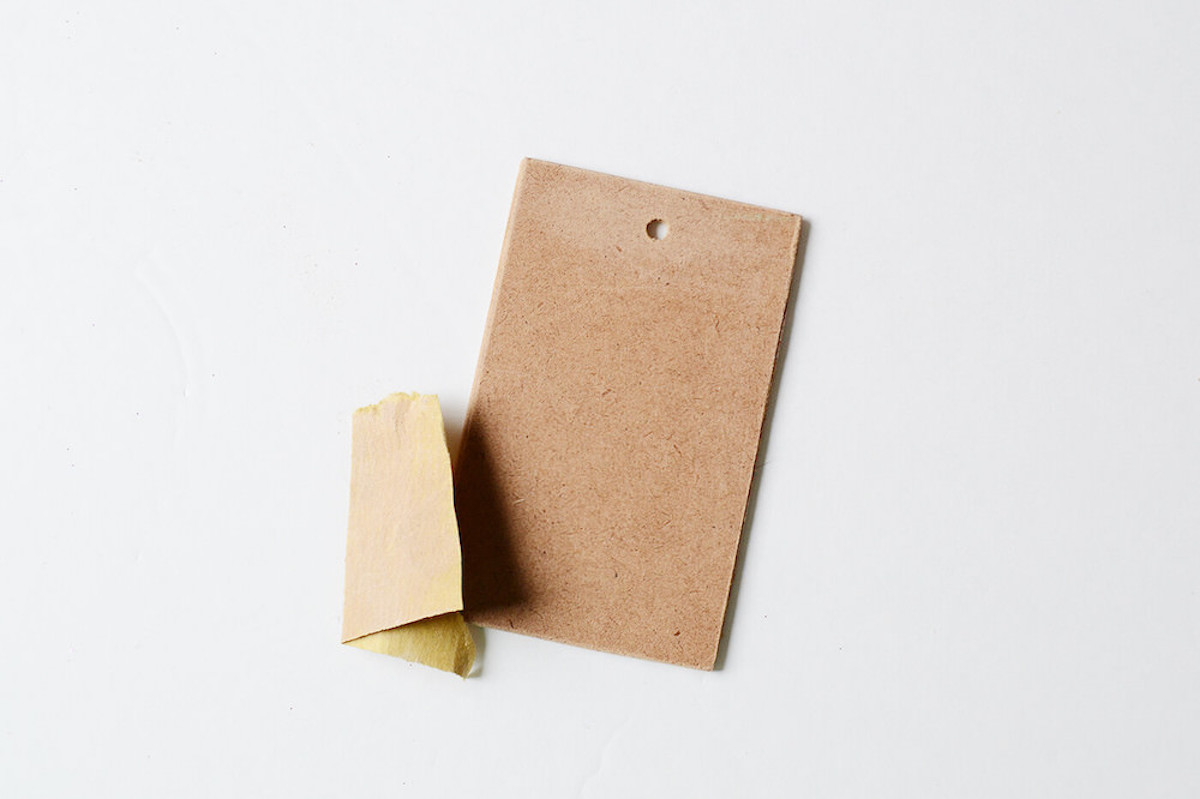
- [mv_schema_meta name=""]Sand the MDF wood tag and drill a hole on the top-center of the tag for the hanger. Place painter's tape on both sides before drilling so you don't split the wood. Remove the tape to sand.
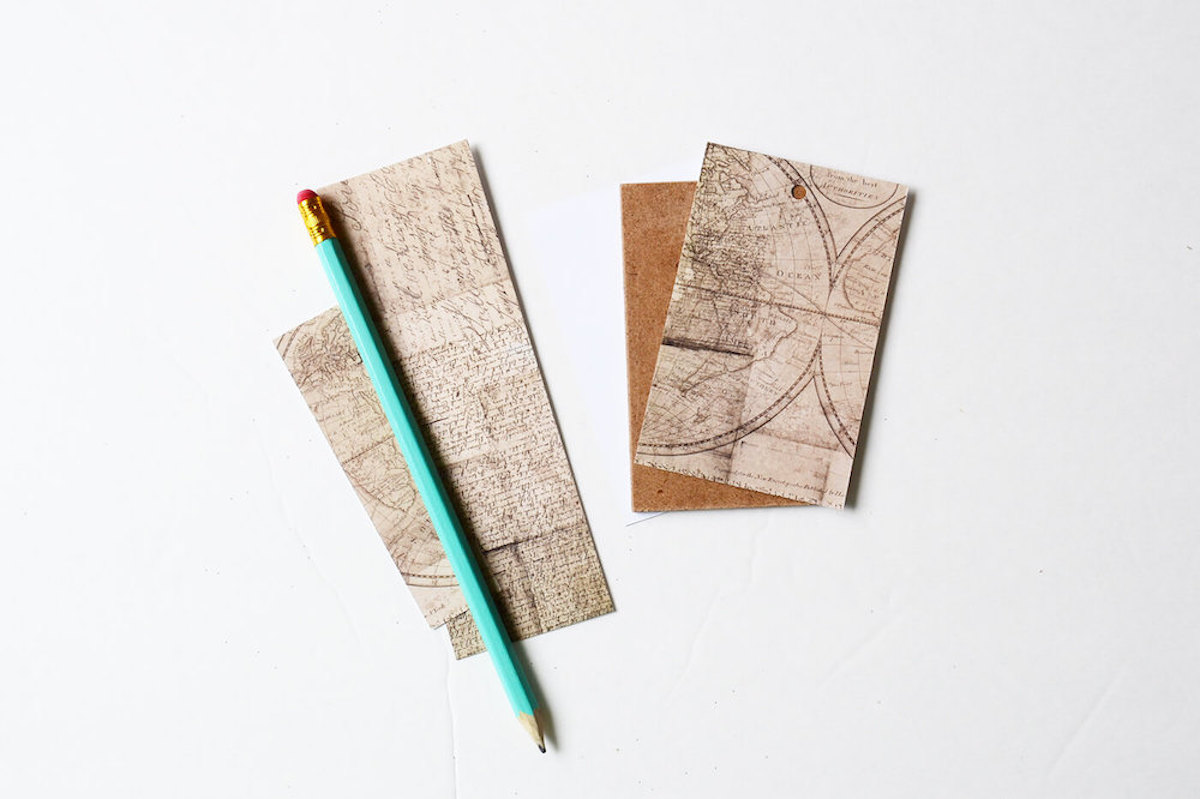
- Cut out the cardstock or scrapbook paper to fit the tag. Cut both a front and back. Apply a medium layer of Mod Podge to one side of the tag and smooth the paper down thoroughly. Repeat on the other side and let dry for 15 - 20 minutes.
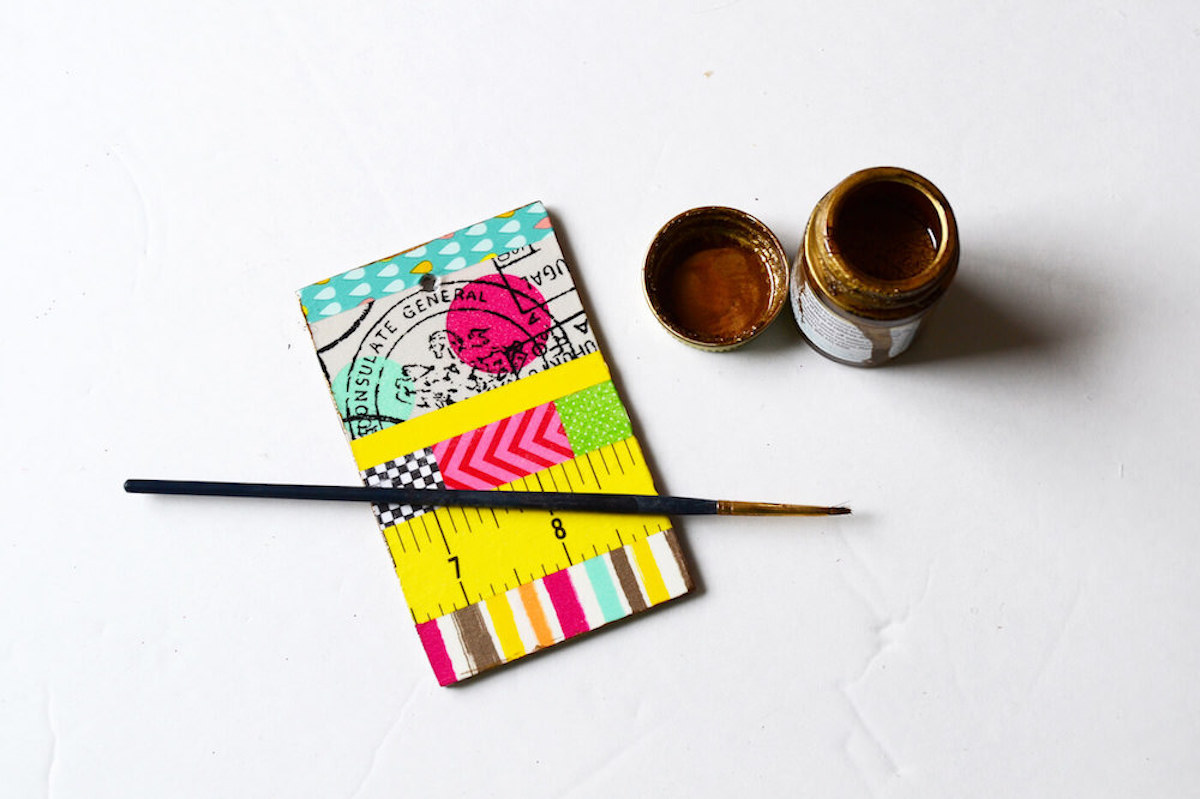
- On another wood tag, apply washi tape on both sides and trim with a craft knife.

- Apply two layers of decoupage medium to the front and back of both tags to seal, and leave to dry (do one side and then the other).

- If desired, add some liquid leaf on the edges of the tag to create a more finished look.
- Tie on the twine or ribbon that you will use to secure the tag.

- If desired, add decals or stickers to the tags (you can also add an address label).