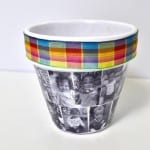
DIY Flower Pots with Photos
Learn how to Mod Podge flower pots with pictures! This makes a great gift idea, especially for Mother's Day.
Yield: 1 pot
Cost: $3
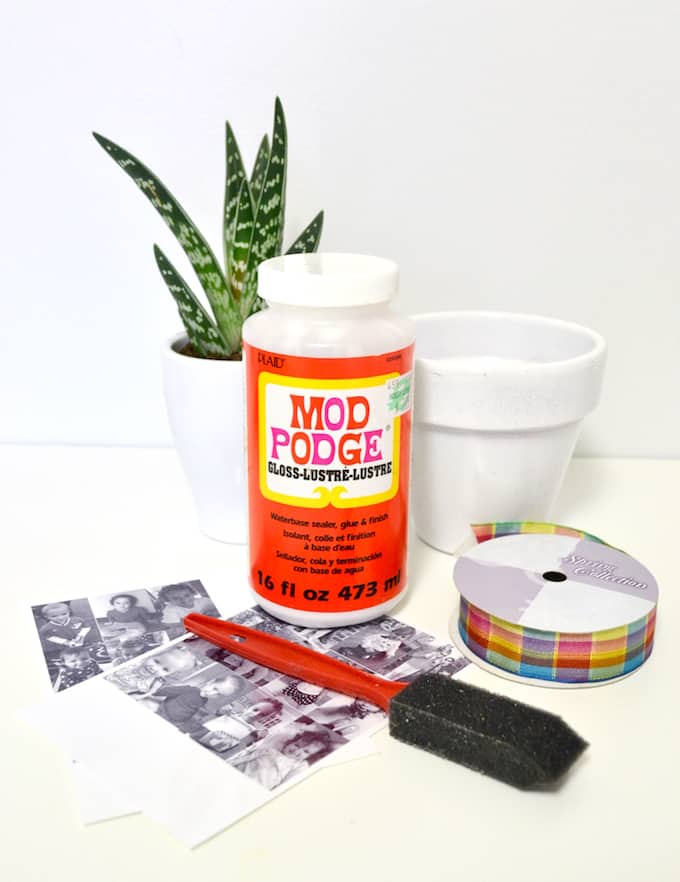
Materials
- Terra cotta pot(s)
- Mod Podge Gloss
- Photos printed with a laserjet printer
- Ribbon
- Spray primer optional
Video
Instructions
- Spray paint the planter white (optional). Let dry.
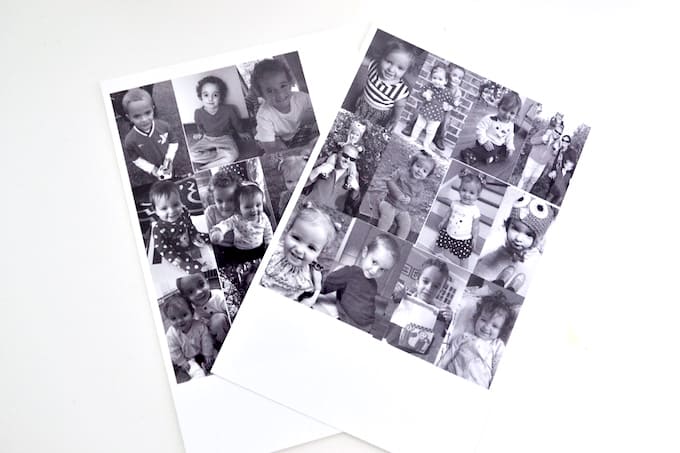
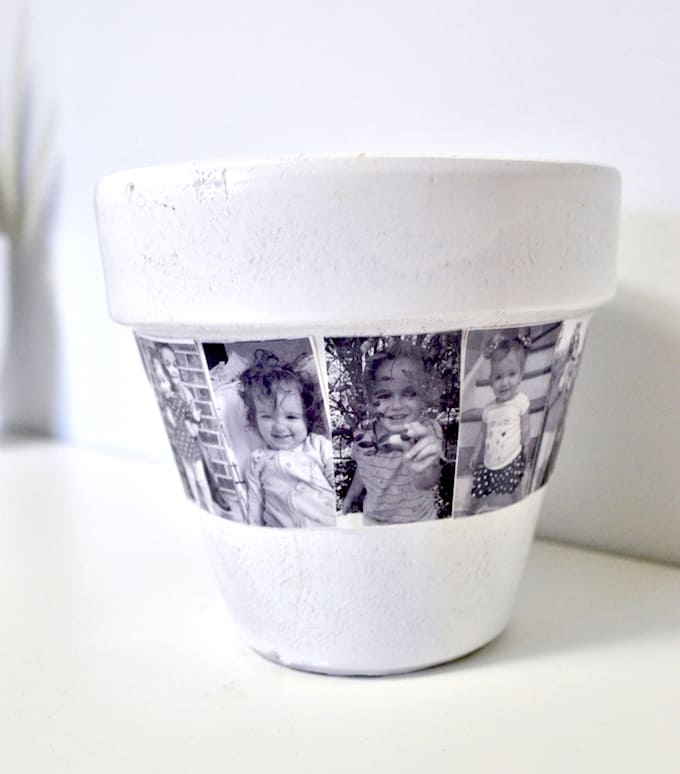
- Select photos for the project. Turn the photos to black and white and resize. I measured 3" from the bottom rim of my planter to the base, so I did two rows of photos that were 1.5" tall. Print out on laserjet.
- Cut the photos out of the paper with the scissors and set aside.
- Add a layer of Mod Podge to the planter. Choose one photo and smooth it down.
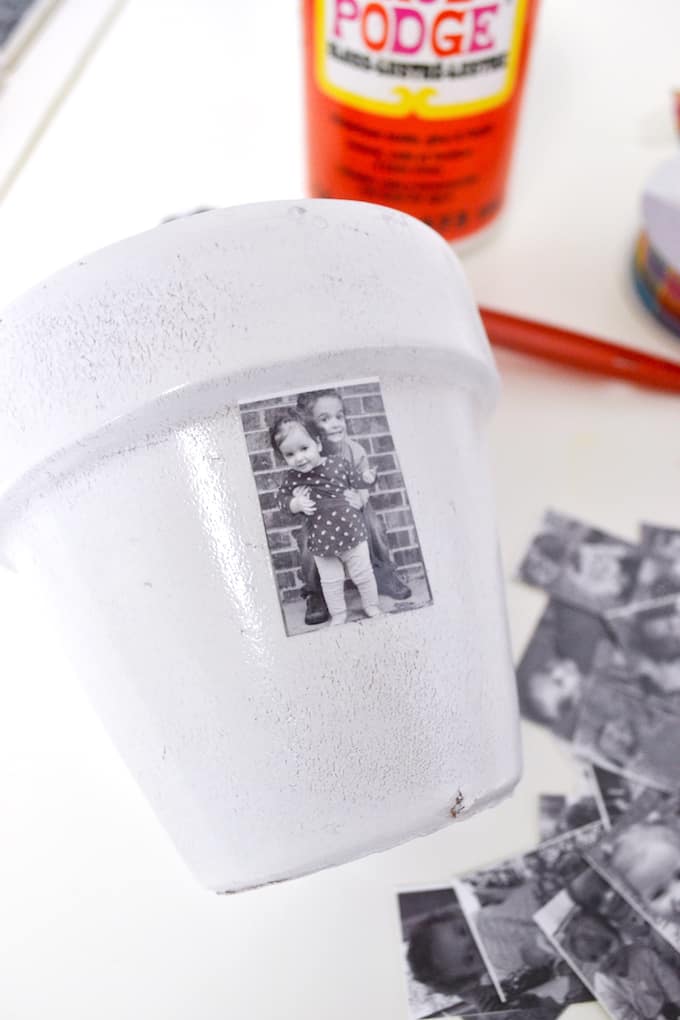
- Keep adding Mod Podge and photos until the planter is covered. Smooth thoroughly to remove bubbles. Let dry for 15 - 20 minutes. Seal with three thin coats of Mod Podge, letting dry between coats.
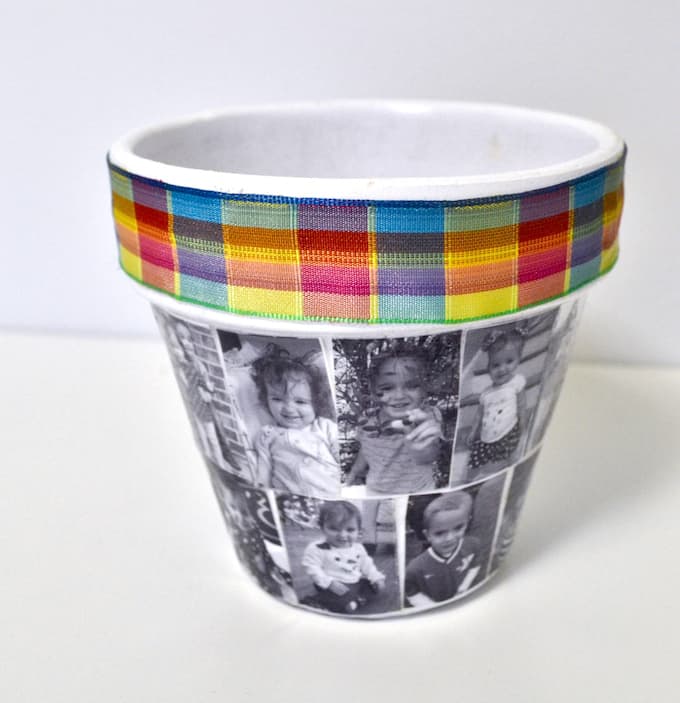
- Use Mod Podge or hot glue to affix a length of ribbon around the rim of your planter.
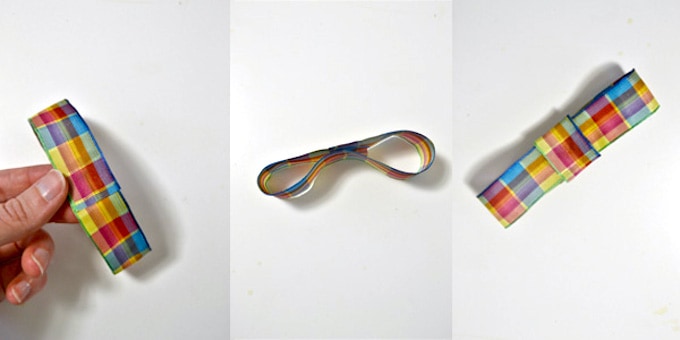
- For a finishing touch, add a bow to the planter. Take a length of ribbon and hot glue the two ends together. Press the middle of the ribbon together in the center, and attach with another drop of glue. Take a smaller length of ribbon, wrap it around the middle, and hot glue it in place. Attach this bow to the planter and let cool/dry completely before using.
Notes
Step 2: One way to make the photo collage process easier is to make a paper template of the pot - then scan into photo editing software.
Print out enough photos to cover your pot, on either dry inkjet or laserjet ink. This is to prevent smearing.