
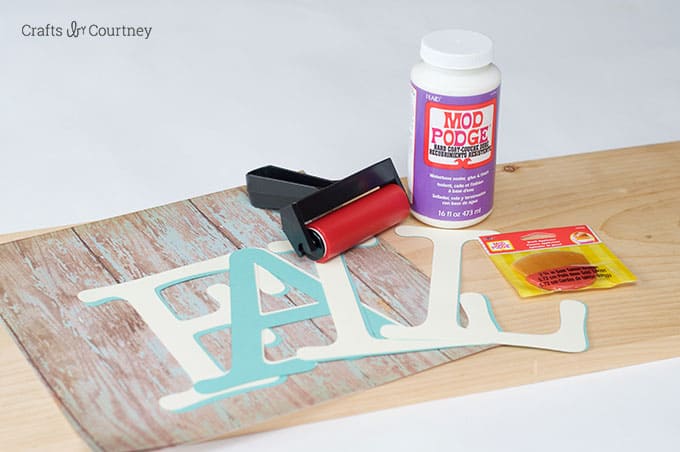
DIY Fall Porch Sign
Learn how to make a fall sign the easiest way possible! This is a perfect seasonal craft for beginners.
Yield: 1 sign
Cost: $8
Equipment
- Brush applicator
Materials
- Mod Podge Hard Coat
- 1 piece wood about 12" x 36" in size
- Paper letters
Instructions
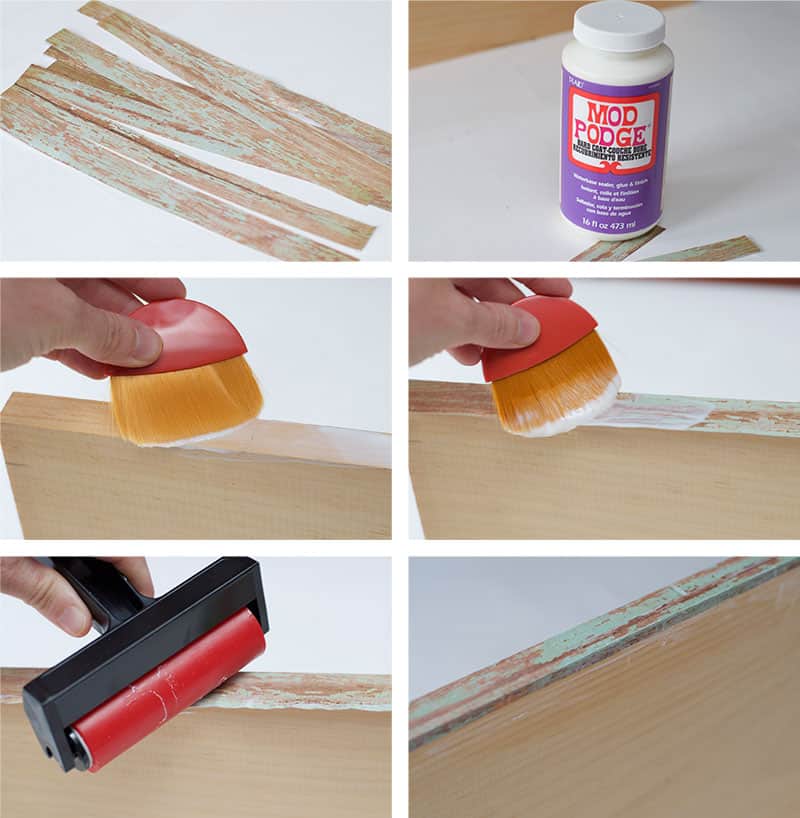
- Measure, mark, and cut the scrapbook paper to fit the wood (including the sides).
- Add Mod Podge to the sides of the wood. Place the strips down and roll with the brayer. Add more Mod Podge as needed. If any scrapbook paper comes up, add a little bit more Mod Podge and then smooth down again.
- Add paper to the front of the wood. I started at the top, by adding a layer of Mod Podge to the wood then laying the scrapbook paper on top. Use the brayer to smooth out any bubbles. Repeat until the top is covered. Let dry for 15-20 minutes.
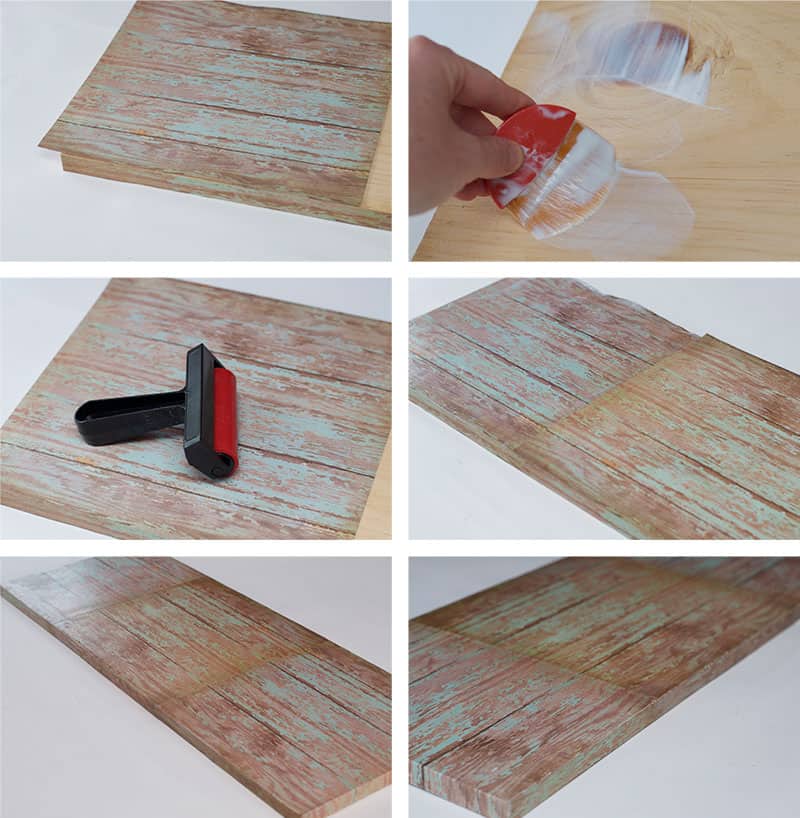
- Apply a top coat of Mod Podge and let dry for 15-20 minutes. Trim the excess paper off around the edges with a craft knife.
- Use a cutting machine to cut out the letters, or use pre-cut letters from the craft store. For a drop shadow effect like mine, cut out two sets of letters in the same size but different colors.
- Decide on letter placement and apply Mod Podge to the back of the paper; smooth down. If you are using two sets of letters for shadow, let first set dry before applying second. Let letters dry completely.
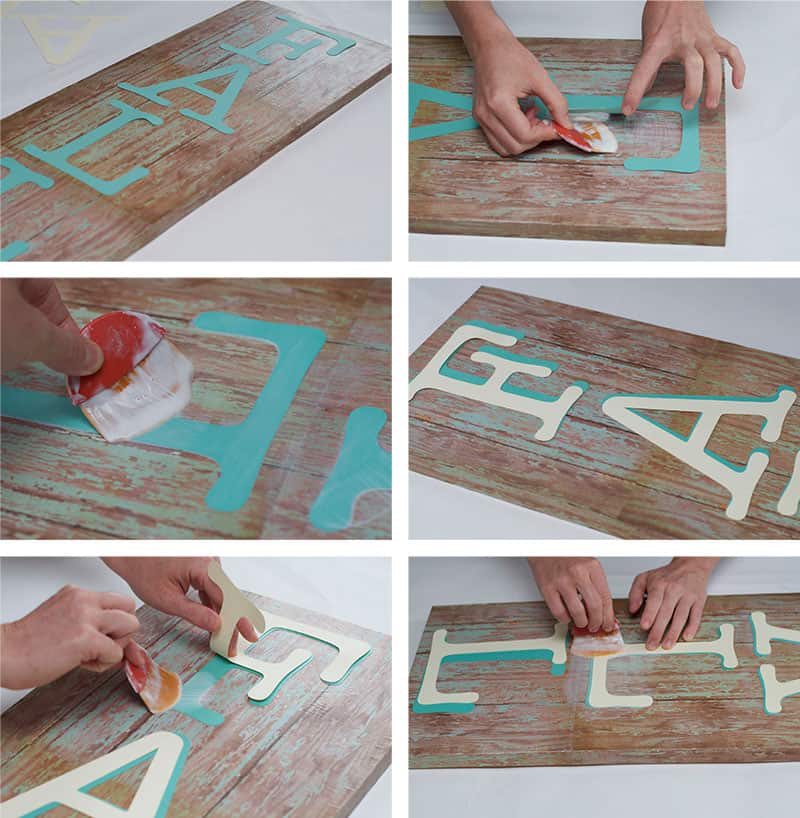
- Add two coats more Mod Podge over the sign. Let dry for an hour before displaying.