DIY Desk Organizer
Make a desk organizer using recycled materials, and customize it any way you like using this tutorial.
Yield: 1 organizer
Cost: $13
Equipment
- Pen or pencil
Materials
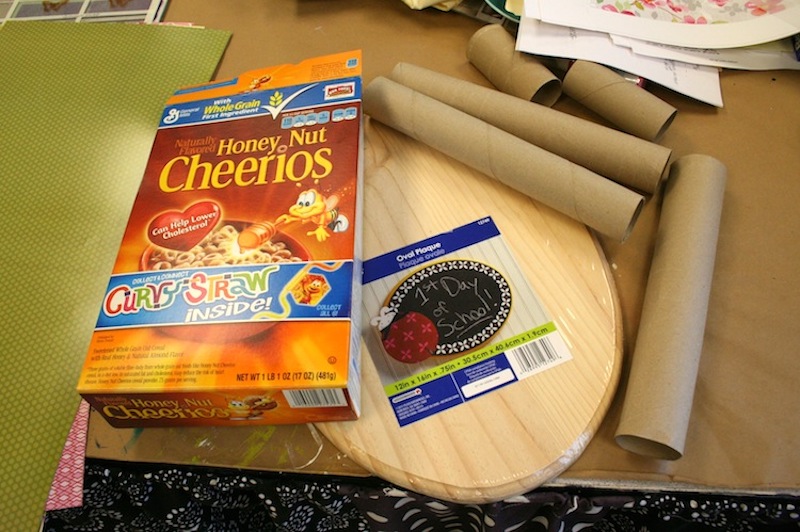
- Cereal boxes
- Toilet paper rolls
- Wood plaque(s)
- Mod Podge Satin
- Acrylic paint colors of your choice
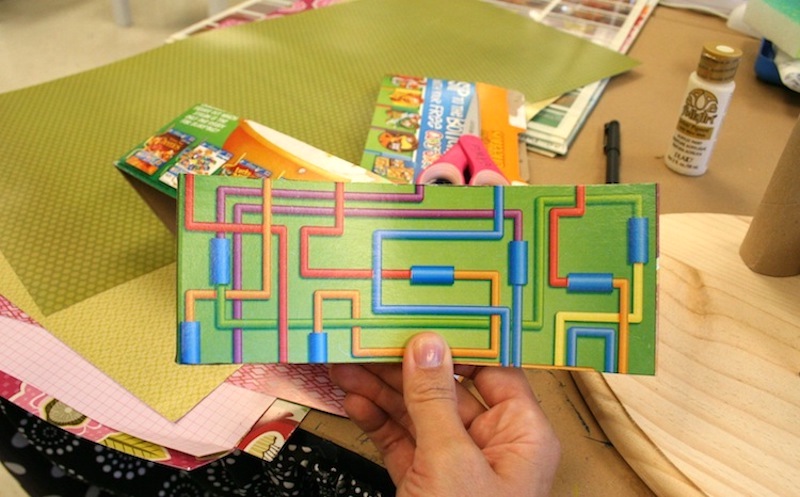
- Scrapbook paper
- Ribbon in coordinating colors
- Craft glue
- Tape
Video
Instructions
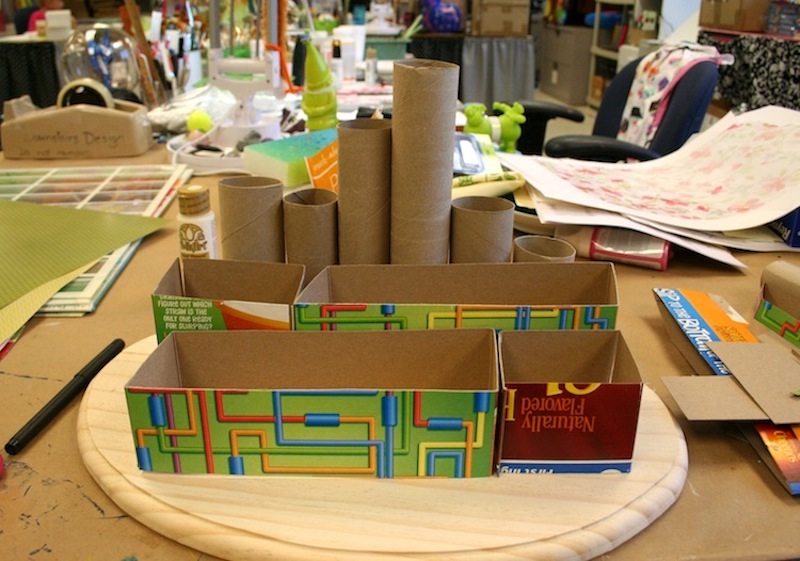
- Lay out the boxes and paper rolls to create the compartments for your organizer.
- Make the compartments by cutting the cereal boxes down and taping them on the outside. The tape will be covered by paper.
- Trim the paper tubes to different heights to add interest.
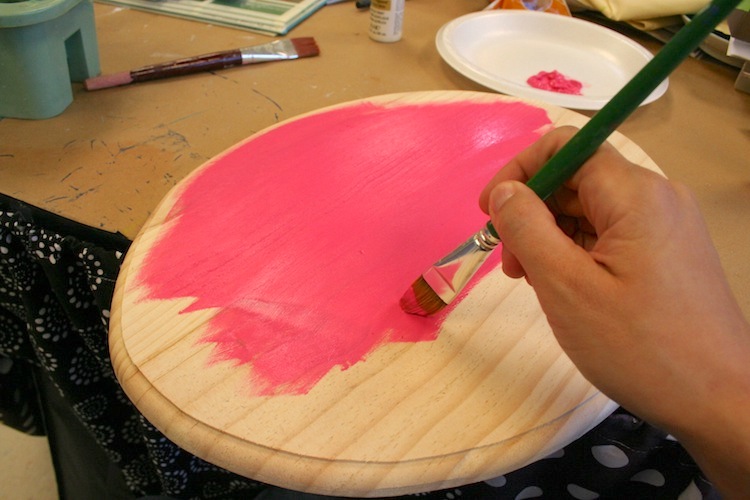
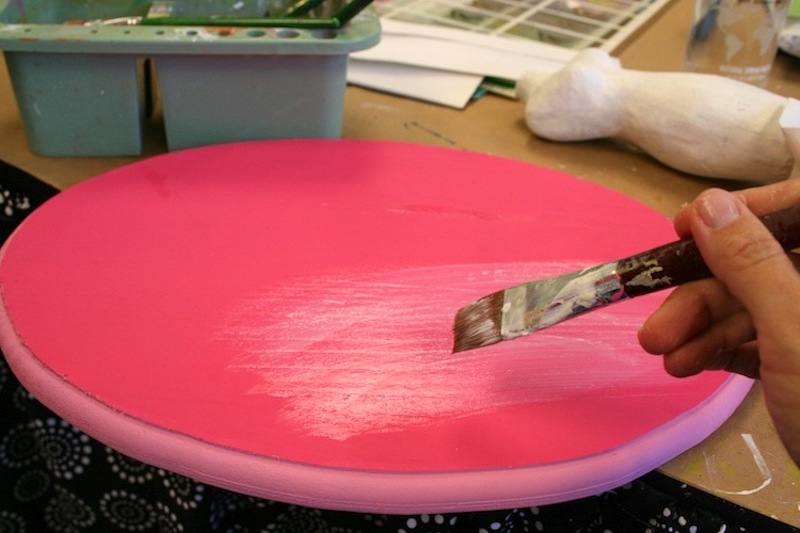
- Paint the plaque using the colors of your choice and let dry.
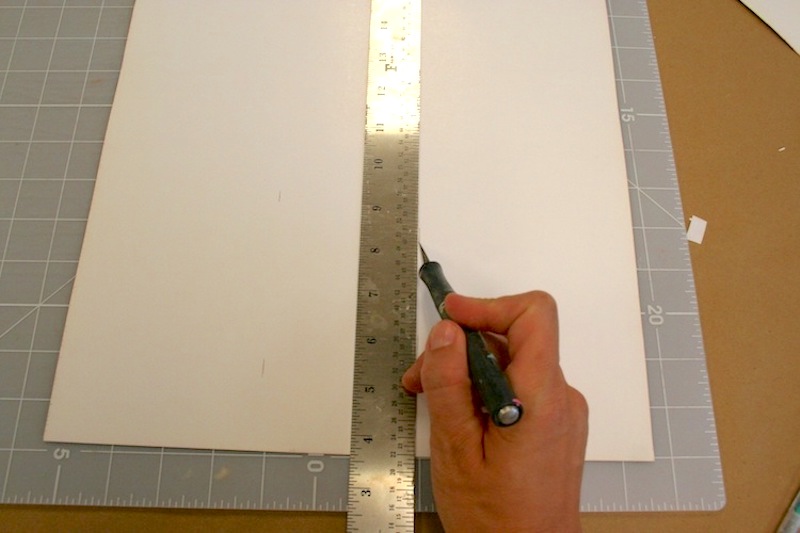
- Use a pencil or pen to trace each compartment on your scrapbook paper. For the larger compartments you might need to cut multiple sheets of paper to completely cover them.
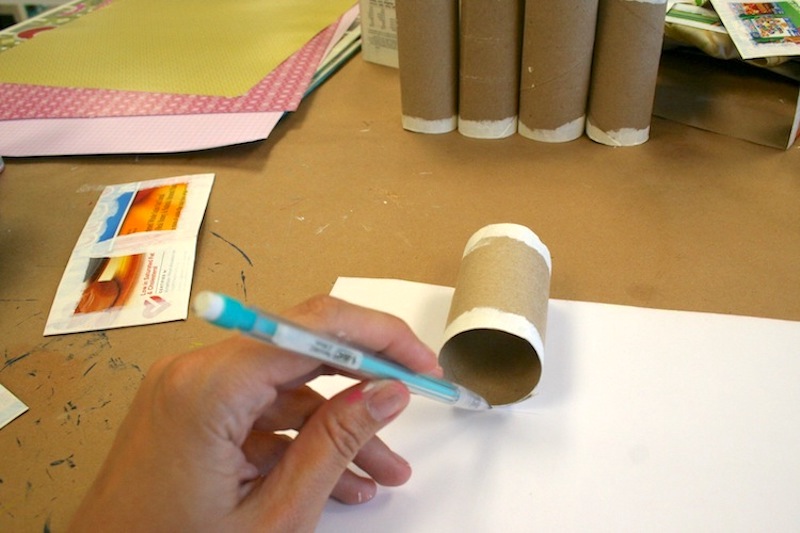
- Cut everything out using a craft knife and mat or scissors.
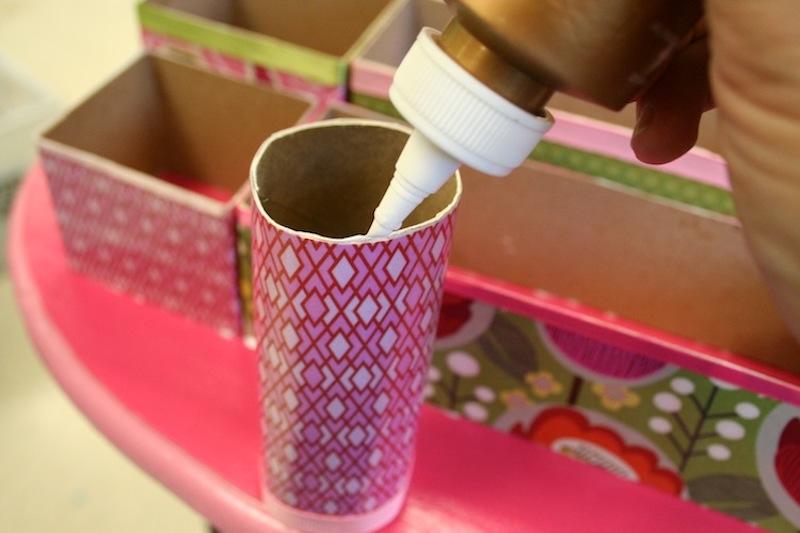
- Add Mod Podge to the backs of the paper - then proceed to decoupage your compartments with paper and Mod Podge. Work one piece at a time. Hold everything down until it sticks, smooth, and let dry 15 – 20 minutes.
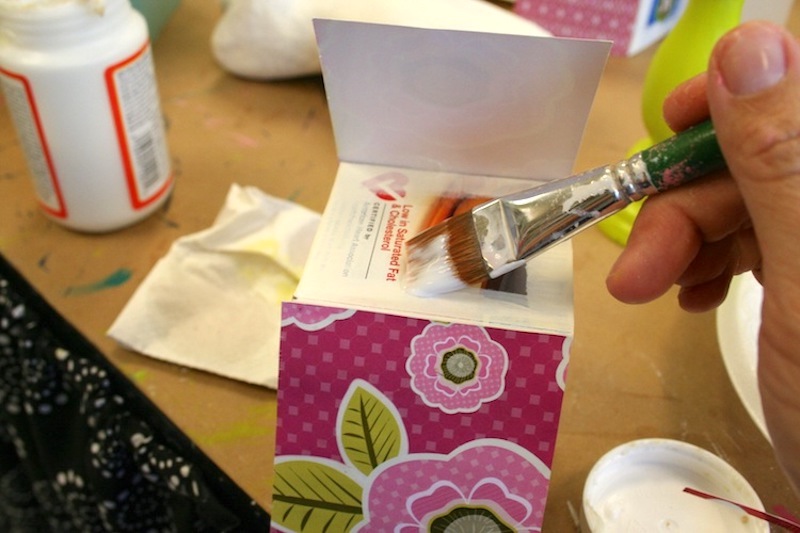
- Give all compartments a top coat of Mod Podge, including the plaque.
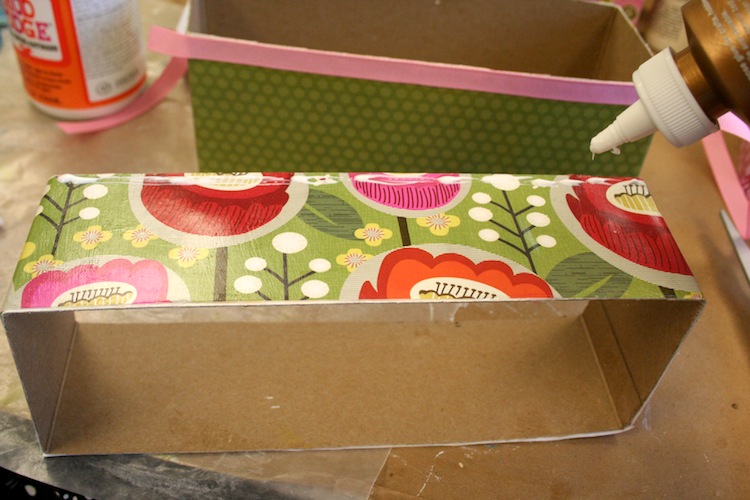
- Add ribbon to the top edge of each compartment using craft glue.
- Glue each compartment down to the plaque using craft glue. It will dry clear. Let dry 24 hours before using.