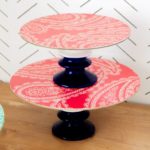
DIY Cupcake Stand
Learn to craft unique DIY cupcake stands with Dollar Tree finds! Easy steps for beginners to elevate your dessert game. Fun, affordable DIY.
Yield: 1 stand
Cost: $5
Materials
- Round signs or MDF circles 2 to 3 per stand
- Candleholders
- Mod Podge Gloss
- Scrapbook paper
Instructions
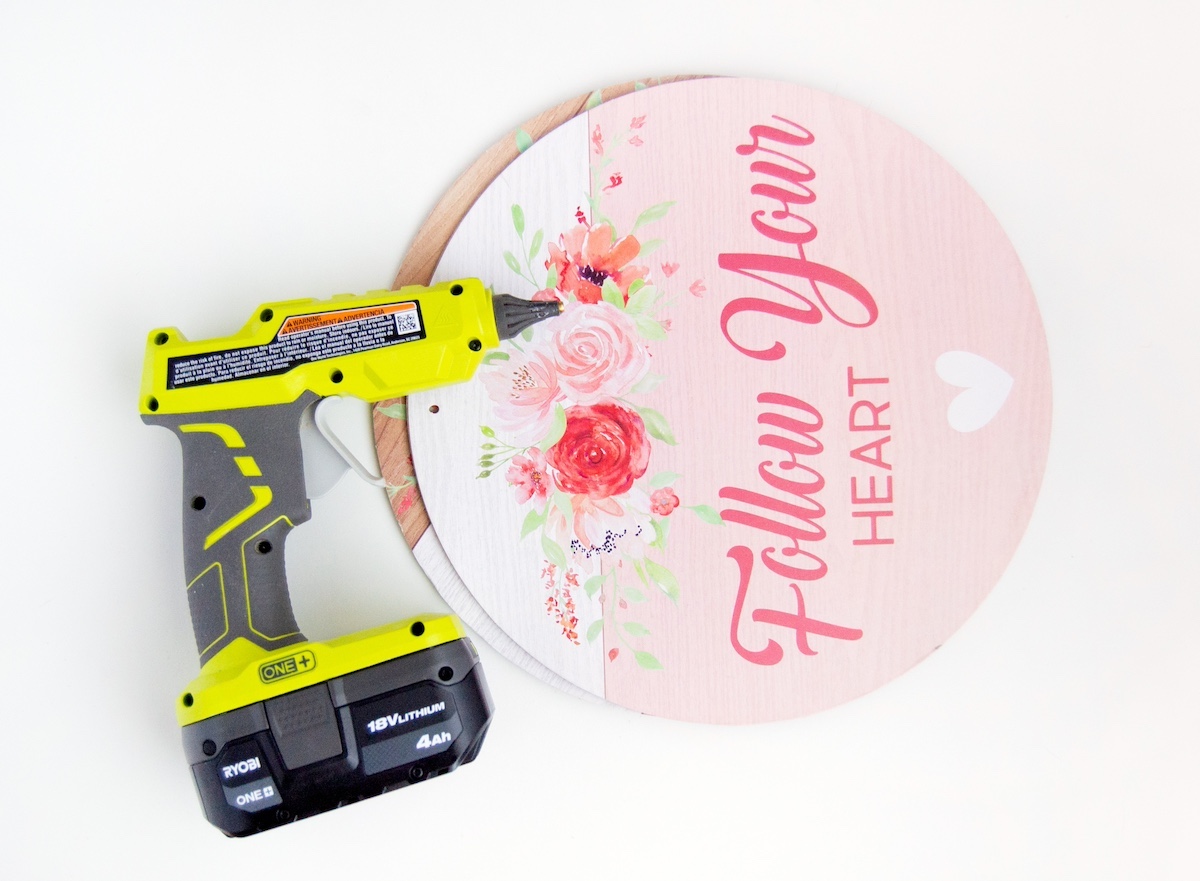
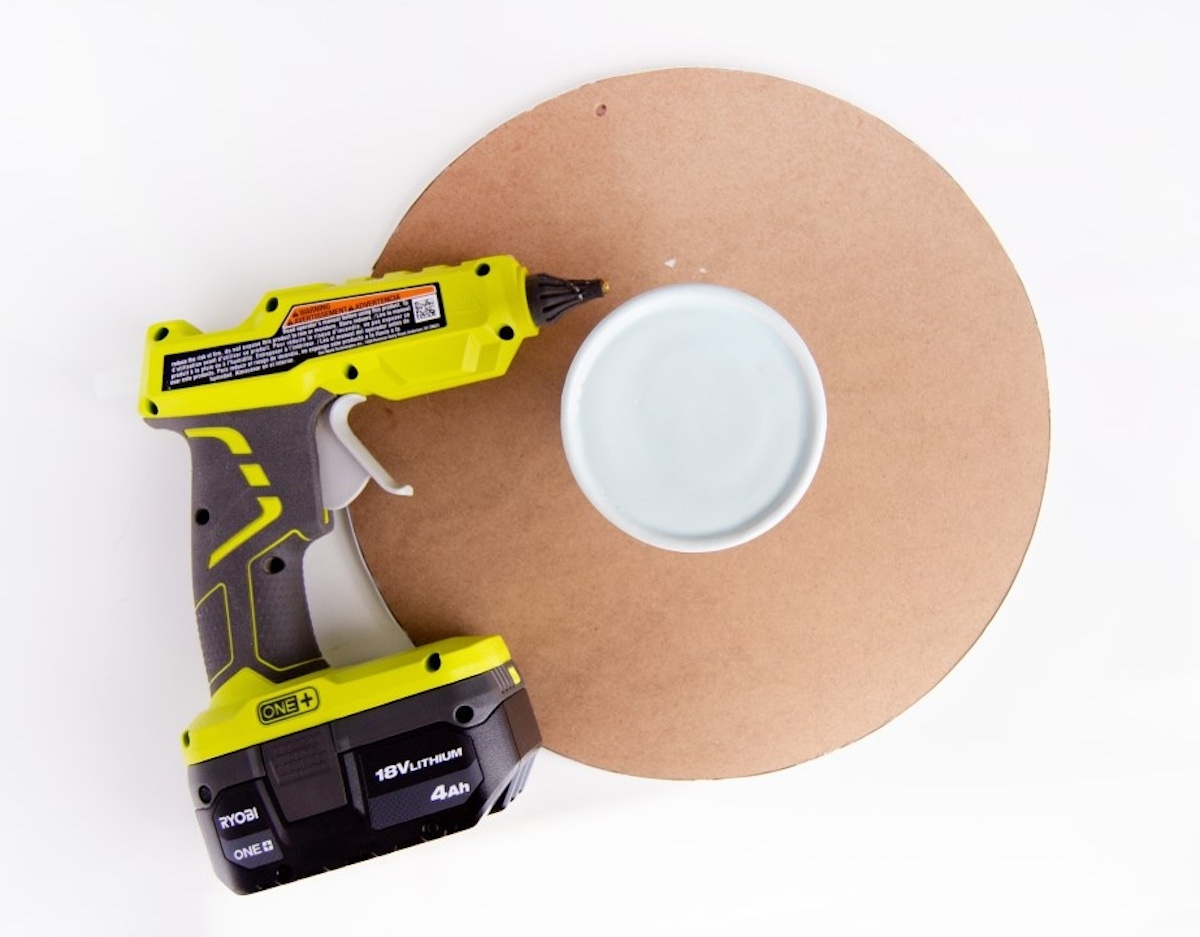
- Use round signs or MDF circles of the same size to create a top for your cupcake stand. Using hot glue, attach two (or three) round signs together to create a thicker, sturdier top. Use a heavy book on top to ensure a secure bond as everything sets.
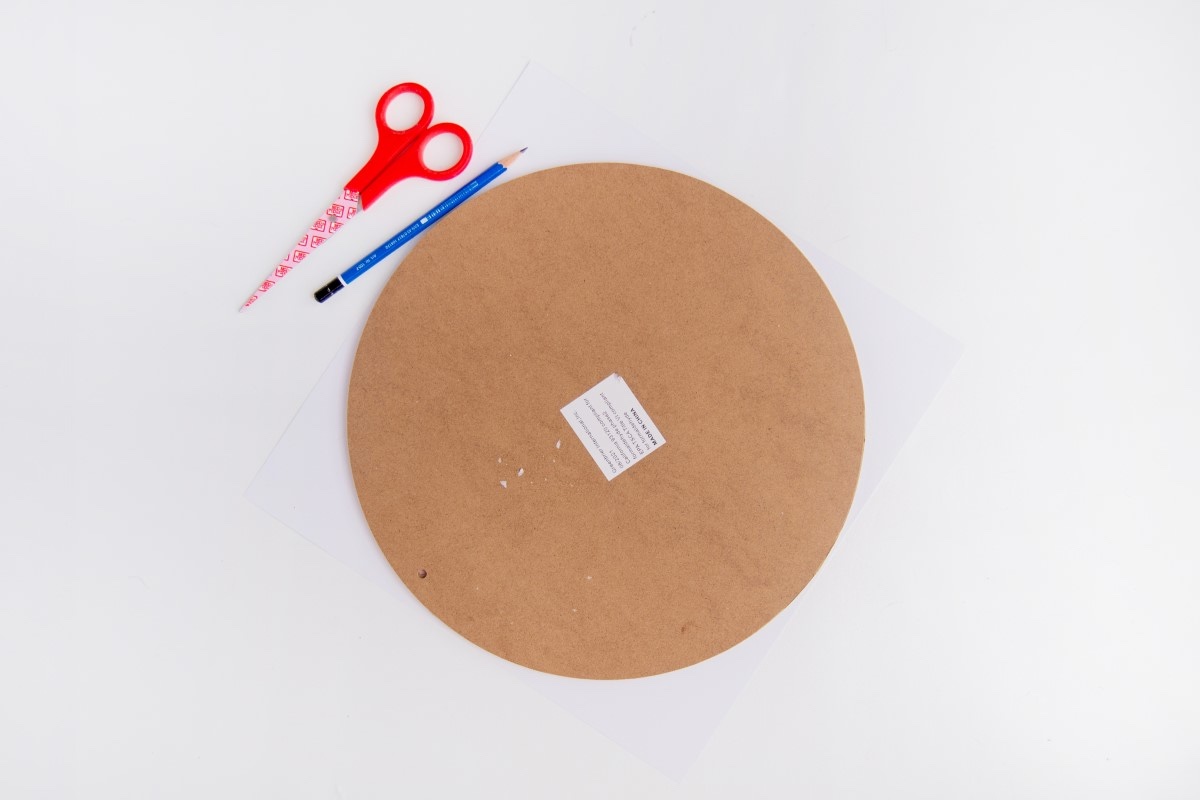
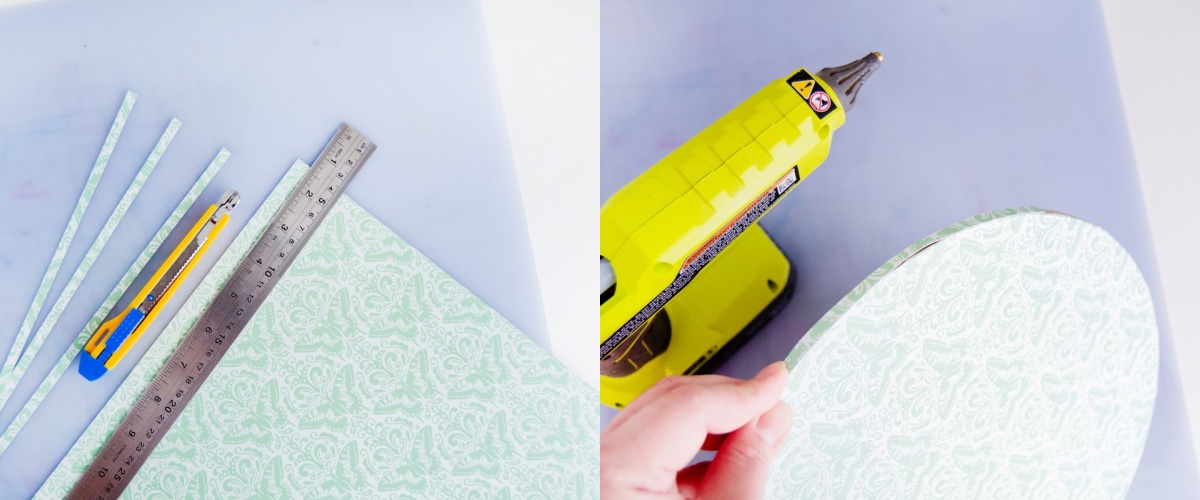
- Trace and cut your scrapbook paper down to the size of the round sign.
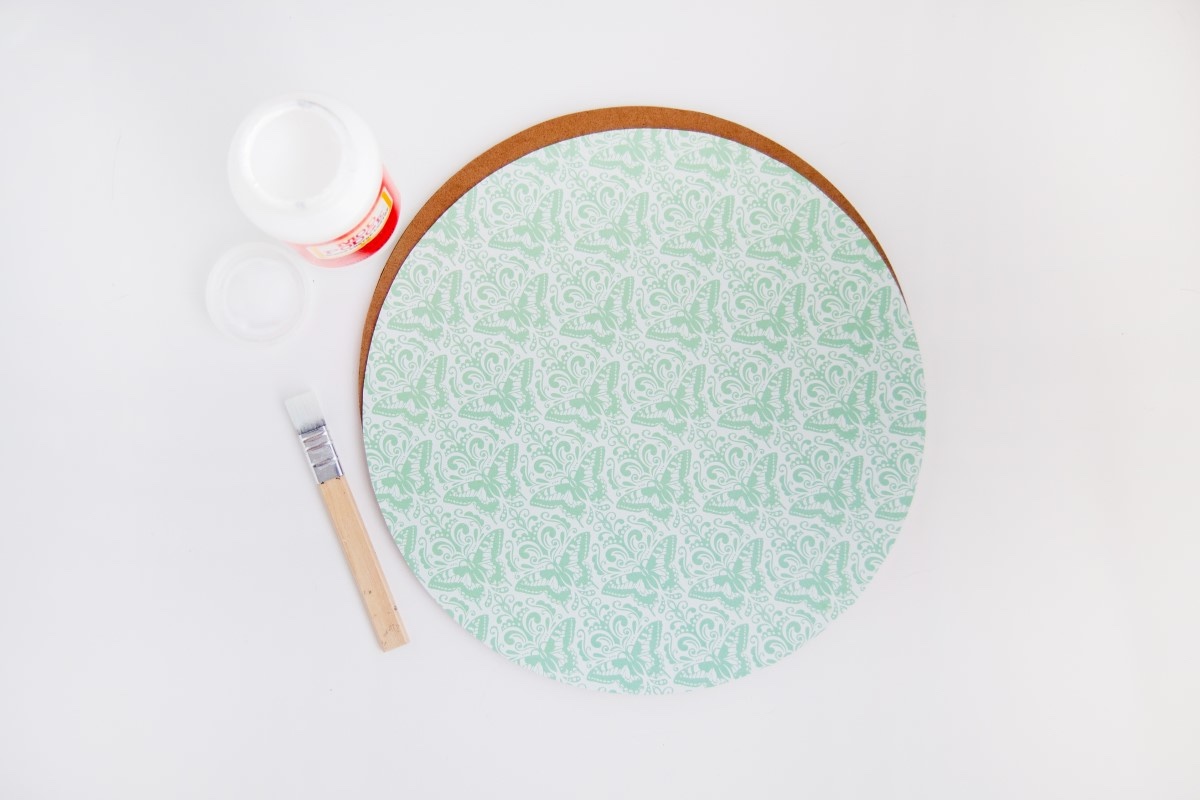
- Mod Podge the scrapbook paper of your choice to the surface of your round sign. Use a brayer or a squeegee tool to help push down and flatten the paper or fabric and squeeze out any excess Mod Podge trapped underneath. Wait for the Mod Podge to dry.
- Cut and glue the trim you would like to use for your cupcake stand - for mine, I cut strips and attached it using hot glue. Wait for it to dry.
- Protect your scrapbook paper surface by using Mod Podge to seal it. Brush a thin layer, ensuring you cover the whole surface and edge and let it dry. Repeat three or four times.
- Attach the stand part of your cupcake stand using hot glue. Let set before using.
Notes
Use thick, quality scrapbook paper to lessen creasing when Mod-Podging your scrapbook paper.
