Decorate Paper Craft Pumpkins
Learn how to decorate a paper craft pumpkin with basic supplies! This is a fun fall or Halloween idea for children.
Yield: 2 pumpkins
Cost: $5
Equipment
Materials
- Paper craft or paper mache pumpkins
- Craft paint white
- Tissue paper orange and green
- Mod Podge any formula
- Mod Podge Sparkle
- Ric rac trim
Instructions
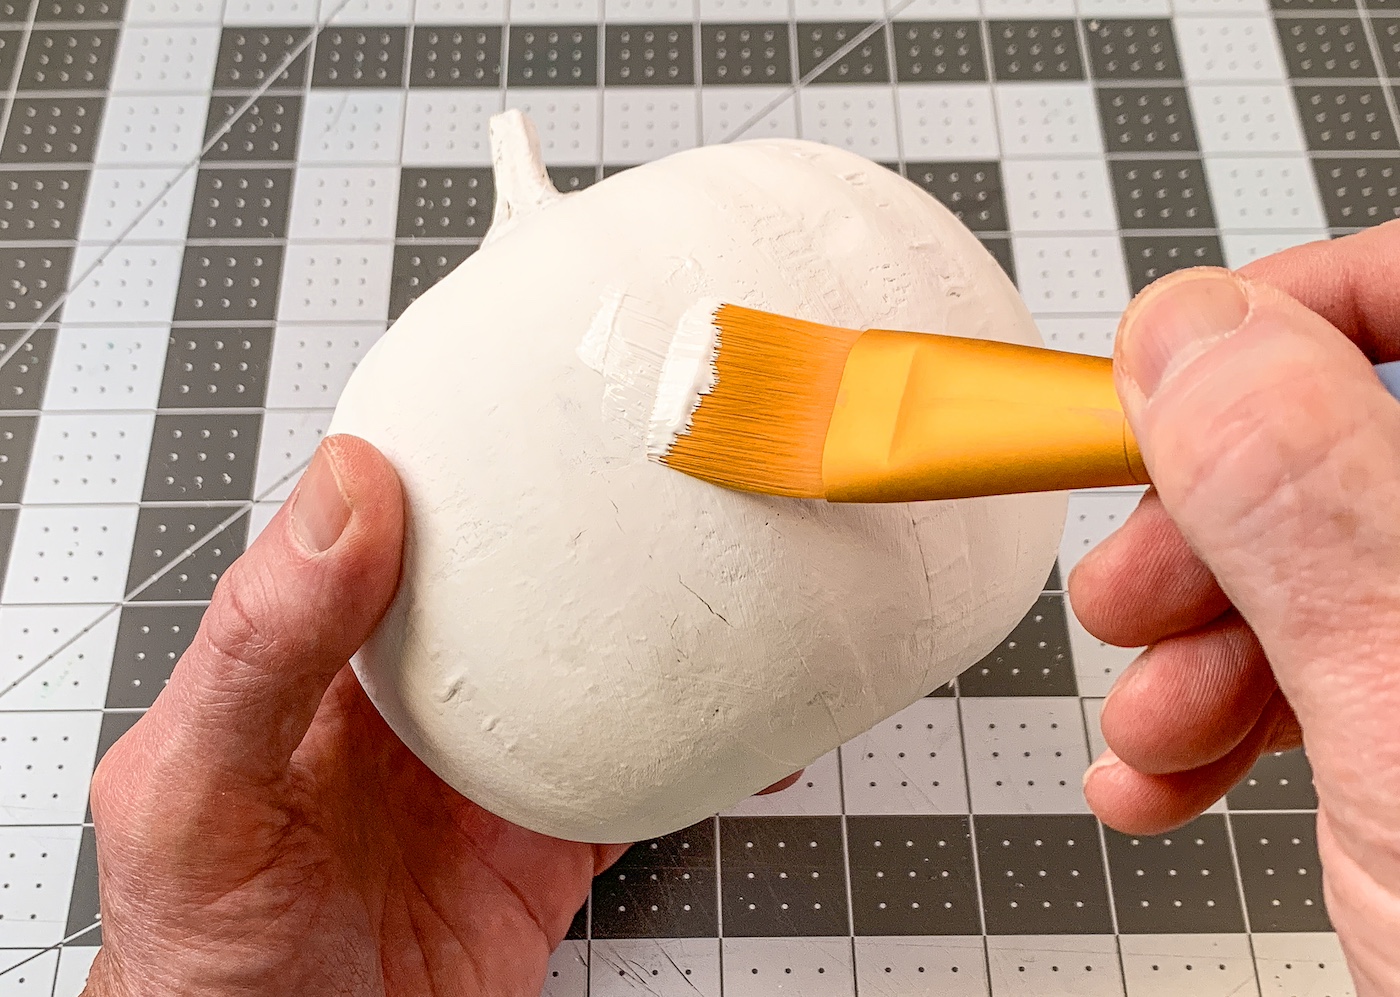
- Paint both pumpkins with white acrylic craft paint. Let dry completely.
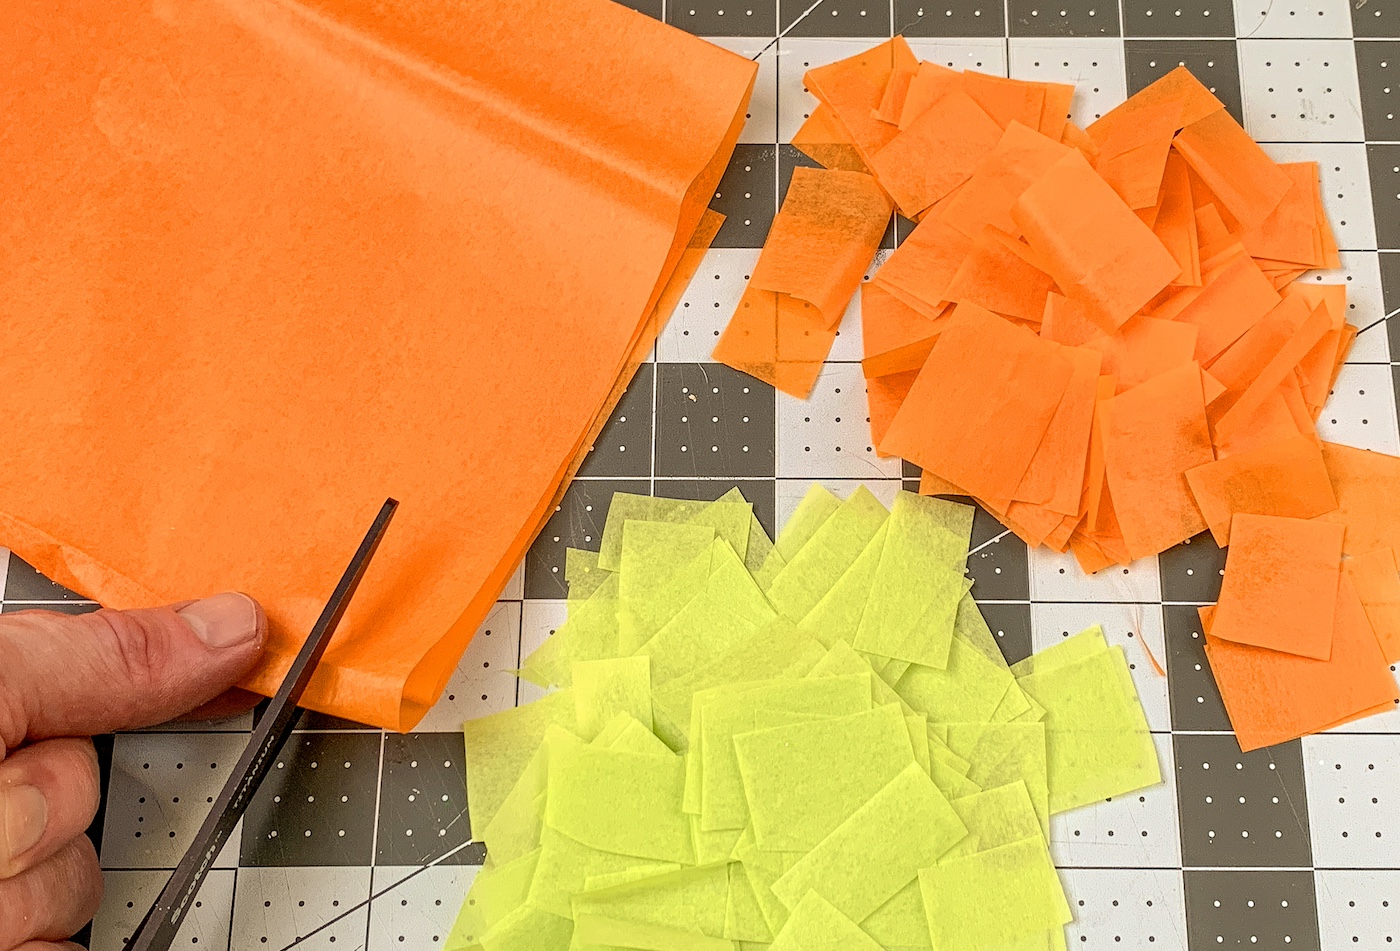
- While the paint is drying, cut the tissue paper into small squares and put into color piles for the kids.
- Do the stem by applying Mod Podge down on the surface, then smoothing one pieces of green tissue paper over the top.
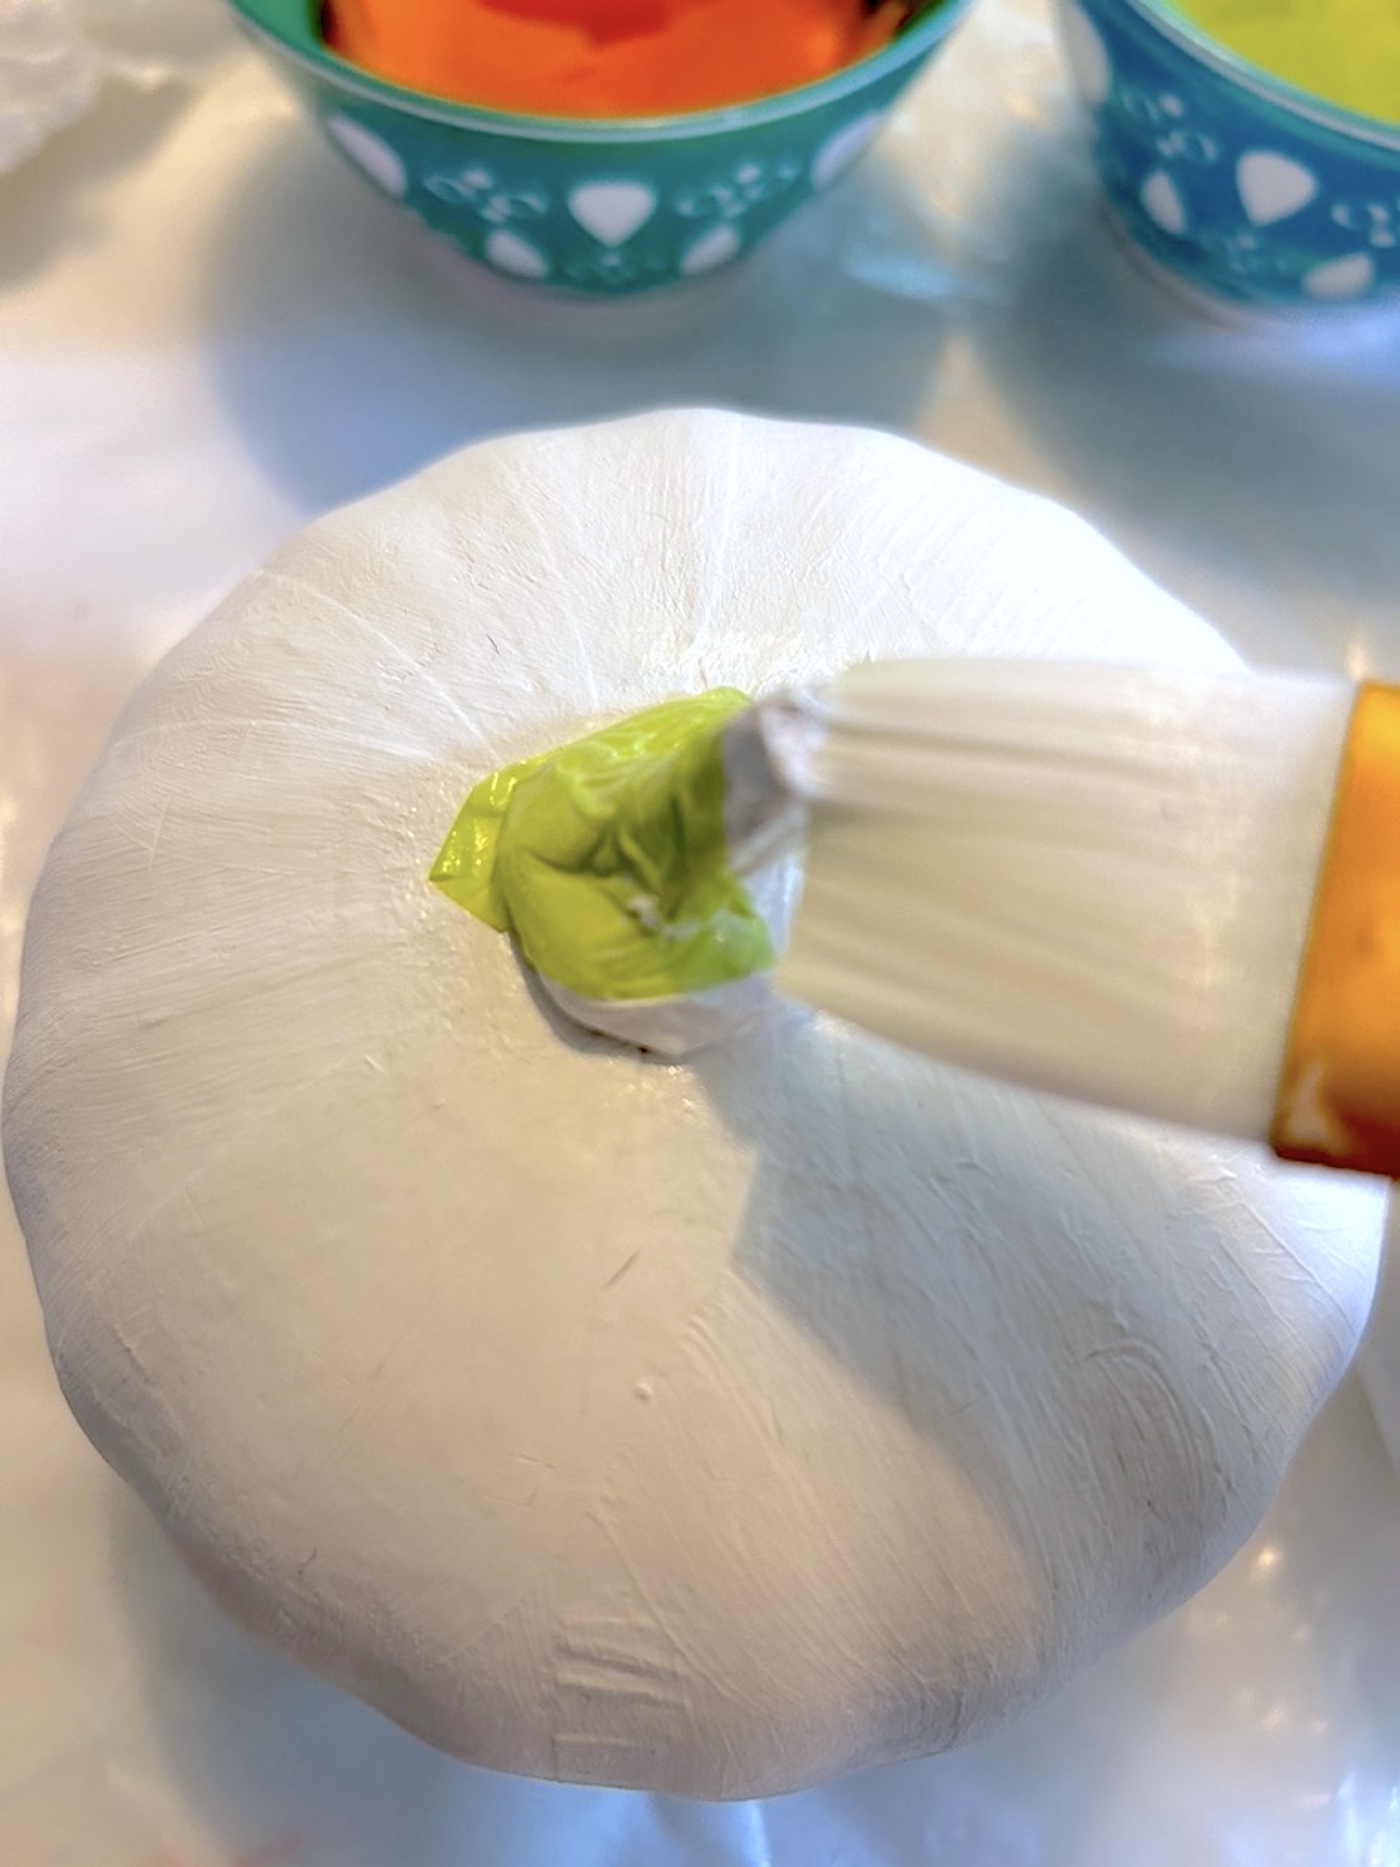
- Smooth down the tissue paper around the stem with the brush, adding more squares as needed until covered. Let dry.
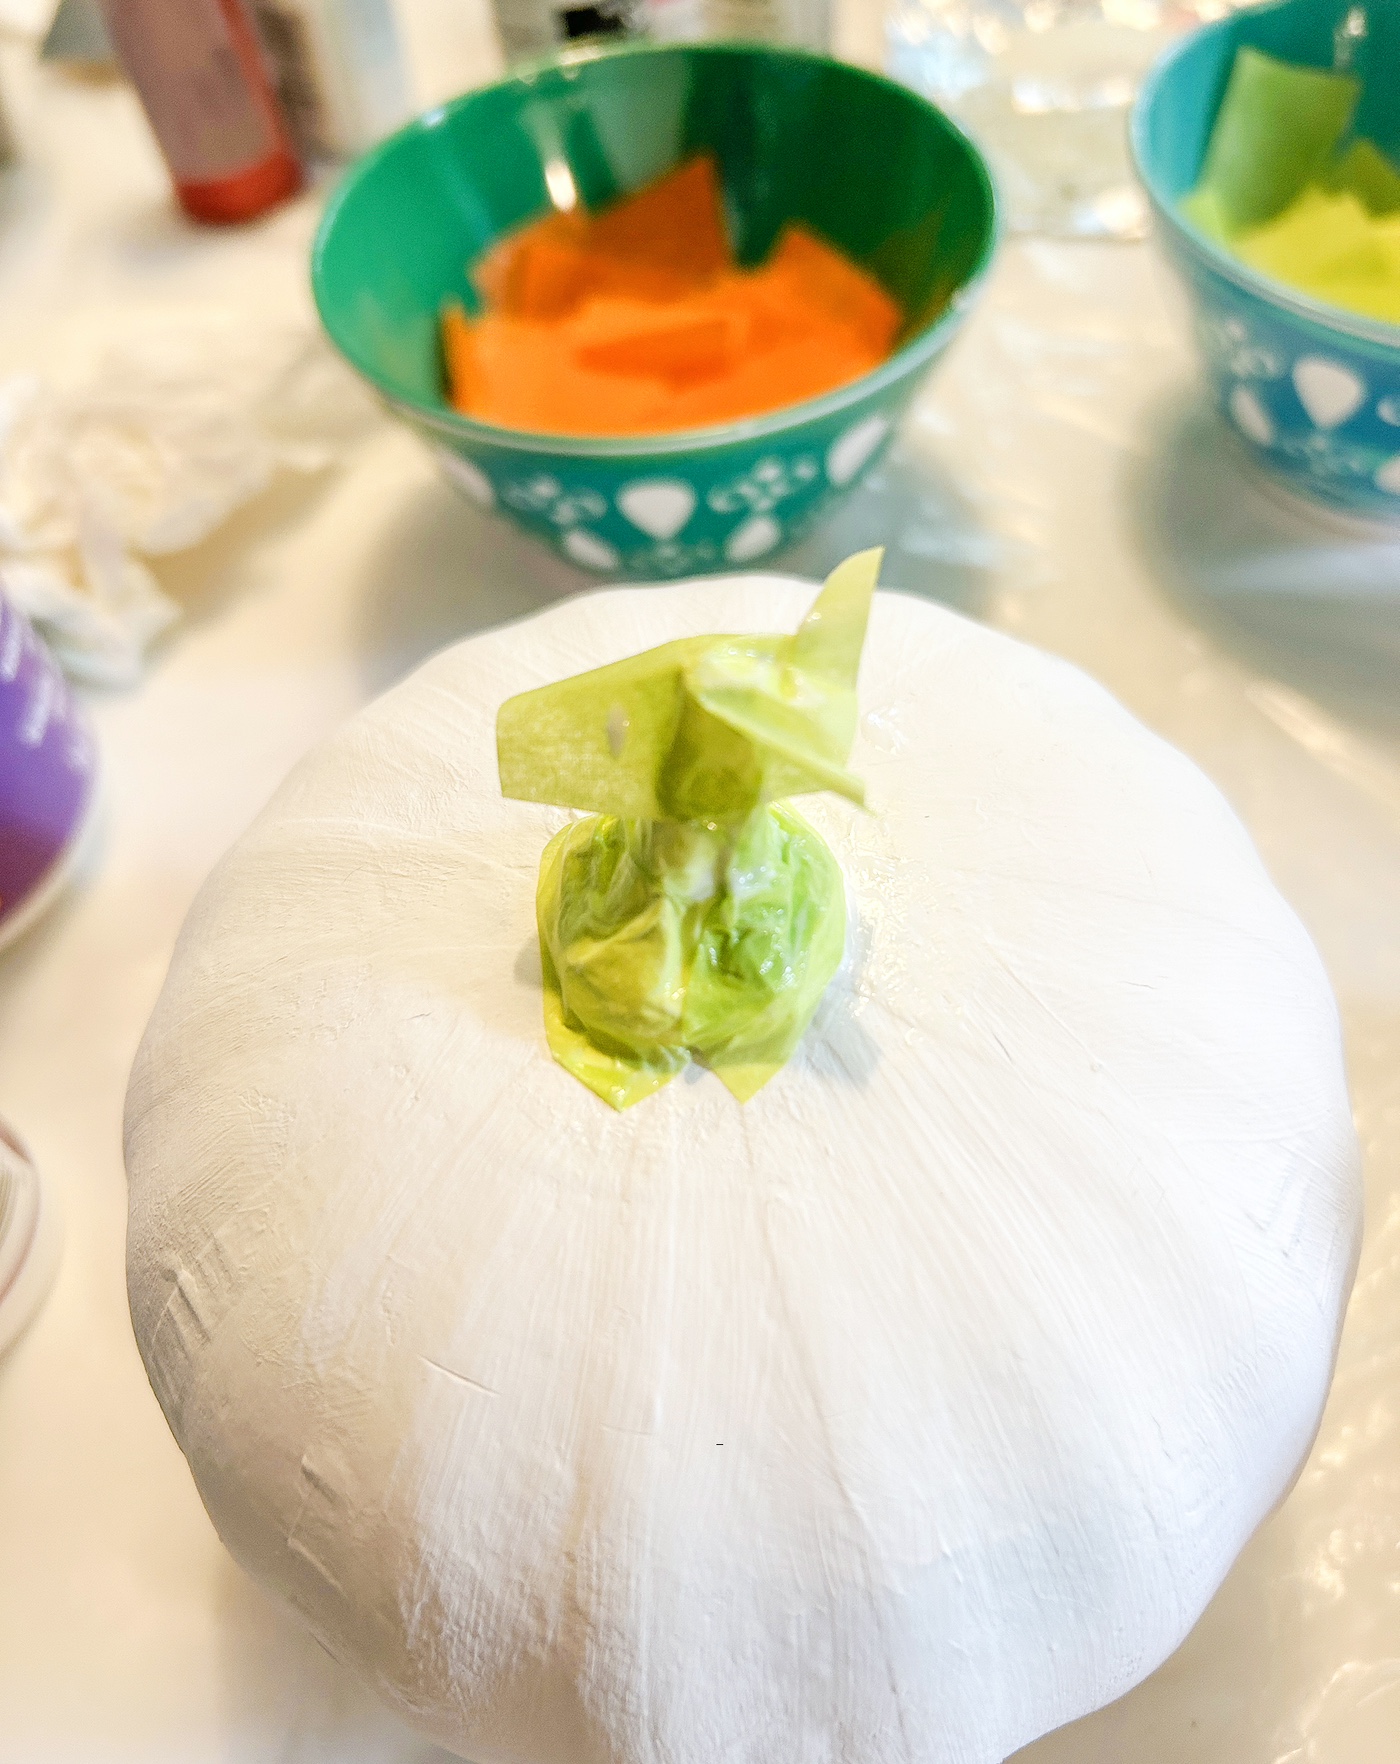
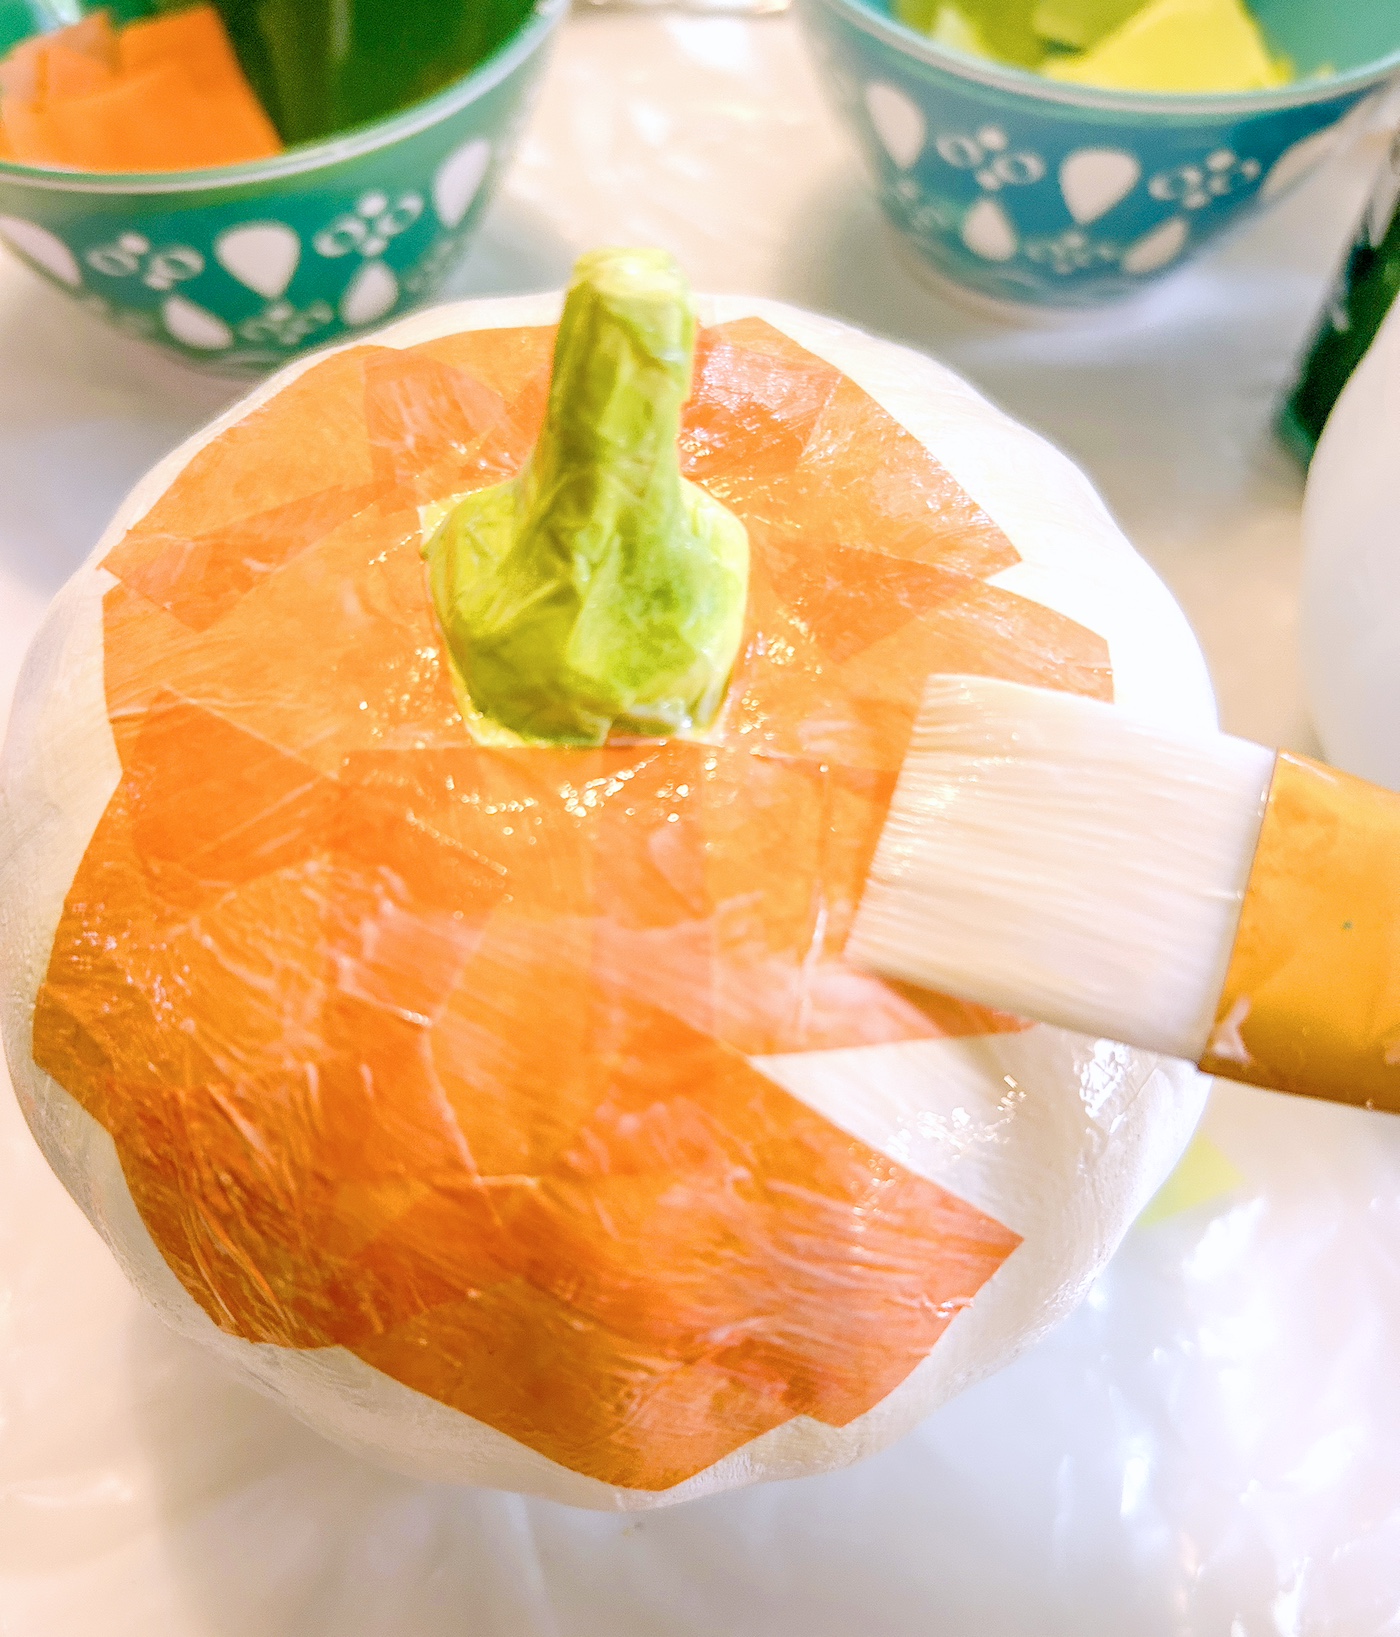
- Apply Mod Podge to a small section of the pumpkin and place a piece of orange tissue paper down. You don't need that much Mod Podge. Brush over the top to smooth. Continue adding squares to cover the pumpkin, working on section at a time. Let dry.
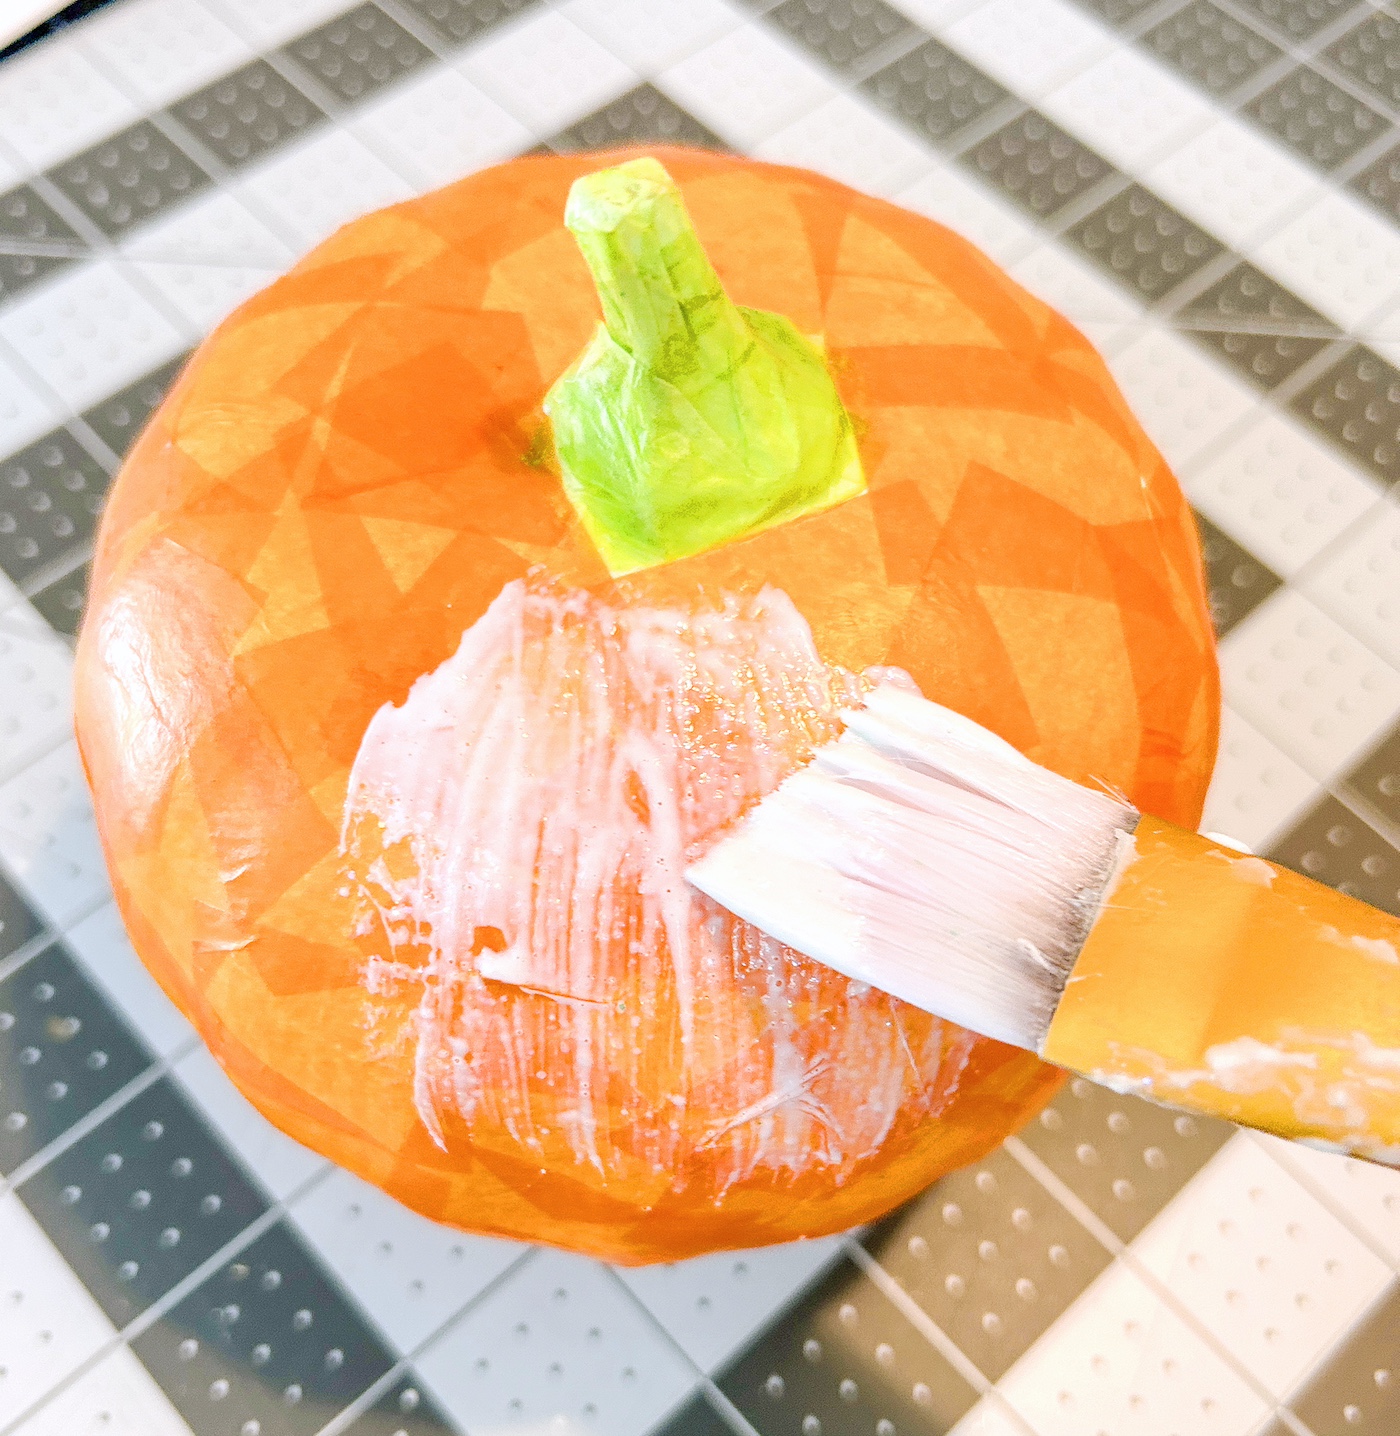
- Apply a coat of Sparkle Mod Podge over the top of the entire pumpkin and let dry. Add more for more glitter if desired.
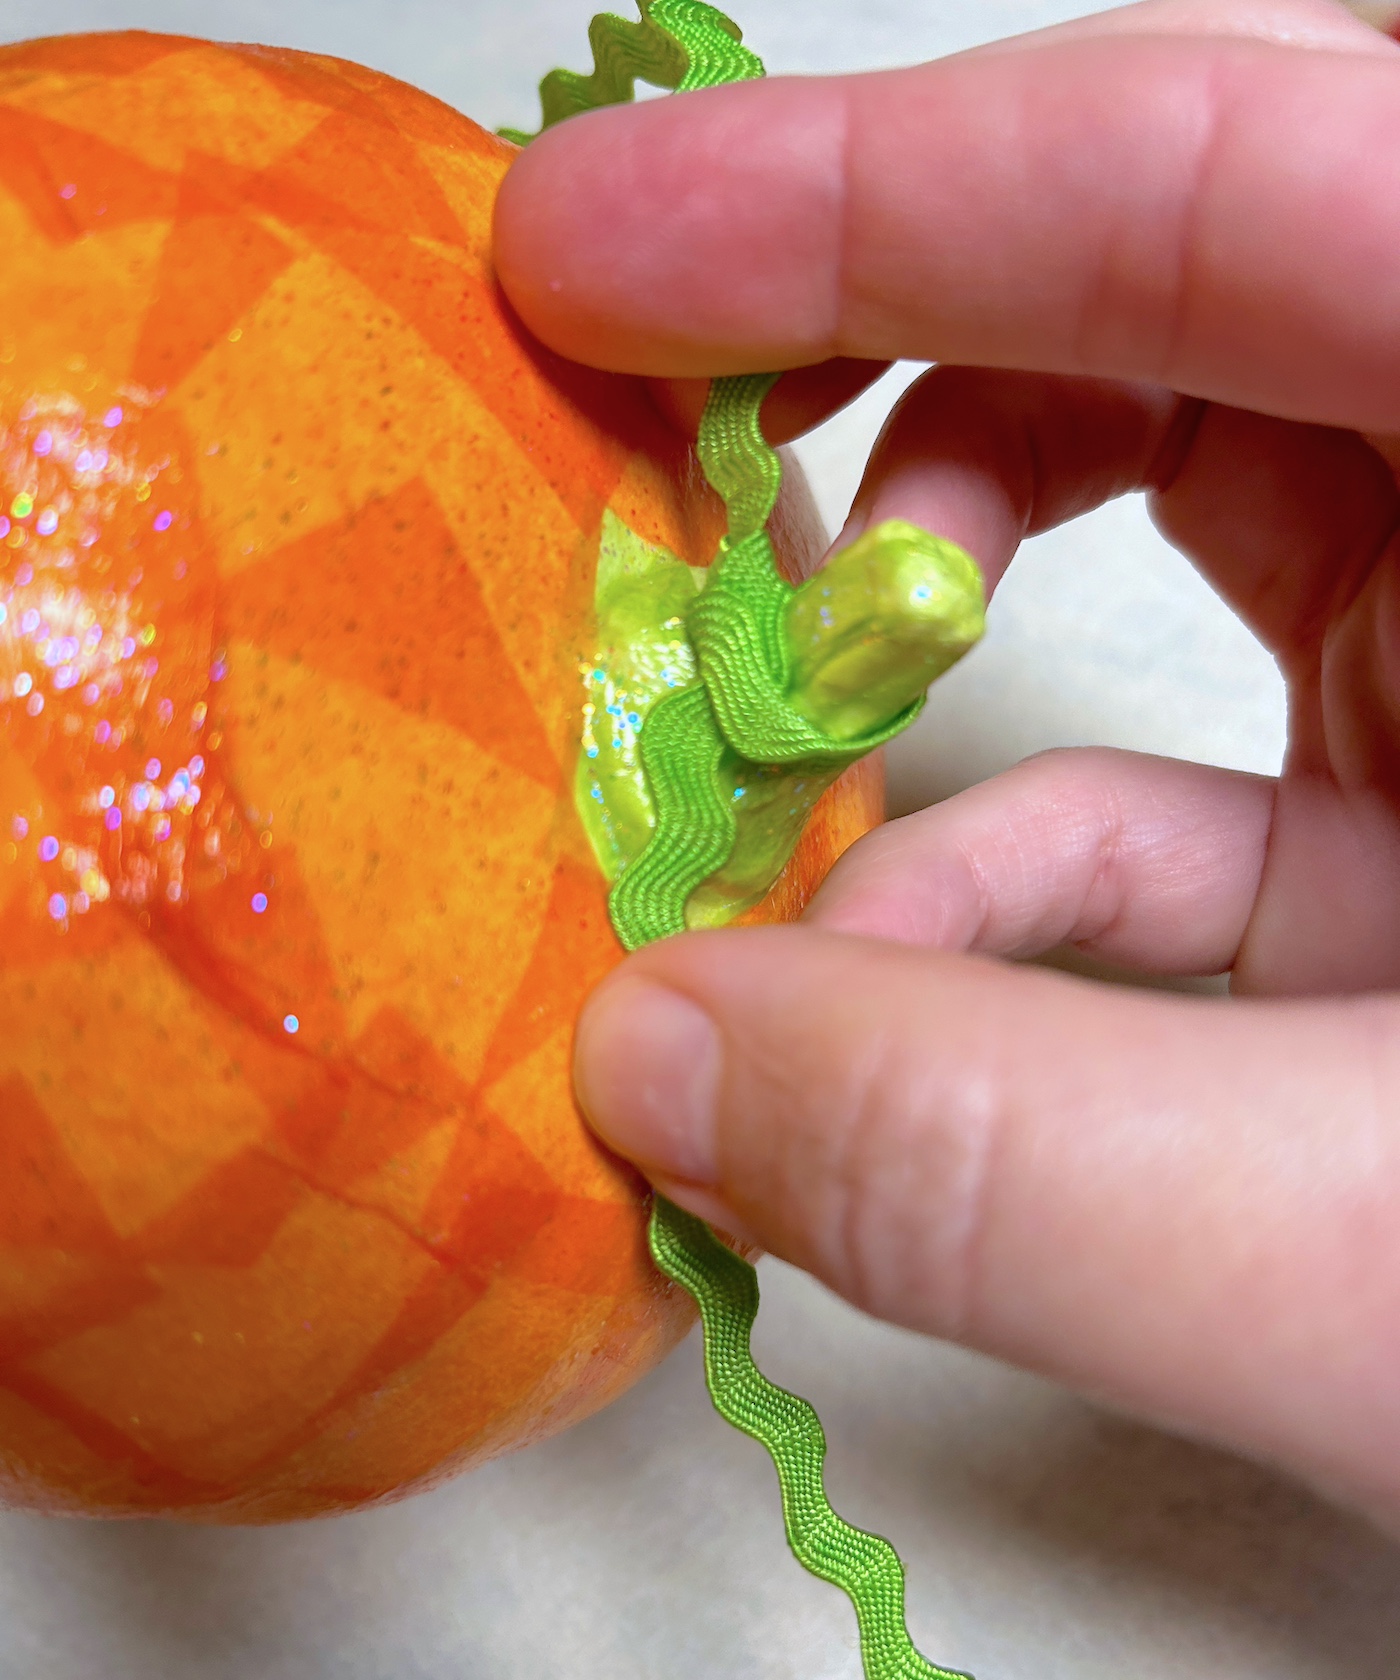
- To finish, cut a piece of ric rac or ribbon and tie onto the pumpkin stem.
