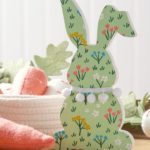
Decorate a Wooden Bunny
Learn how to decorate a chunky wood bunny with napkins, using Mod Podge! This is a fun and easy spring and Easter decor craft.
Yield: 1 bunny
Cost: $3
Materials
- Chunky wood bunny
- Craft paint white
- Decorative paper napkin(s)
- Mod Podge Satin
- Pom pom trim
- Craft glue
- Parchment paper
Instructions
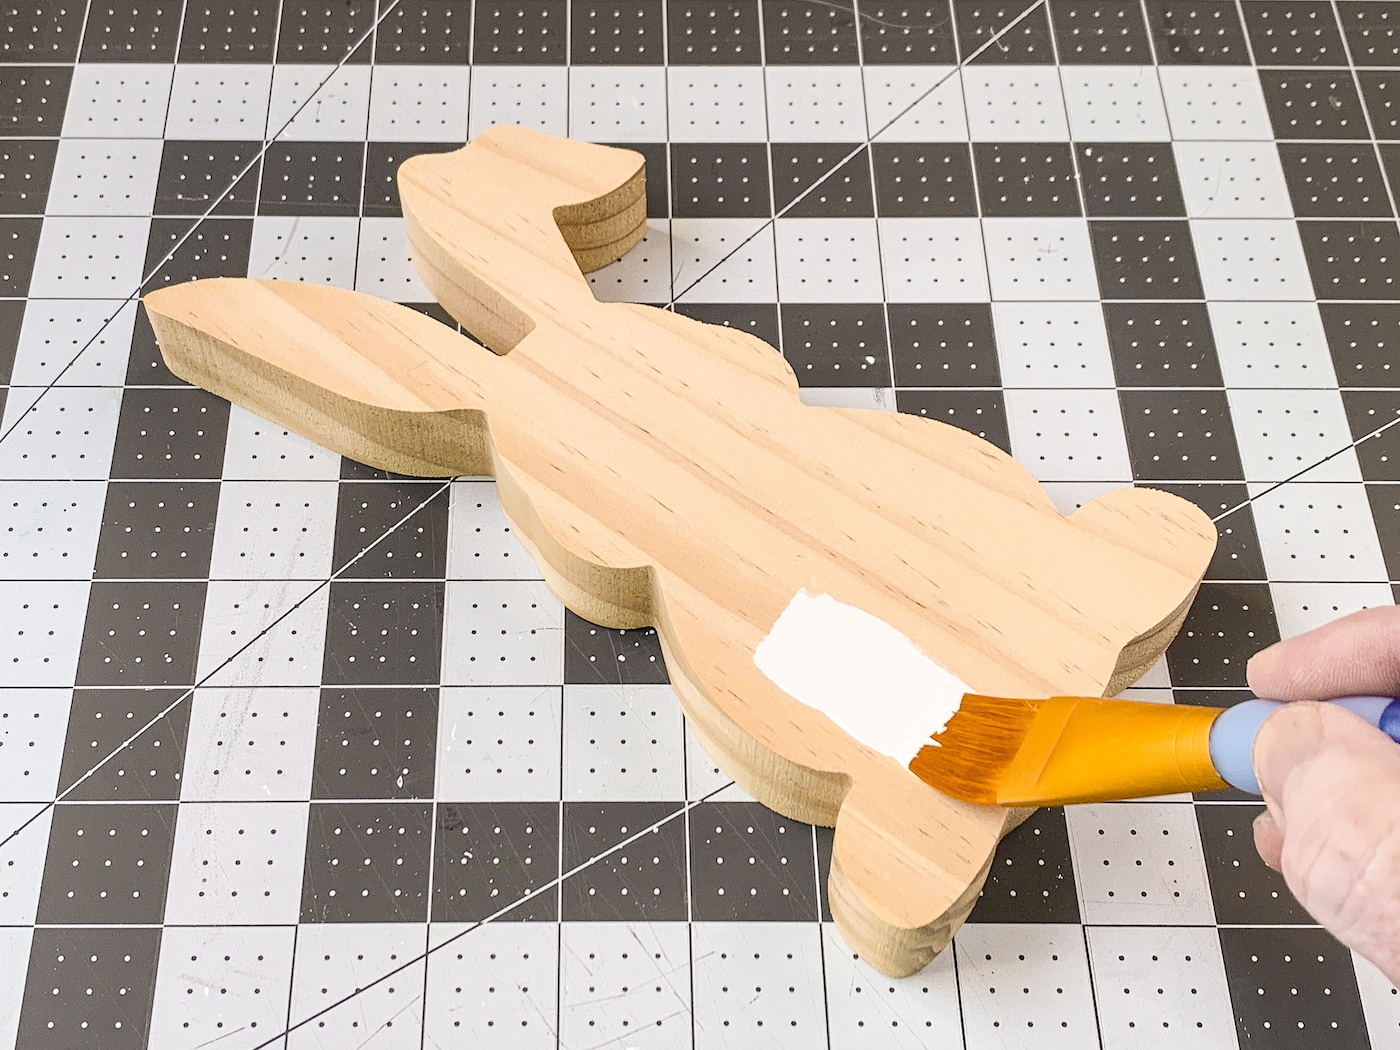
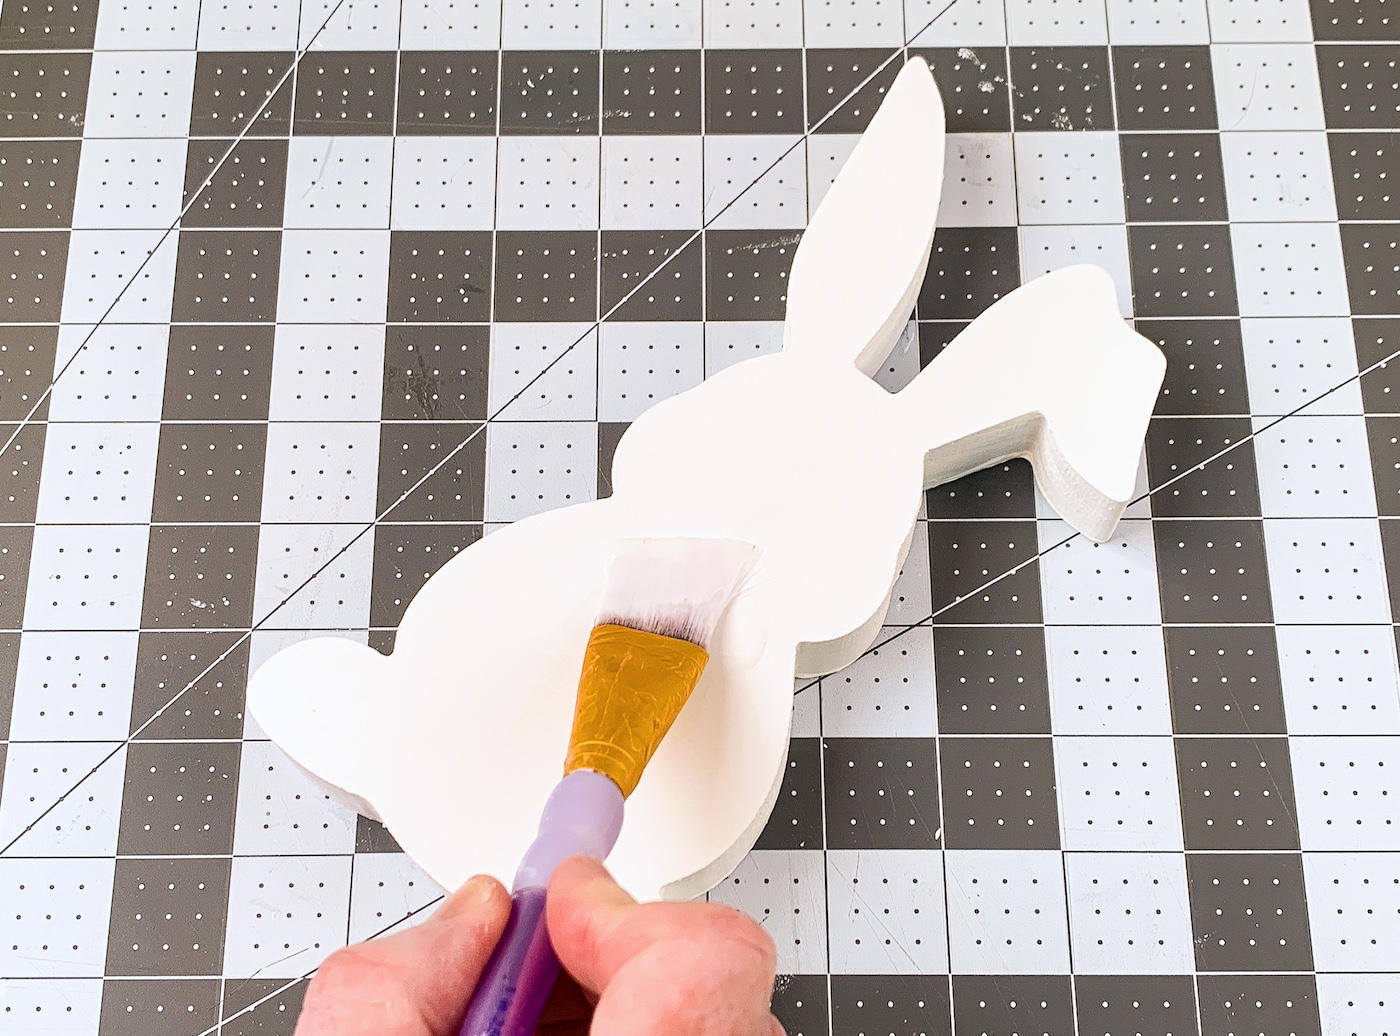
- Paint the wood rabbit with white paint. Do both sides and let dry completely.
- Paint two layers of Mod Podge on the front of the wood, letting dry between each layer. Don't do the sides.
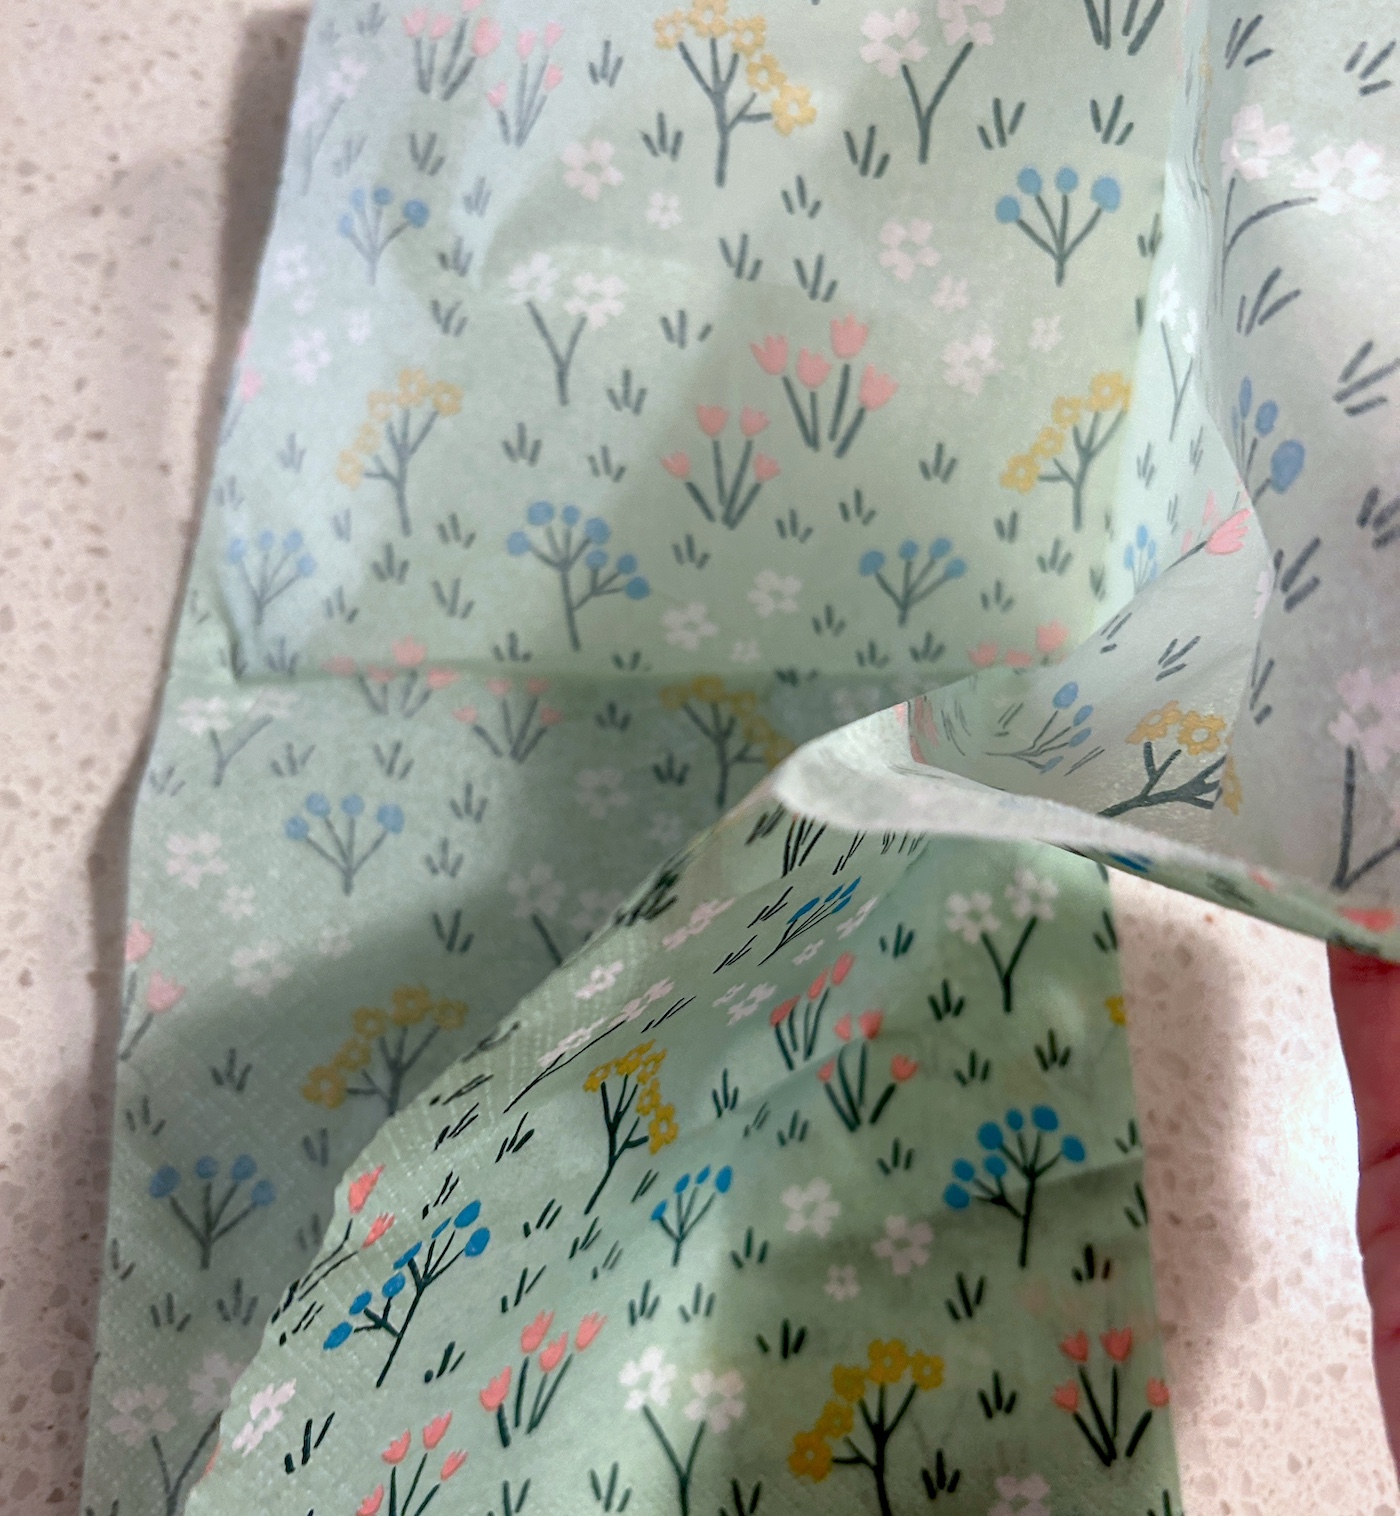
- Separate the layers from the napkin. You only want the top, printed layer. It helps to use double stick tape.
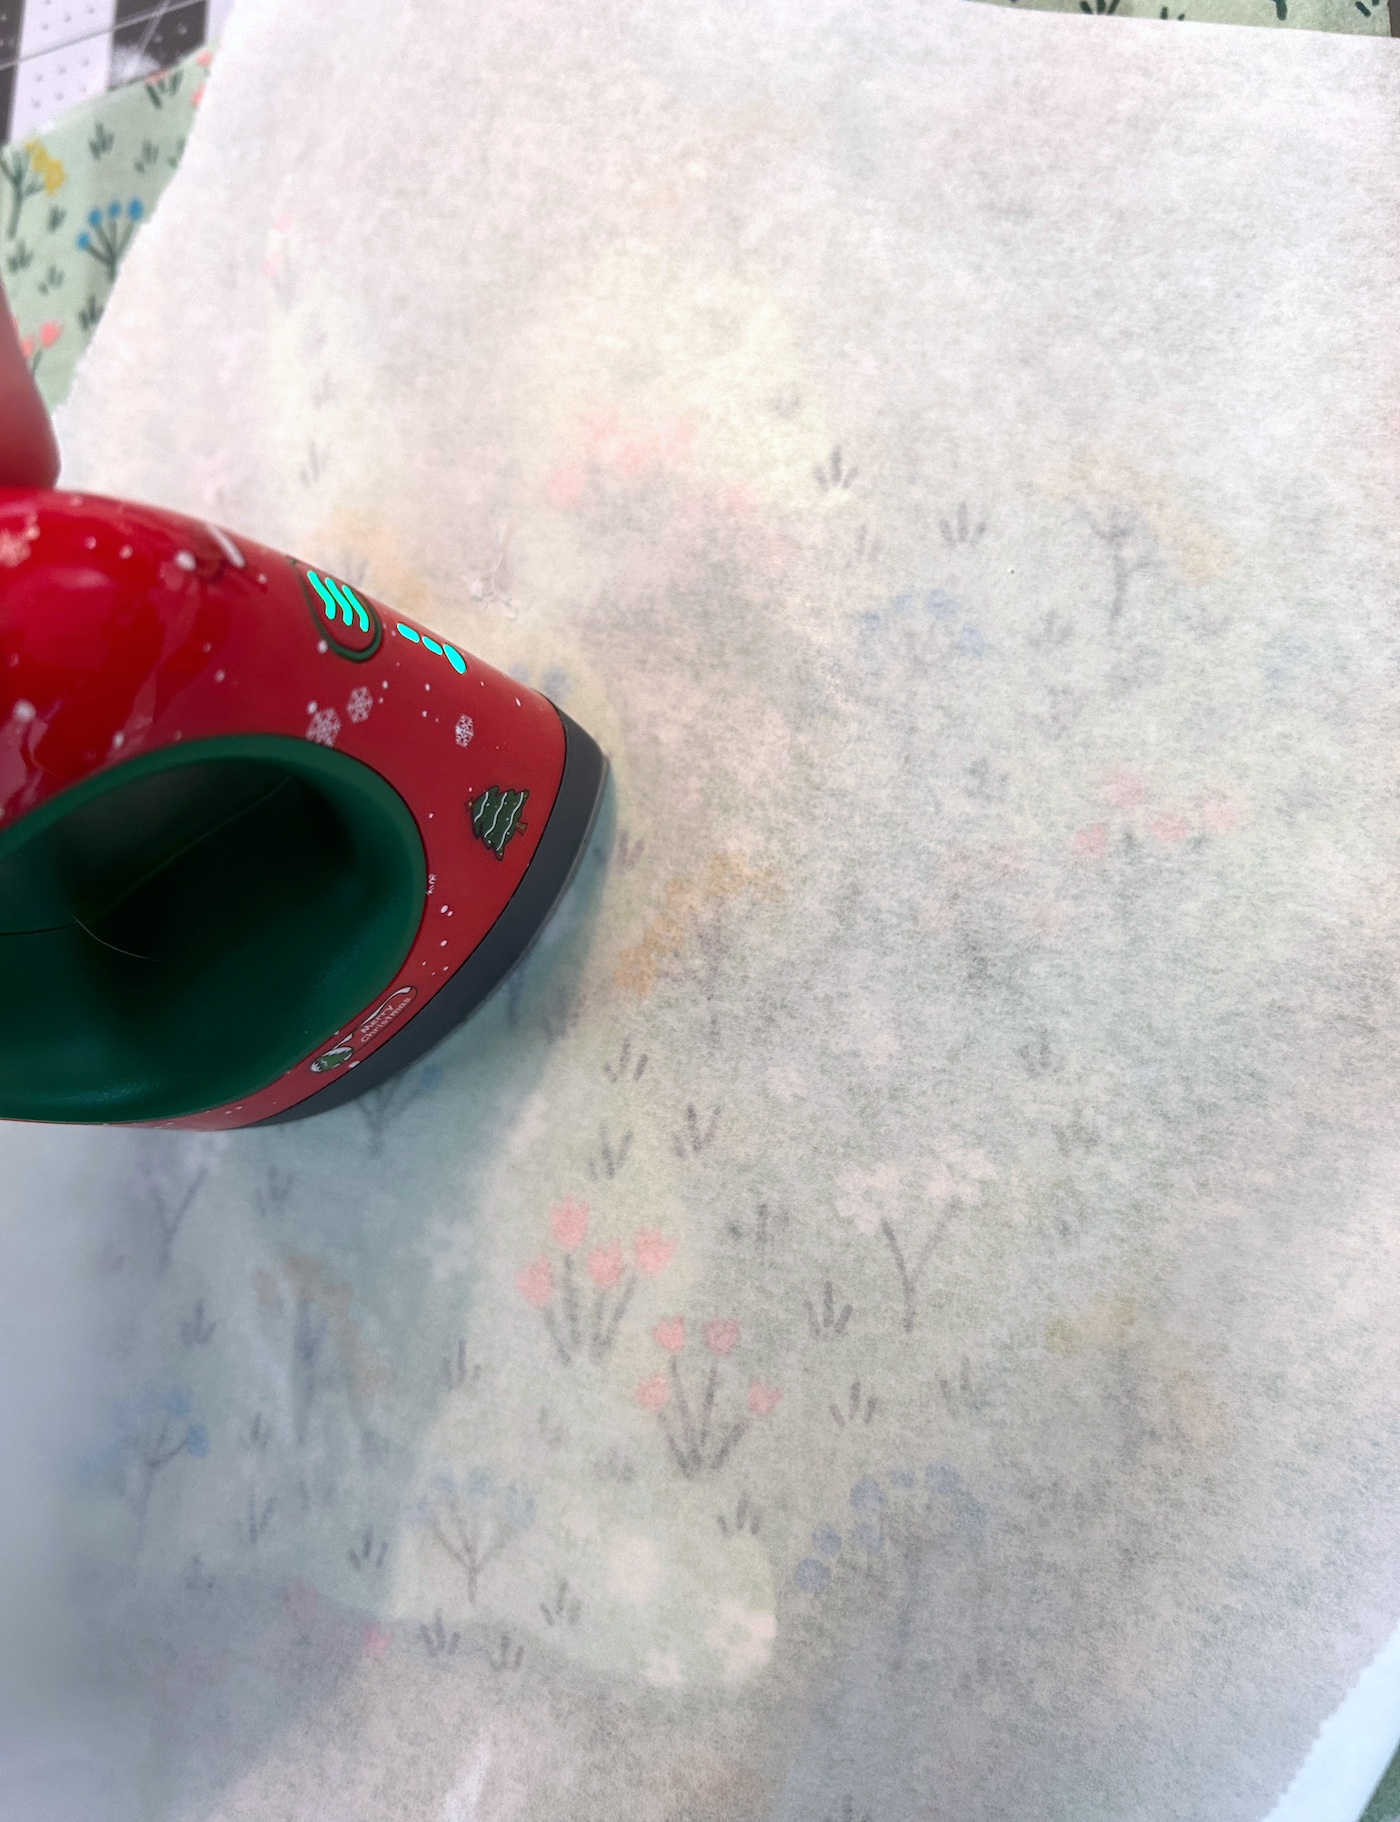
- Place the napkin down onto the wood. Place a piece of parchment paper on top of the napkin, and run the craft iron across the top several times. While you are doing this, the Mod Podge is melting below the napkin, and the napkin is adhering. Keep going until the napkin is fully adhered.
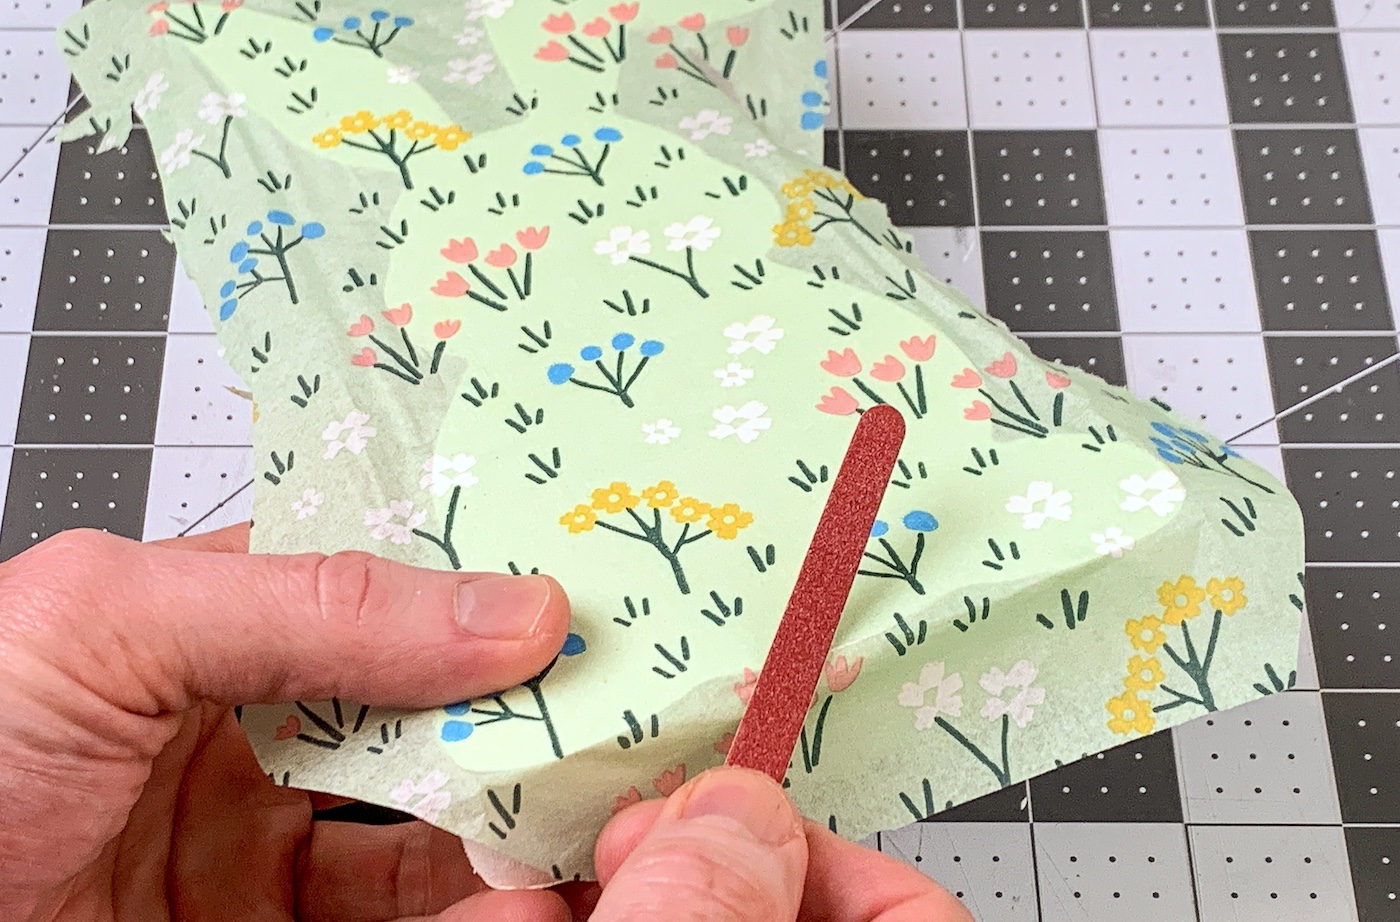
- Let the wood cool after ironing. Use an emery board to gently sand away the excess napkin. Sanding at an angle works very well. Continue until all the extra napkin is removed.
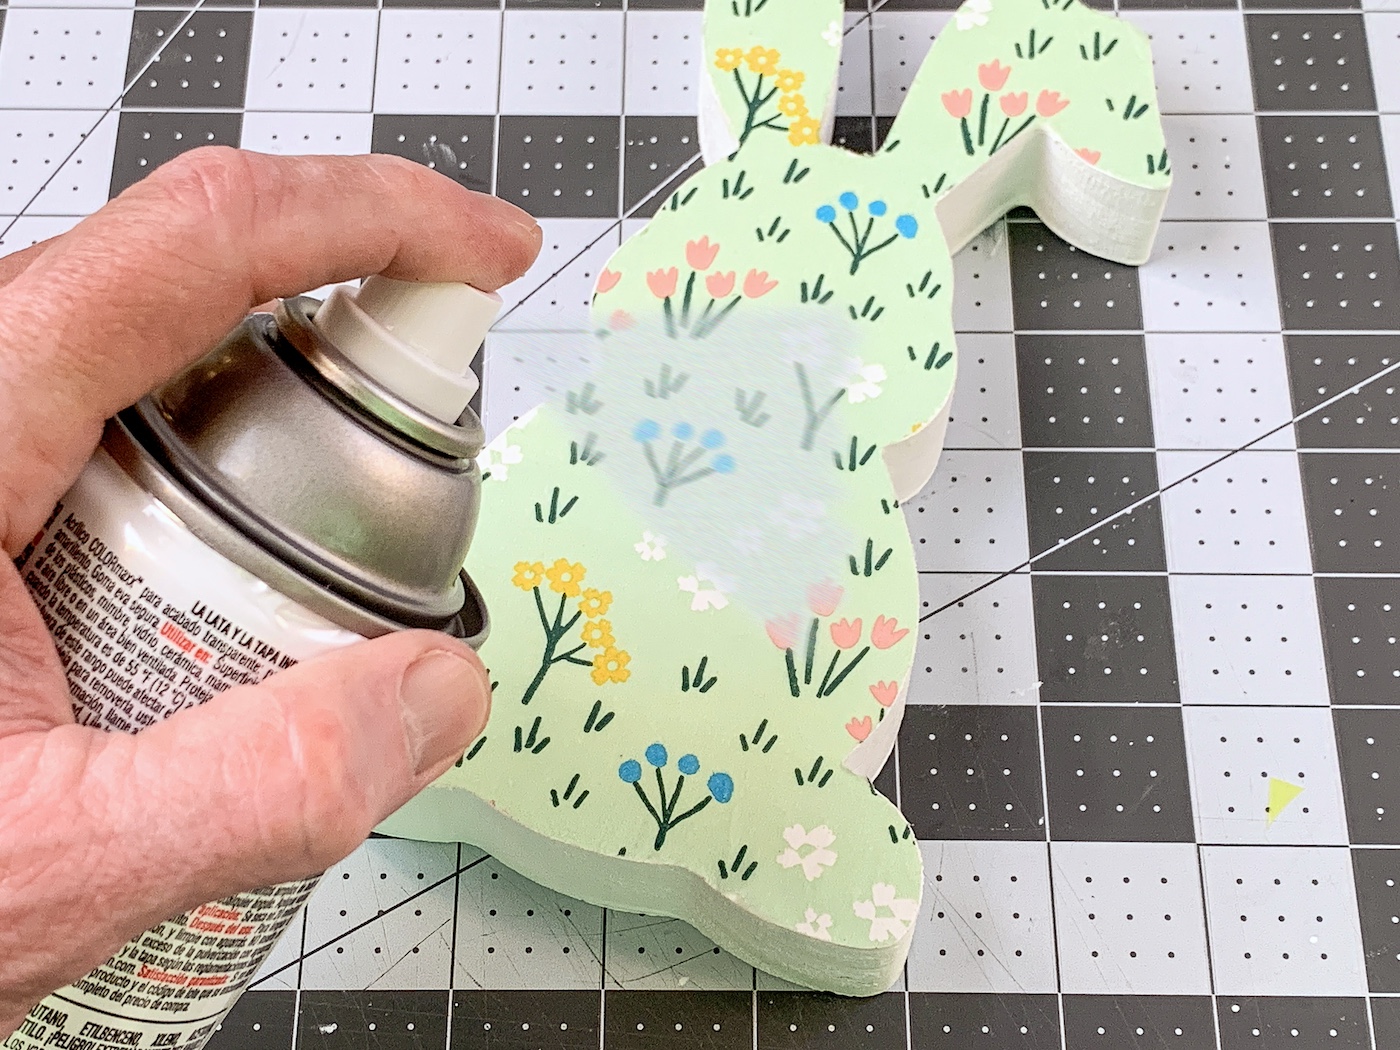
- Use a spray sealer to seal the napkin on top, if desired.
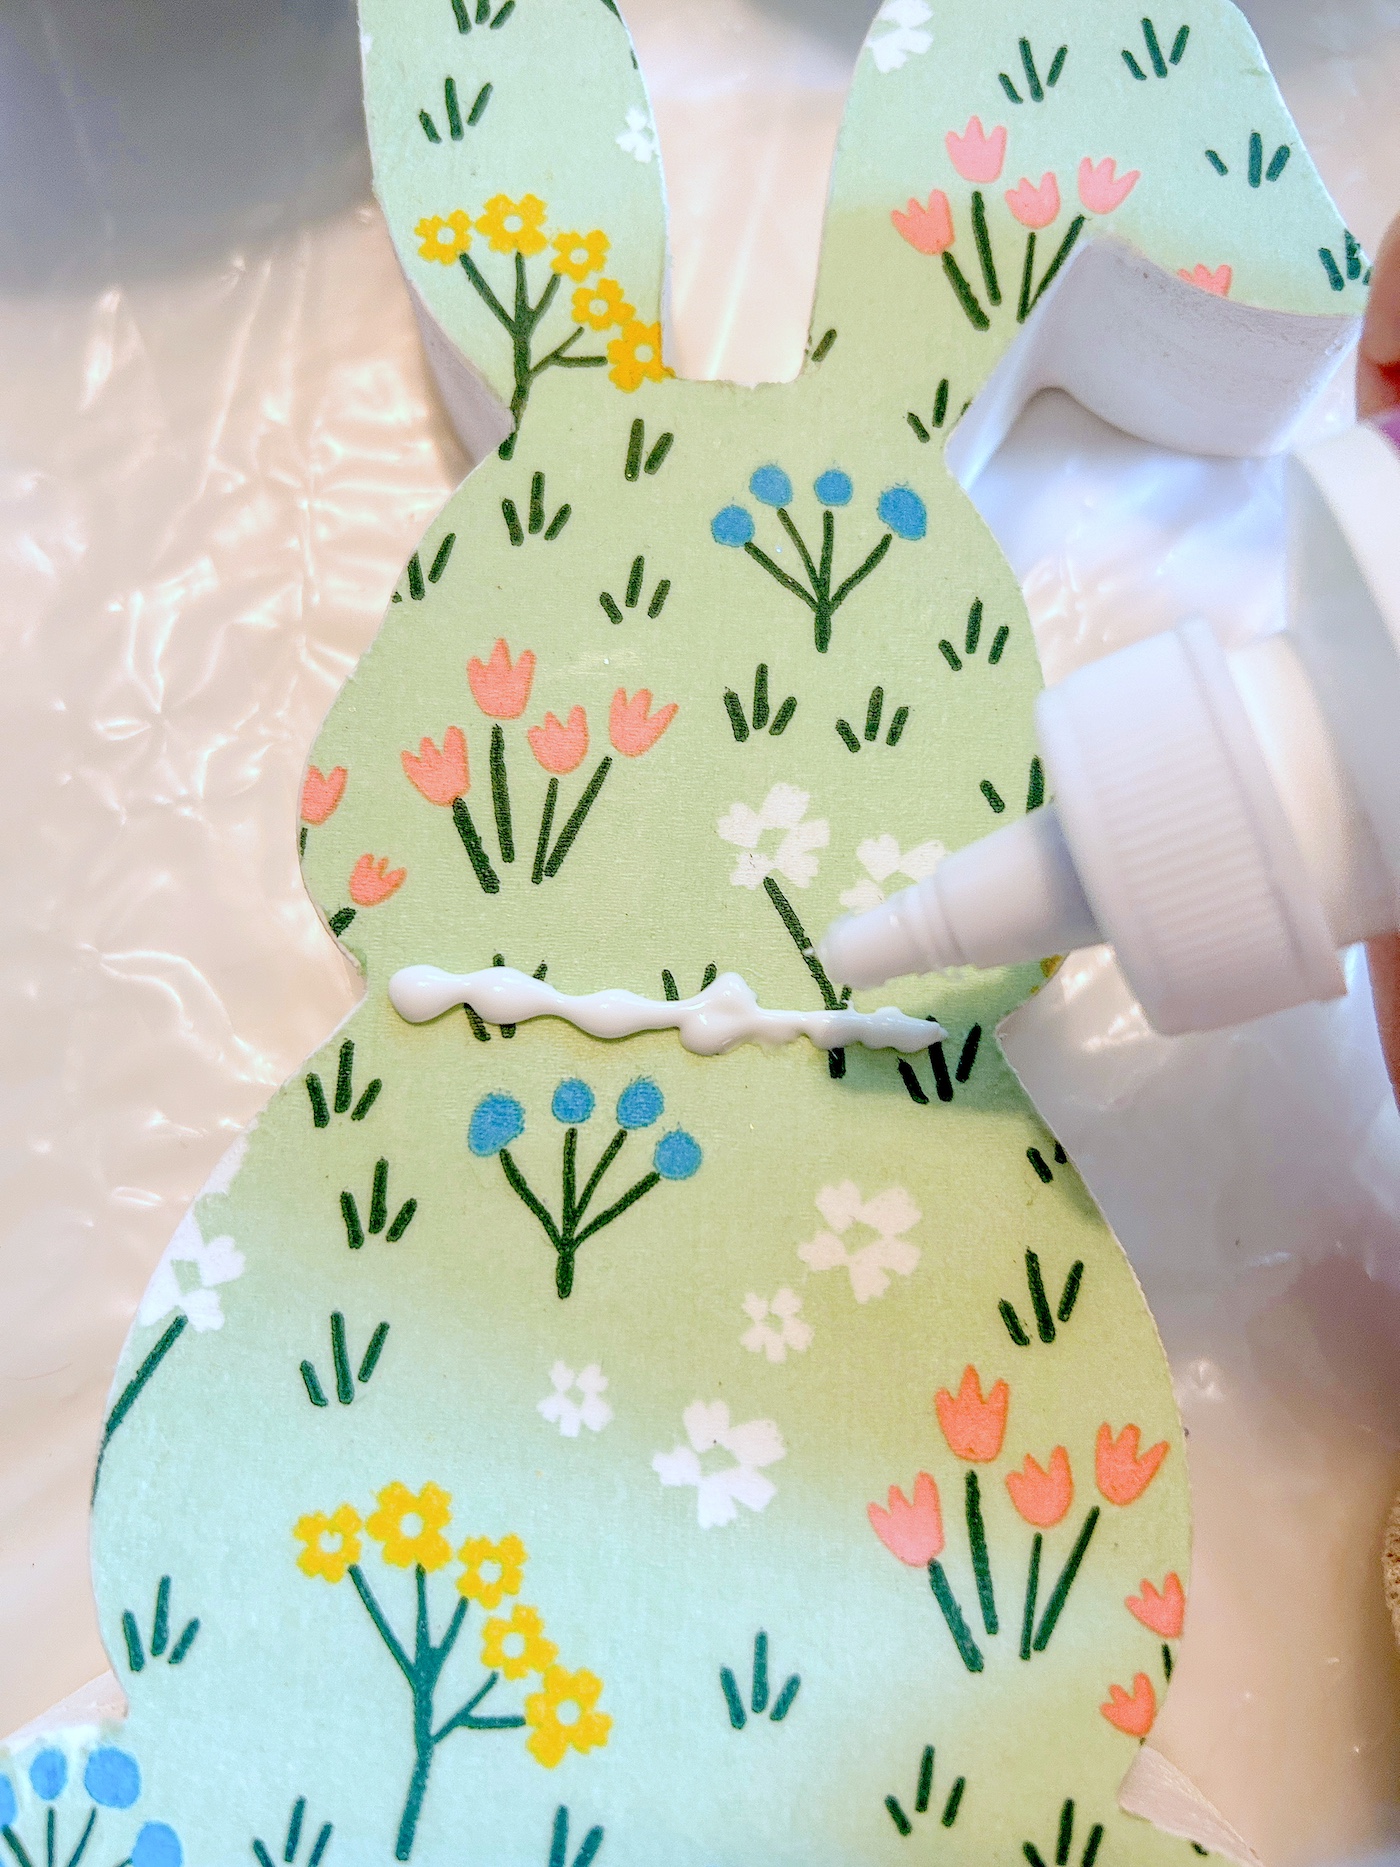
- Use the craft glue to adhere a strip of pom pom trim to the neck of the bunny. Let dry completely before displaying.