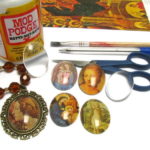
Cabochon DIY
Learn how to make glass cabochons using Mod Podge and the images of your choice. Perfect for jewelry making.
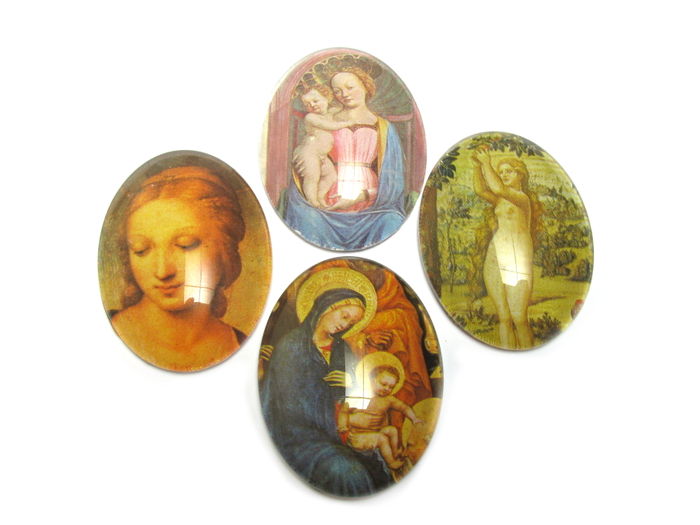
Yield: 4 cabochons
Cost: $4
Equipment
Materials
- Glass domes
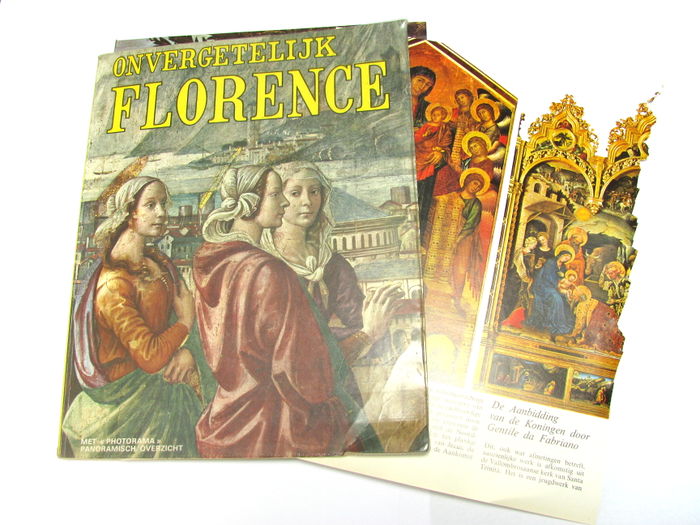
- Magazine pages or graphics
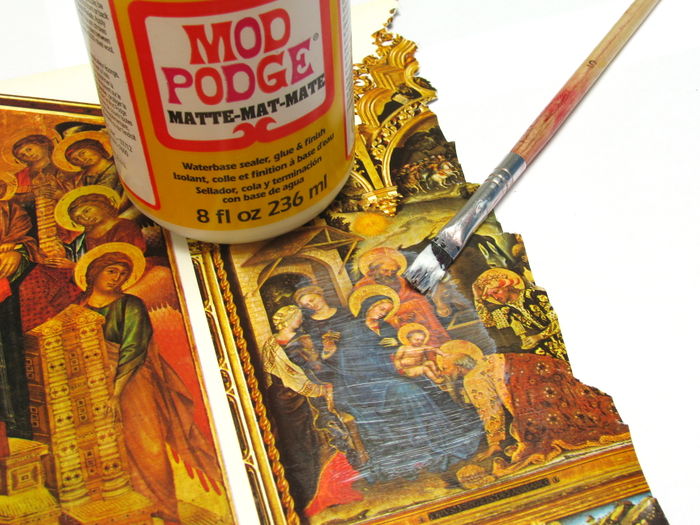
- Mod Podge
Instructions
- Select an illustration to match the size of your cabochon.
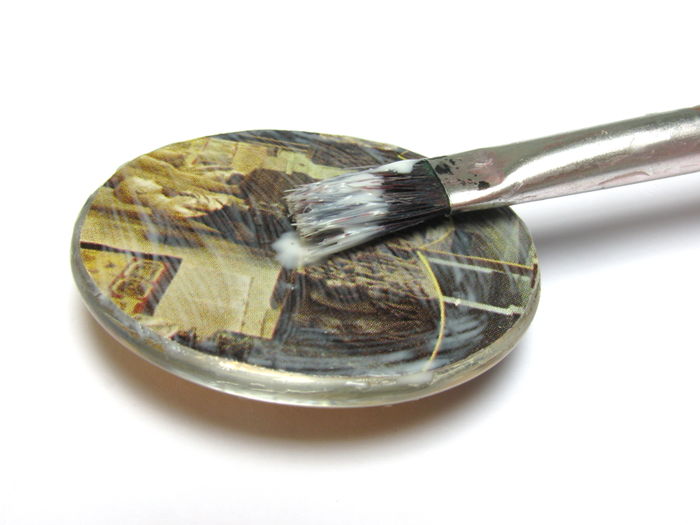
- Apply a layer of Mod Podge to seal the print. This will protect the print once you glue it to the cabochon. Leave to dry for 15 minutes.
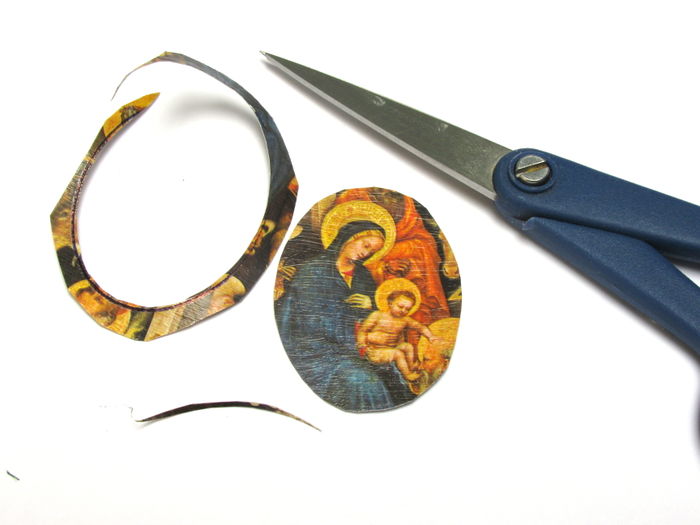
- Place the cabochon on the print, and trace the outline.
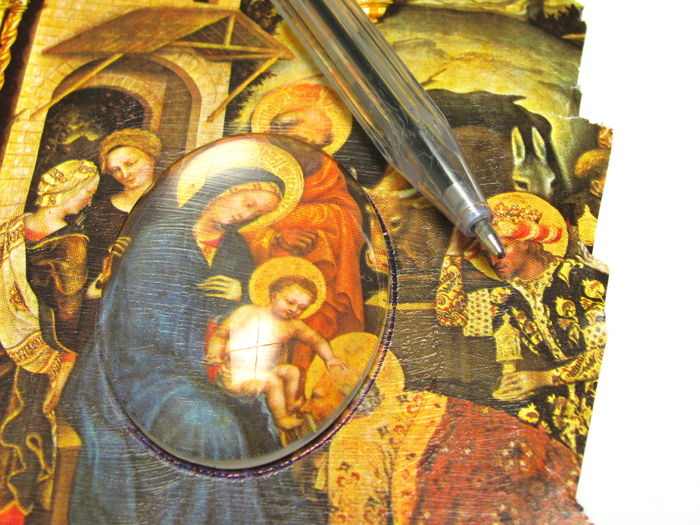
- Cut out the print just within the trace line. You want the print to be a fraction smaller than the cabochon itself.
- Apply a layer of Mod Podge on both the glass cabochon and the print. Cover the surfaces entirely.
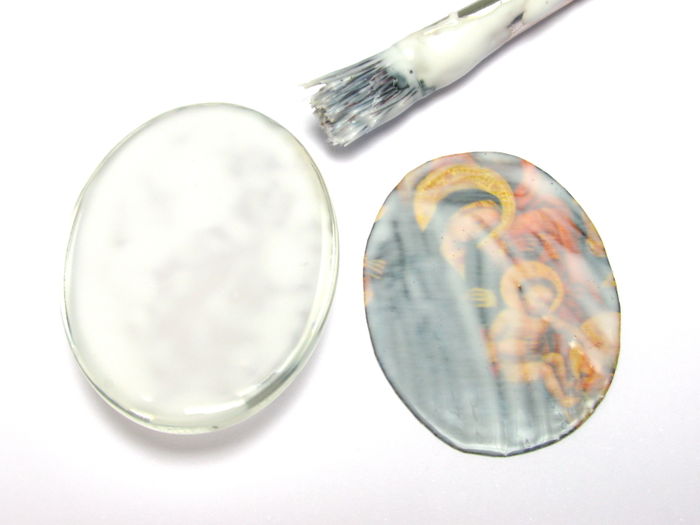
- While the Mod Podge is still fluid, place the print to the back side of the cabochon. Smooth thoroughly and wipe away excess medium that comes out the sides.
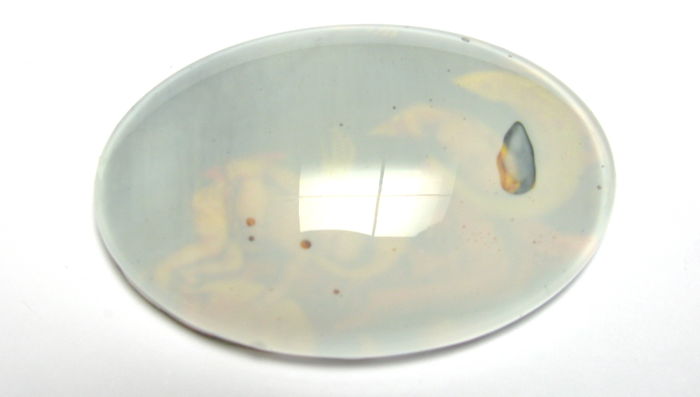
- Turn the cabochon over and leave to dry. The Mod Podge will dry clear.
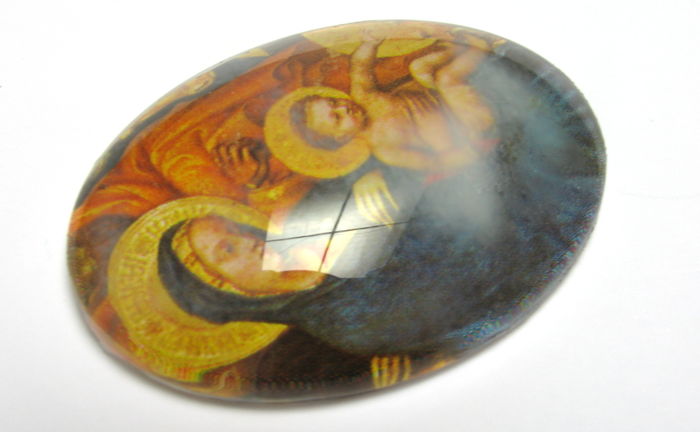
- Cover the back side of the illustration with a layer of Mod Podge, to seal the print. Let dry.
- Use a wet towel to remove Mod Podge from the cabochon.

- Allow to dry for 24 hours before putting into a jewelry setting.
Video
Notes
When you apply the Mod Podge, you may notice tiny air bubbles appearing. You will want to minimize this effect, so try to pop the largest bubbles with your brush.