4th of July Anchor Sign
Learn how to decorate a wood anchor from Dollar Tree for the Fourth! This is a fun patriotic craft.
Yield: 1 sign
Cost: $5
Materials
- 1 Large wood anchor shape
- 1 Small wood anchor
- 3 Wood star(s)
- 6 Wood letter(s) spelling OH BUOY
- Craft paint white, silver metallic, dark blue, red
- FolkArt Glitterific red, dark blue
- Mod Podge Matte
- 1 Red, white, and blue striped napkin
- Baker's twine red and white
- Craft glue
- Parchment paper
- Clear acrylic spray sealer optional
Instructions
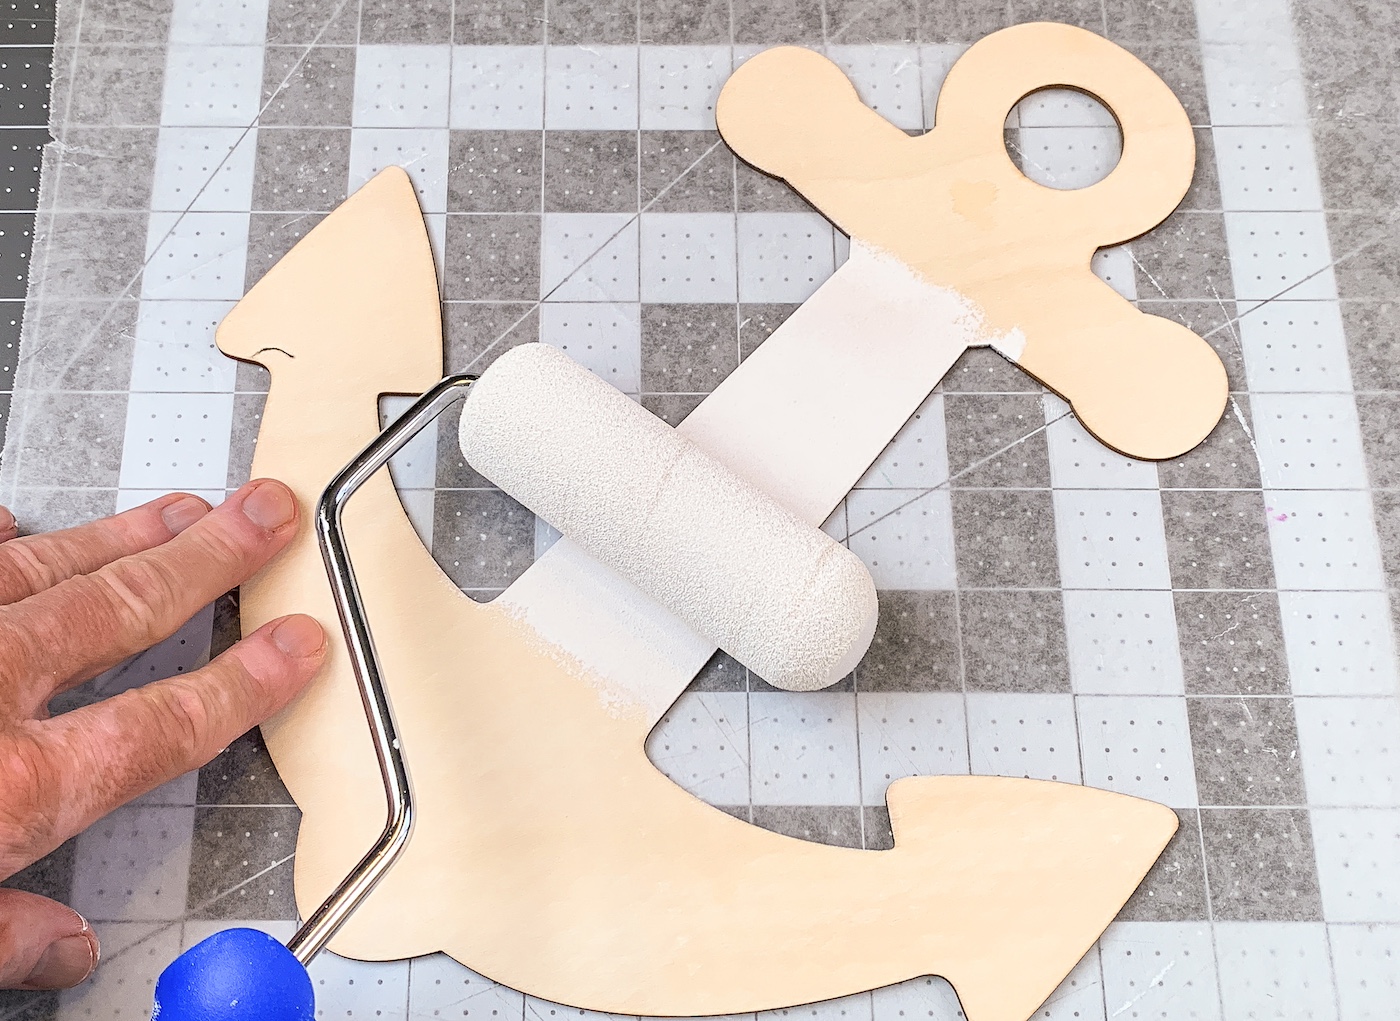
- Paint the wood using white craft paint. Roll on one side, let dry, and flip over. Paint other side and let dry.
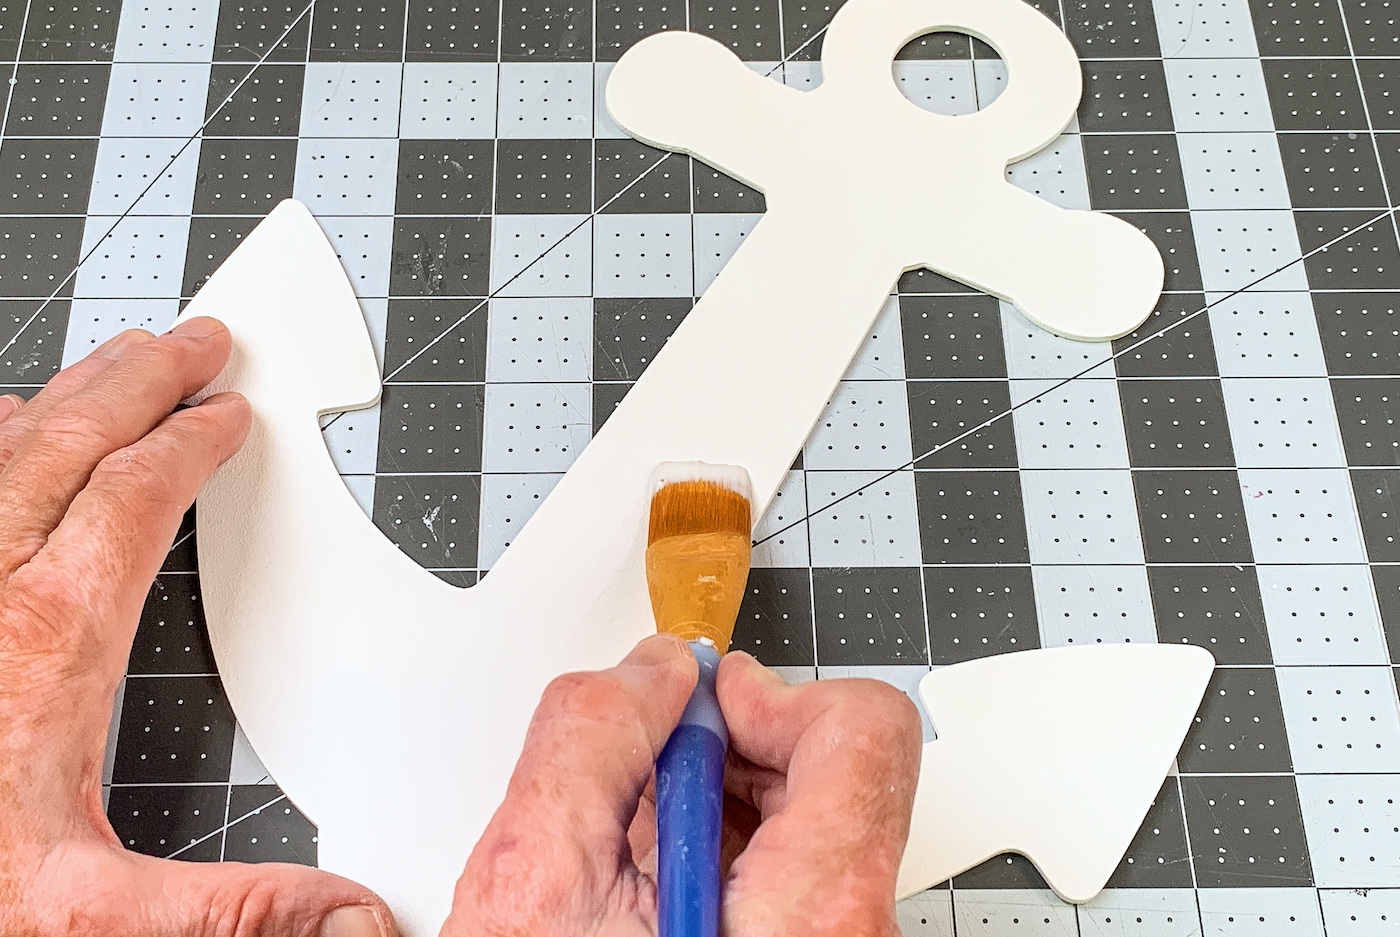
- Apply a coat of Mod Podge to the wood; don't do the edges. Let dry 15-20 minutes and repeat.
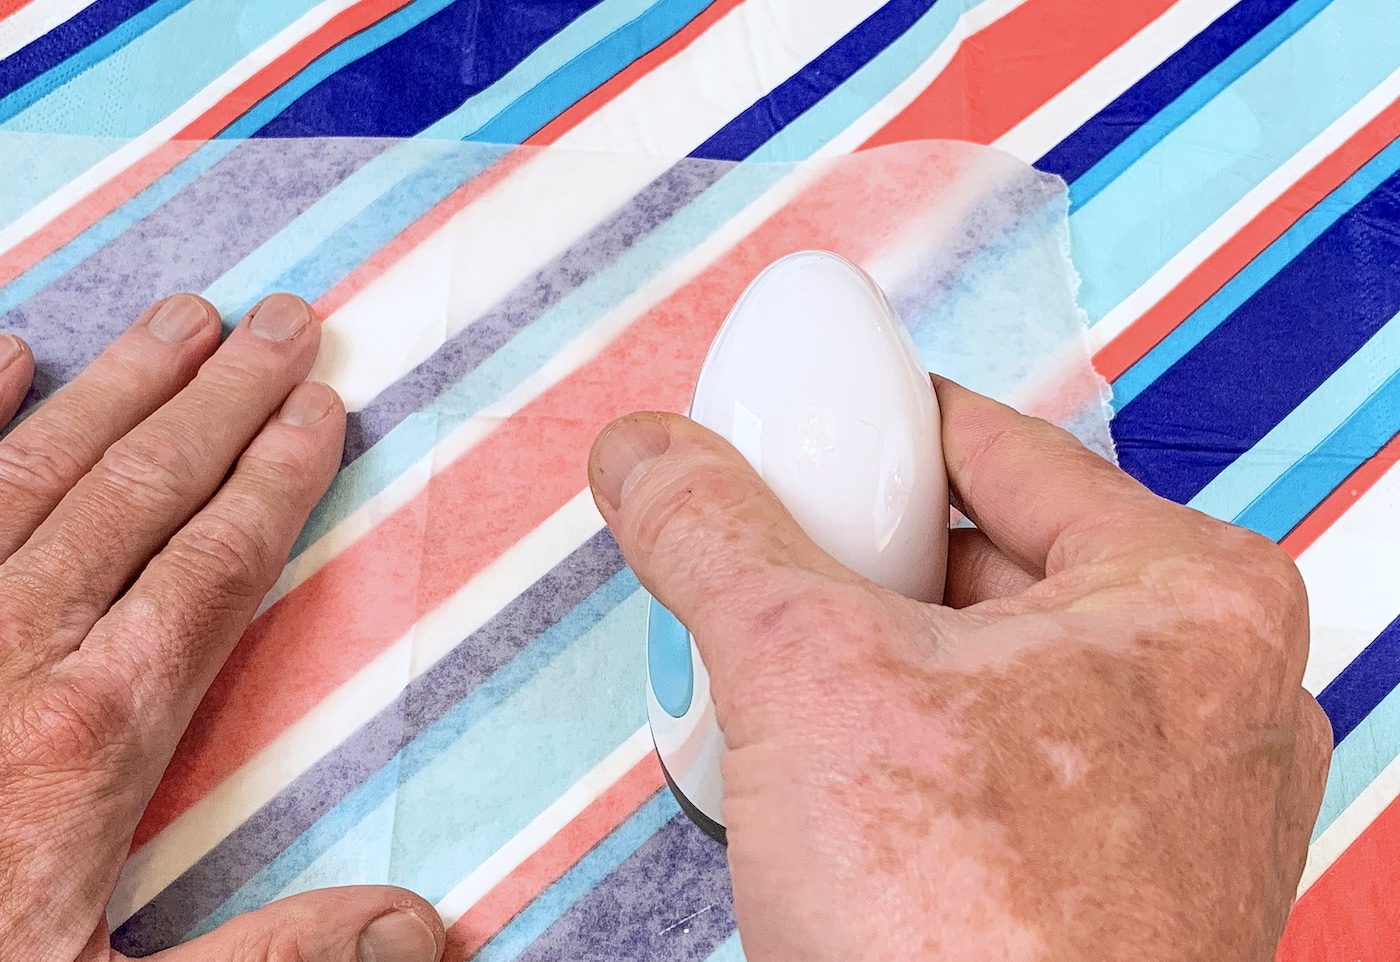
- While the Mod Podge is drying, separate the napkin from the bottom layers. You can use tape to help. You just want the top layer with the design.

- Place the napkin down onto the wood and align. Place a piece of parchment paper on top of the napkin, and run the craft iron across the top several times. While you are doing this, the Mod Podge is melting below the napkin, and the napkin is adhering. Keep going until the napkin is fully adhered, including the edges
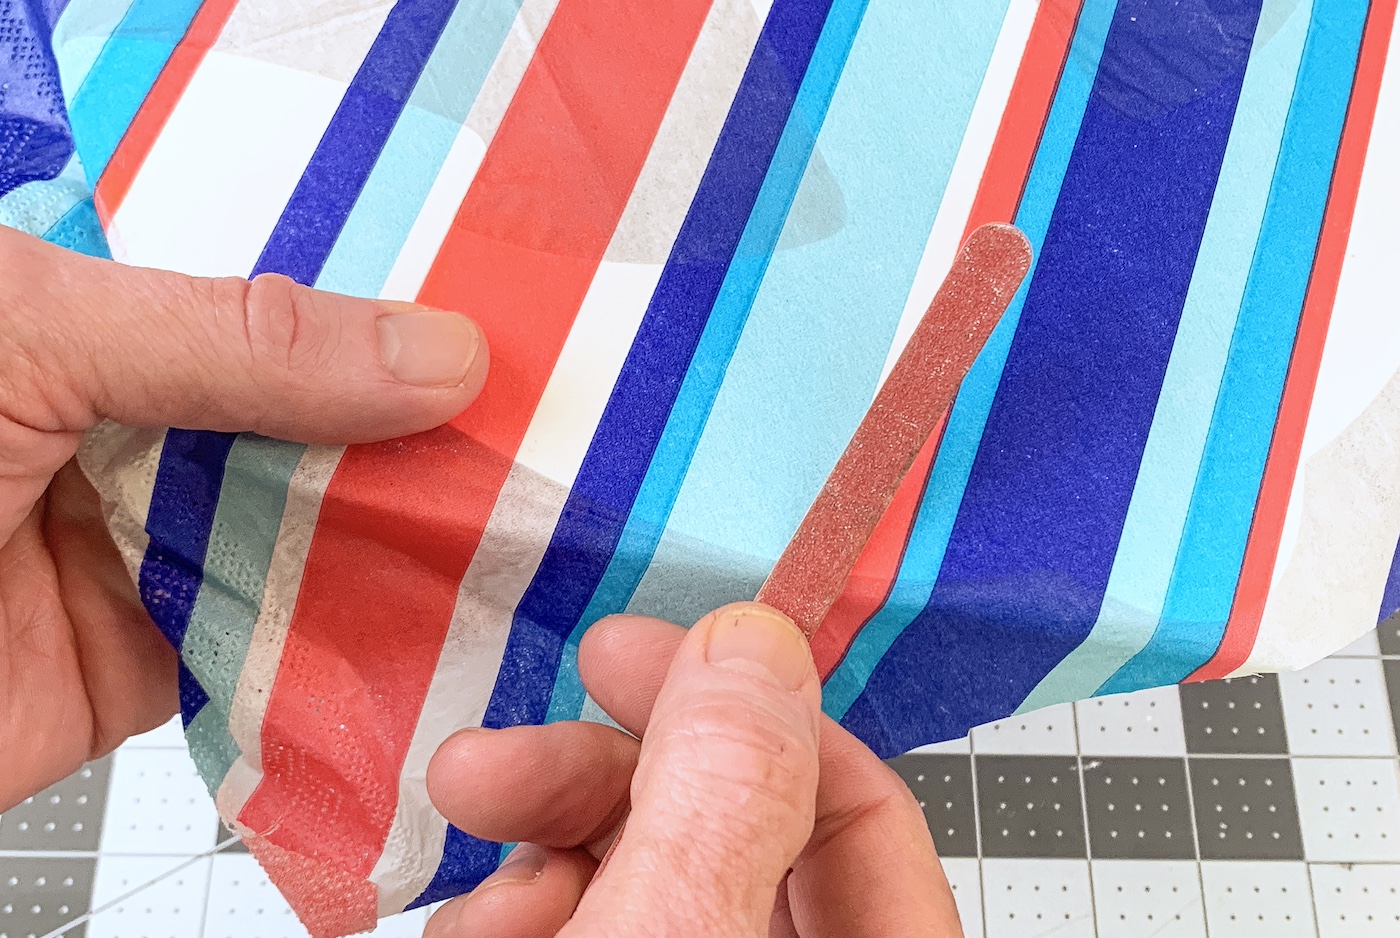
- Let the wood cool after ironing. Use an emery board to gently sand away the excess napkin. Sanding at an angle works very well. Continue until all the extra napkin is removed. It's going to take a minute to get around all the edges.
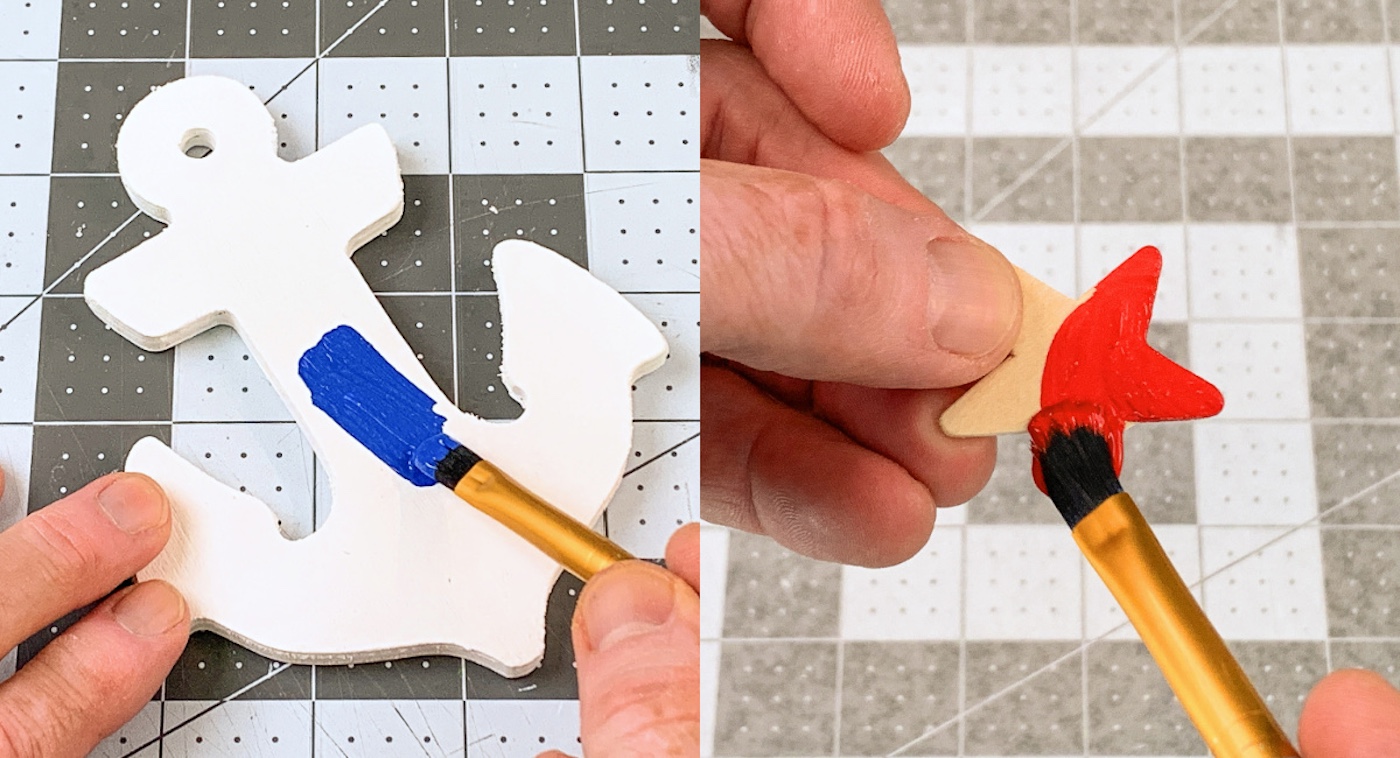
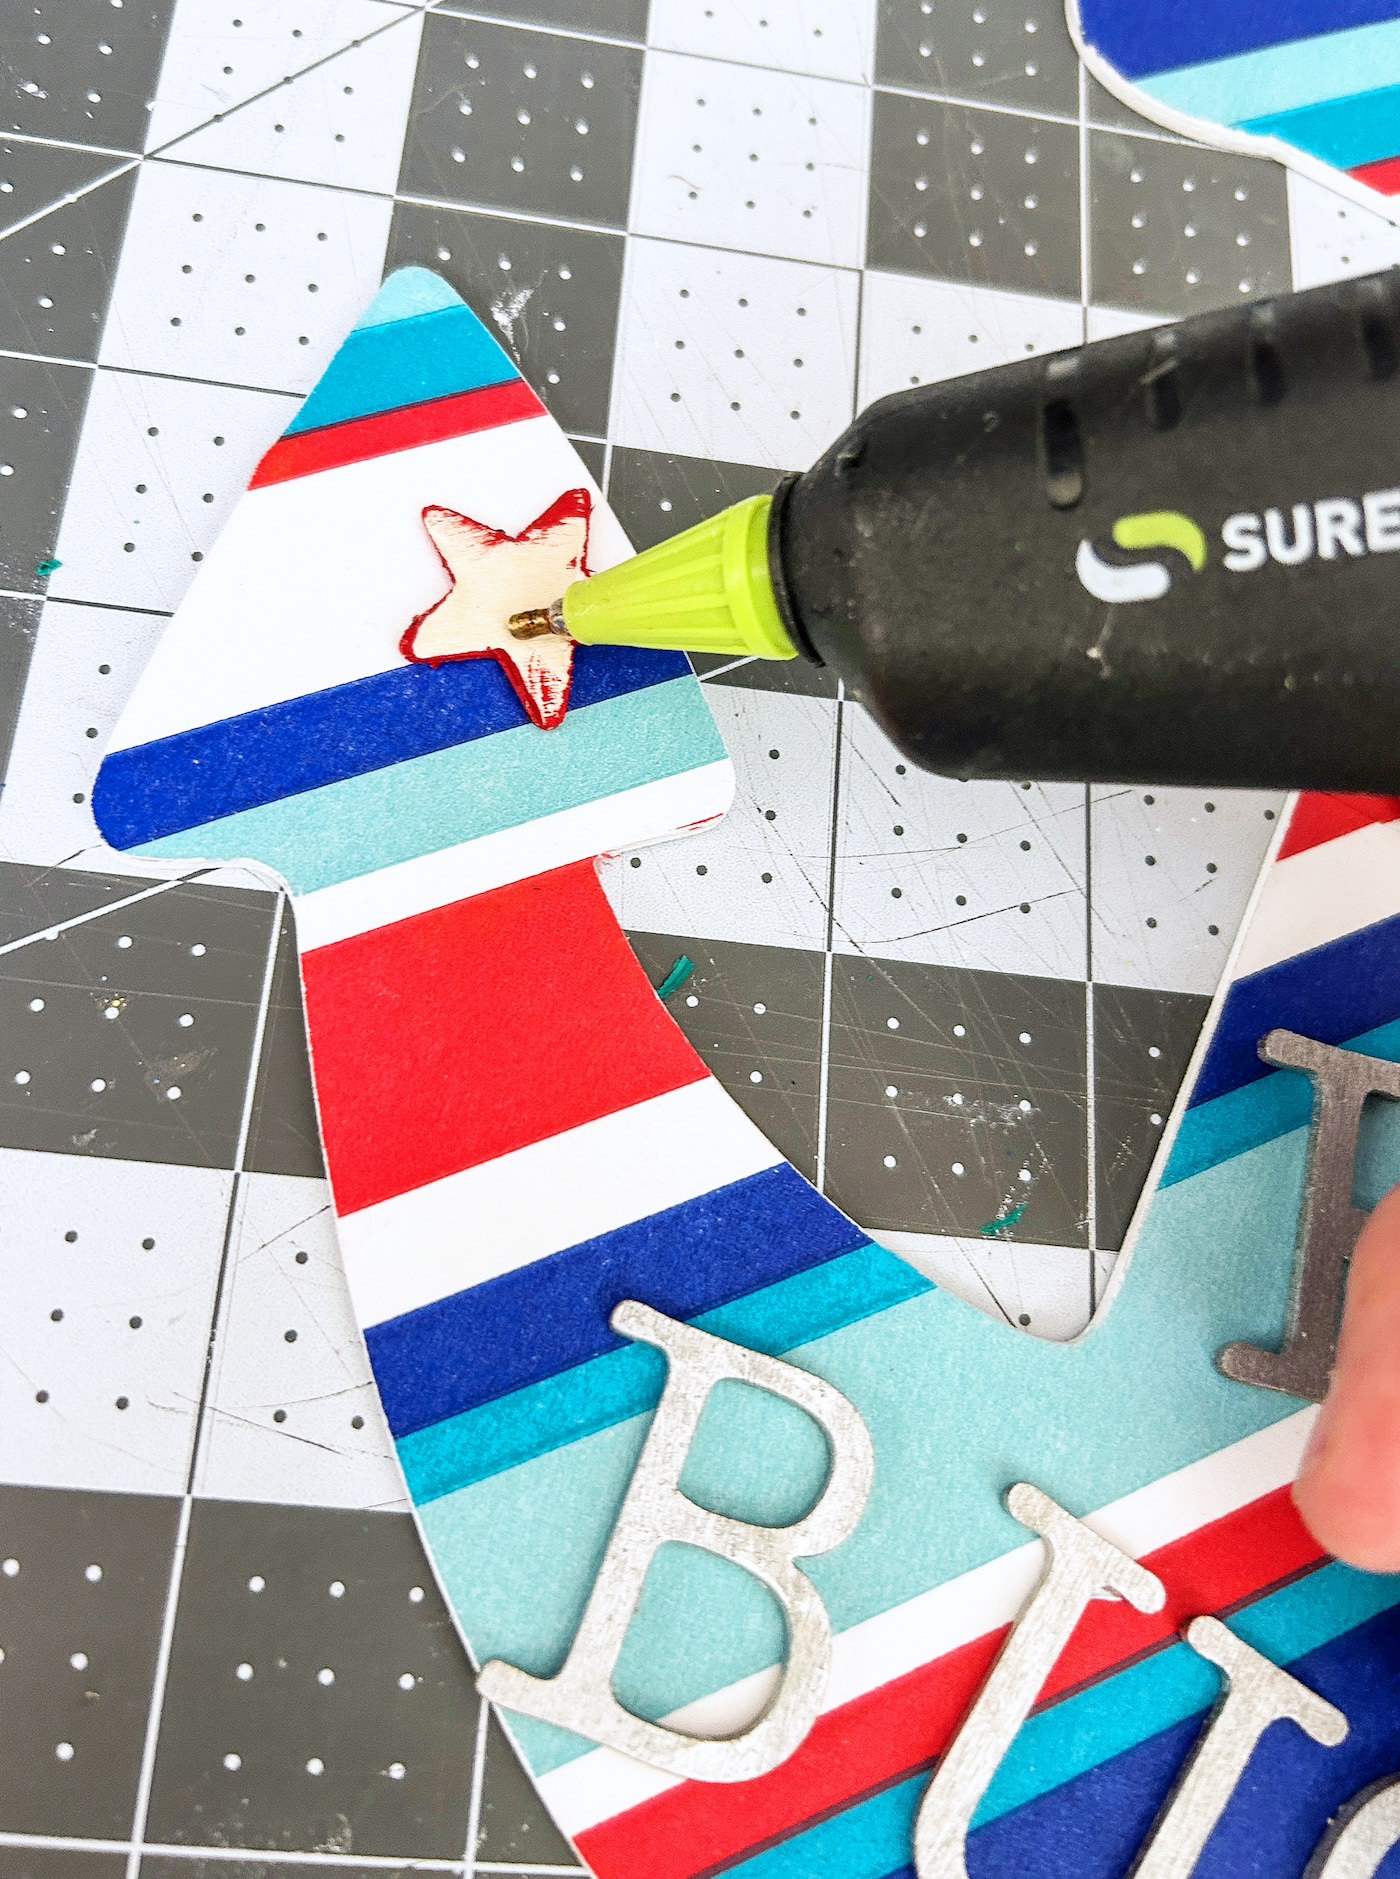
- Paint the anchor, stars, and wood letters with the craft paint colors of your choice. Don't forget to paint the edges. Let dry.
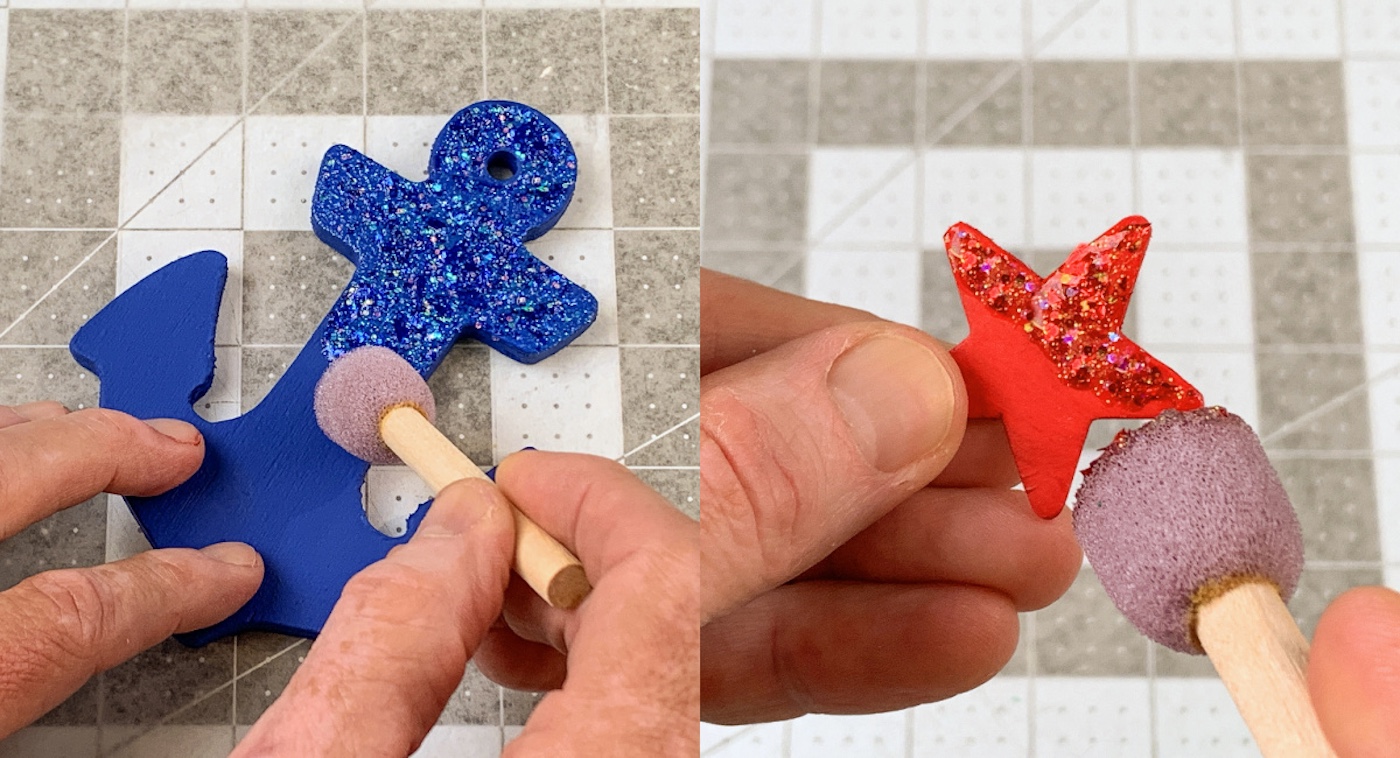
- Use a spouncer to apply glitter to the top of the stars and to the anchor. Let dry and apply as many coats as desired.
- Glue down all the wood embellishments. I attached the wood letters, the stars, and the star to the front of the anchor.
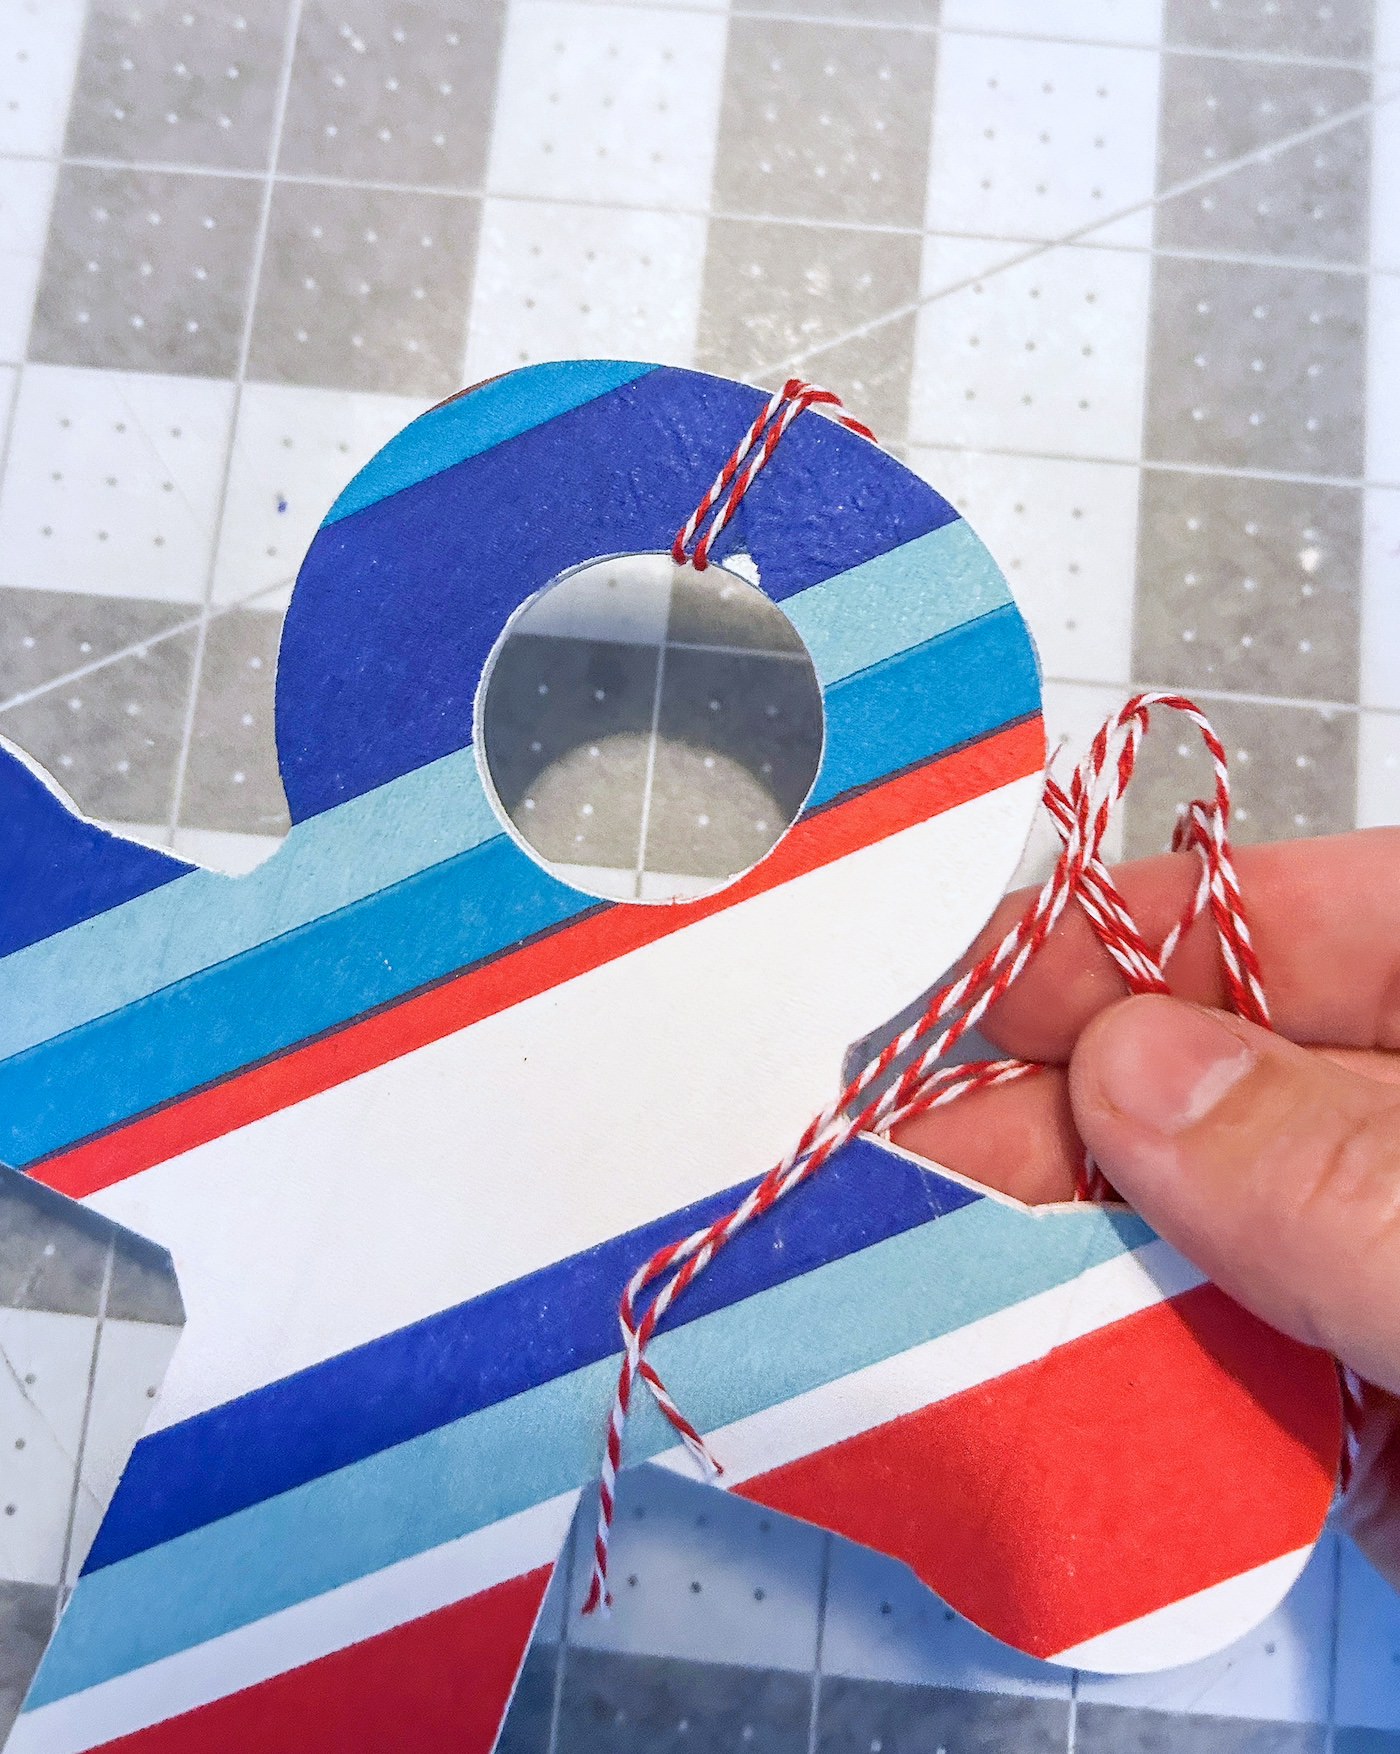
- Cut a long length of red and white twine. Hot glue one end to the anchor and wrap around several times. Glue in place again and let set.
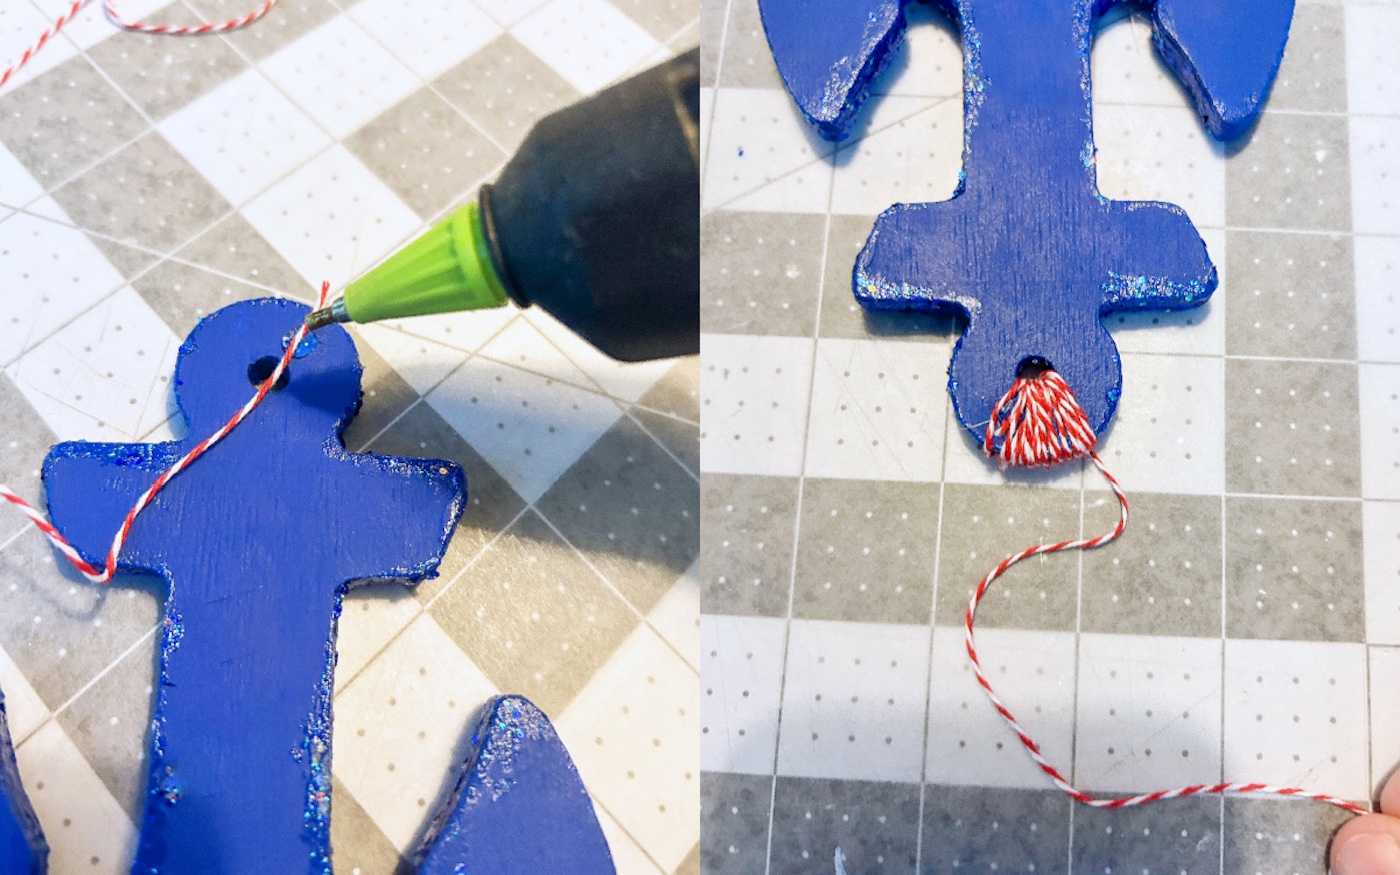
- Tie around the top of the wood anchor to hang off, and knot in place. Use the remaining twine to hang (trim with scissors).