
Yarn Christmas Trees
Learn how to make yarn trees with Mod Podge! This easy project is perfect for a holiday mantel.
Yield: 3 trees
Cost: $12
Equipment
- Plastic container to hold Mod Podge and dip yarn
Materials
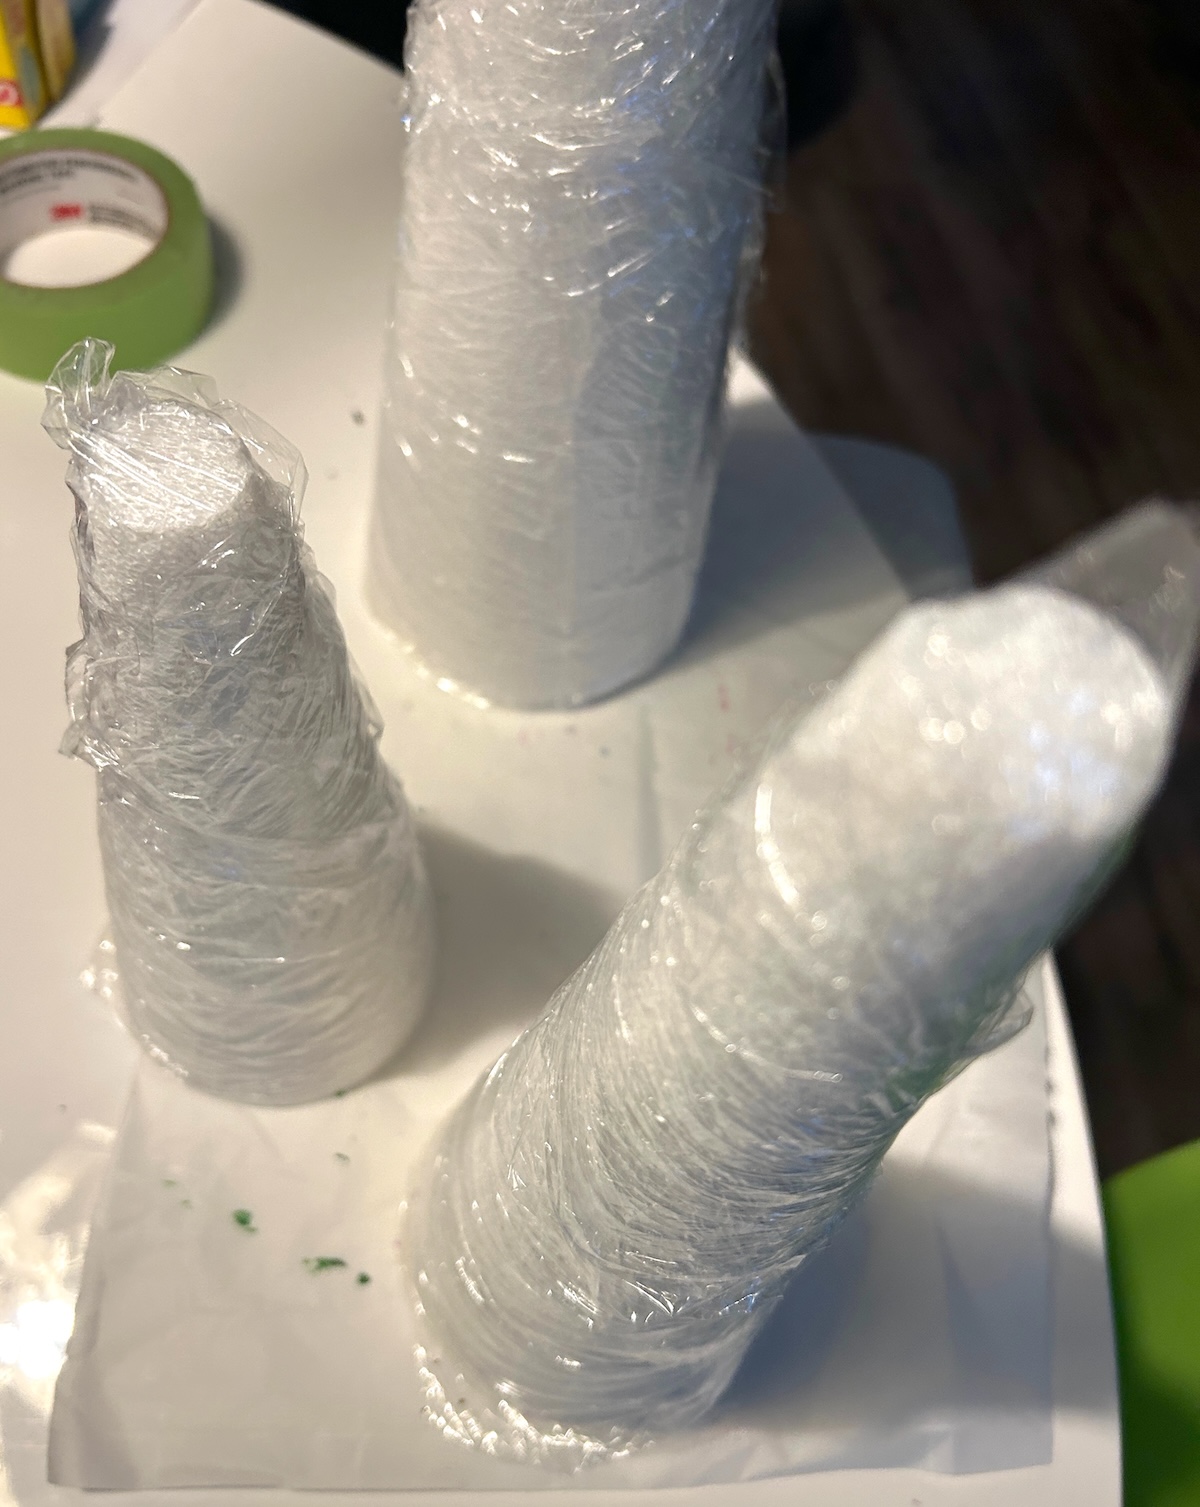
- 3 Styrofoam cone(s)
- 1 roll Plastic wrap
- 1 bottle Mod Podge Matte 16 oz
- 1 skein yarn green
Instructions
- Use plastic wrap to cover the cones. You’ll need several pieces. Just wrap as tightly as you can – you only need one layer (but it’s fine if the plastic wrap overlaps).
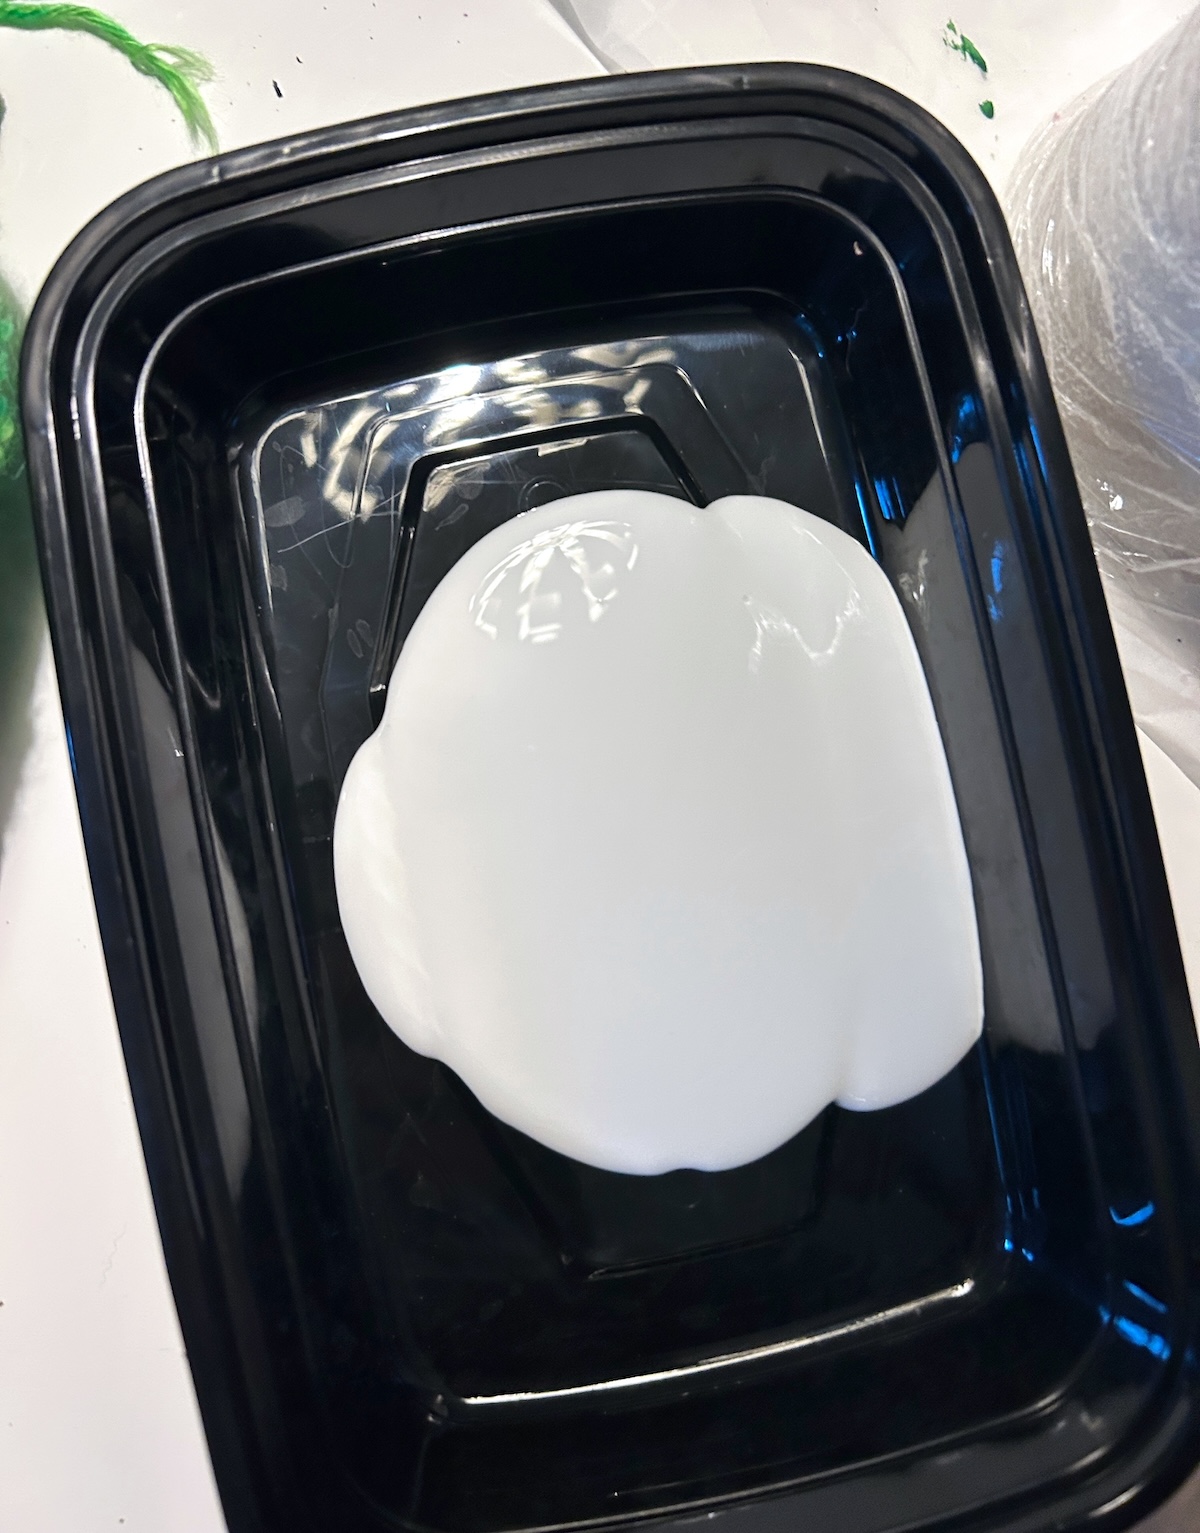
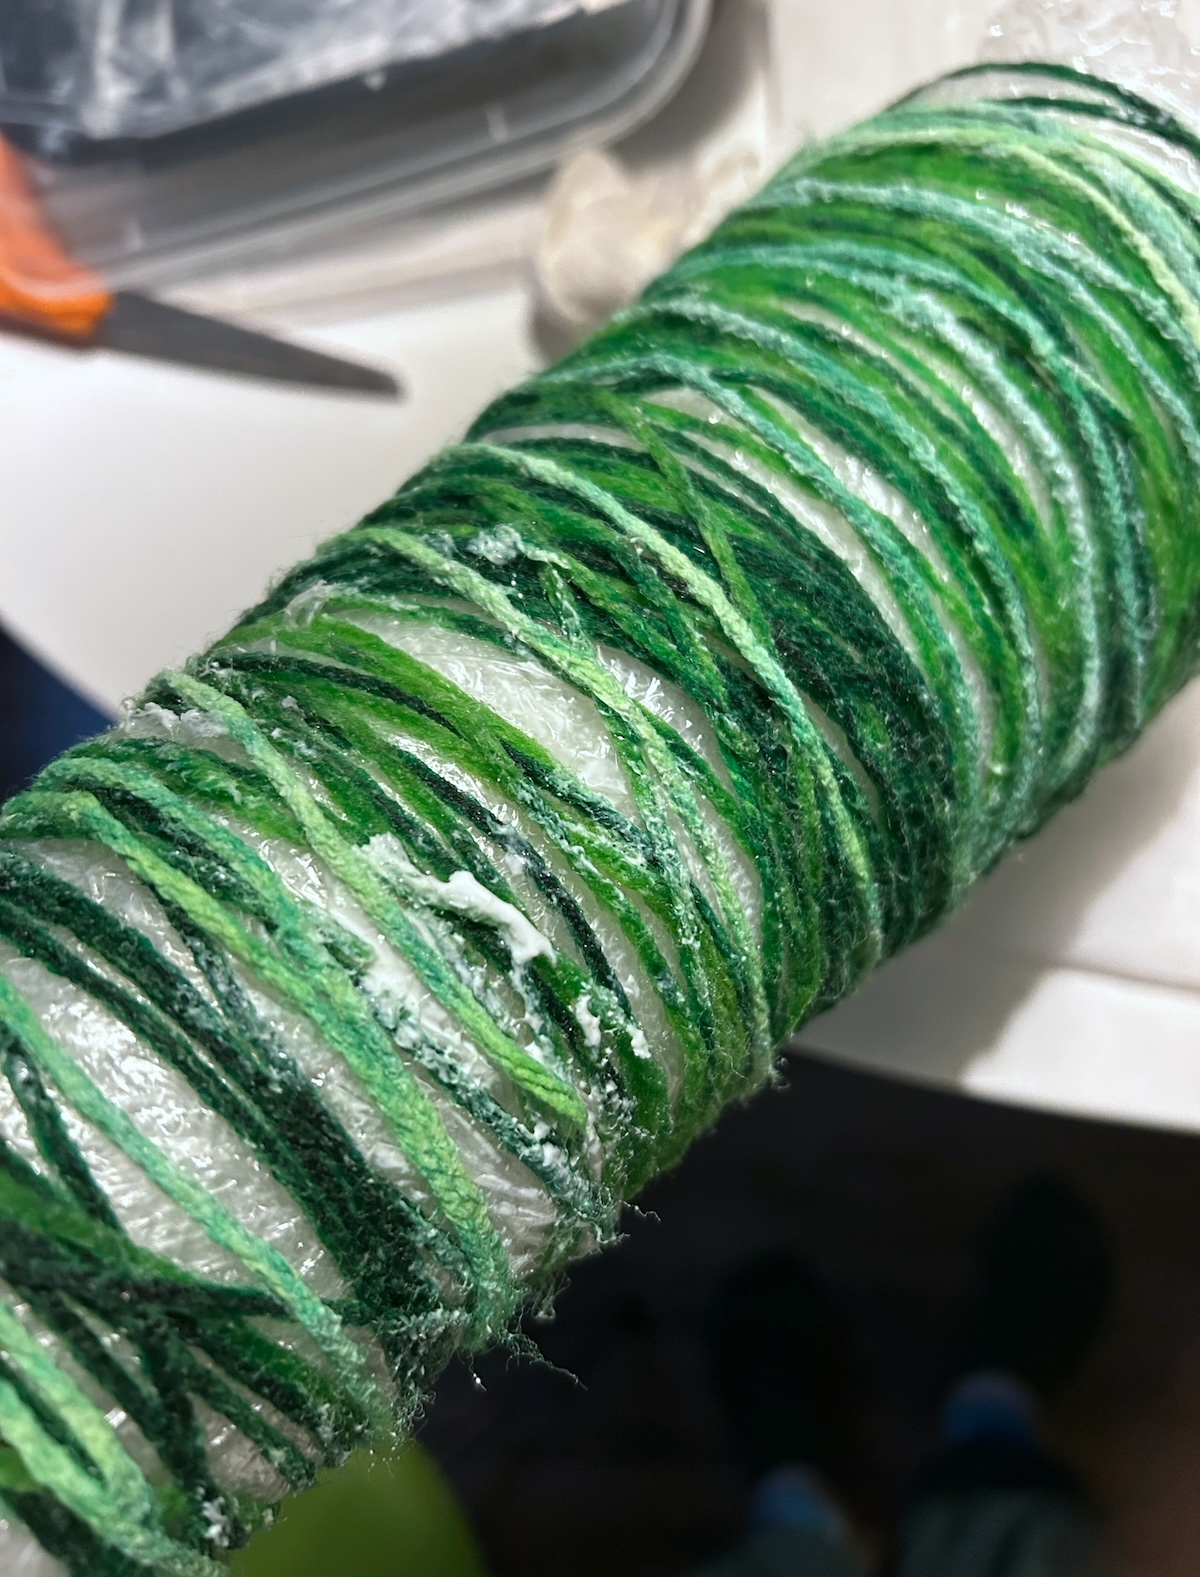
- Place ½ cup to 1 cup of Mod Podge into the middle of your plastic tray. Cut a length of yarn to work with (several feet long).
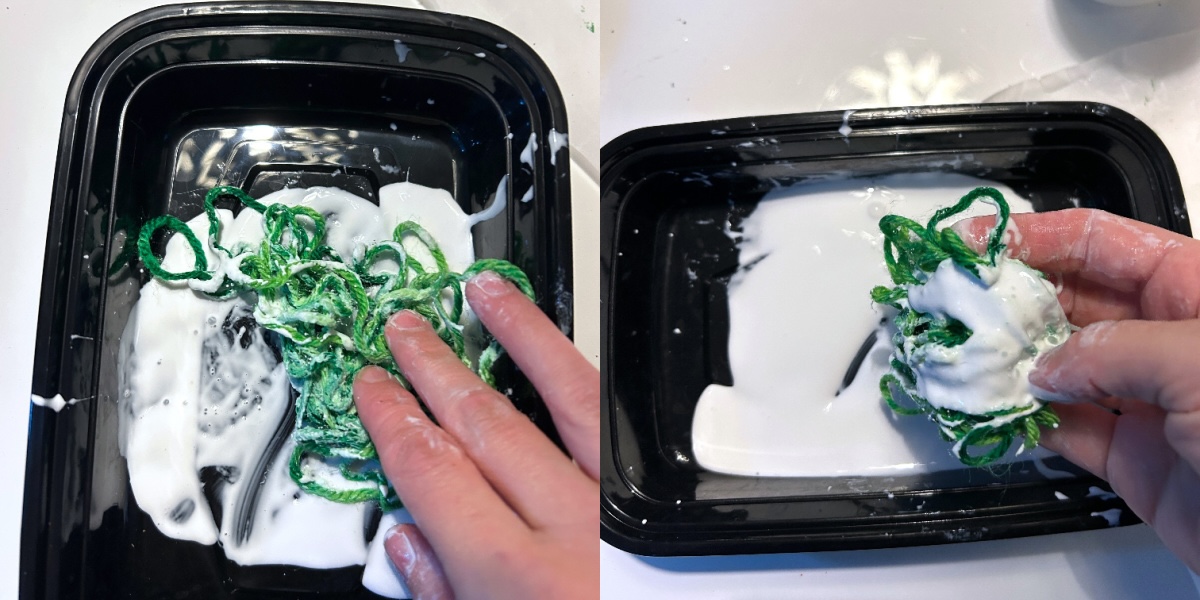
- Take the length of yarn and roll in around in the Mod Podge in the tray. You can squeeze off the excess. It needs to be coated in the Mod Podge, but doesn’t need to be dripping. You just want it saturated.
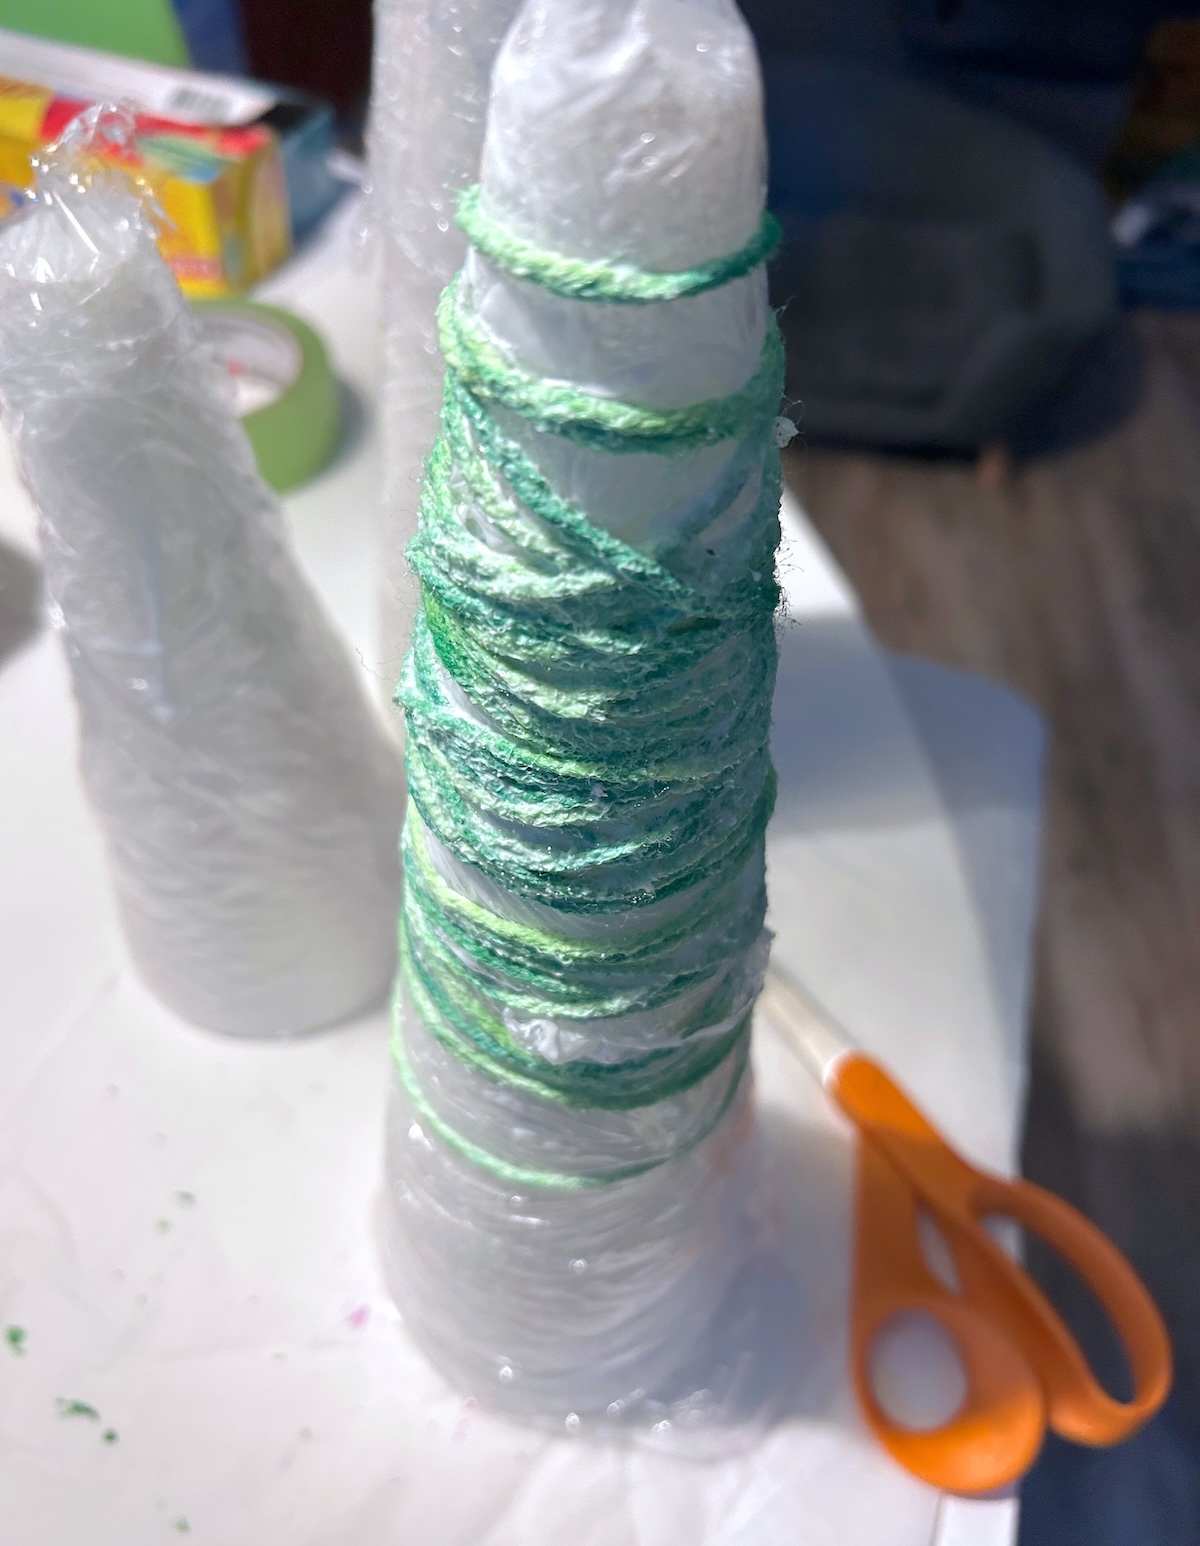
- Beginning at any point on the cone (I recommend starting in the middle), wrap the yarn around the cone, right on top of the plastic wrap. Continue wrapping the yarn around the cone until the entire piece is secure.
- Repeat the same thing you just did, this time with the second cone.

- Wrap the third cone with a length of yarn. Then you’re going to go back and repeat on the three cones, wrapping an additional length of yarn on each. Let dry.You don’t want to do too many lengths of yarn on the cone at once before allowing some dry time. The yarn will get too heavy and start to slide down the cone. I recommend doing two lengths at a time and then letting dry before layering.
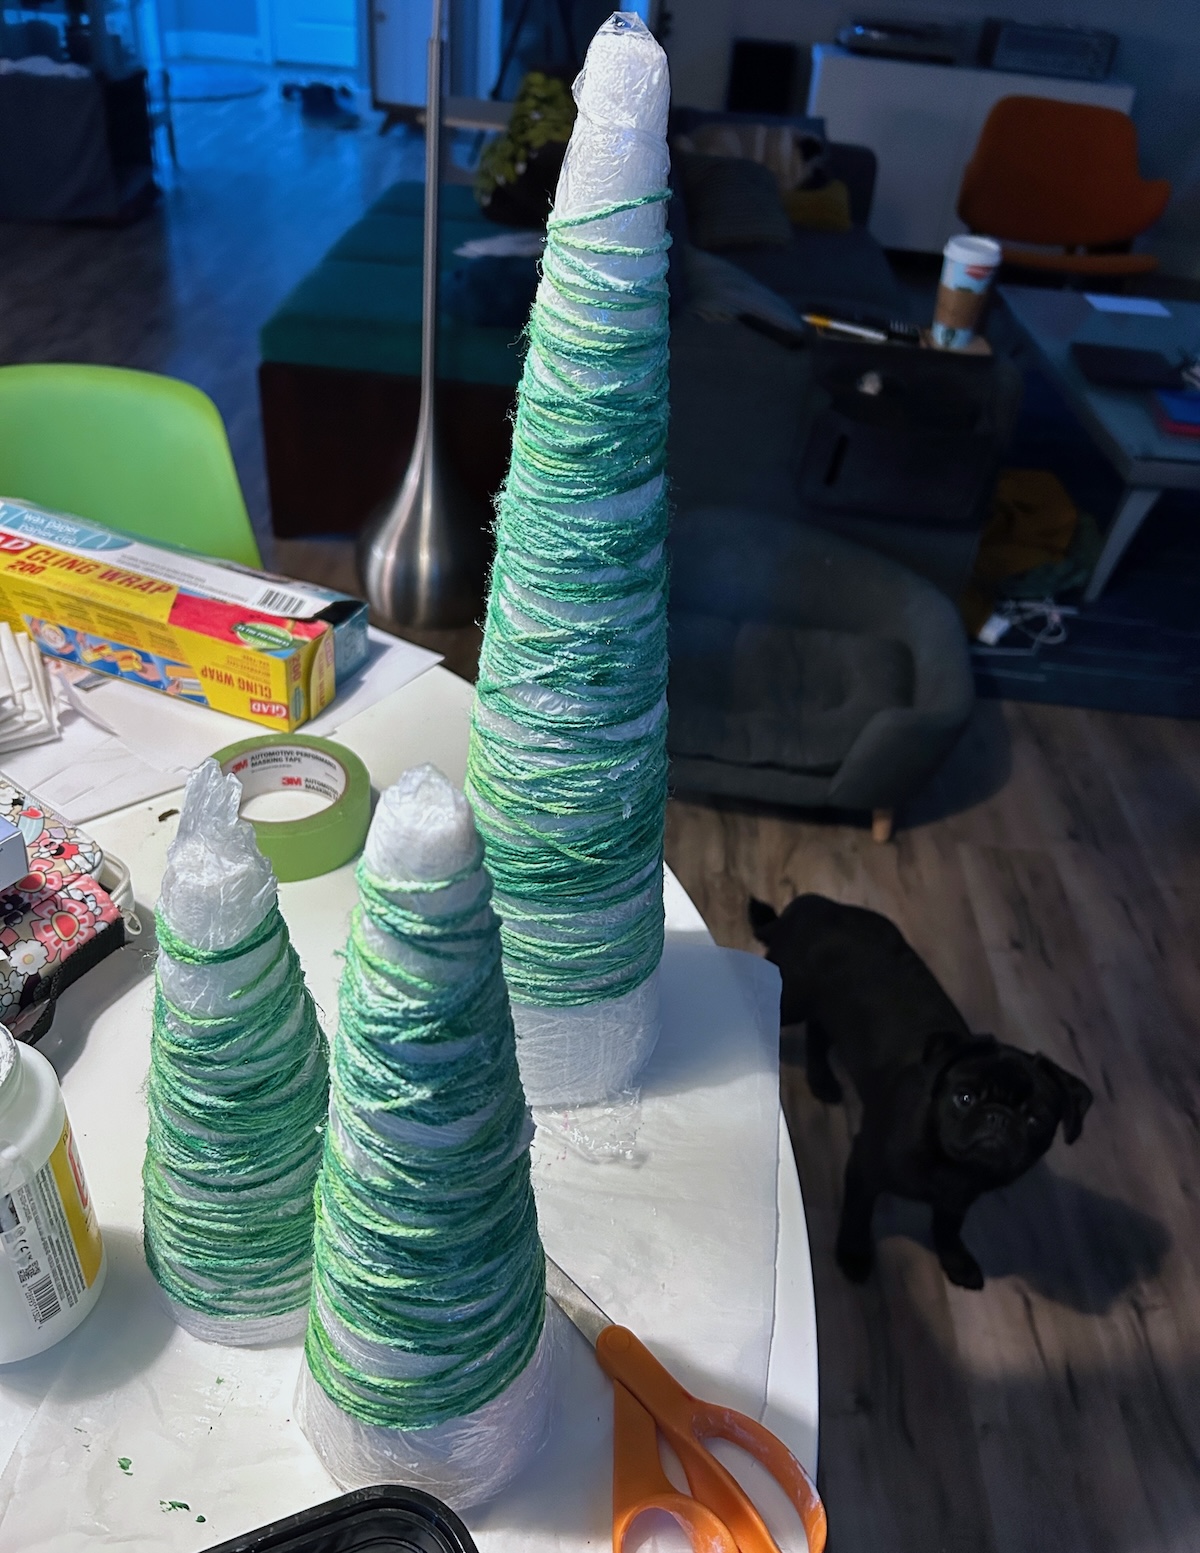
- Continue dipping and wrapping yarn on all three cones until they are completely covered, to your desired thickness. I used approximately three-fourths of a 380-yard skein of yarn (medium weight). Let dry completely, preferably overnight.
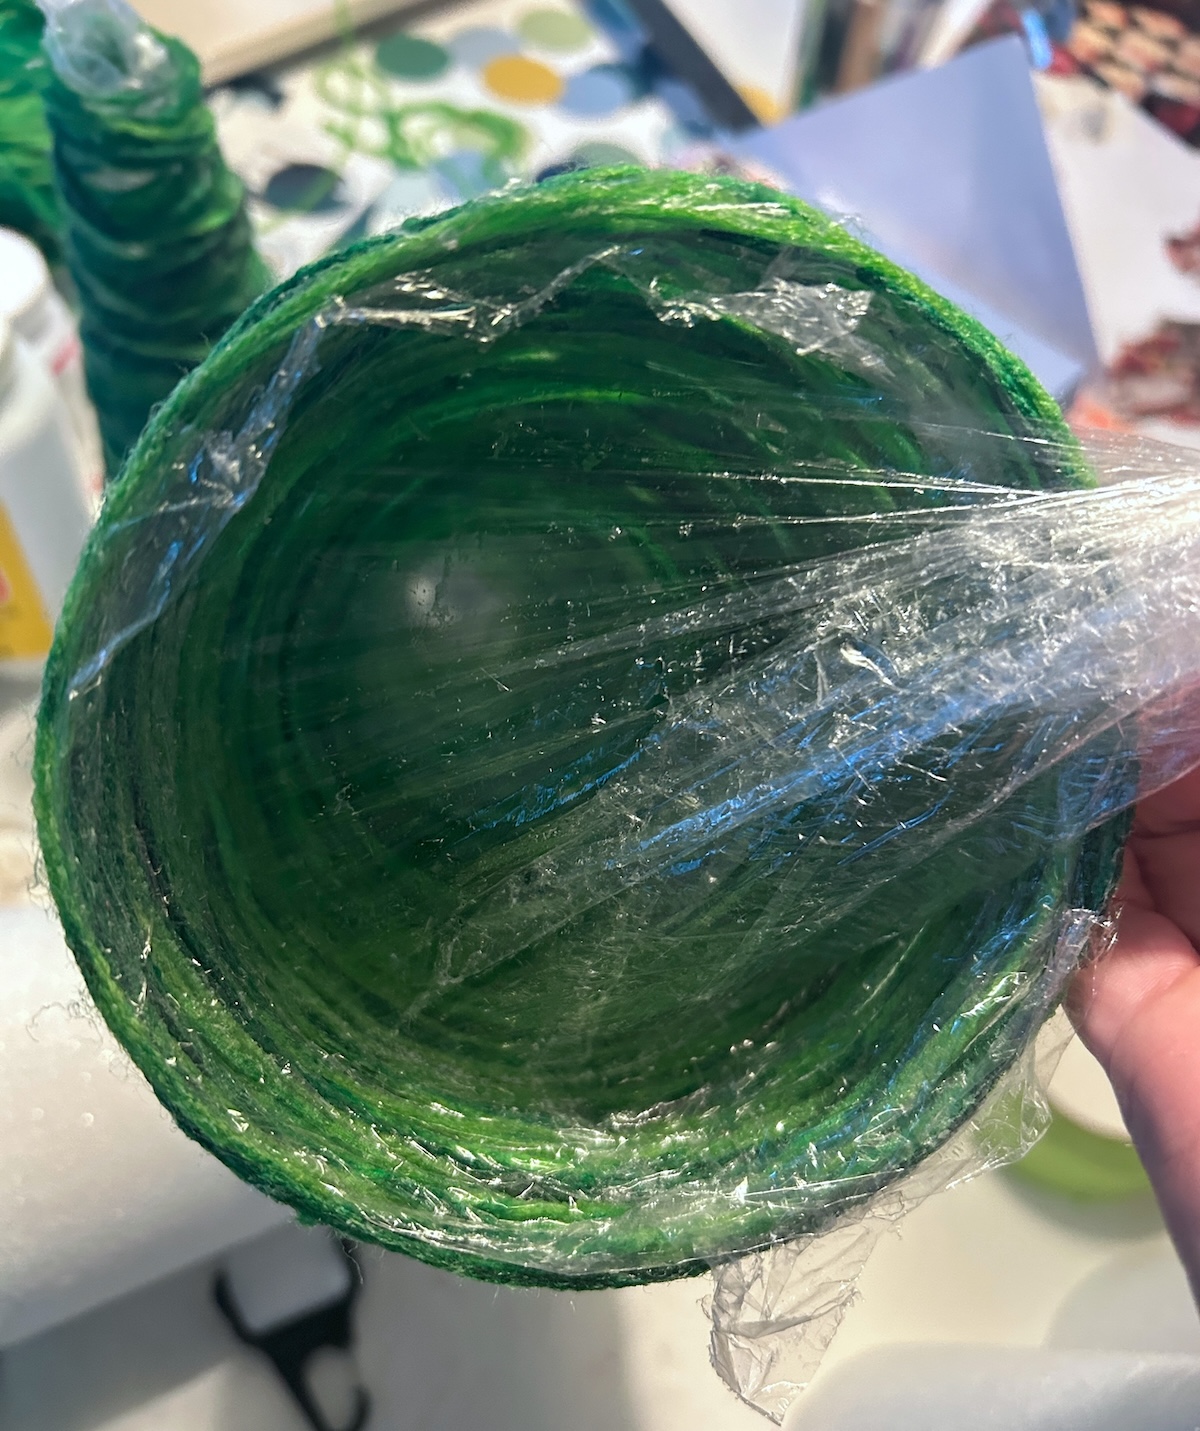
- Starting with the smallest cone (it’s the easiest), start twisting the yarn tree off the cone. Hold the base with one hand and the tree separately and twist. If you need, you can compress the tree slightly and pull. It will bounce back. Repeat with the remaining trees, then remove all the plastic wrap to display.
Notes
Step 2: It’s easy to hide the beginning or end of the yarn when you start new pieces. Therefore if you’re new to this project, start with shorter pieces first.