Wood Christmas Ornament Decor
Learn how to decorate a wooden ornament sign from the Dollar Tree and turn it into unique Christmas decor.
Yield: 1 plaque
Cost: $2
Equipment
Materials
- 1 Wood ornament shape
- Mod Podge Matte
- Craft paint white
- Tissue paper in a holiday theme
- Adhesive letters glitter
- Christmas embellishments holiday leaves, brads or buttons
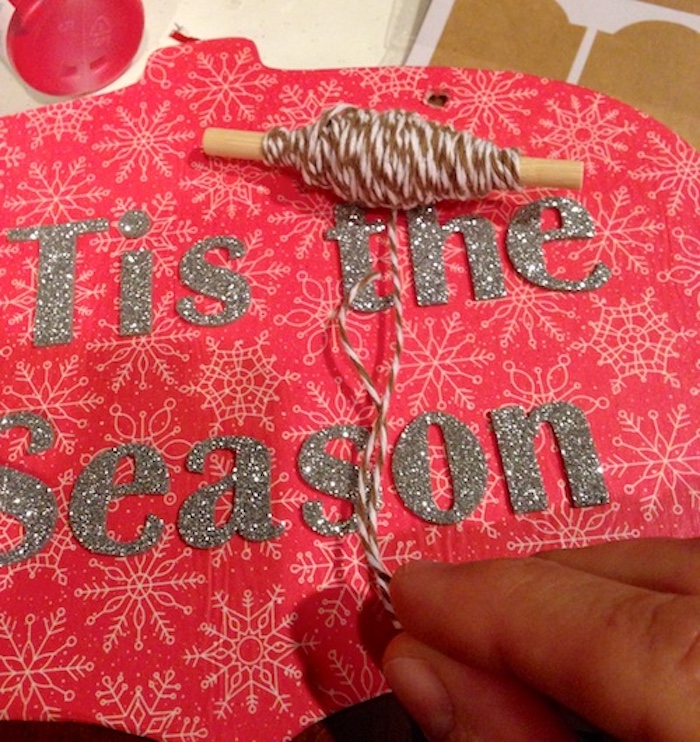
- Baker’s twine or ribbon
- Craft glue
Instructions
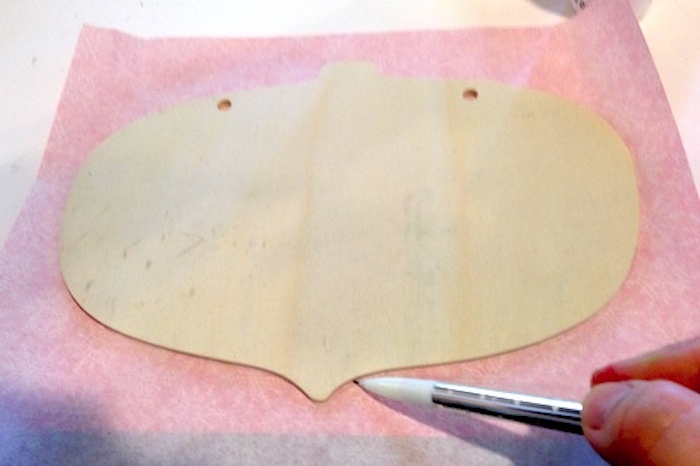
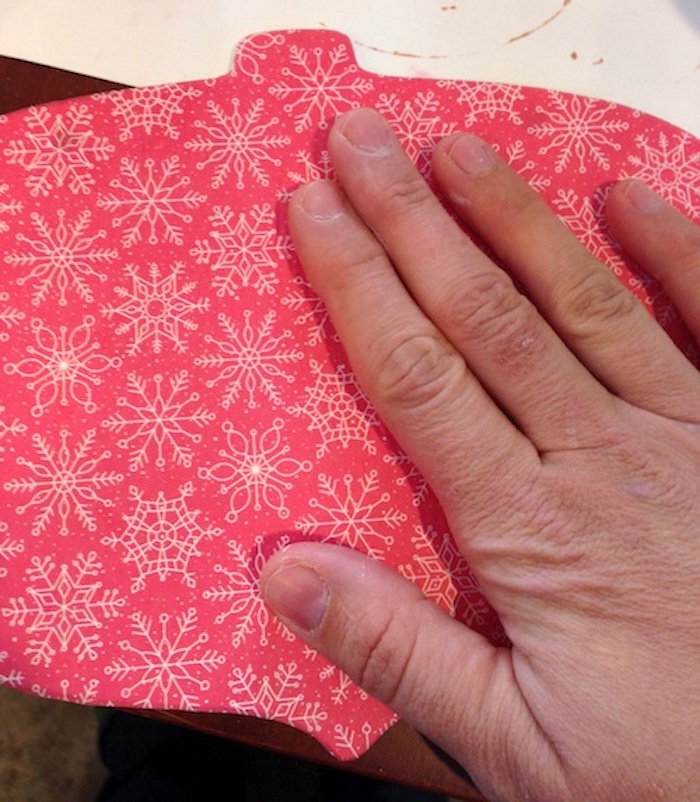
- Trace the wood shape on the back of the tissue paper using the pencil.
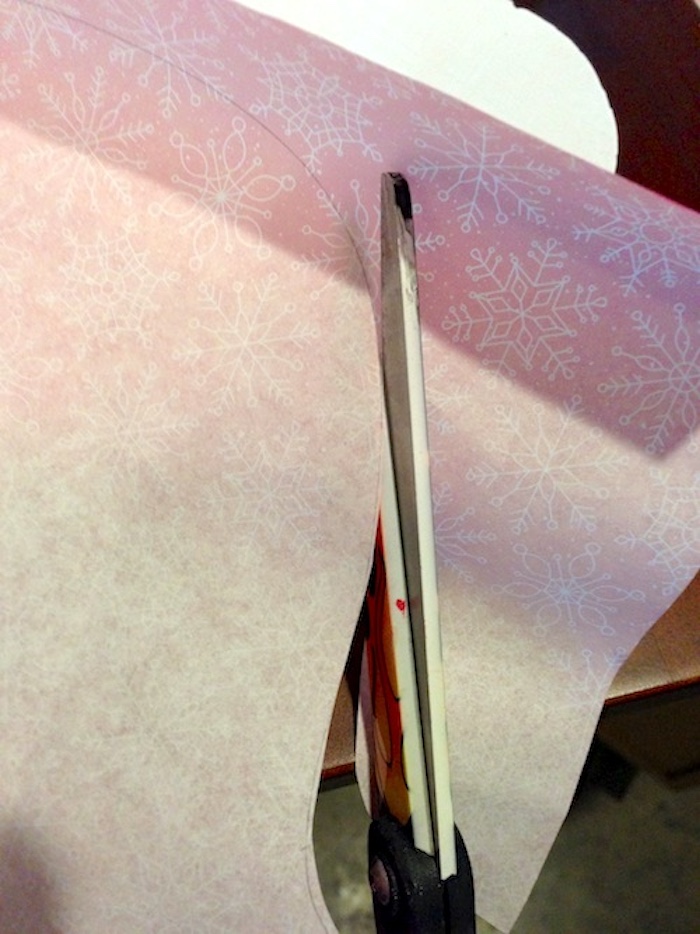
- Cut out just inside the line with the scissors and trim to fit where necessary.
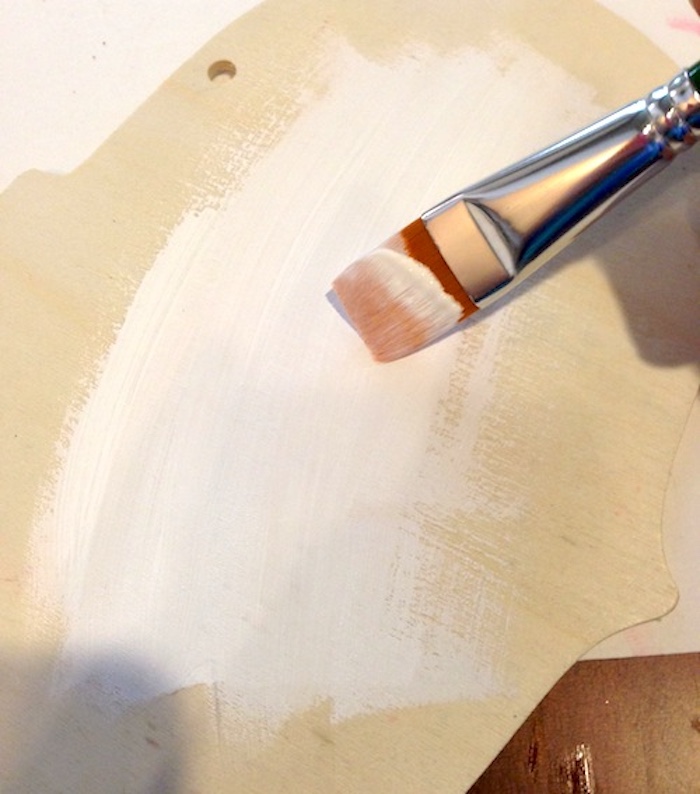
- Paint your wood shape with the white paint. You don’t HAVE to do this, but I always do so that the paper “pops" off the surface. This is more important with thin tissue.
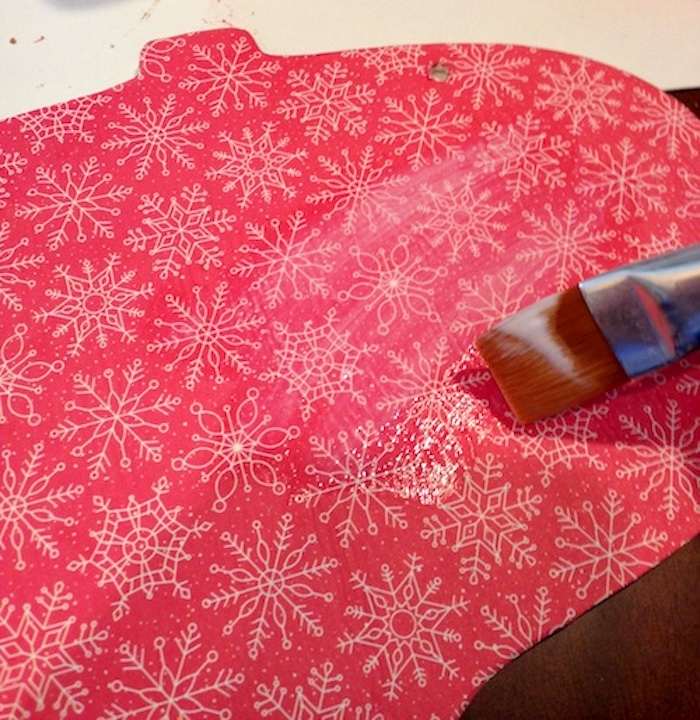
- Mod Podge your wood shape and smooth down the tissue paper. You probably want to use a brayer just because tissue paper is fussy and it tends to wrinkle. Let dry for 15 – 20 minutes.
- Add Mod Podge over the top and let dry.
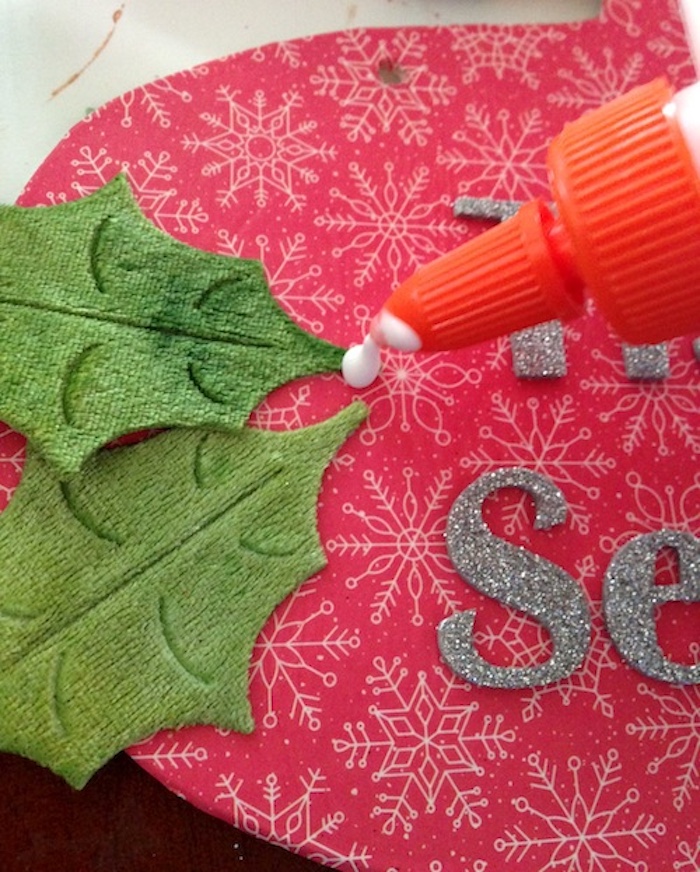
- Add your letters! I made sure that mine were adhesive so that I didn’t have to do any extra gluing (though you can glue down if necessary).

- Add your holly leaves with glue. Press down and let dry.
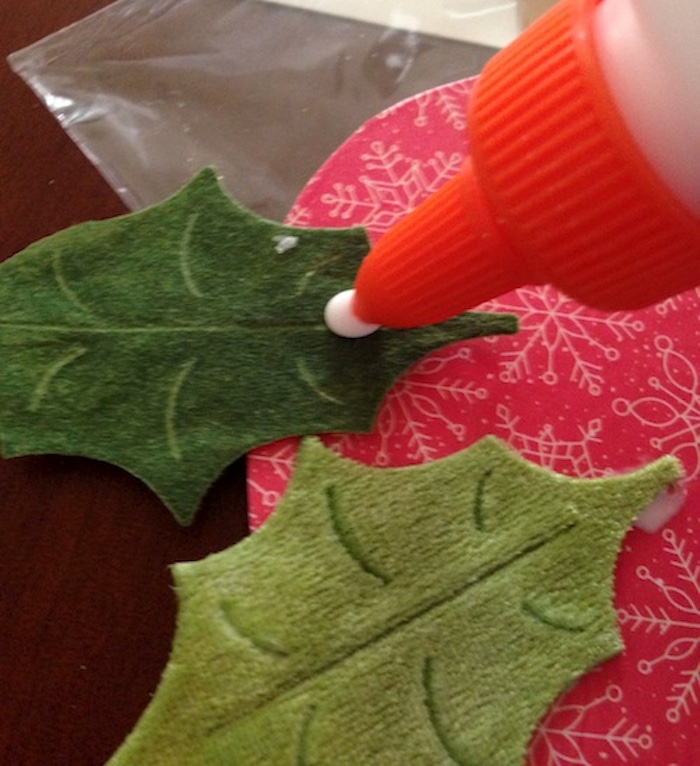
- Add brads, painted wood circles, or buttons on top of the holly leaves for berries.
- Poke holes through (where the holes were) and then thread baker’s twine to hang.