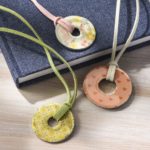
Washer Necklace
Learn how to make washer necklaces using this simple tutorial! It's a perfect craft for kids or adults - plus it's inexpensive.
Yield: 3 necklaces
Cost: $3
Equipment
Materials
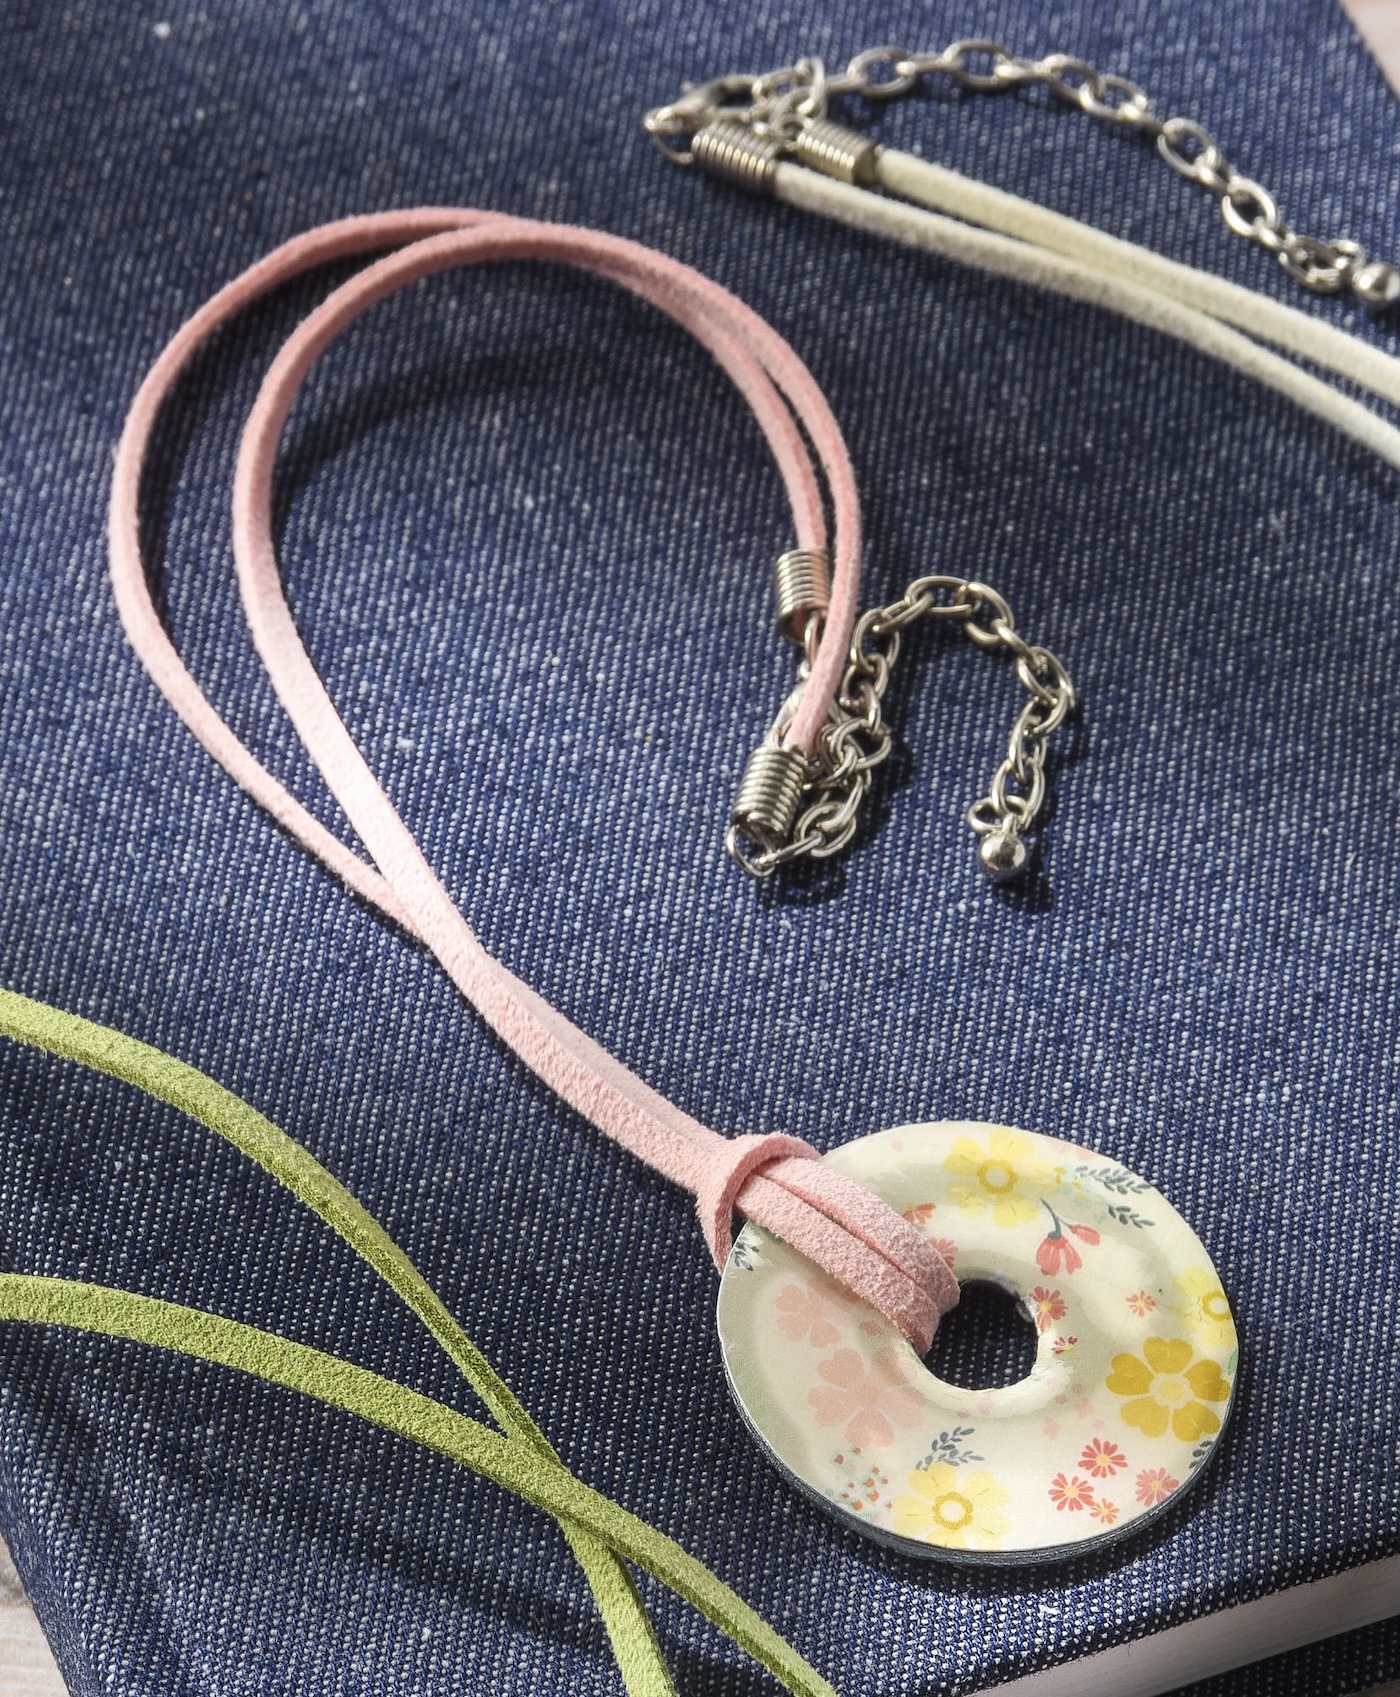
- 3 Washers of various sizes
- Mod Podge Satin
- Mod Podge Dimensional Magic
- Scrapbook paper
- Leather or satin cords with chains
Video
Instructions
- Trace washer on the back of the scrapbook paper with a pencil - trace the inside and outside.
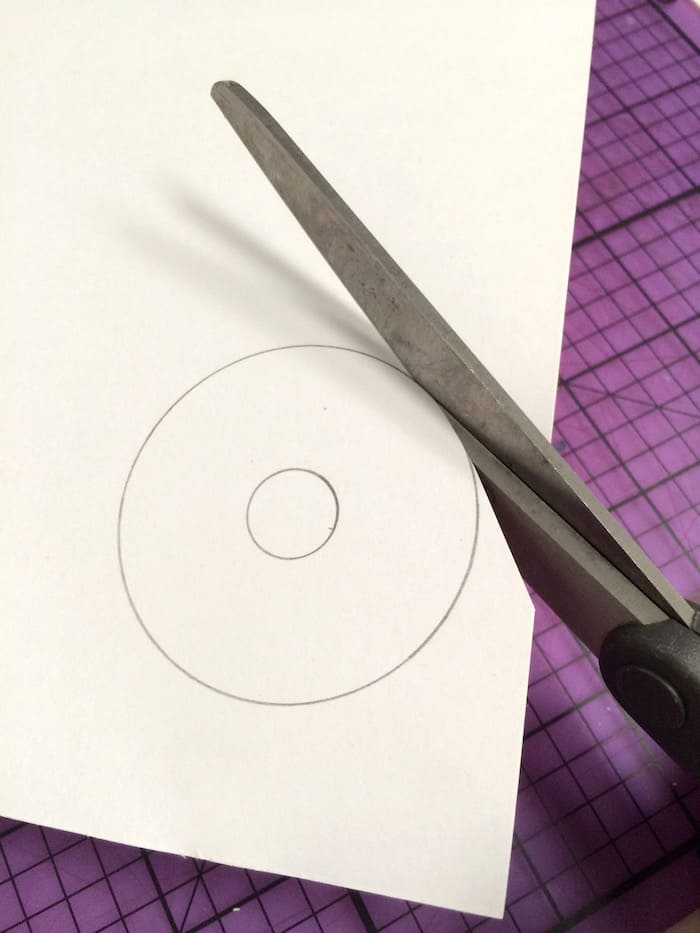
- Cut the outside with scissors. Use a craft knife to cut out the center.

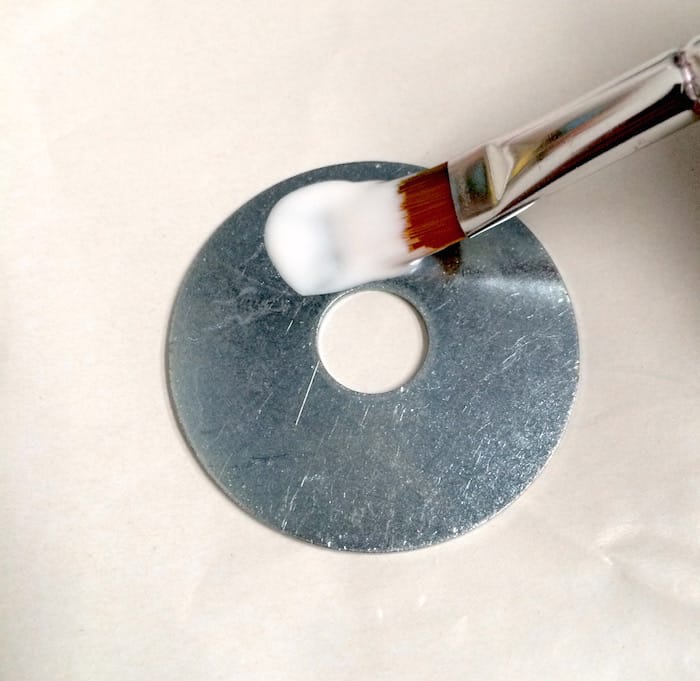
- Brush a medium layer of Mod Podge on the washer - coat the entire thing.
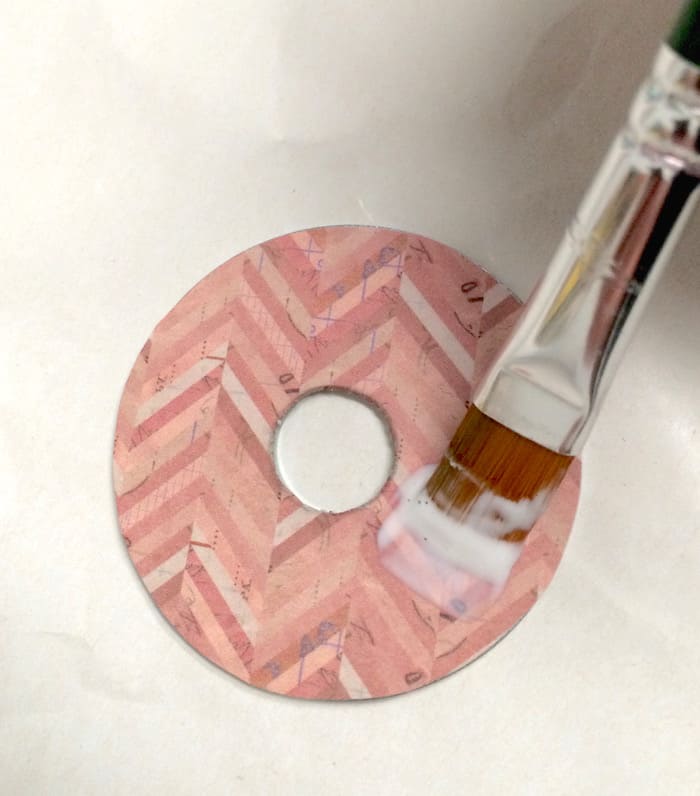
- Place the paper down onto the washer with the design side up and smooth thoroughly. Wipe away any Mod Podge that squeezes out the side with the brush and let dry for 15 - 20 minutes.

- Add a top coat with Mod Podge. Let dry for several hours before applying the Dimensional Magic, so that it doesn't crack or bubble.
- Add the Dimensional Magic carefully, pricking any bubbles with a pin. Let the Dimensional Magic dry in a warm area.

- Once the DM is dry, place the bottom of the necklace cord through the center. Thread the necklace back through to finish.
Notes
Add the Dimensional Magic carefully, pricking any bubbles with a pin (sometimes I remove them with my finger too). Let the Dimensional Magic dry in a warm area. If it's too cold, it will crack!