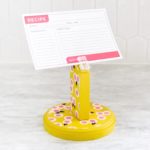
Recipe Card Holder
Learn how to make a DIY recipe card holder using wood parts and a clothespin! Decorate it for a gift or home decor.
Yield: 1 holder
Cost: $3
Equipment
- Saw and miter box
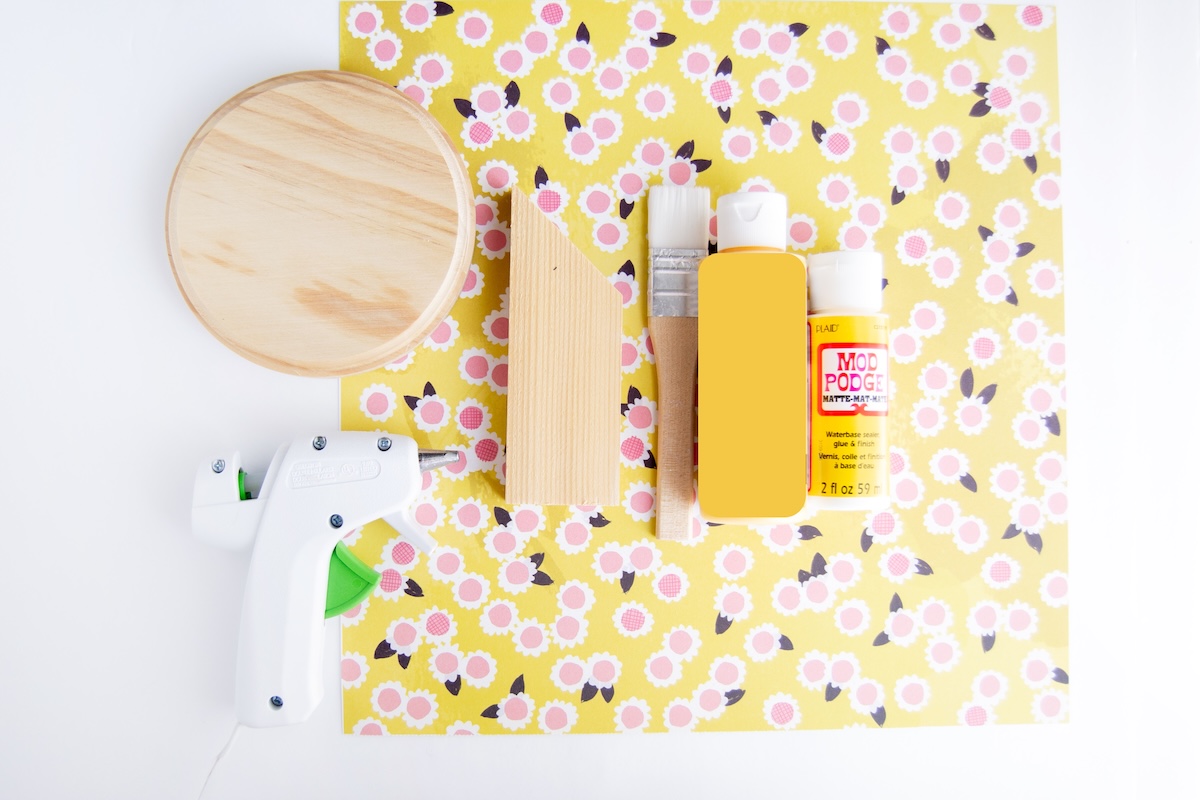
Materials
- 1 Wooden base round plaque
- 1 piece 1" x 2" wood
- 1 Clear clip or clothespin
- Scrapbook paper
- Mod Podge
- Craft paint
- Sandpaper
- Printable cards
Instructions
- Cut the 1” x 2” wood piece to size - make it at least 2.5” tall on the shorter side. Use a miter box to cut one side into an angle at 45 degrees. This will be the stem piece of the holder.
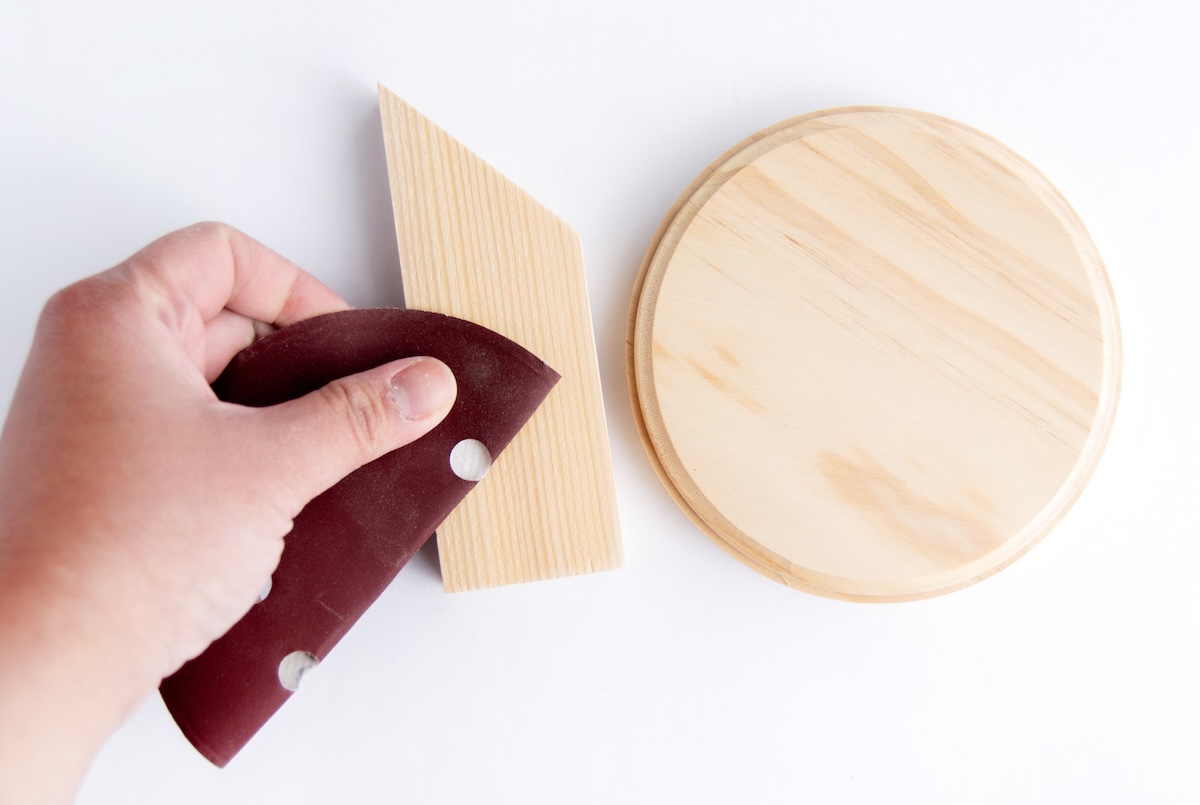
- Once cut, sand both the wood piece and round plaque to remove roughness. Wipe away sanding dust.
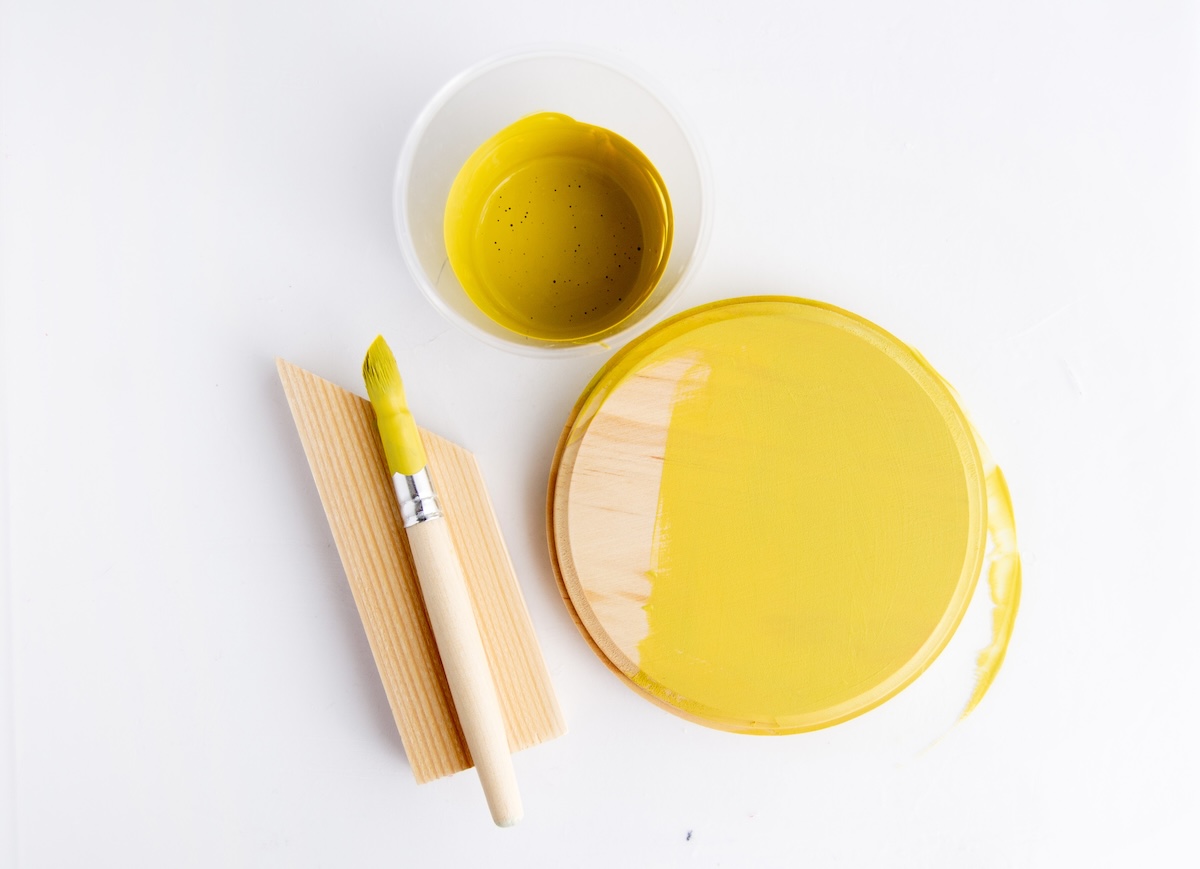
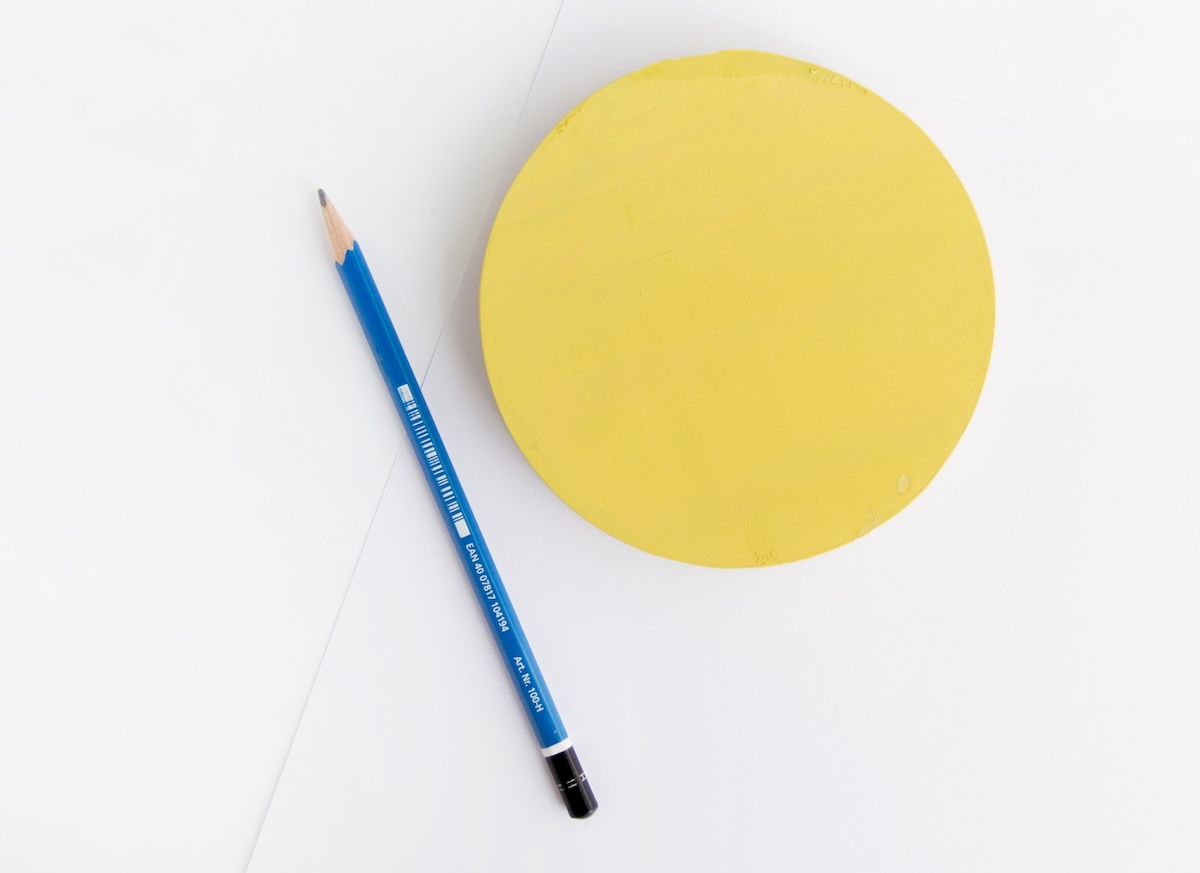
- Paint your wood pieces with acrylic paint. Use a color that complements or contrasts with your scrapbook paper. Give the wood a few coats and let dry.
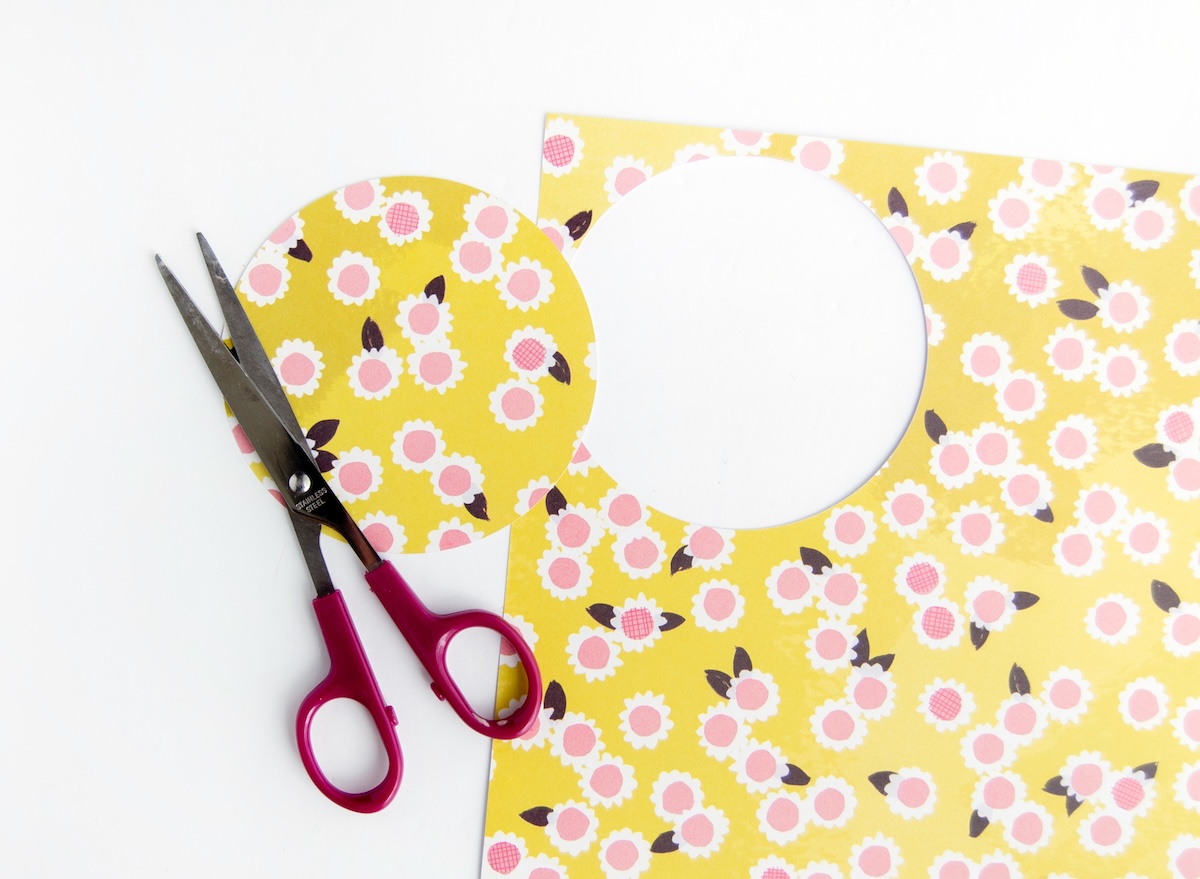
- Trace the wood round onto the back of your scrapbook paper.
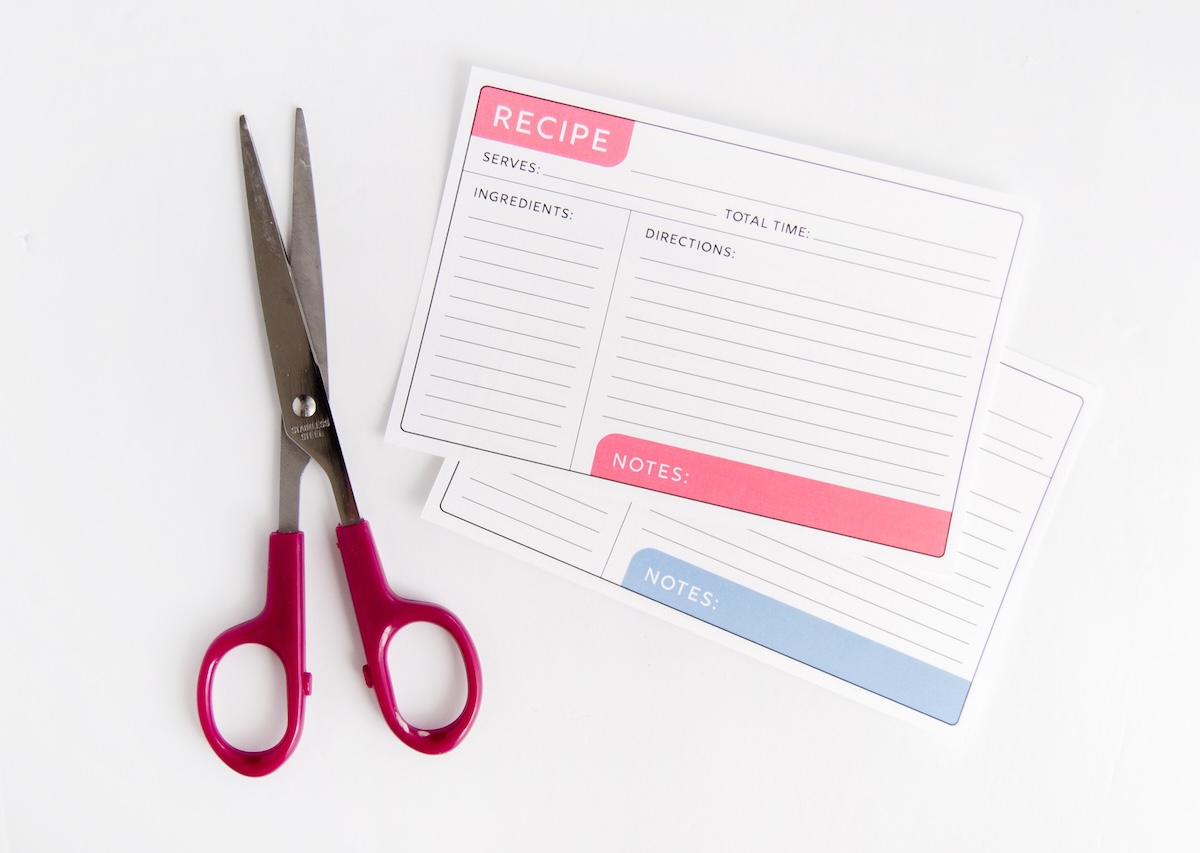
- Cut it out with a pair of scissors. Do the same for the stem piece, cutting one piece for each side.
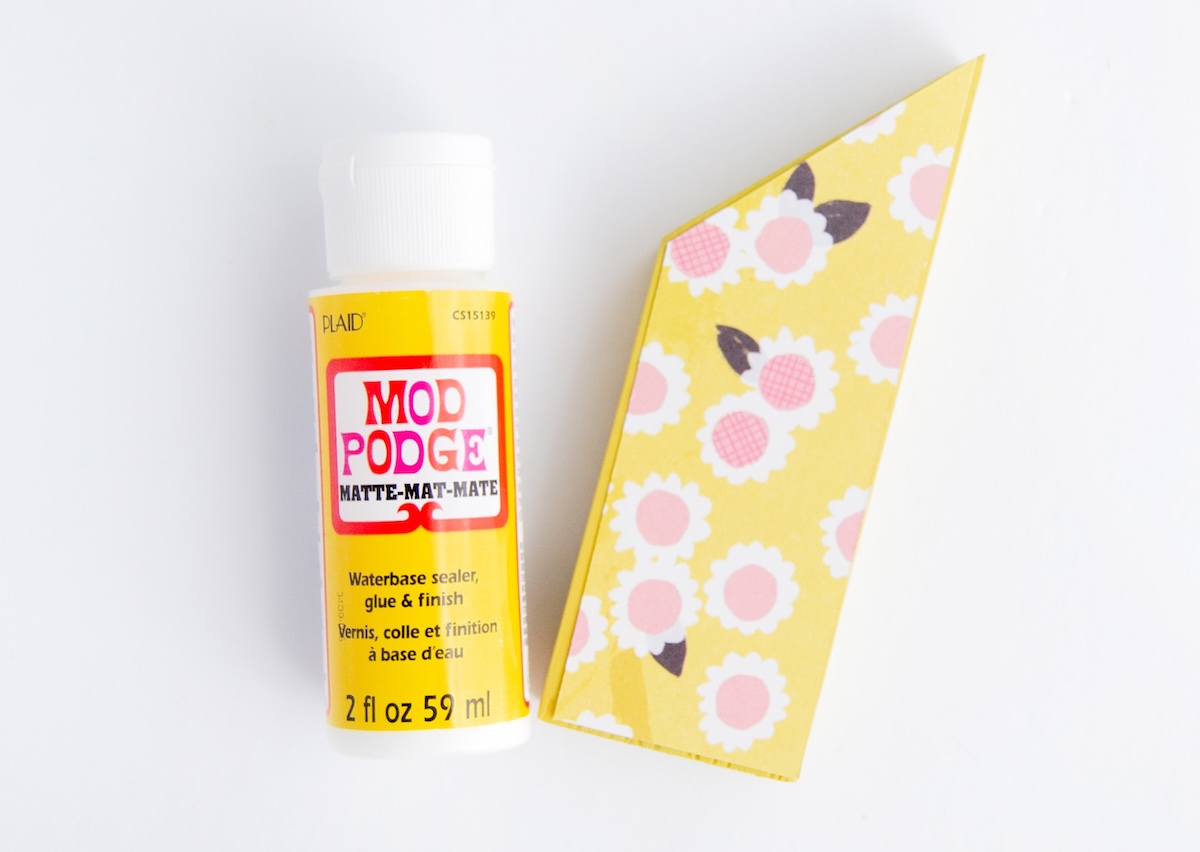
- Apply a layer of Mod Podge onto the wood base, and then carefully adhere your scrapbook paper, making sure it is centered. Use a flat card or brayer to ensure it is fully attached and to smooth out the bubbles. Do the same for the stem piece.
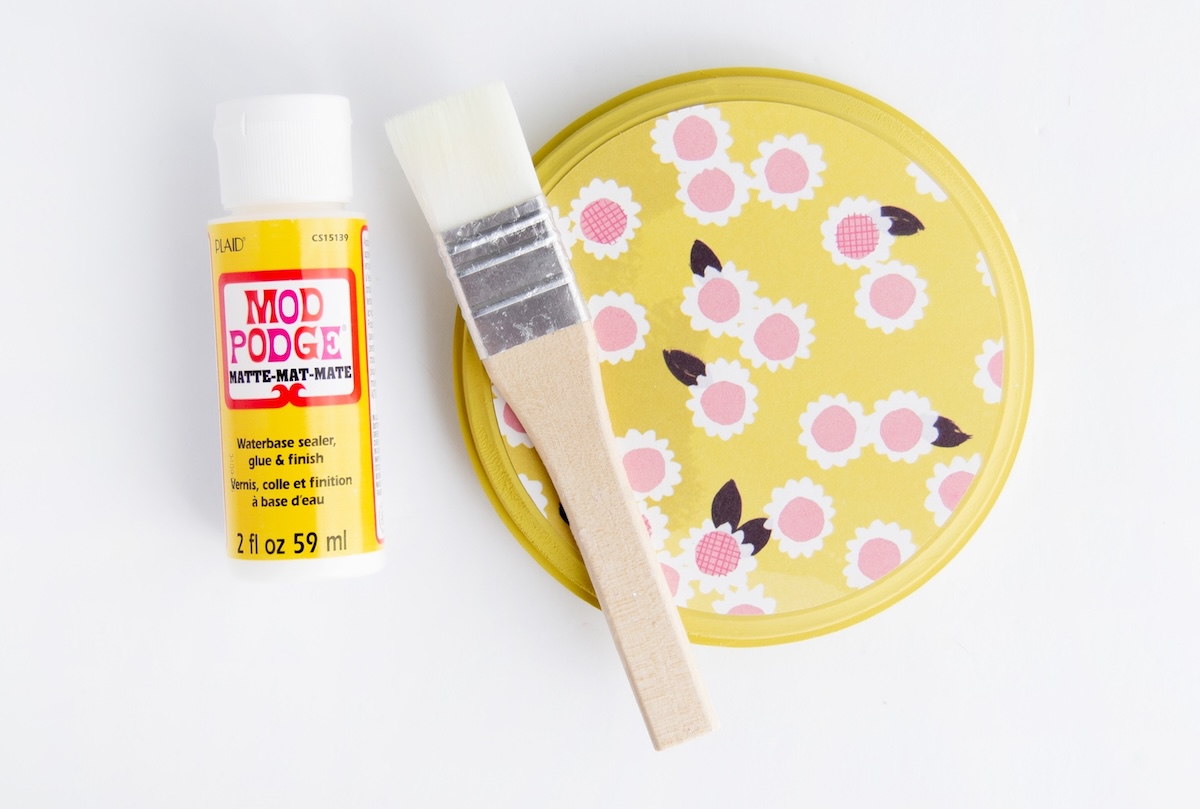
- Once dry, apply a layer or two of Mod Podge onto the base and the stem piece to seal and protect the scrapbook paper. Let it fully dry.
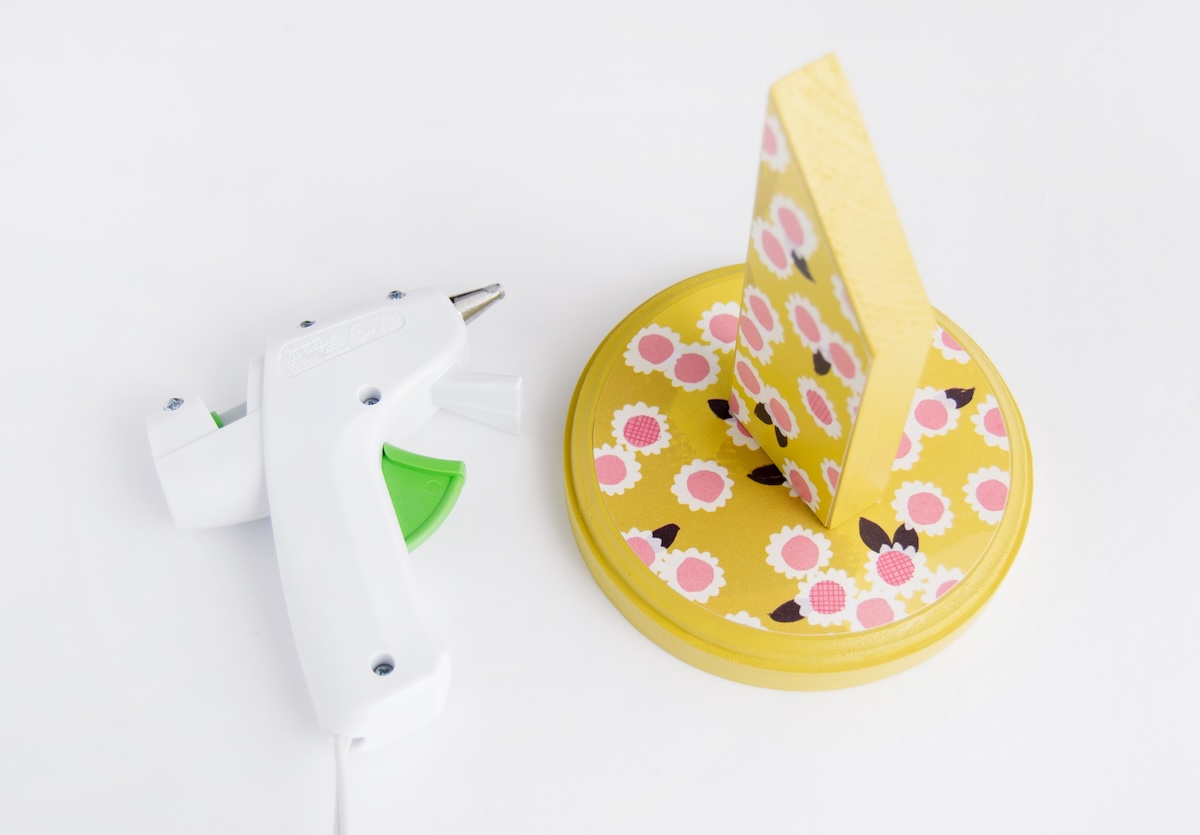
- Once the pieces are dry, use hot glue to attach the stem piece to the wood round, making sure it is centered.
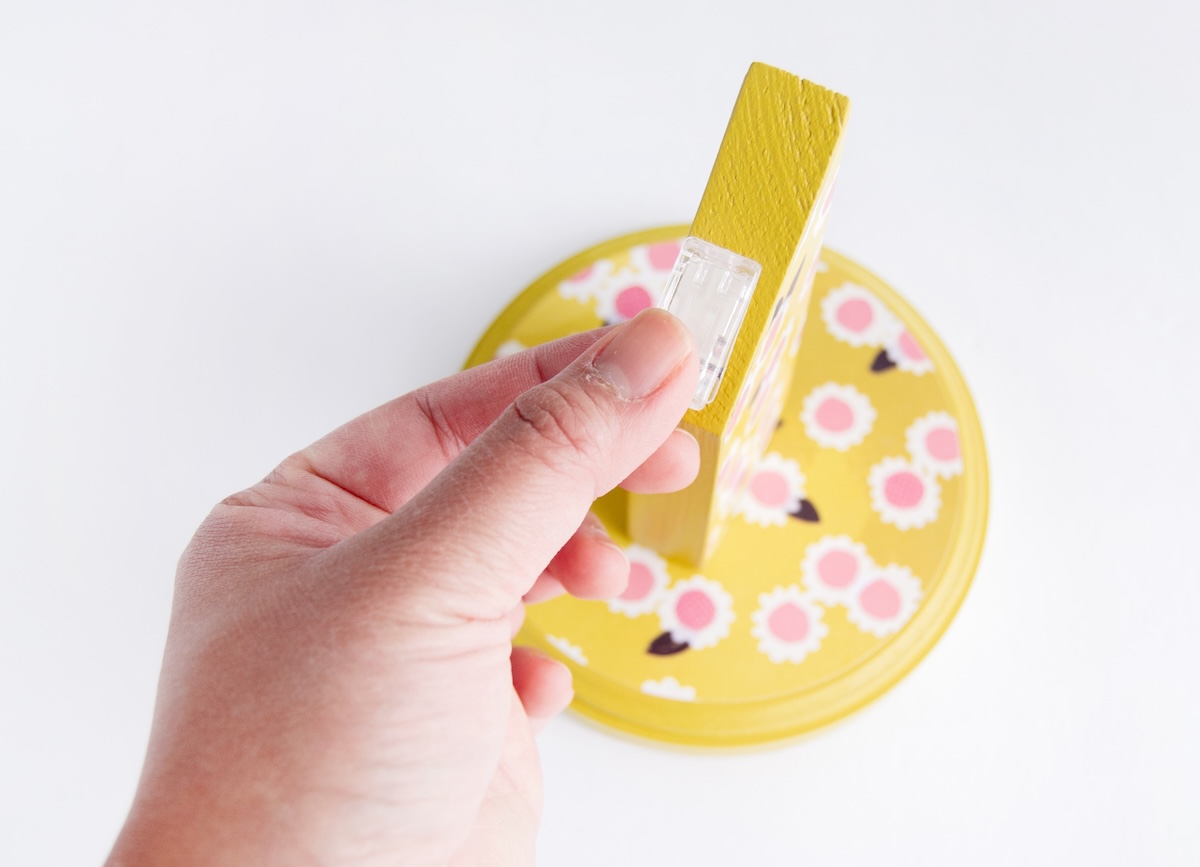
- Add a clip of your choice to the card holder - I used an acrylic clip with a sticky backing. You can also use a wood or metal clip, depending on the colors and theme of your project.
- Optional. Print and cut the cards if desired. These are sized at 4” x 6”.
Notes
Step 3: For mine, I mixed some yellow and black acrylic paint to create a mustard color that matches the background of my scrapbook paper.