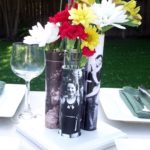
Photo Vase DIY
Learn how to make photo vases with simple materials from Home Depot! This is the coolest project, with unique results.
Yield: 1 centerpiece
Cost: $5
Equipment
- Miter saw
- Forstner Bit and drill (optional)
Materials
- PVC pipes various widths
- PVC caps to fit the pipes
- PVC pipe cement
- Mod Podge Outdoor
- Wooden plaque for a base painted with the color of your choice (mine is from Michaels)
- E-6000
- Laser copies of old photos
Video
Instructions
- Cut the PVC pipe into various lengths from 8" - 11" using a miter saw.
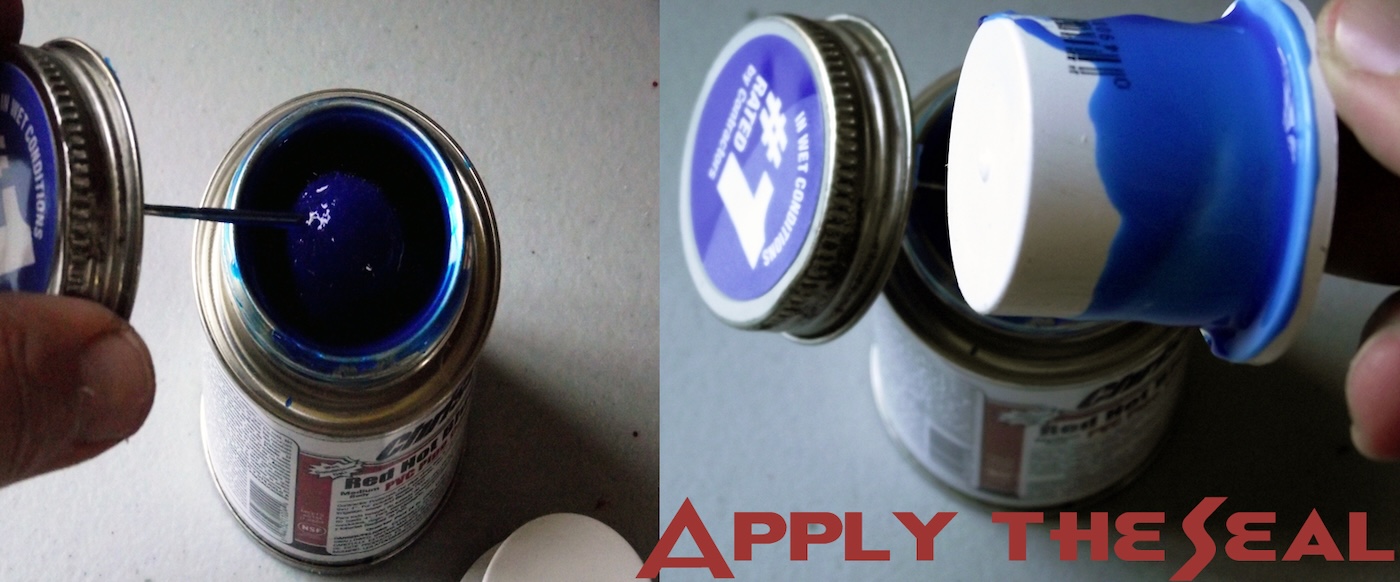
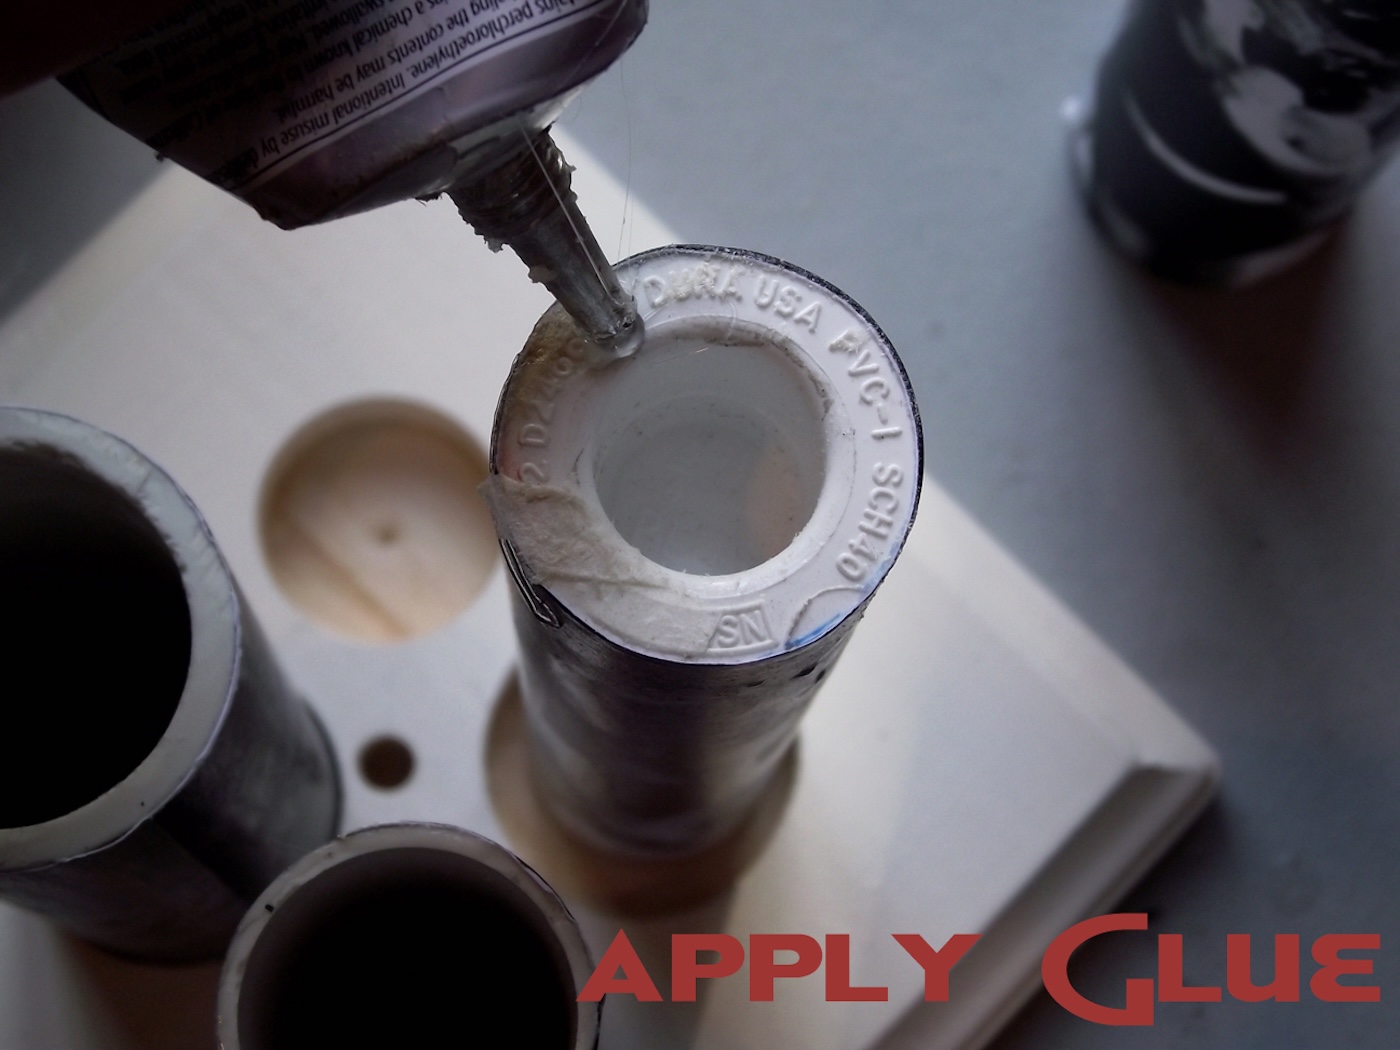
- Following the manufacturer’s instructions, use the PVC cement to glue the caps to the bottoms of the pipes. This guarantees that no water will escape the pipes through the bottom. Set them aside to dry.
- On your computer, resize each photo to fit a specific pipe piece. You want to make each photo tall enough and wide enough to wrap around its designated pipe. Print the photos out onto plain paper using a laser printer.
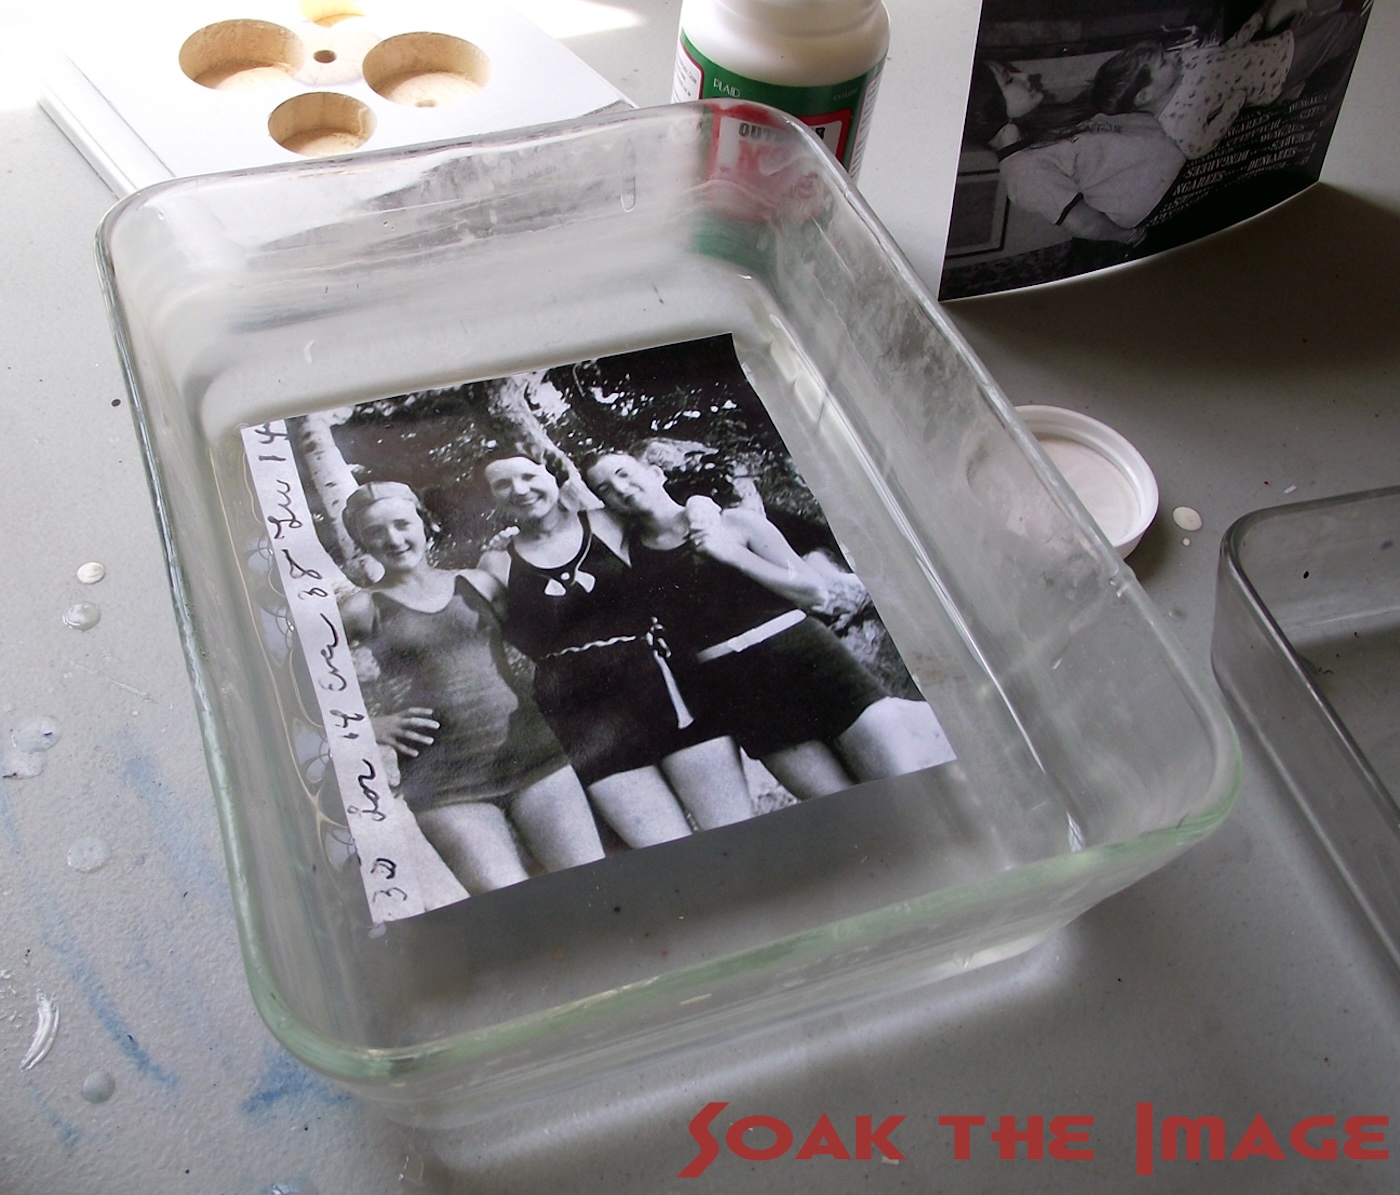
- Soak the images in water. While the images soak, Remove the image from water and gently run your fingers down to remove the excess water.
- Coat the outside of your first pipe in Mod Podge. Apply the image to the pipe and use your fingers to smooth out bubbles. Add Mod Podge to seal the ends of the paper where there is overlap. Repeat for each pipe and let dry
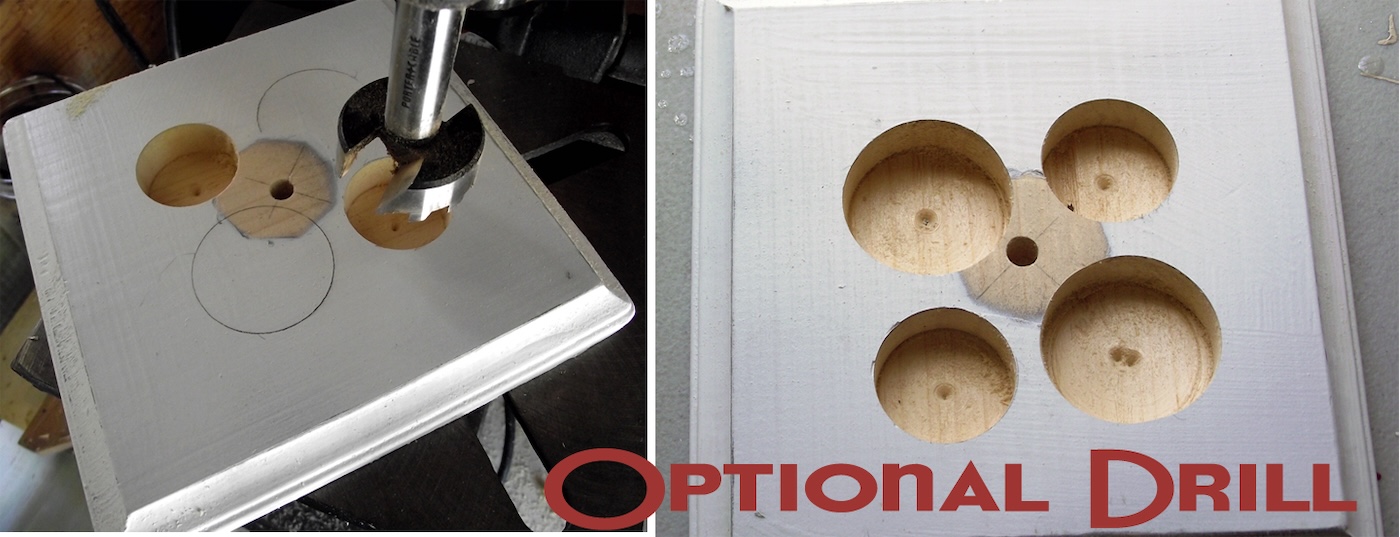
- Use two Forstner bits to drill recesses into the wood plaque so that each pipe is seated. While this step is optional, it gives the project a more finished look and provides extra stability.
- Paint the wood plaque with acrylic paint and let dry.
- Give the photo vases a sealing coat of Mod Podge. When that's dry, trim away any excess paper from the tops and bottoms.
- Glue the tubes to the base using E-6000. Add some glue between the pipes for stability if necessary. Let dry completely before using.
Notes
Step 1: If you purchase your PVC pipe from the home improvement store, you can ask them to cut it for you there (then you won't need a saw).
Step 2: If you don't plan to put water in the vases (like if you're using fake flowers), you can skip this step.
Step 3: You can also play a little bit with the tint of each picture to provide some contrast and a more vintage look.
You need to use laserjet for this project if you are going to successfully decoupage without wrinkles. Otherwise when you soak the image in the next step, the ink will run.
Step 4: This is the best way to apply images printed on laserjet to round surface with no wrinkles. You'll be surprised how well it works.
Step 9: My suggestion is that you cluster the pipes closer together so they touch each other to provide a little extra stability.