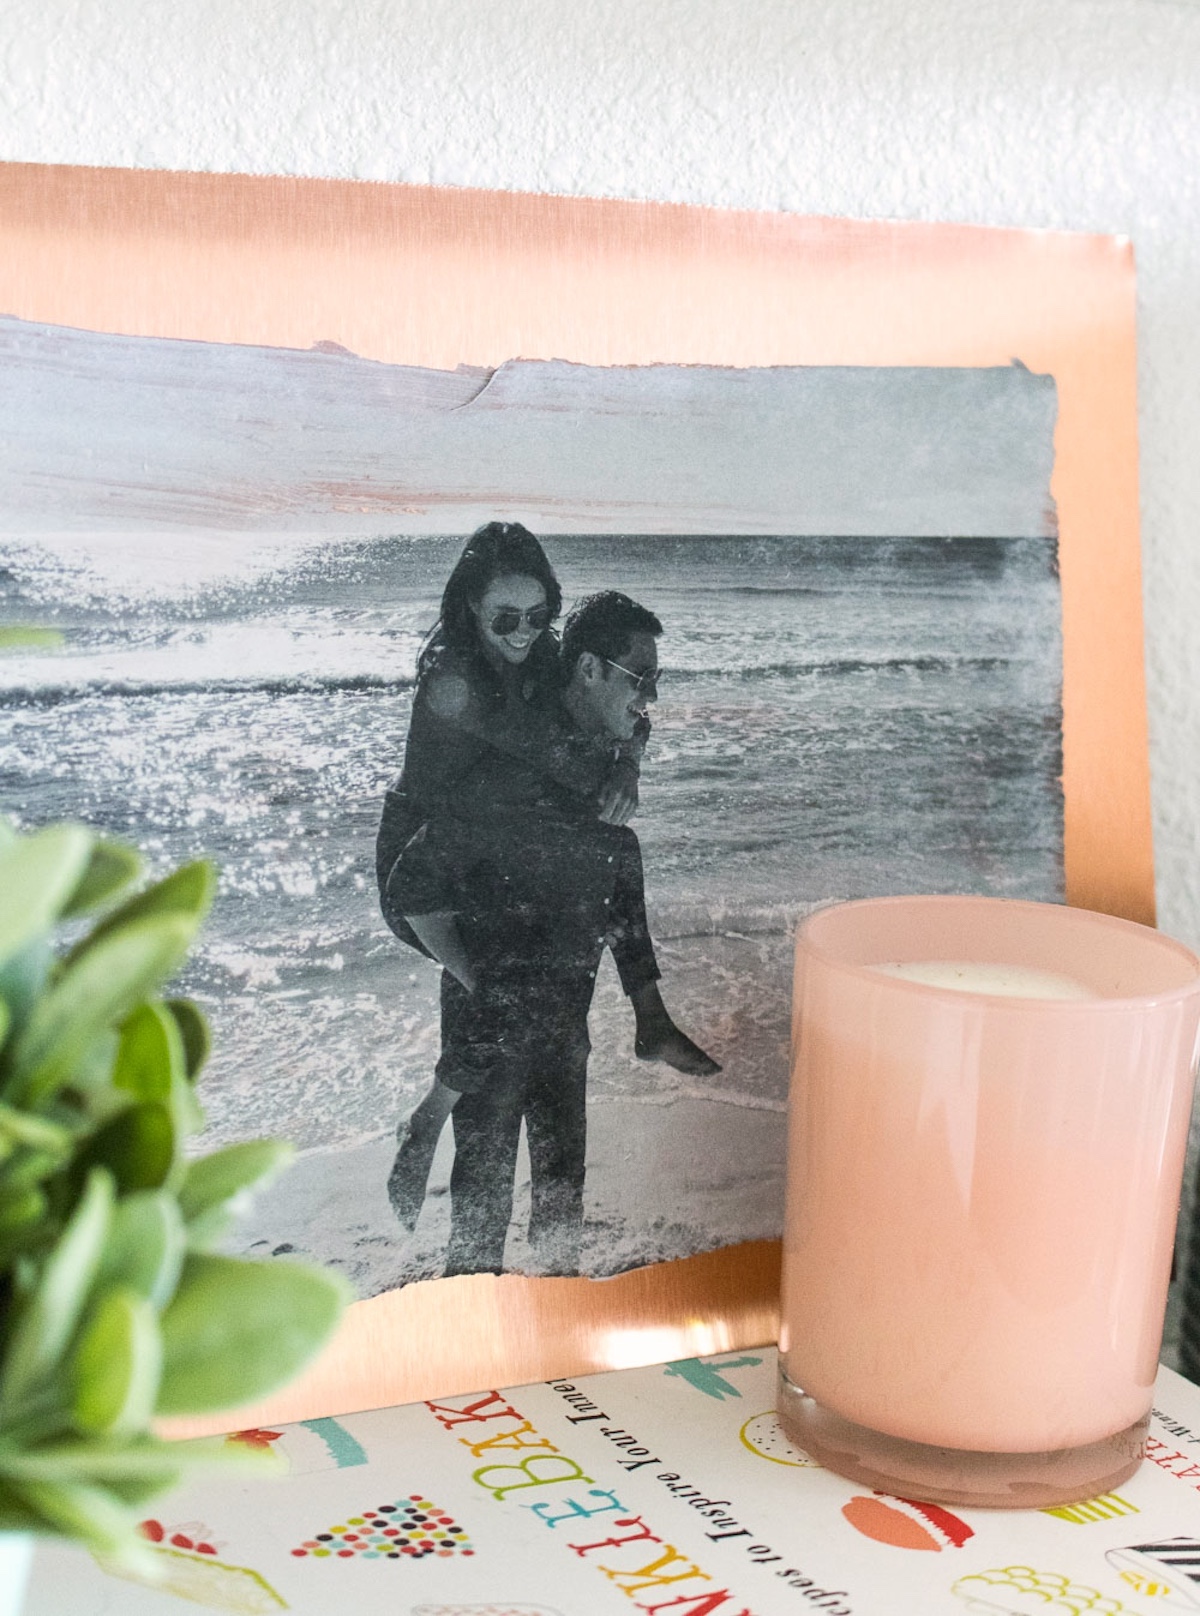
Photo Transfer to Metal
Explore the creative process of pictures transferred to metal! Follow our easy, step-by-step guide to transform your favorite photos into beautiful and lasting metal keepsakes.
Yield: 1 transfer
Cost: $3
Equipment
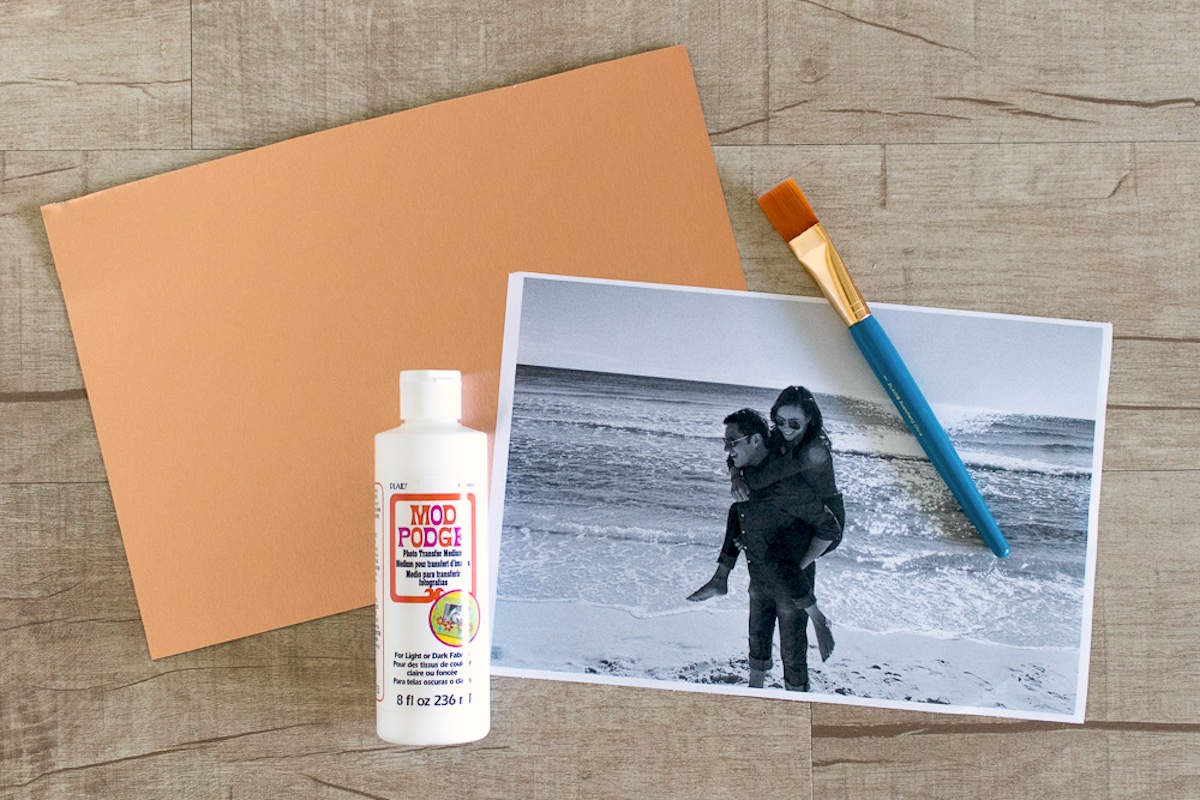
Materials
- Sheet metal cut to size
- Laser printed photo in desired size color or grayscale
- 1 Mod Podge Photo Transfer Medium
Video
Instructions
- Print the photo and cut to size so that no border remains.
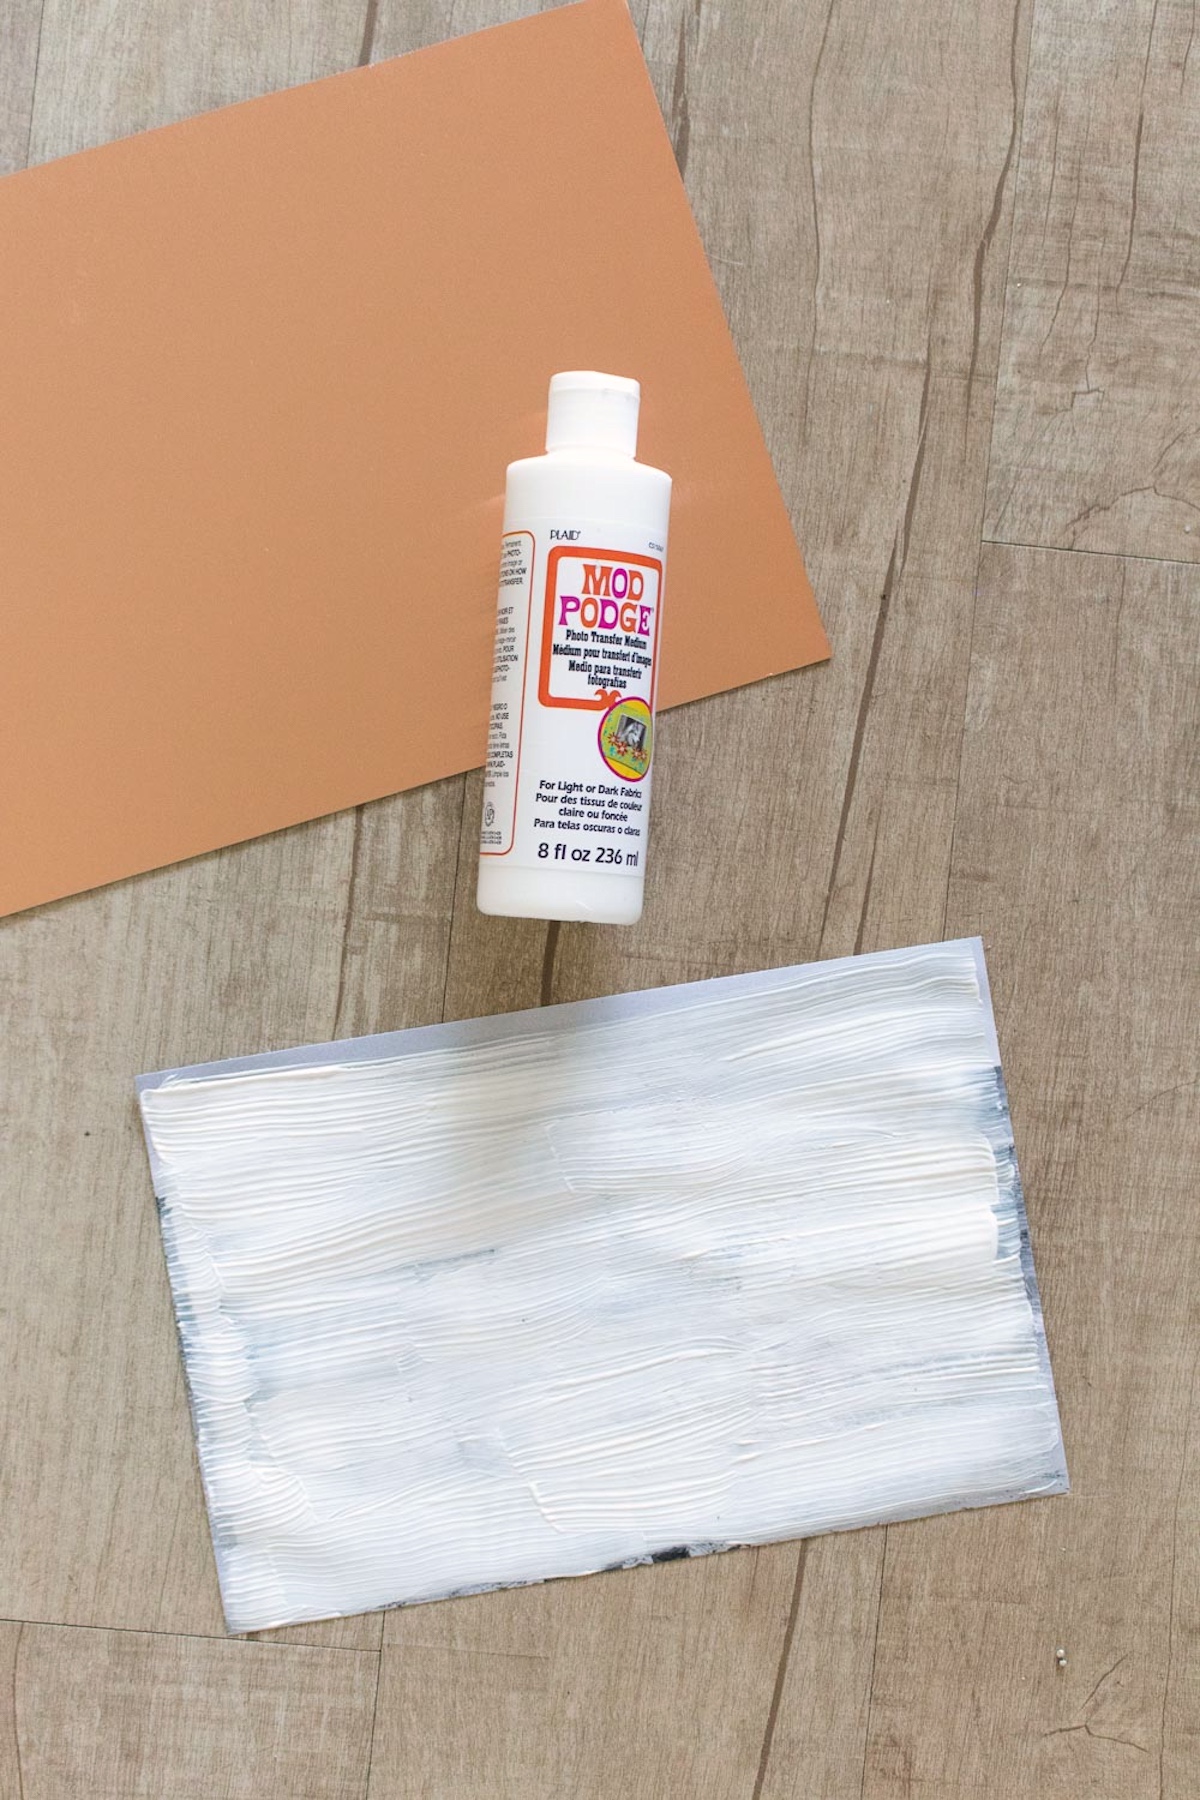
- Use the paintbrush to spread on a thick layer of Mod Podge Photo Transfer Medium on the image side of the paper. It should be even and entirely cover and obscure the image.
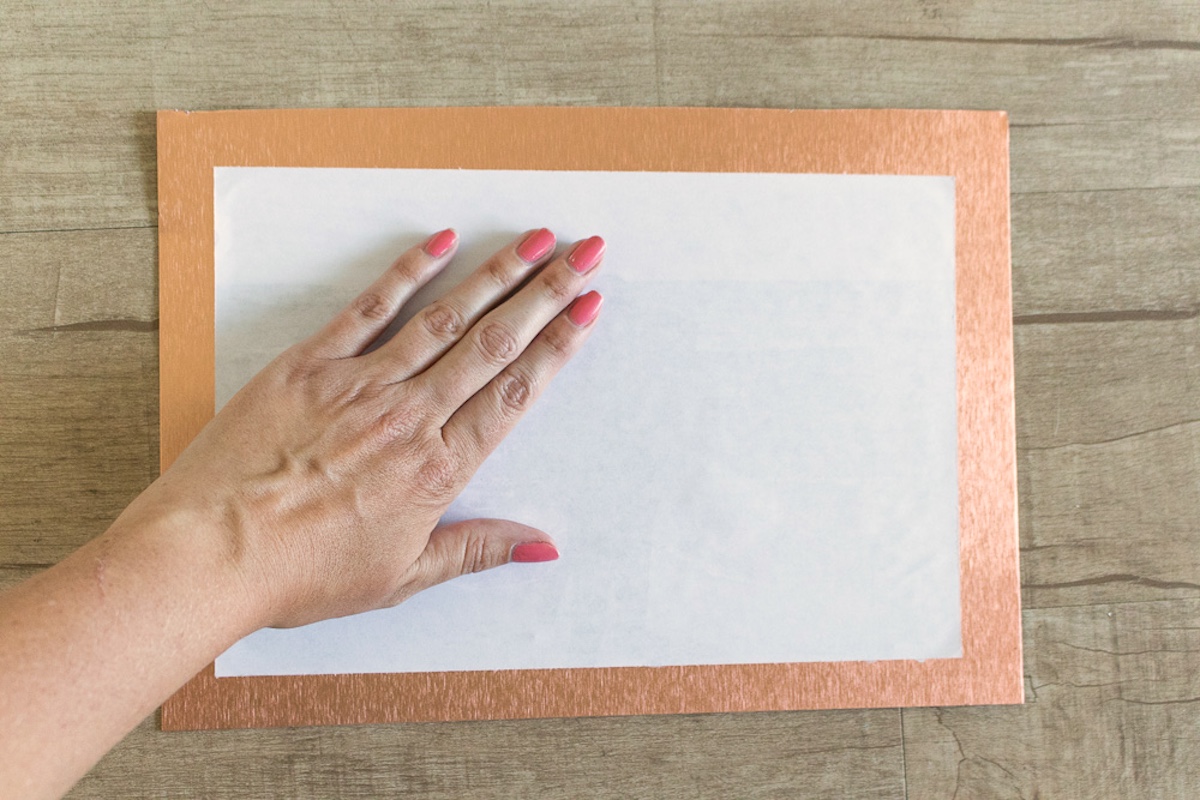
- Immediately place the image down on the sheet metal and use your hands to smooth out the paper and remove any air bubbles.
- Set aside to dry overnight. Depending on the temperature and humidity, it will be ready within 12-24 hours.
- Once completely dry and hard to the touch, use your fingers to add a little water to one corner of the paper. Press lightly and move your fingers in a circular motion to remove the layer of paper.
- Go slowly so that you don’t accidentally remove the image. Continue all over the paper with wet hands until all of the paper has been removed.
- Set aside to dry for about 10 minutes. If a white layer dries over the image, you didn’t remove enough paper and will need to repeat the last step.