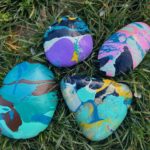
Marble Painted Rocks
Learn how to marble rocks with paint and Mod Podge using this simple tutorial.
Yield: 5 rocks
Cost: $2
Equipment
- Wire rack optional
- BBQ skewers optional
- Tin dishes optional
Materials
- Mod Podge Gloss
- Rocks several, large
- Acrylic paint any colors
- Small containers for mixing one per color
- Dish soap
- Paper towels
Instructions
- Before beginning, wash your rocks with warm water and dish soap to remove the dirt. Let dry on paper towels.
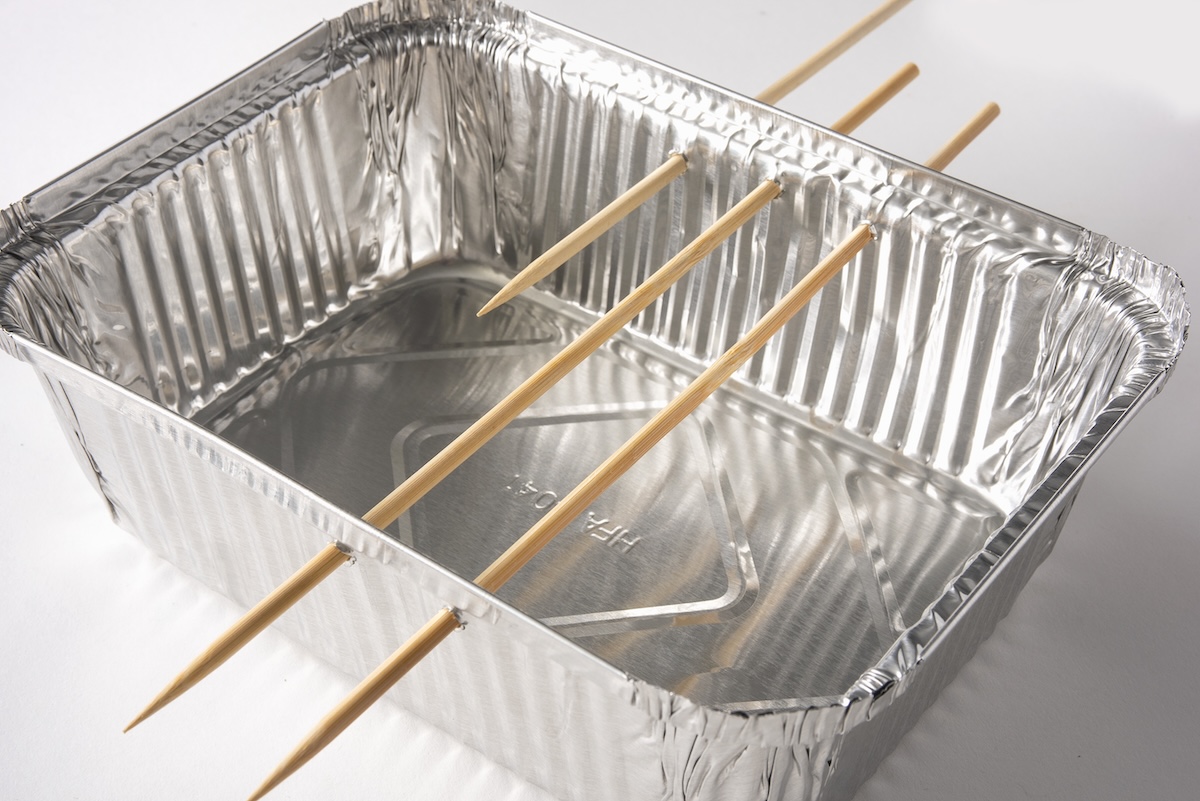
- Use a wire rack or create your own pouring rack. Do this by inserting BBQ skewers lengthwise across an inexpensive baking pan from the grocery store. The BBQ skewers have a point on one end, and you can push them through the tin easily. Do this approximately ¾ inch to 1 inch across the top. Lay your rocks flat on the skewers.
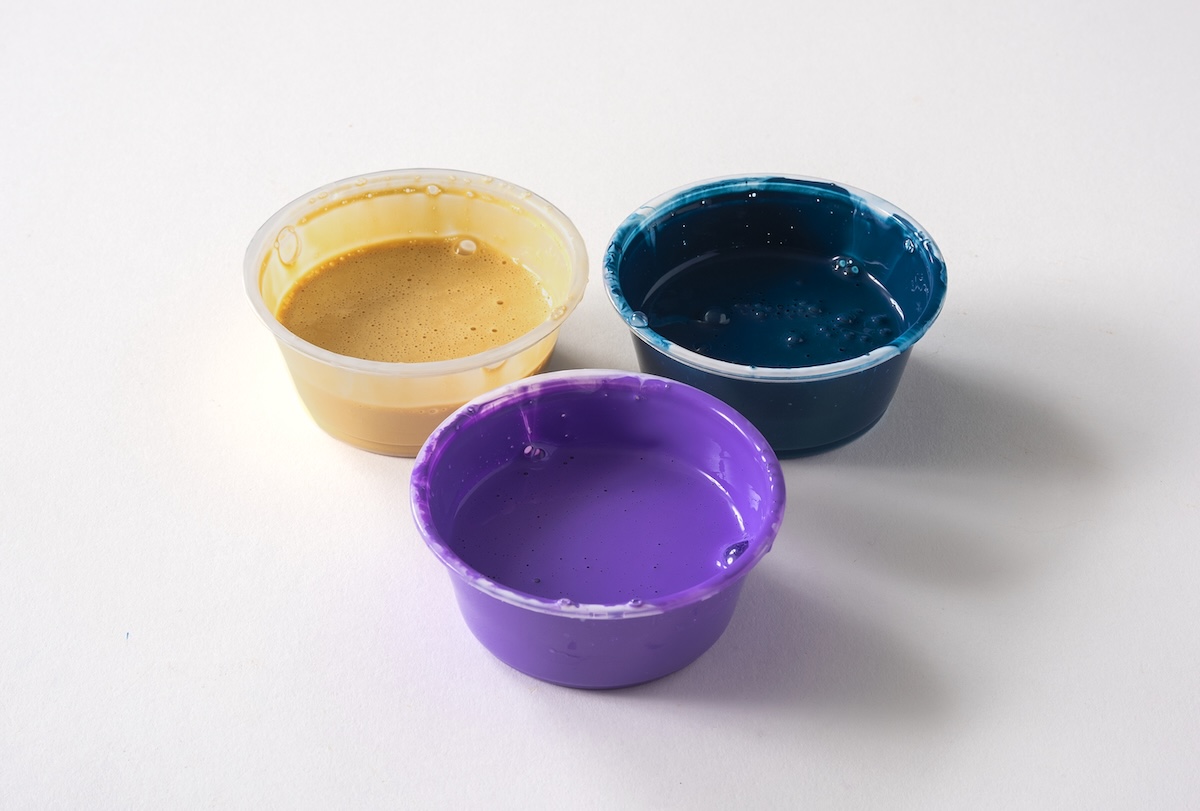
- Place your small mixing containers out on your work surface. In each container, place about 2 tablespoons of decoupage medium, a little bit of water, and a squirt of paint. You want about 1 to 1.5 tablespoons of paint in each container with the decoupage medium and water.

- Shake or mix the container of decoupage medium, water, and paint until fully blended. Do this with each of the colors you would like to use.
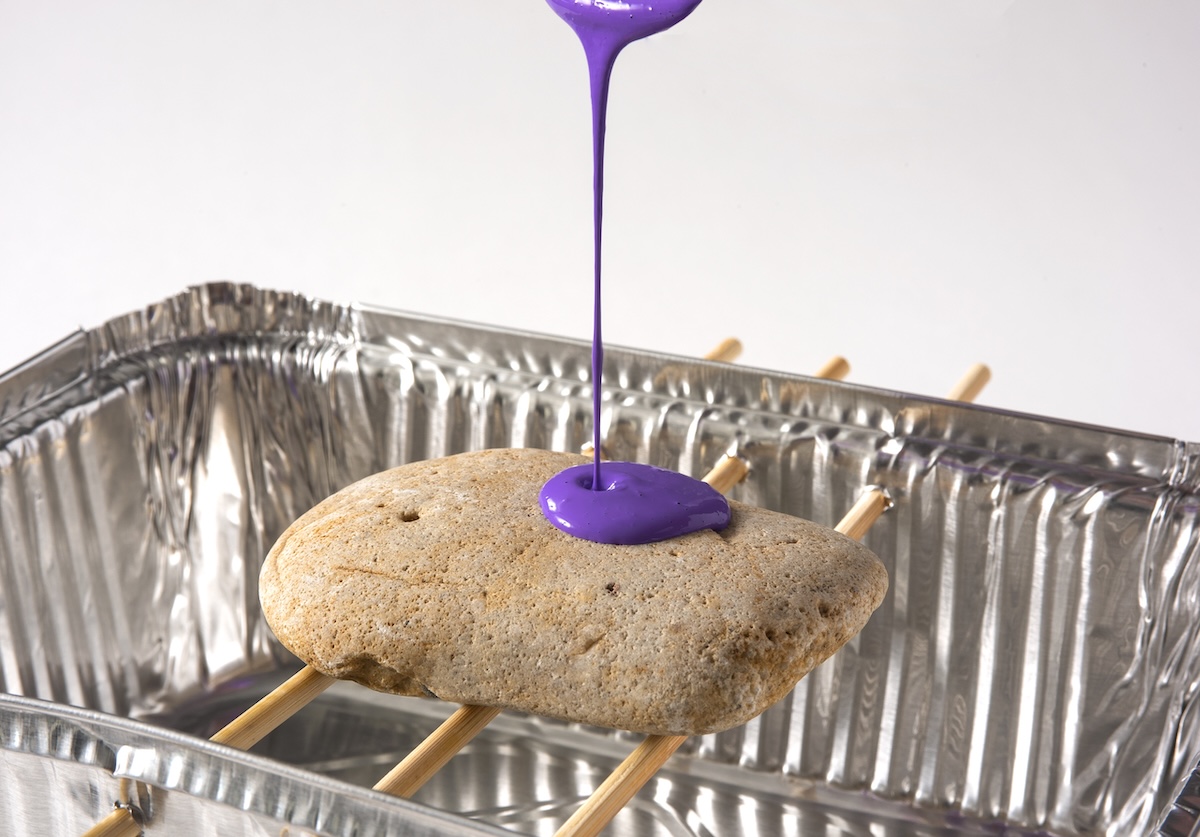
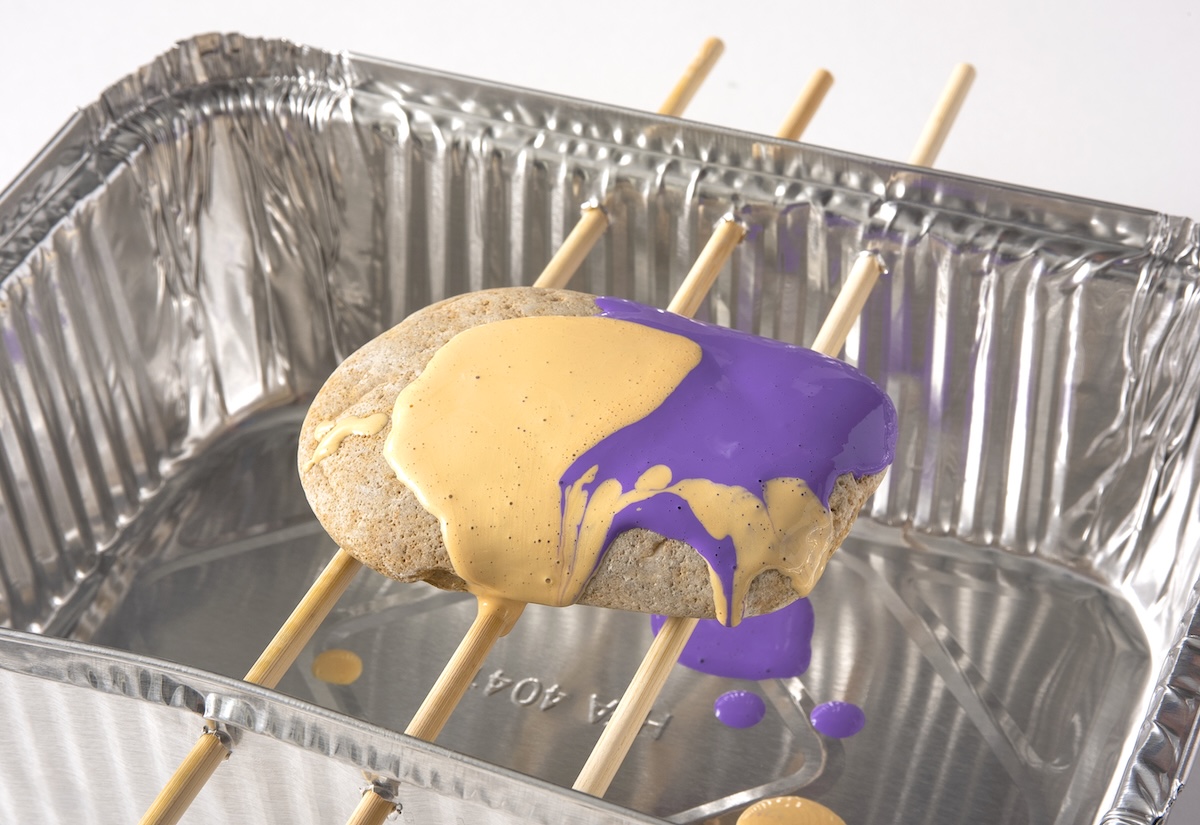
- Start by choosing a color and carefully pouring it onto the rock. You don’t want to cover the entire rock because you are going to use other colors. Just pour it on one area and let it flow off the sides.
- Repeat this same process above with another color, letting it flow into the color you used before.
- Continue adding colors in various areas on the top of the rock, until the entire thing is covered. You can add drips and drops of color here and there at the end.
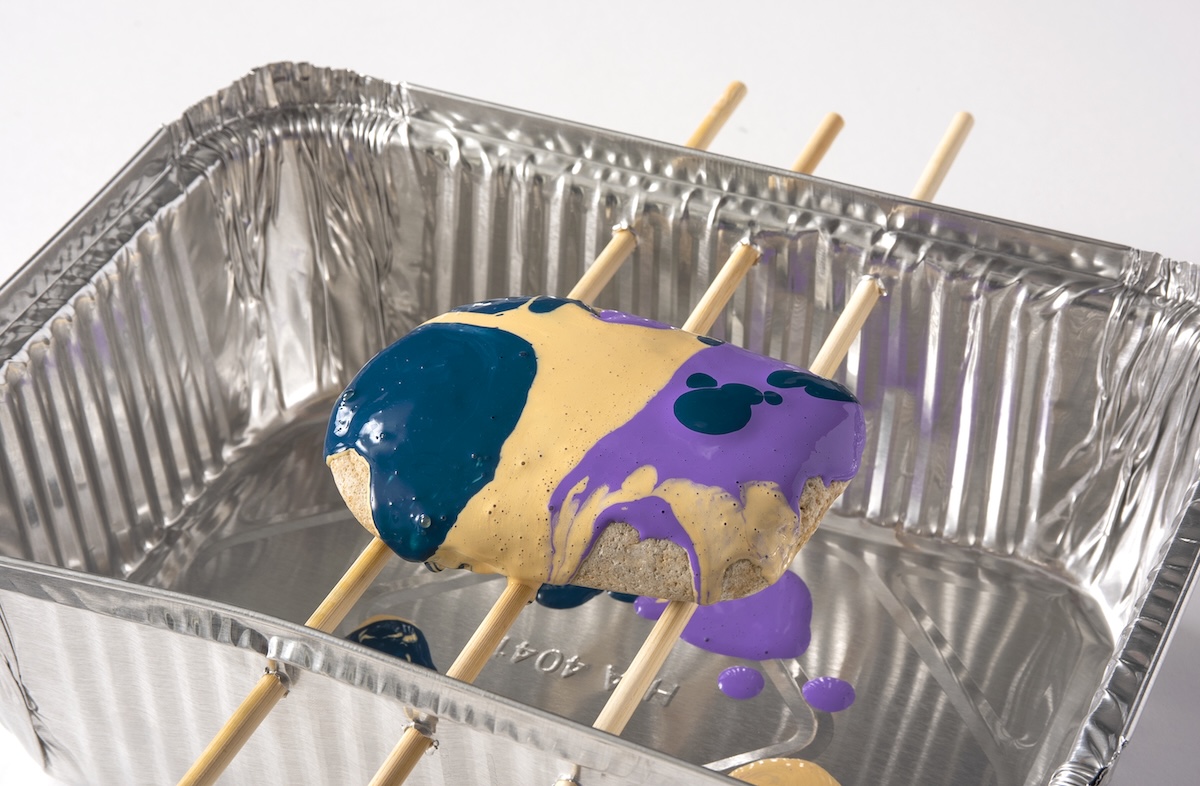
- Finish off the rock by painting the bottom (optional, if desired). Repeat with additional rocks. Let dry completely.
Notes
If the rocks are going to be in the direct sun, I highly recommend additional coats of Mod Podge Outdoor (if you have it). Or you can purchase an additional UV sealer. Regular Mod Podge is not UV resistant.
After you’re done painting with the rocks, you can write messages on top or underneath with Sharpies or oil-based markers. If you are leaving them for others outside, you can write messages on the bottom. It’s fun to put a smile on someone’s face when they discover your rock art!