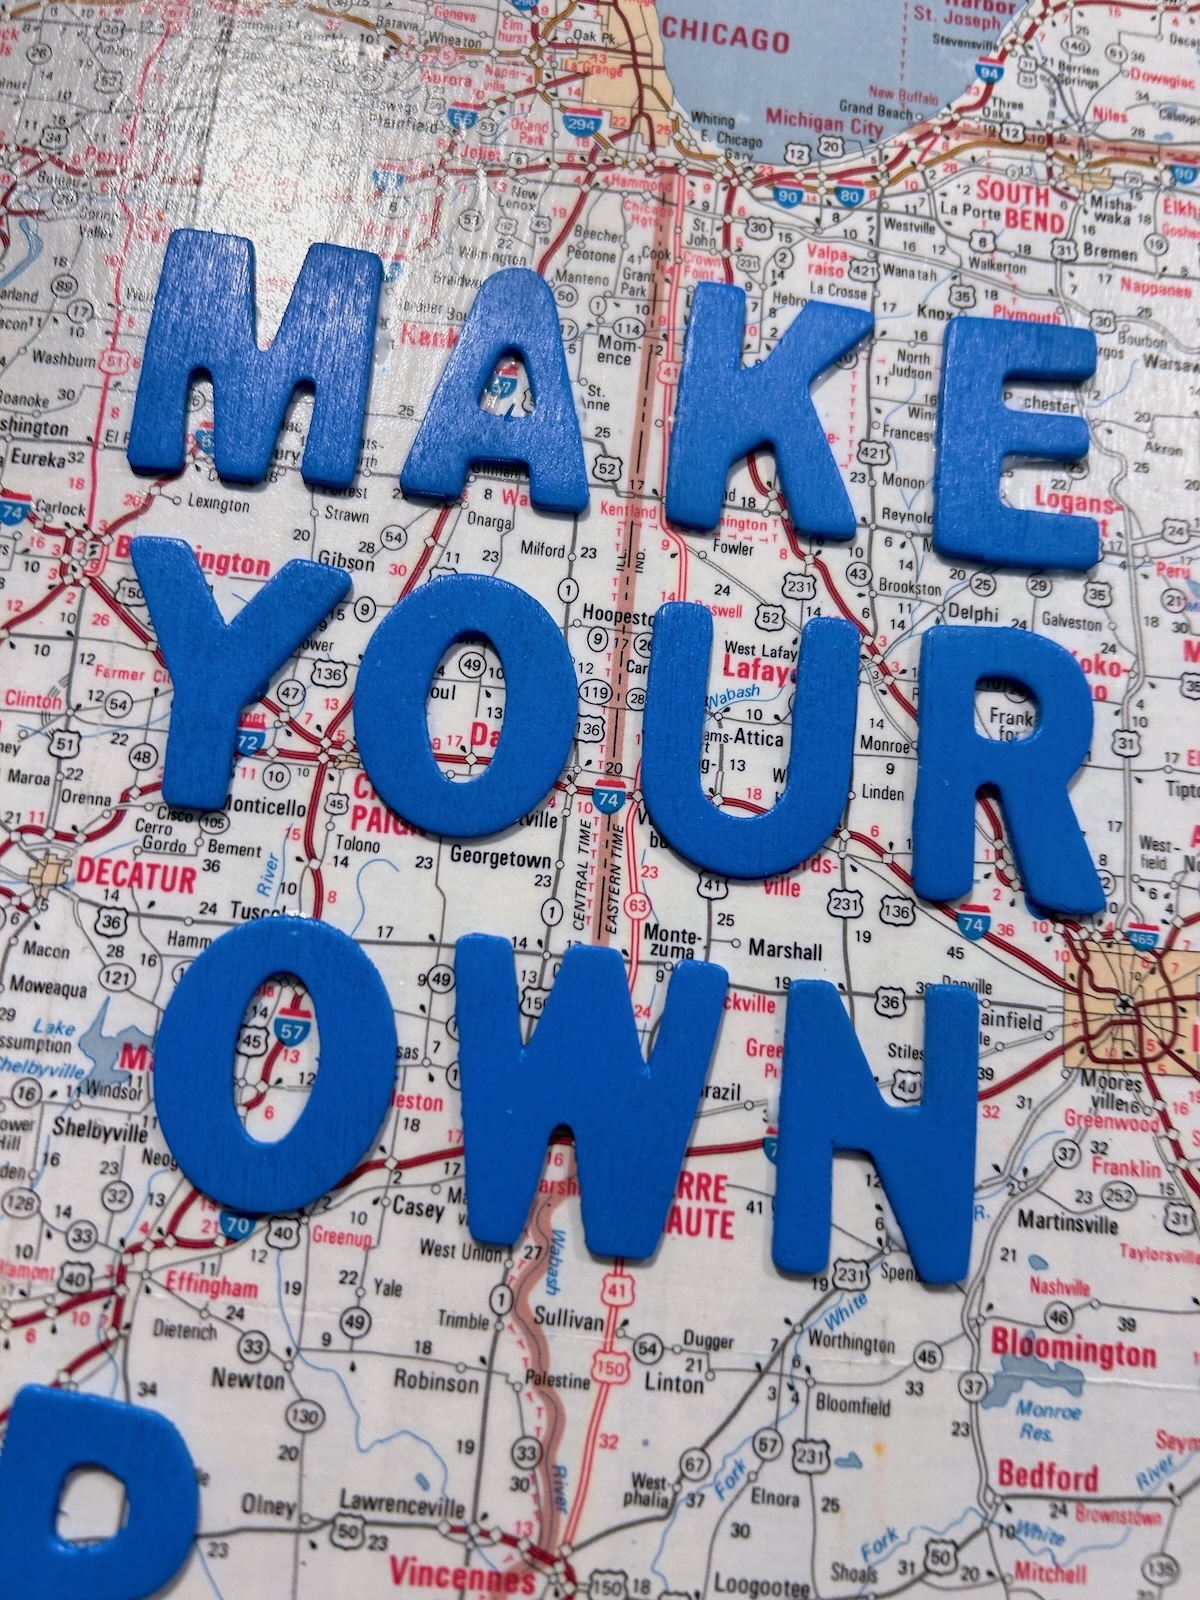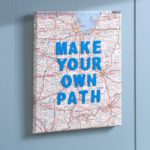
Map Canvas Wall Art
Learn how to make this unique canvas art with a map! It's easy to do, even if you've never crafted before.
Yield: 1 canvas
Cost: $2
Equipment
- Parchment paper
Materials
- 1 Canvas(es) 9 x 12
- 1 Map you can typically find some in thrift stores - but Etsy and eBay are a great place to look too! I got a bundle of them for cheap
- Mod Podge Gloss
- 15 Wood letter(s) or saying of your choice
Instructions
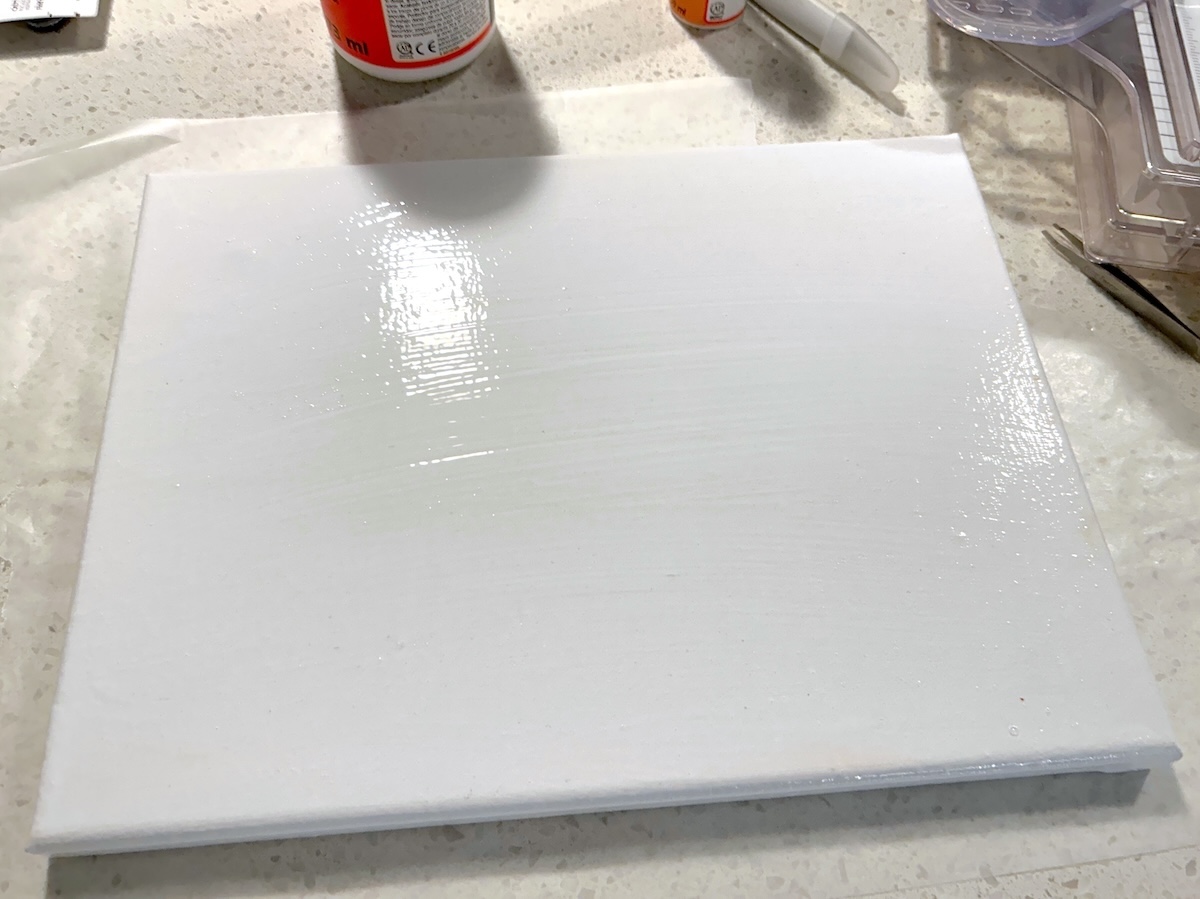
- Cover the canvas with a medium layer of Mod Podge. Let dry and repeat. Be sure to get the sides.
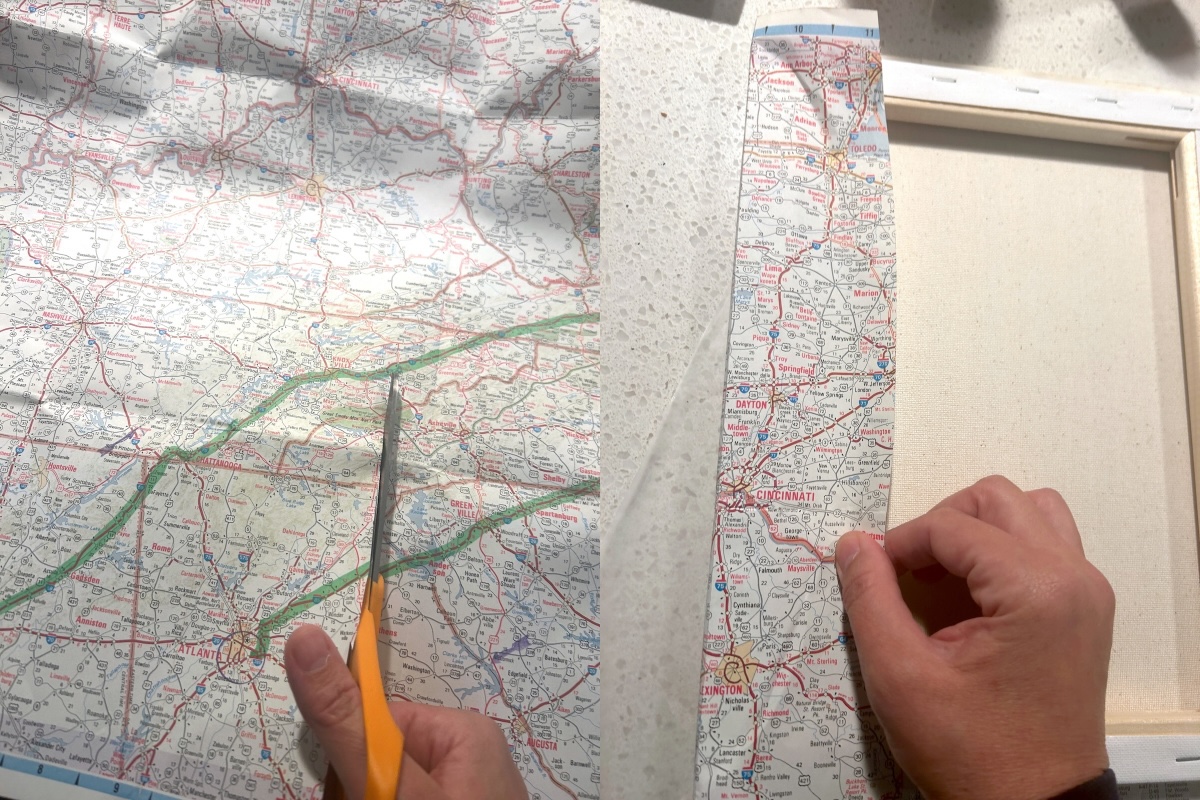
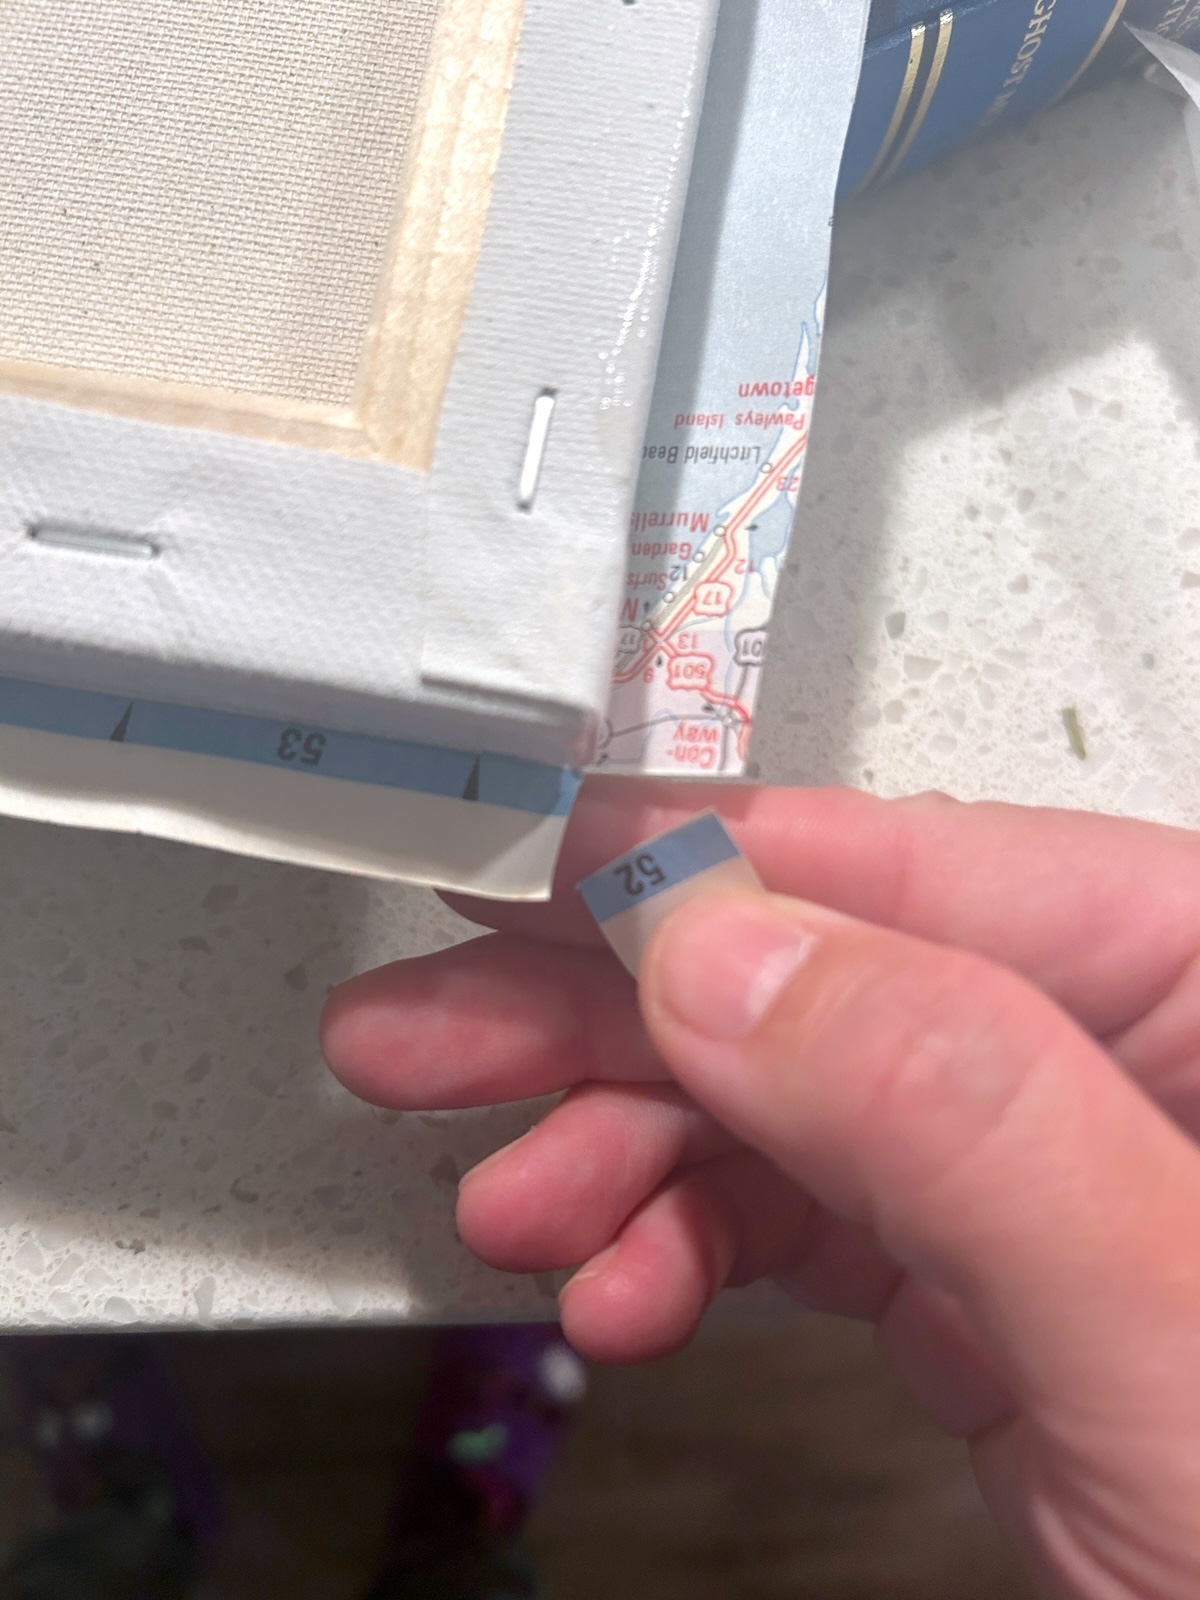
- Cut the map to fit the canvas. Make sure to test the fit by folding over the sides. Leave excess on the sides for now.
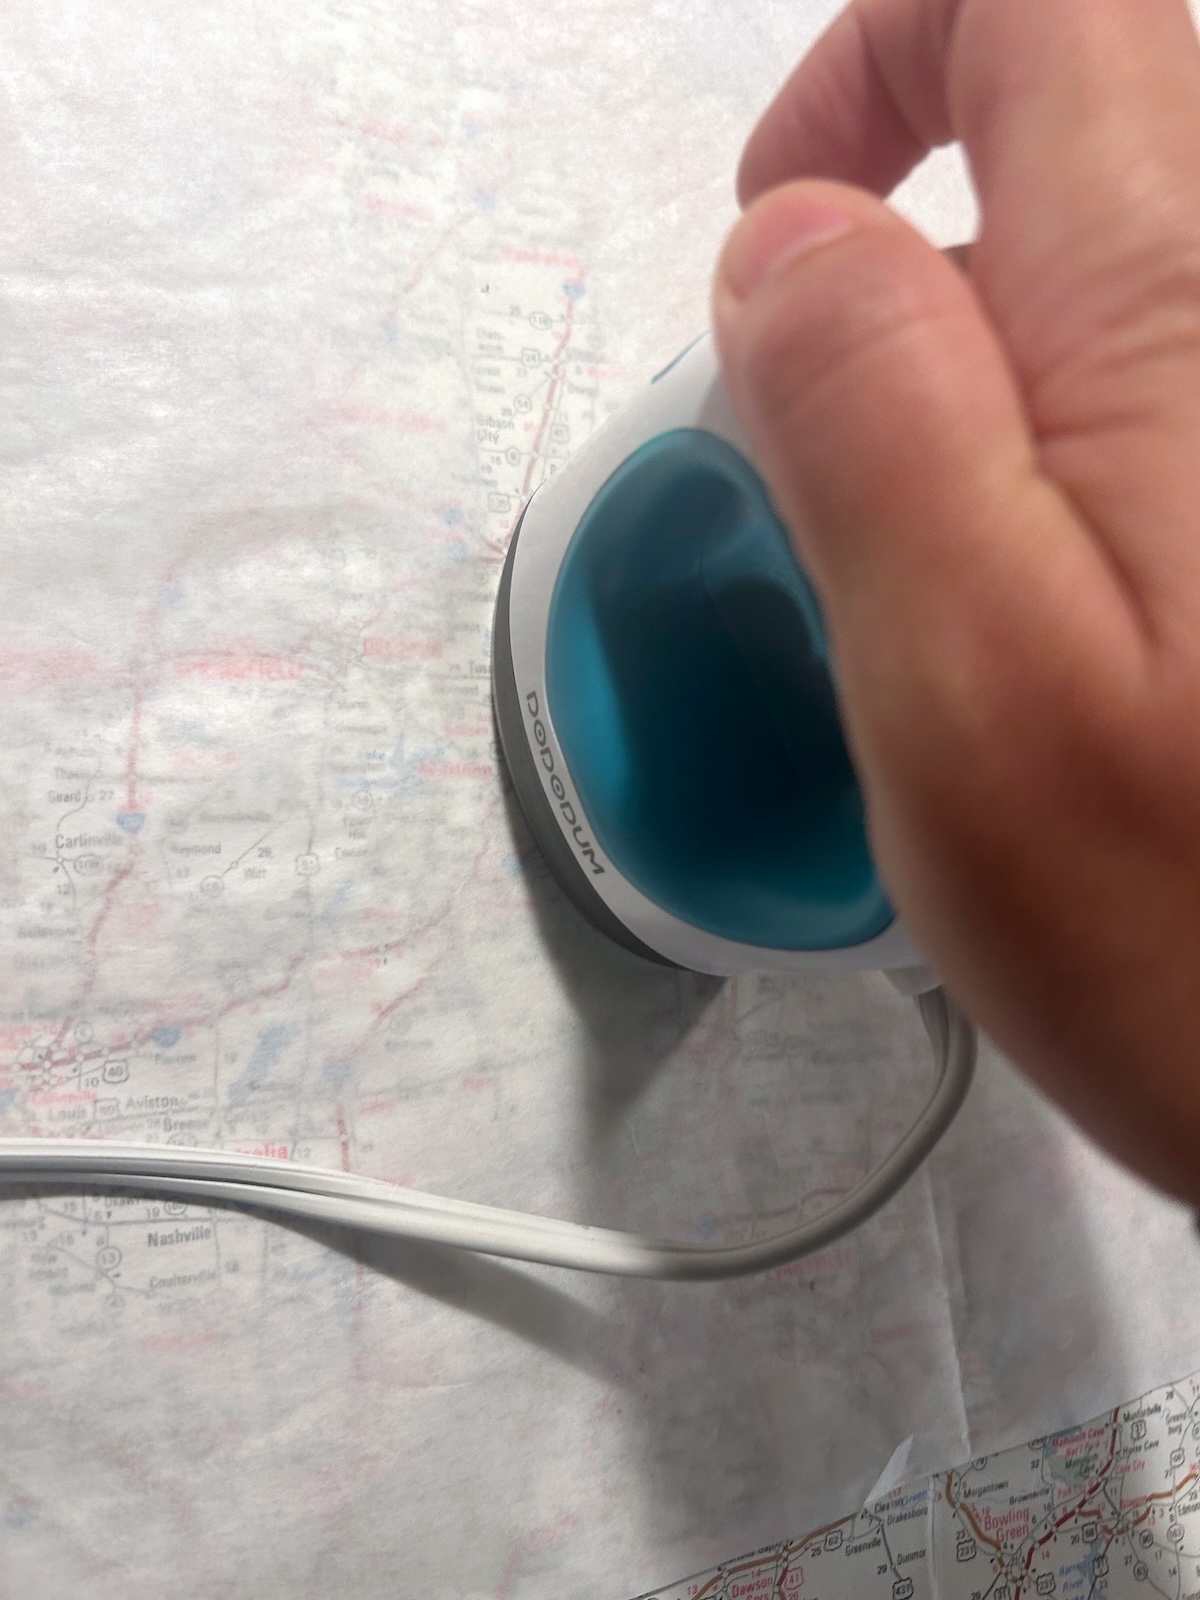
- Place the map down on the canvas where you would like it to go. Smooth down. Place a piece of parchment paper on top. Heat the iron up to medium heat, then iron the map down onto the canvas.
- Using the scissors, trim the map around the canvas edges, being sure to leave enough to fold over the sides. Then trim squares out of the map at all four corners of the canvas.
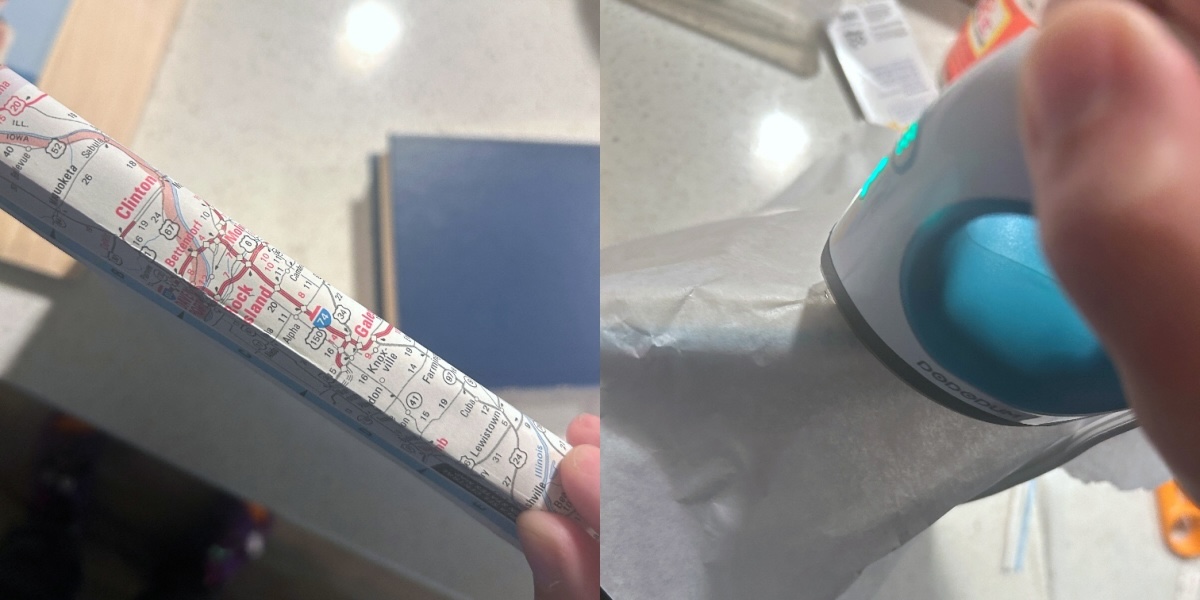
- Fold the edges of the map over onto the sides of the canvas and crease. Place parchment paper down and iron the side. Do sides one at a time, then let the canvas cool.
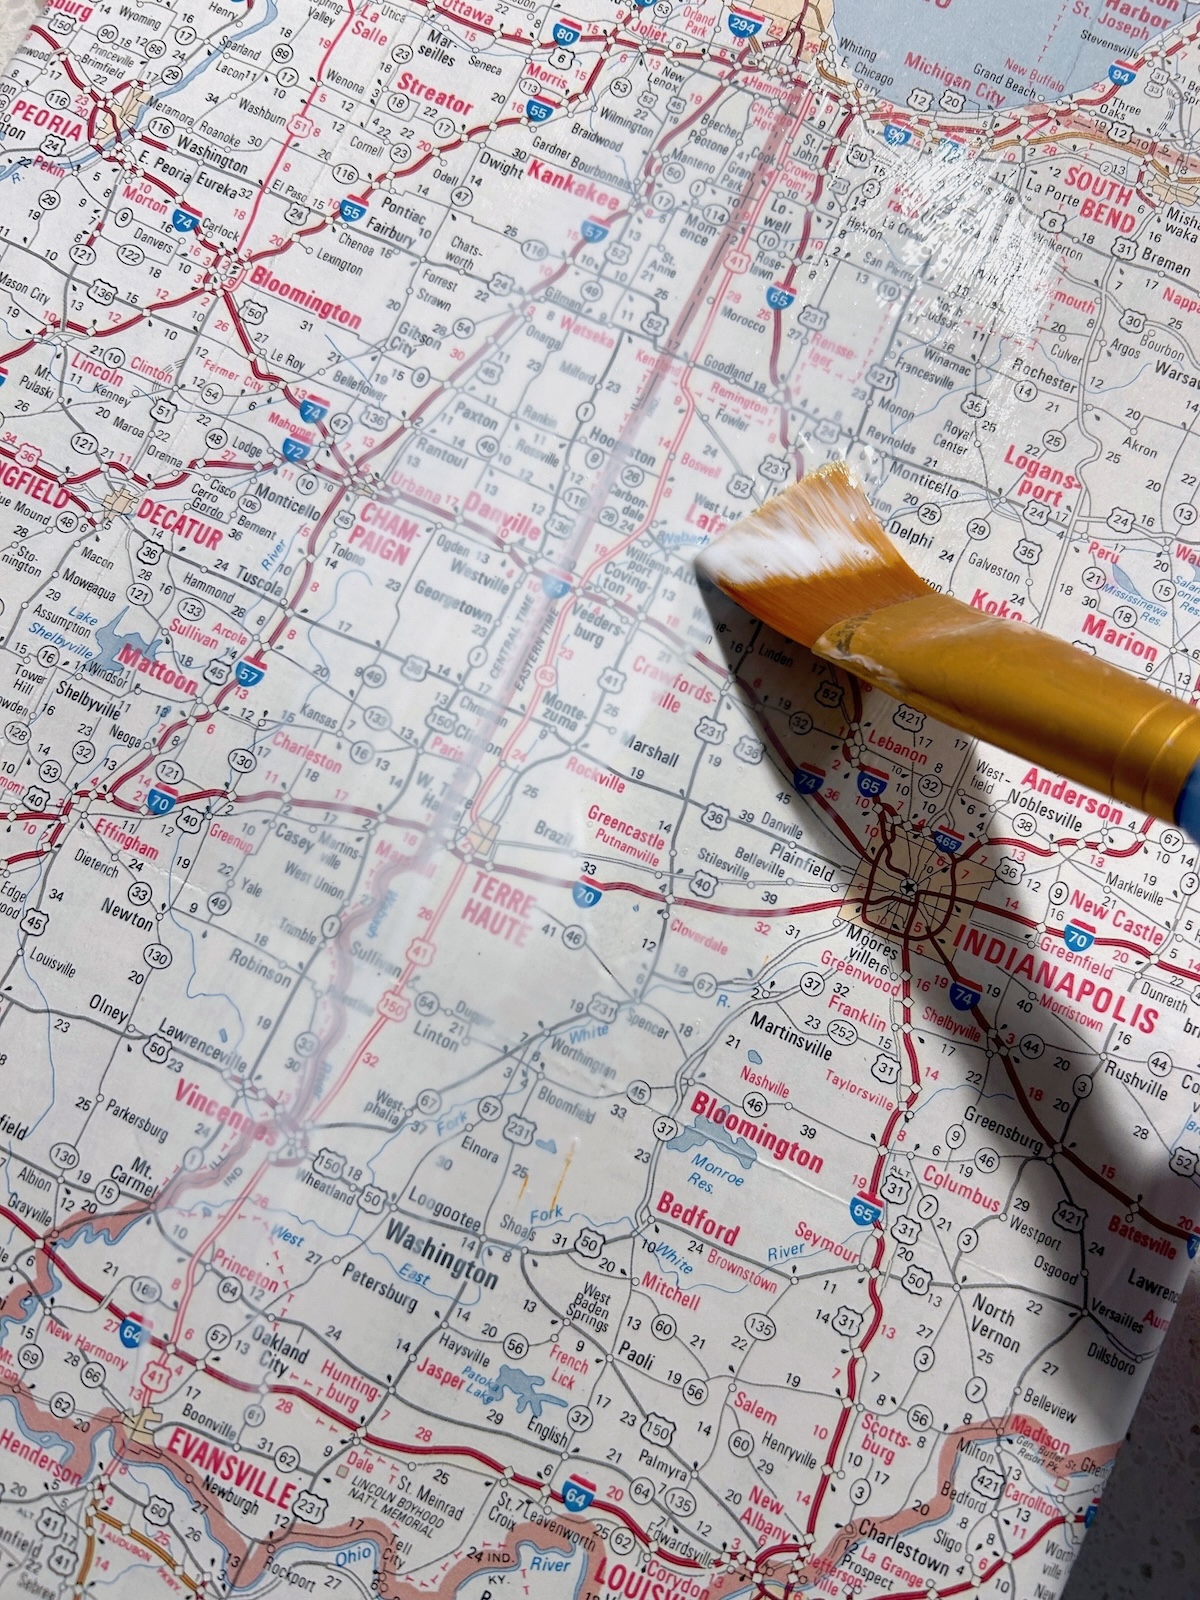
- Seal the entire map on the canvas with Mod Podge. Let dry. If you find that the map wrinkles at all, wait until it dries to see how bad the wrinkles end up. To remove wrinkles, place parchment paper over the top of the Mod Podge and iron the map again on a low setting.
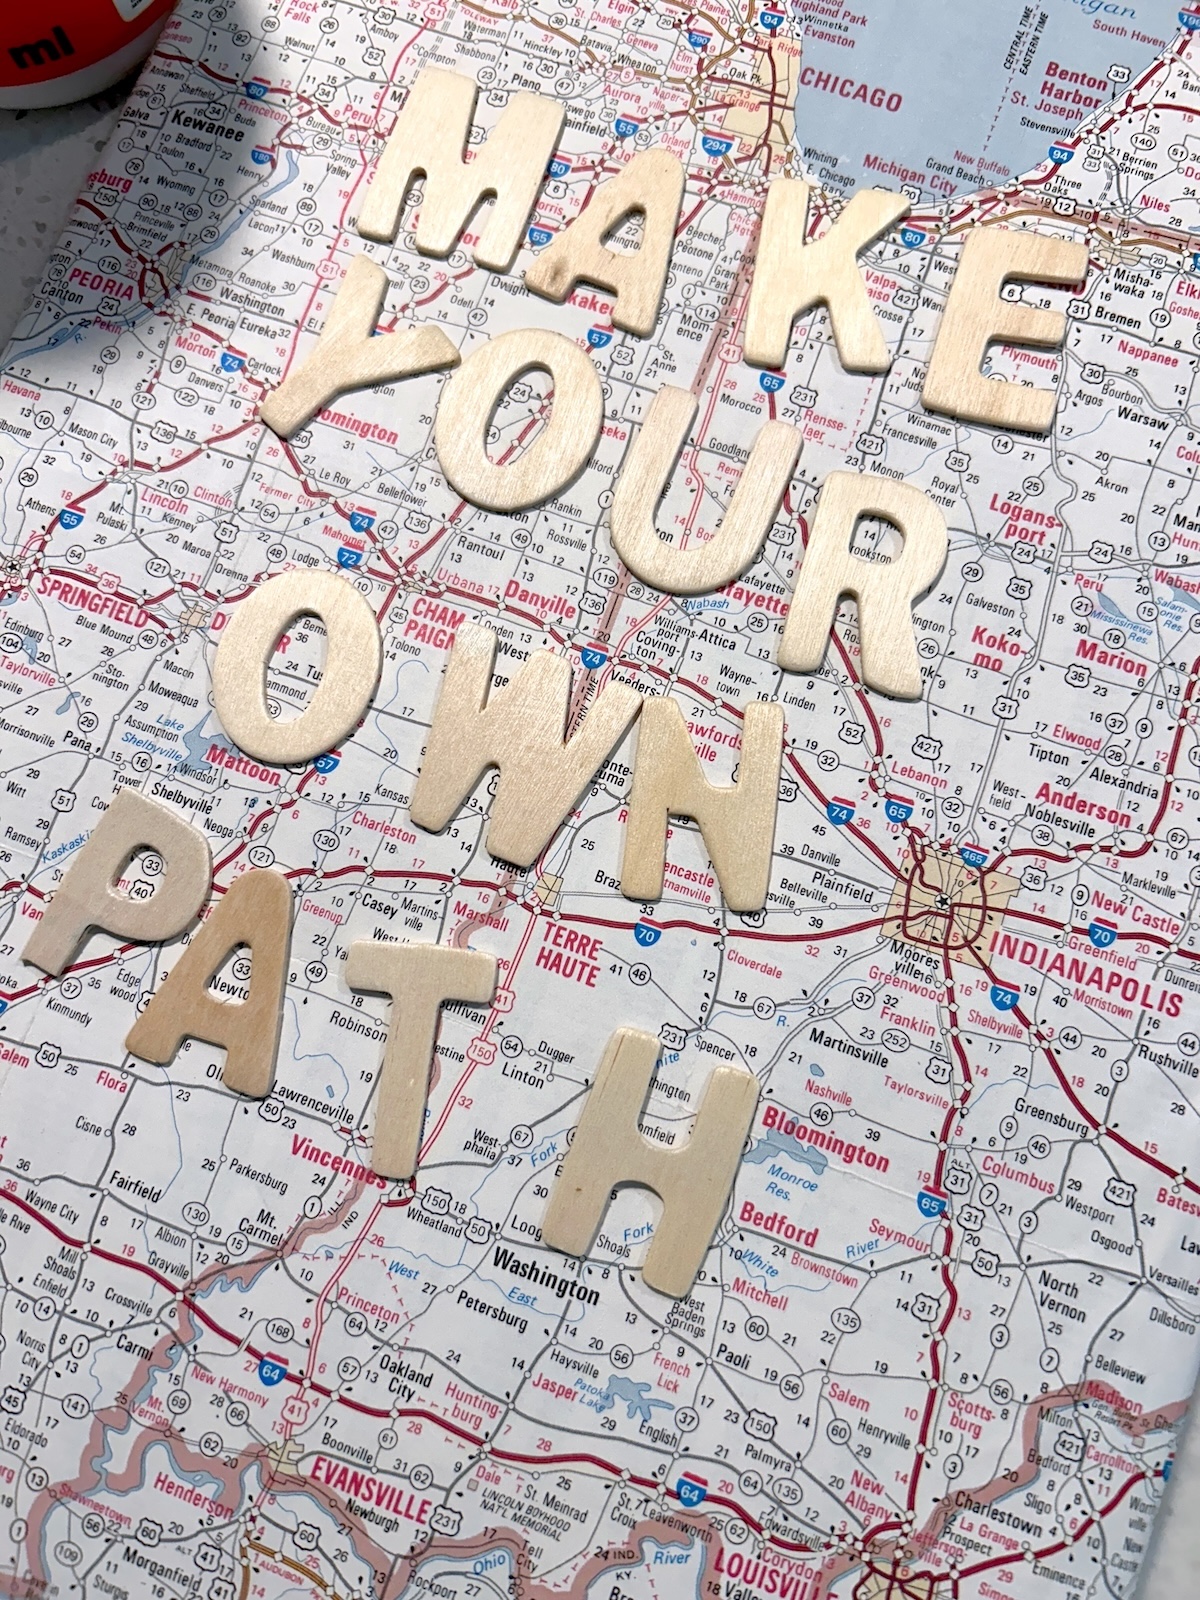
- Gather the wood letters you'd like to use for your saying. Test fit the letters on the front of the canvas, making sure that they fit.
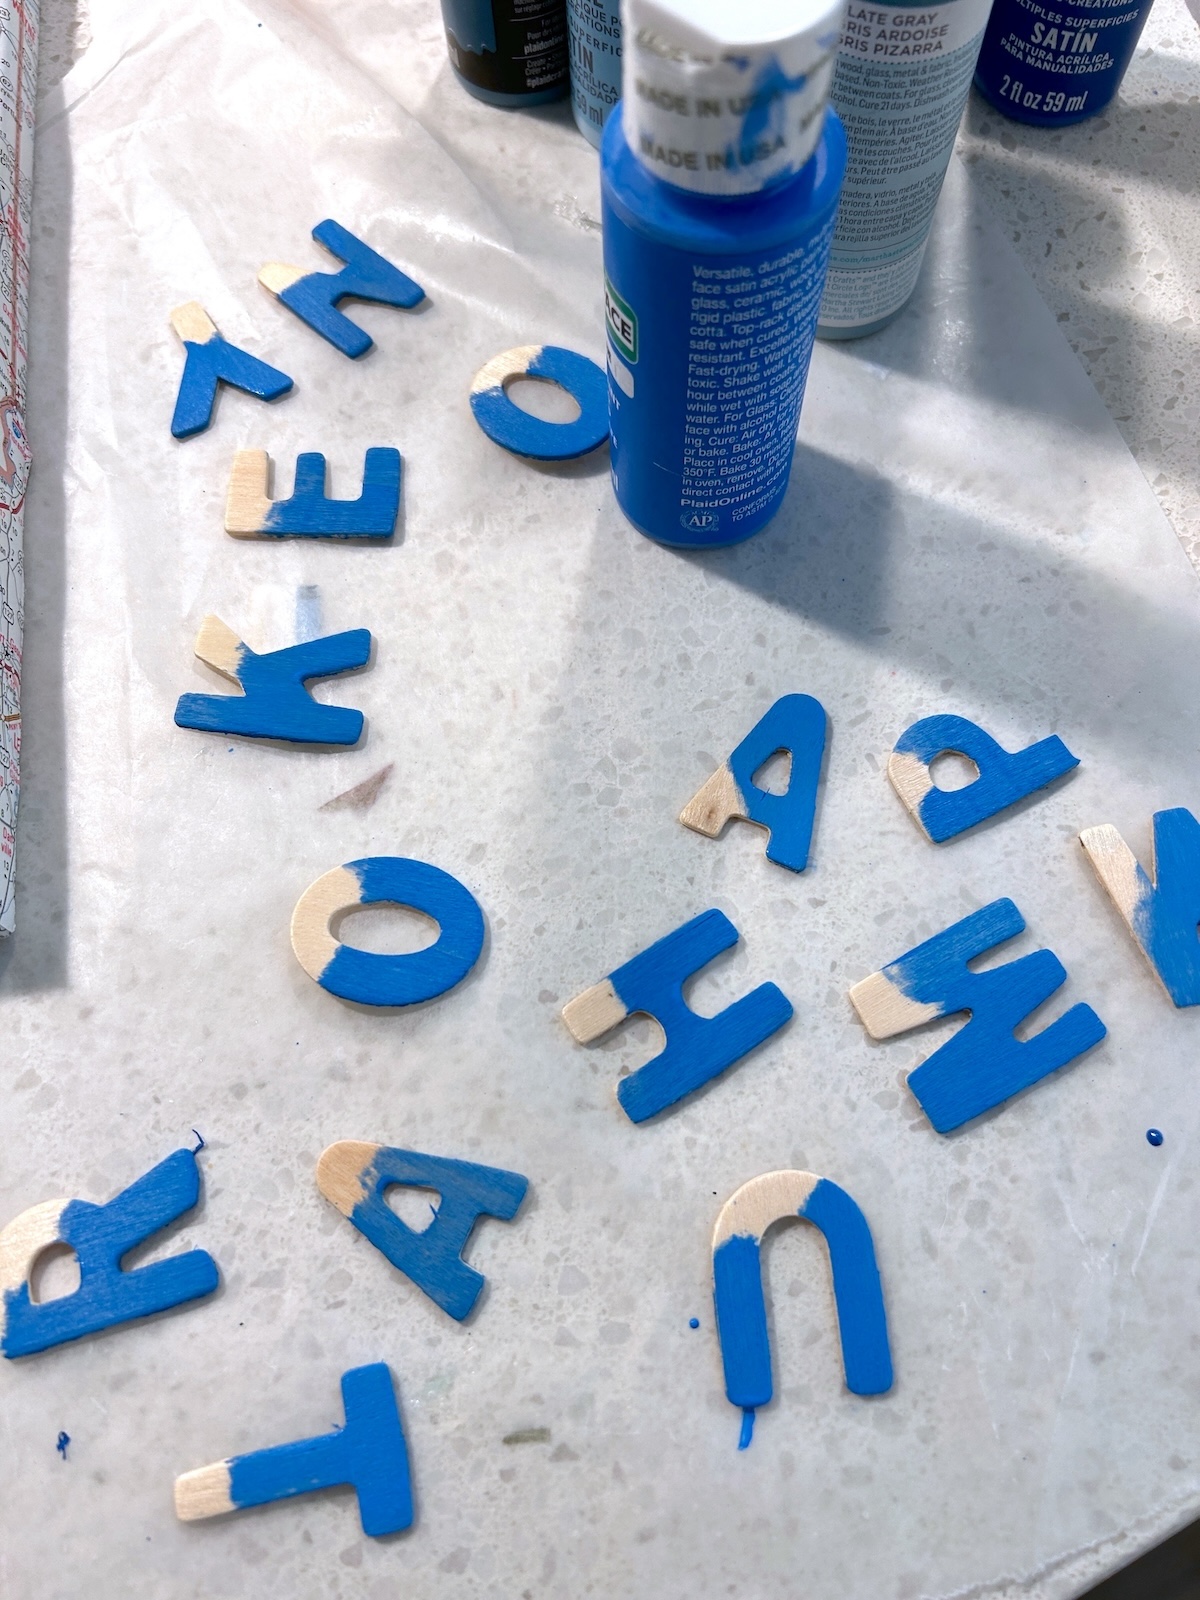
- Paint the wood letters with the paint color of your choice. The method I use to paint wood letters: hold onto one half and paint the other side. Let dry. Then repeat, holding the painted side.
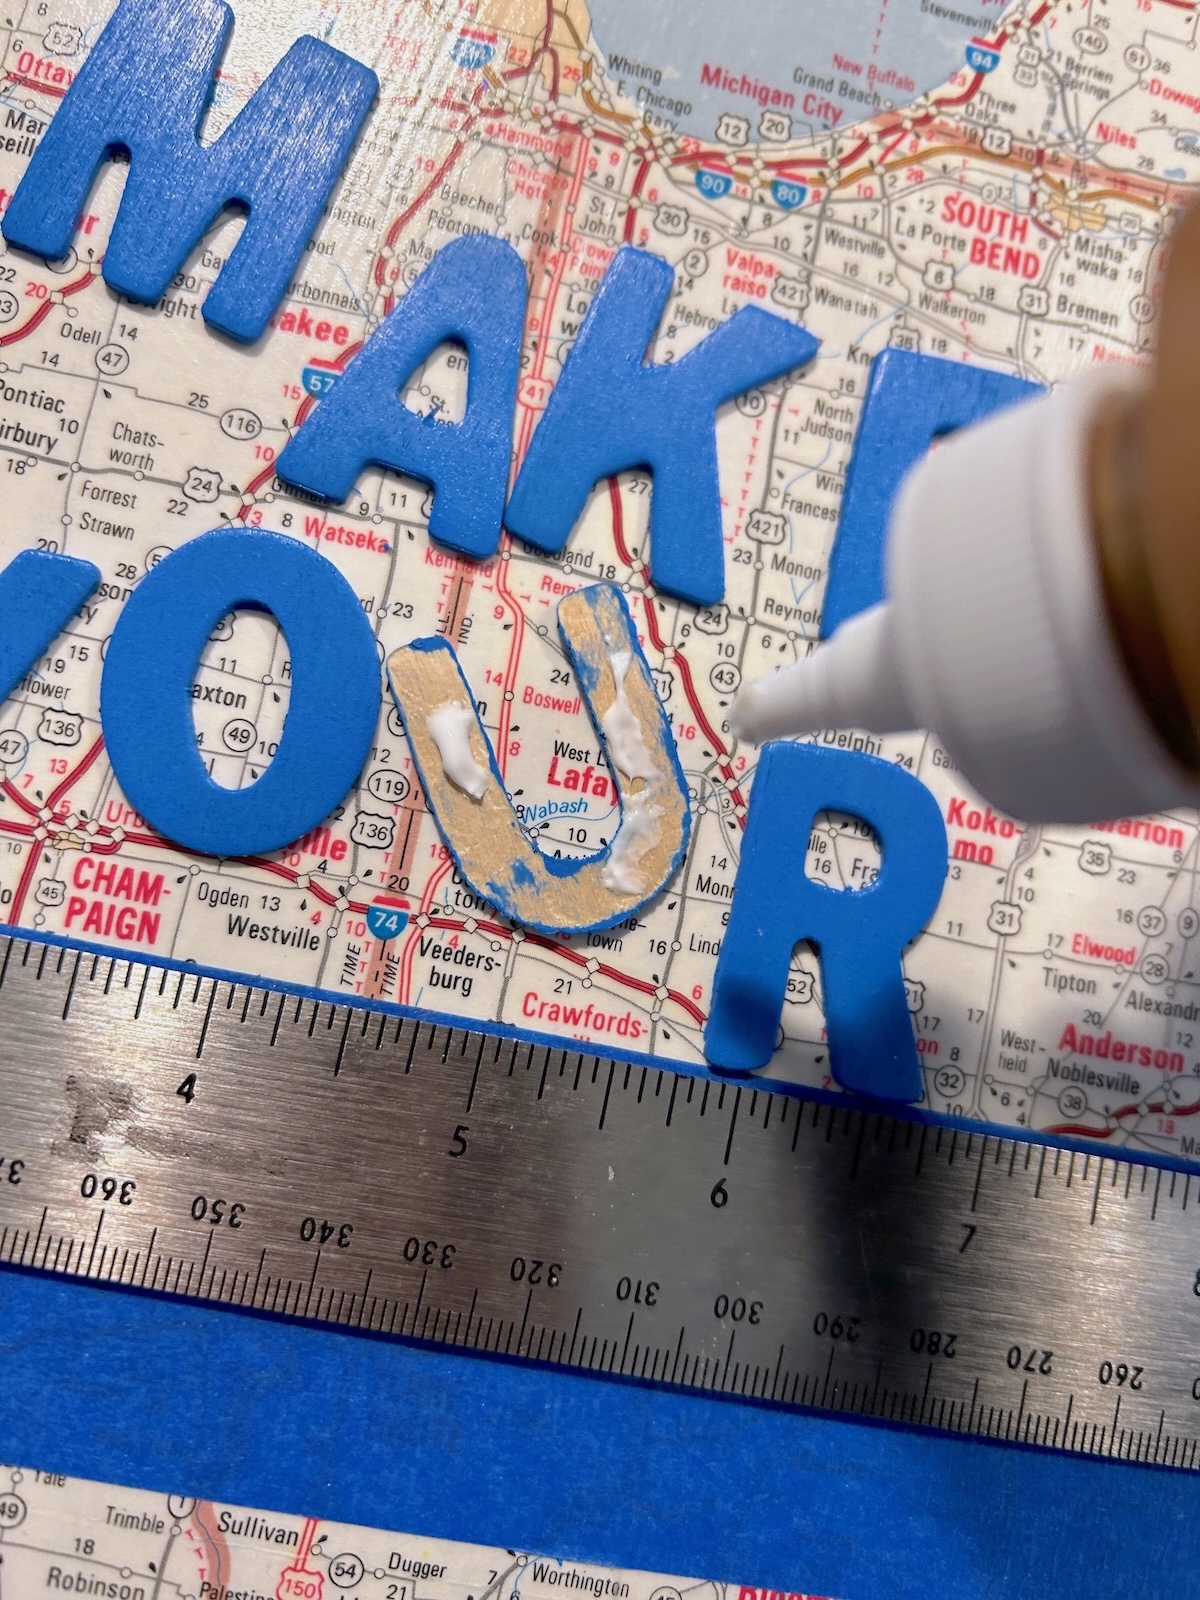
- Measure the canvas on both sides and make small pencil marks toward the back. Place a piece of painter’s tape across the middle of the canvas. You want the top of the painter’s tape to be right on the middle line. This will help you place your wood letters.

- Use the glue to attach one of the words to the canvas, right on top of the line you created with painter’s tape. Space the letters out equally and let dry. Remove the painter’s tape.
- Now that you have one word in place, you can glue down the remaining letters to align with the first word you glued. Let dry before displaying.