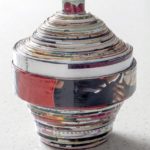
Magazine Bowl
Learn to make the coolest bowl ever out of a stack of old magazines! You'll love this easy recycled craft idea.
Yield: 1 bowl
Cost: $0
Equipment
- Bone folder
- Craft knife and ruler
- Cutting mat
Materials
- Old magazines - lots of them!
- Craft glue
- Mod Podge I recommend Hard Coat
Instructions
Bowl Base
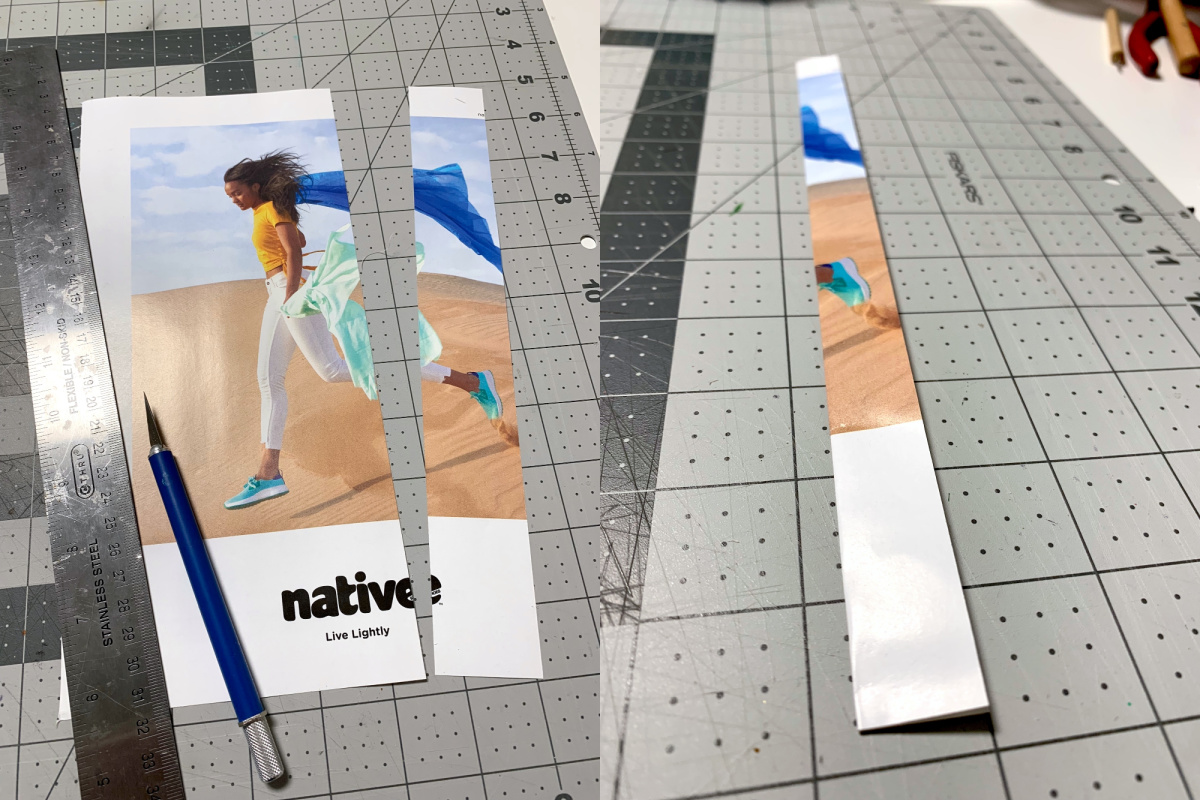
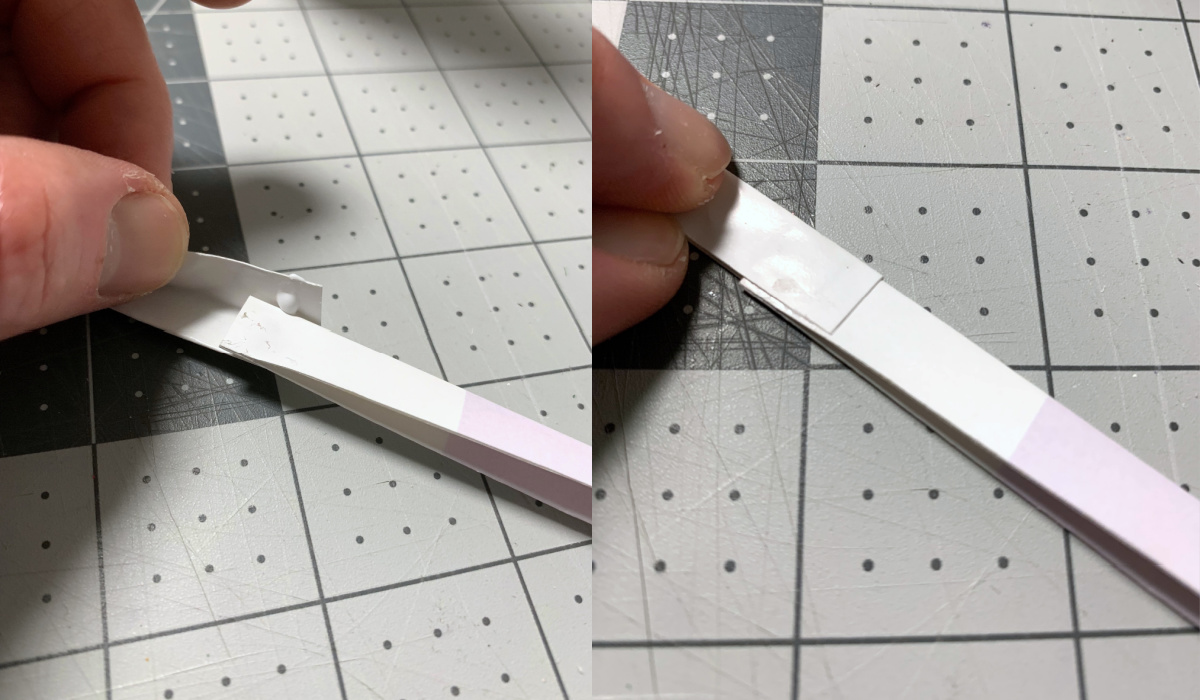
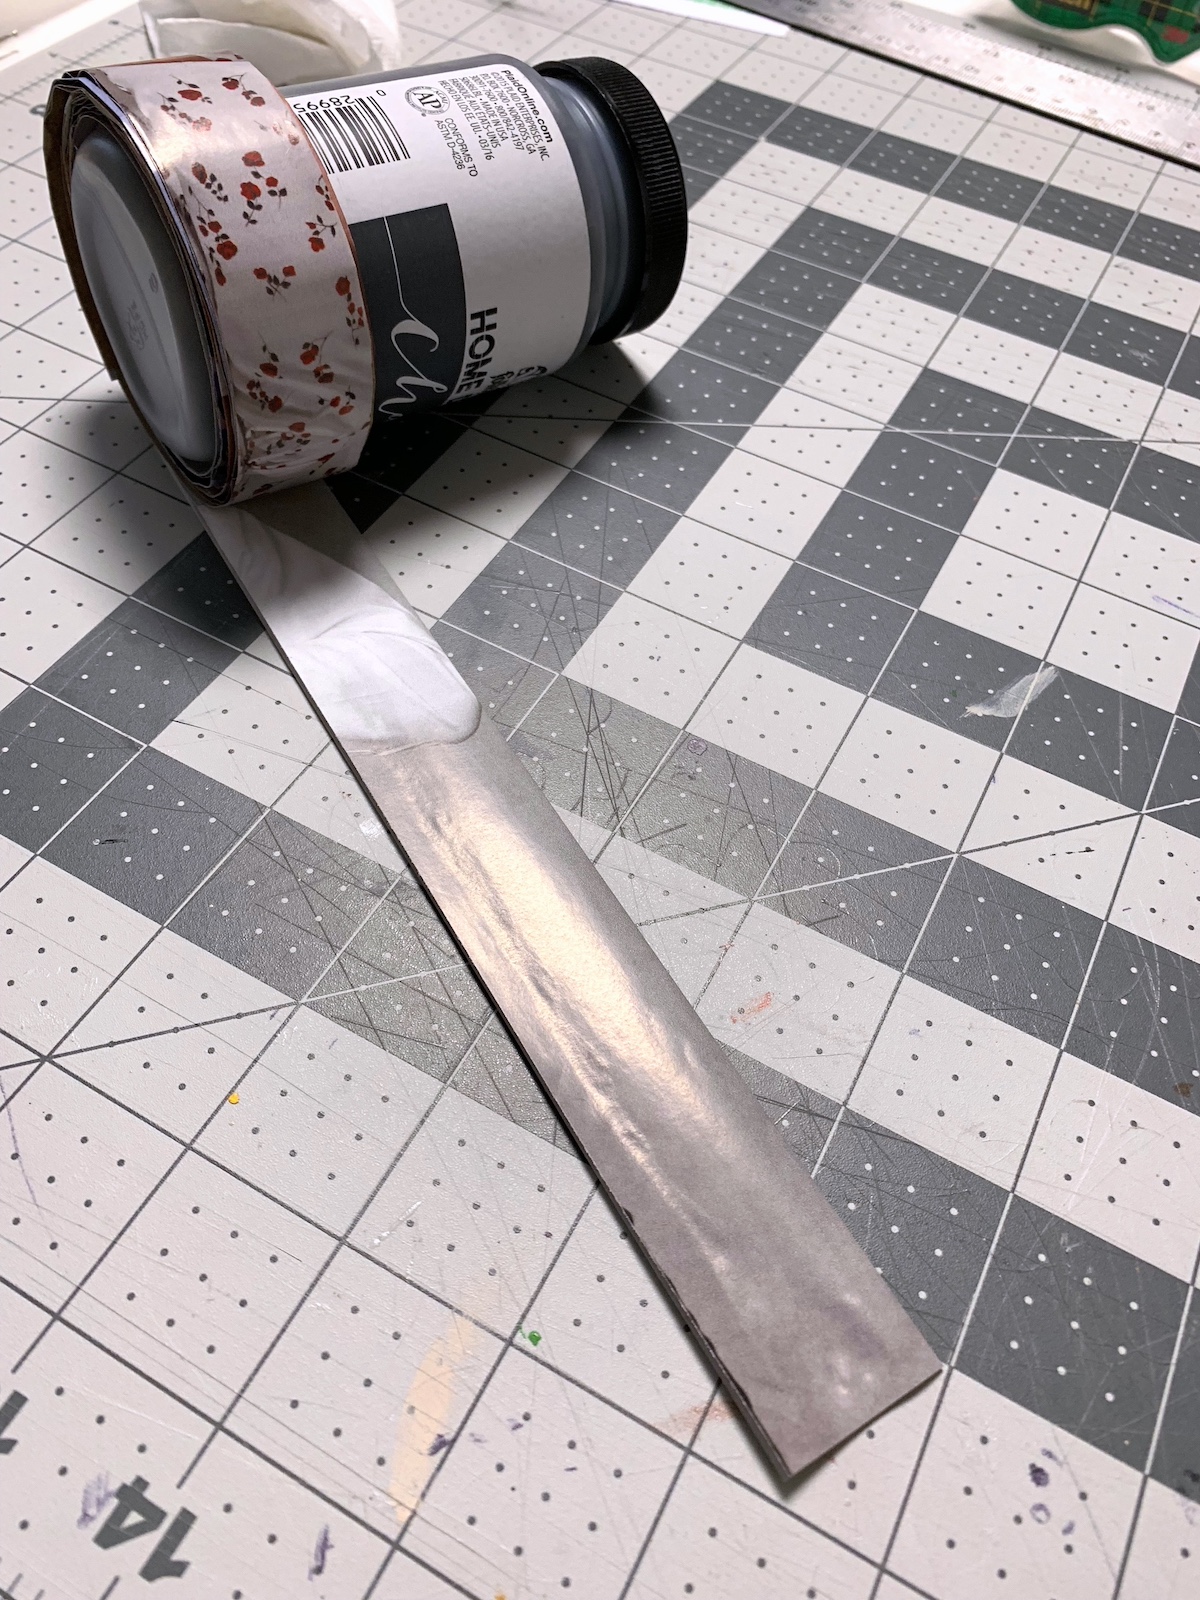
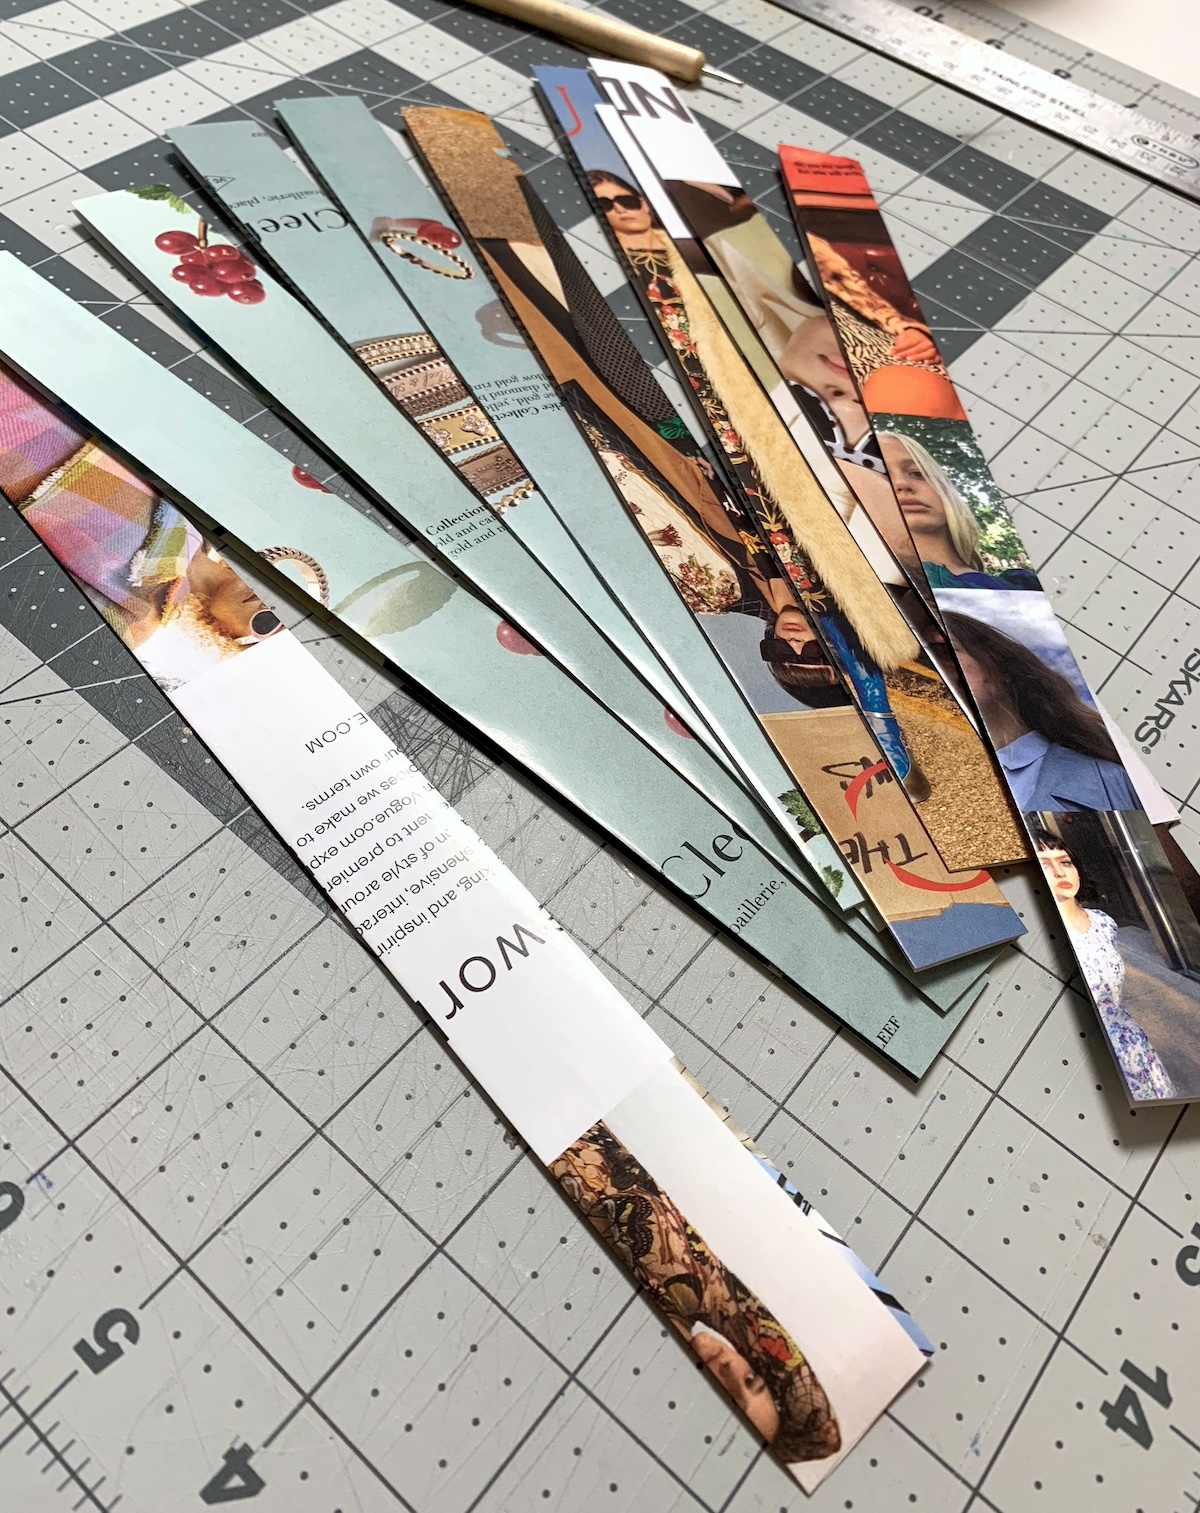
- You'll start by making the base of the bowl. Use your craft knife and ruler to cut 1.5" strip of magazine. Fold in half. Each magazine page (approximately 8 1/2 x 11") will give you about five strips for this.
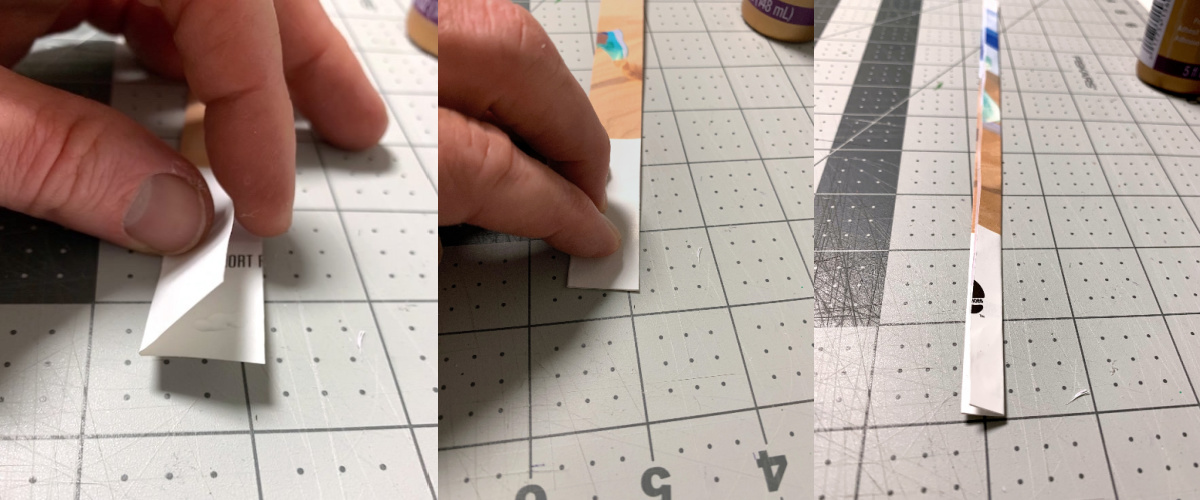
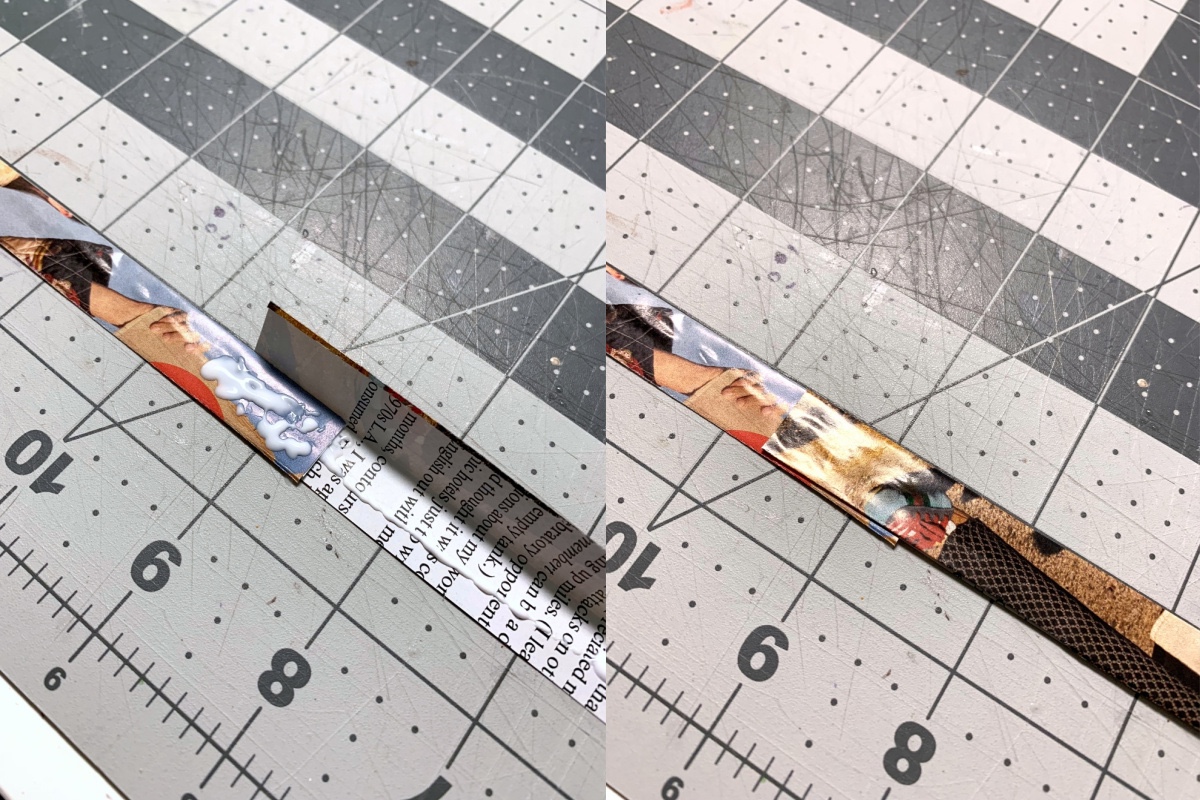
- Open the strip up and place a dab of craft glue on each end and in the middle. Smooth and then fold again. Your strip will be 3/8" wide (.375).
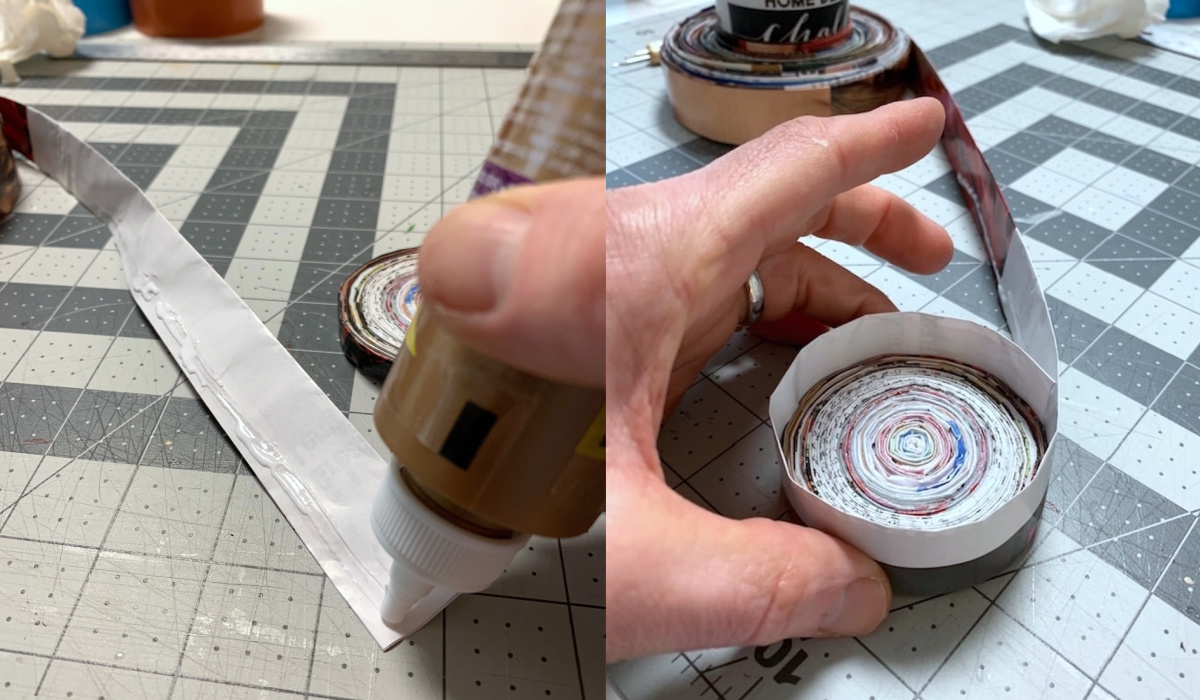
- Continue to make strips in the same manner, and start gluing them together with craft glue, overlapping end to end.
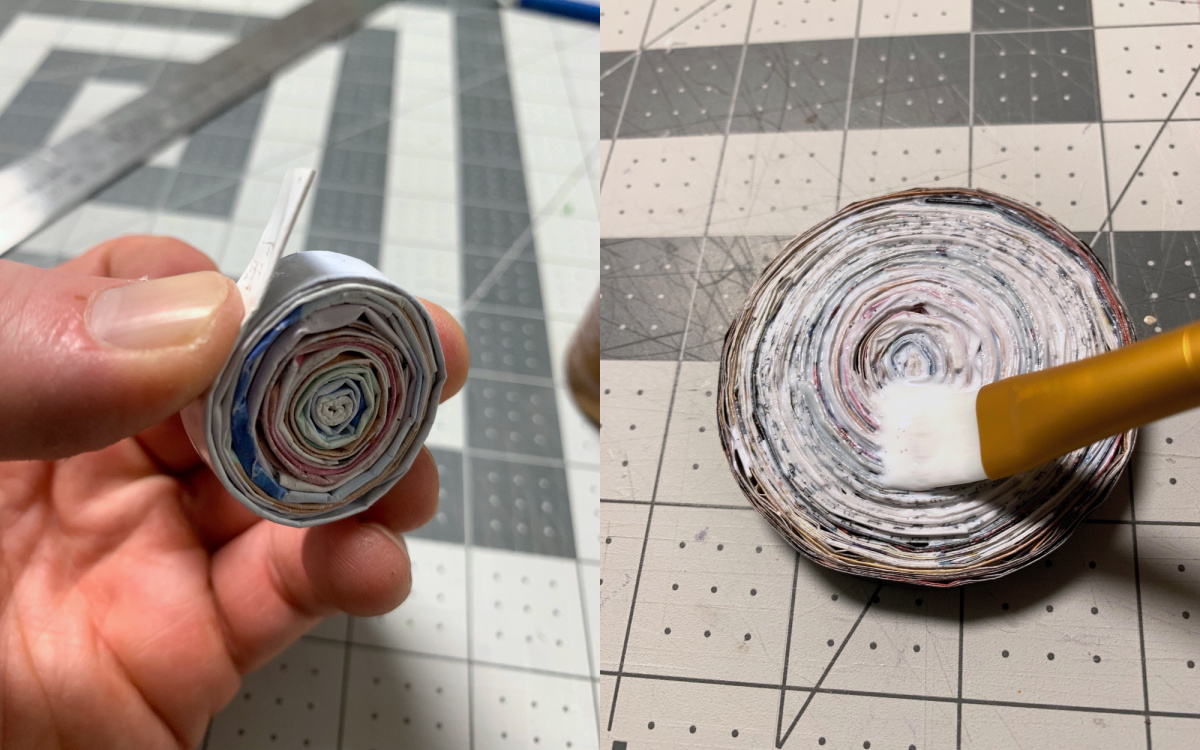
- One you have a good amount of length, start coiling the strips to make the base. Add craft glue as you go to keep the pages in place.
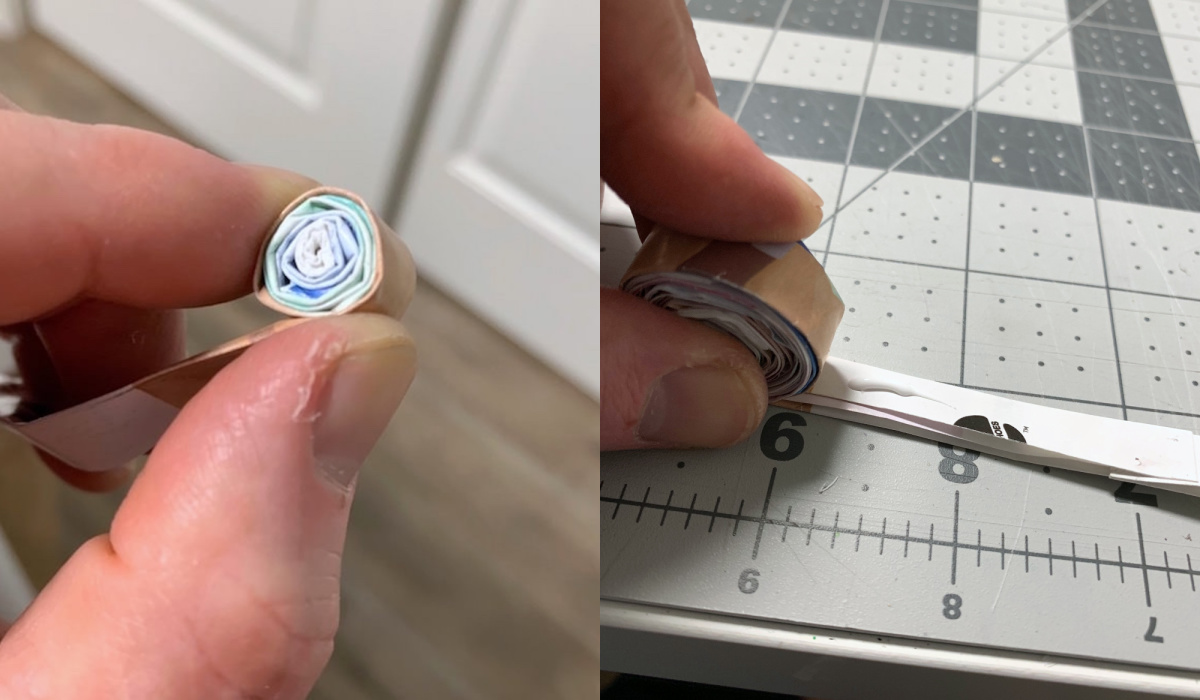
- Once the base is approximately 2 3/4 - 3" in diameter, seal with a coat of Mod Podge. Let dry, then flip over and repeat on the other side. Let dry.
Bowl Body
- For the main body of the bowl, start by cut 3-inch strips out of the magazine pages. Fold then over twice, into 1-inch pieces.

- Add glue to the first piece and smooth. Then continue making and folding pieces, using glue to attach pieces together at each end.
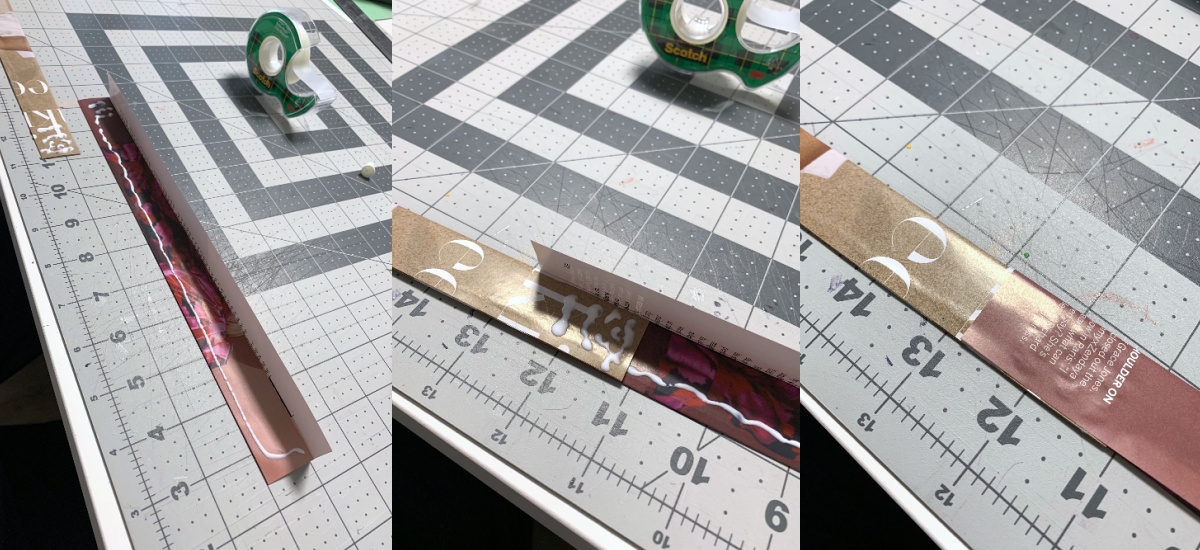
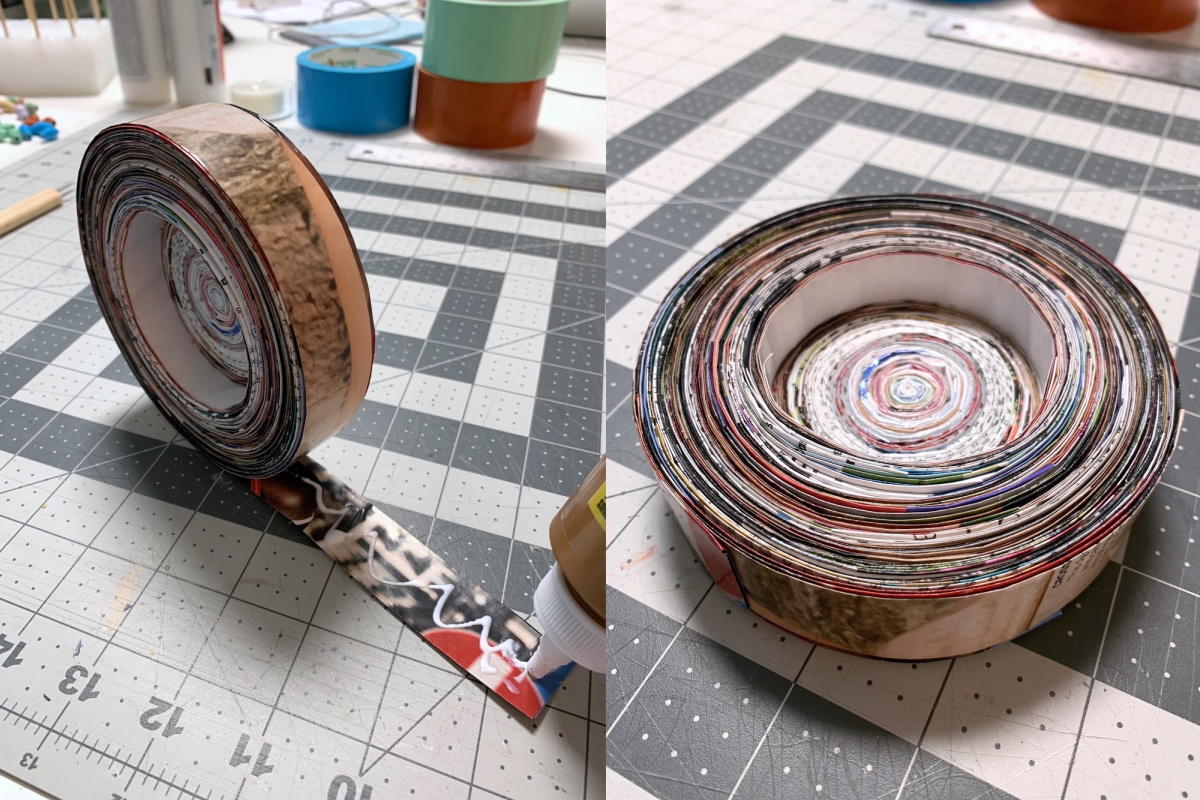
- It's very helpful, as you're creating strips, to use a large paint or Mod Podge bottle to wind up the strips. Then you can unwind them as you attach them to the base, which you're going to do next.
- Attach the magazine coil to the base. Place the bowl base on your work surface and add craft glue, then wrap around the base piece. You only want to use enough glue to attach the coil to the base; you will NOT continue using the glue as you wrap.
- Continue wrapping (not using glue), somewhat tightly (but not too tight). Coil until you've reached the width of the bowl you want.

- Once you reach the width you desire, glue about 2 inches of the end only with craft glue. Let dry.
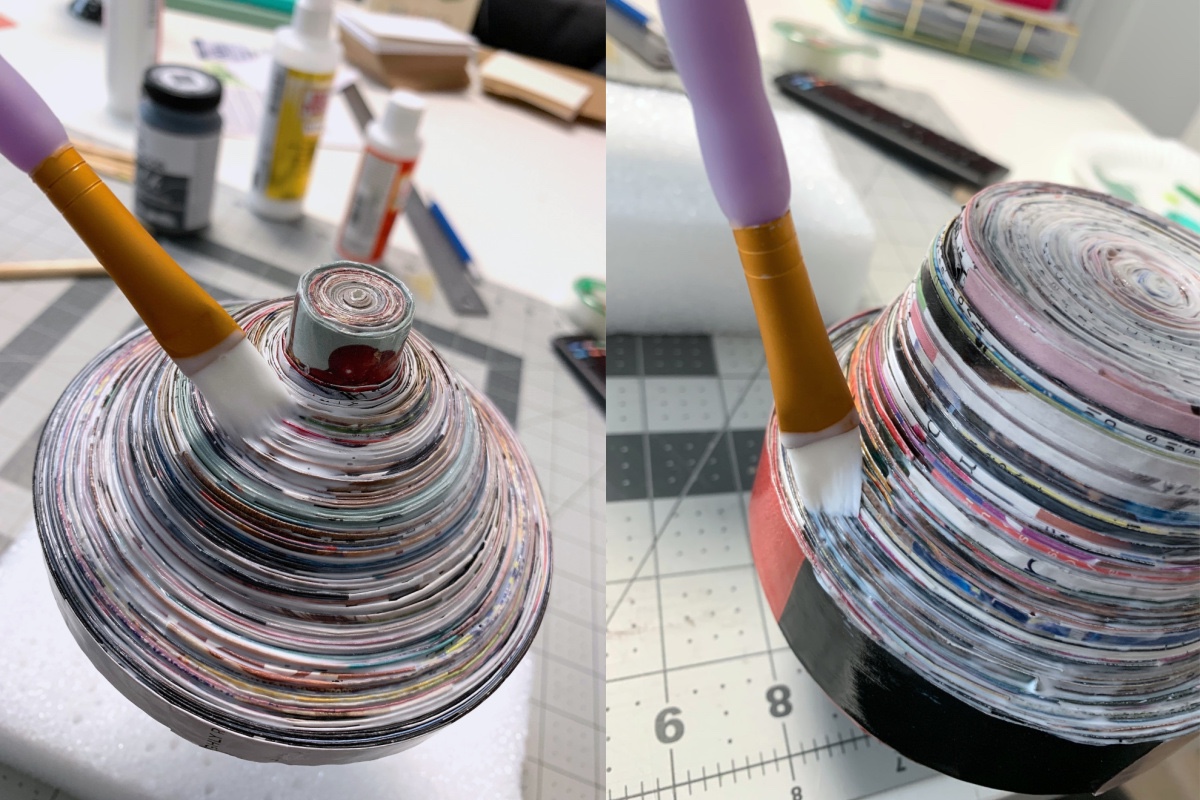
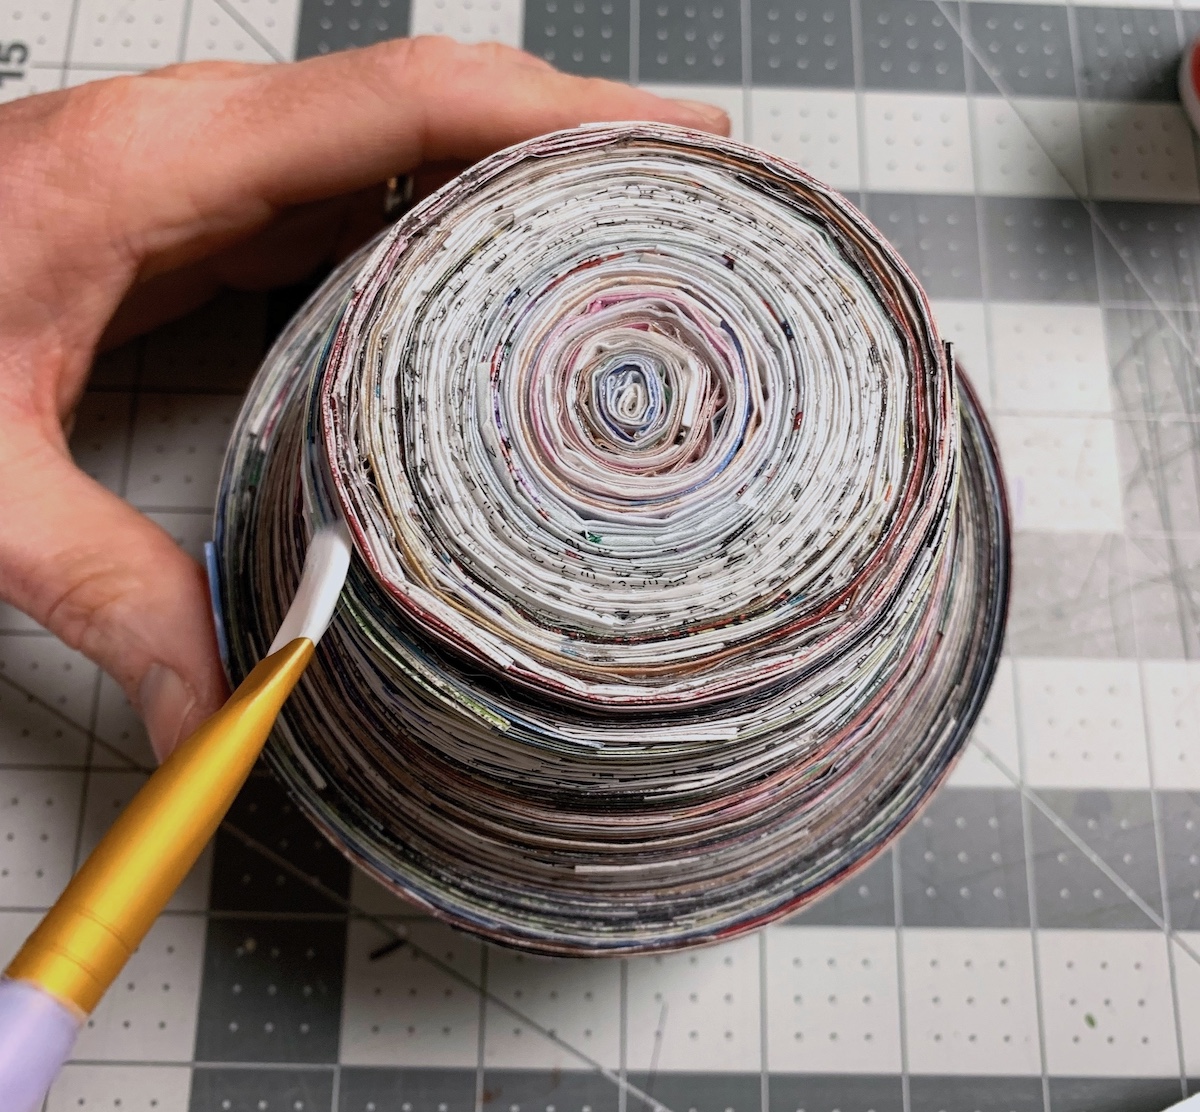
- Push out the bottom of the bowl to expand it, accordion the magazine strips, and form your bowl shape. You can adjust. When you have the shape you like, add a layer of Mod Podge and let dry.
Handle and Lid
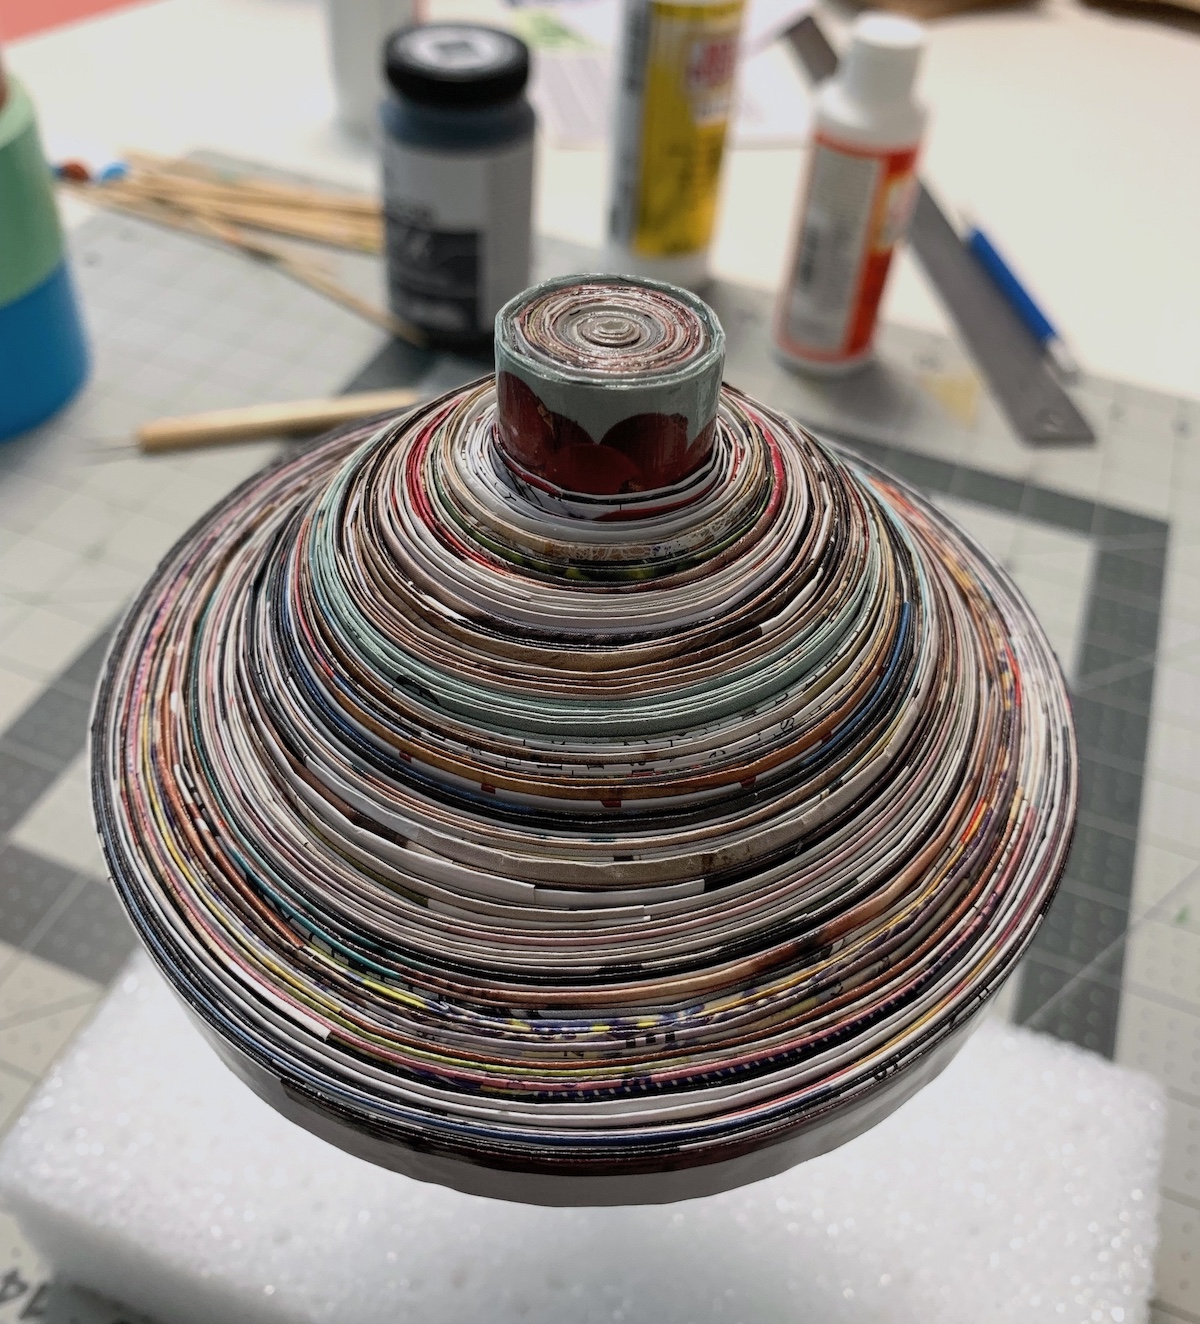
- For the handle, you're going to cut 2-inch strips out of the magazines and glue together just as you did with the base and the body. Simply roll the strips together, making a 1" long knob. When you reach the end, use a dab of craft glue. Let dry and then seal with Mod Podge.
- To make the lid, you'll want to use 1-inch strips folded in half - so 1/2-inch strips. You don't need the lid to be as tall as the base. Cut several strips and start gluing them together end to end until the knob is dry.
- Place a dab of glue on the knob and start rolling the 1/2-inch strips around it until the lid is approximately the same diameter as the bowl base. Attach the end with glue and let dry. Remember - you only want to use glue when you're first wrapping the 1/2-inch strips and then at the very end, because you're going to accordion out the lid.

- Push the lid out like an accordion with your thumbs until the lid is the height that you like. Seal with Mod Podge and let dry.
- To finish, paint a few additional coats of Mod Podge on both the lid and the base, letting dry between coats.