How to Screen Print at Home
Use this screen printing method for DIY t shirt printing and more! Silkscreen your favorite design - all you need is an embroidery hoop, Mod Podge, and a sheer curtain.
Yield: 1 project
Cost: $2
Equipment
- Paintbrush(es) flat
Materials
- Embroidery hoop
- Sheer curtain panel
- Surface - t-shirt or cotton bag
- Screen printing ink
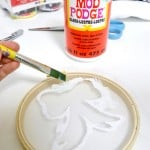
- Mod Podge Fabric
- Sheet of paper any kind
Video
Instructions
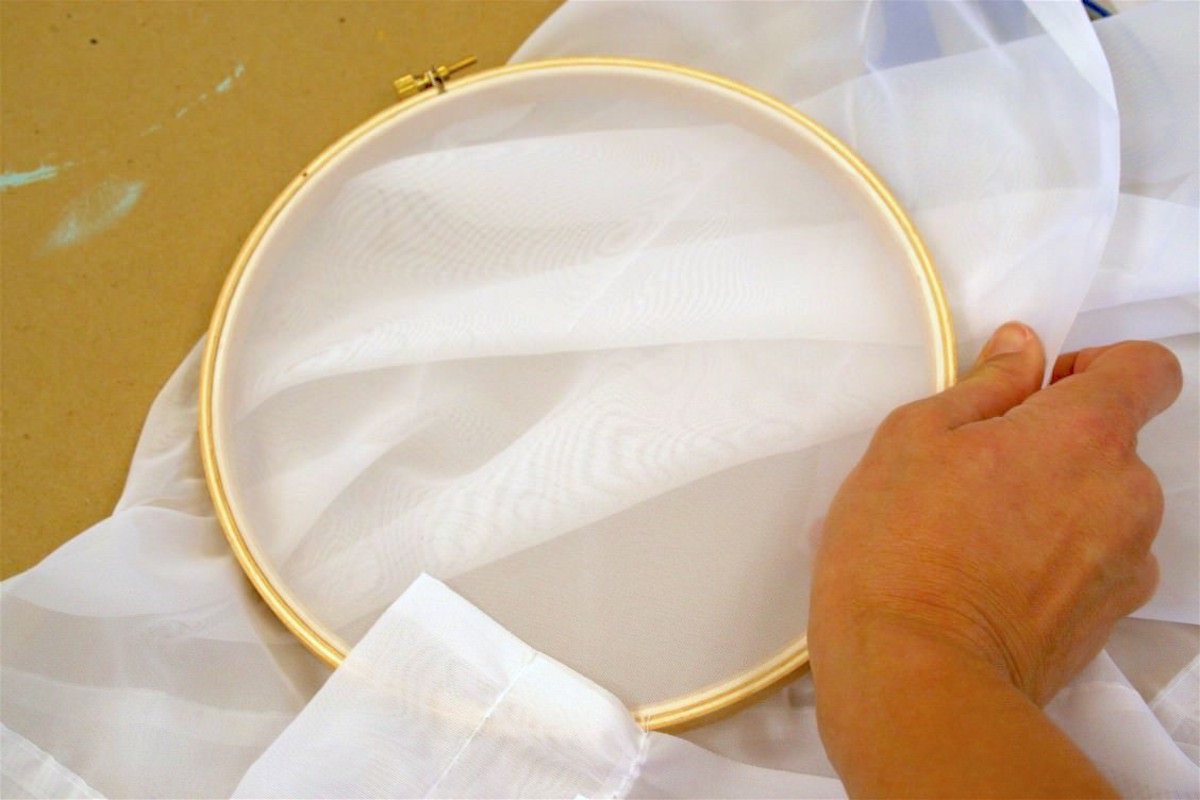
- Fasten the curtain panel into the embroidery hoop. Screw the hoop closed and pull the curtain tight, tight, tight.
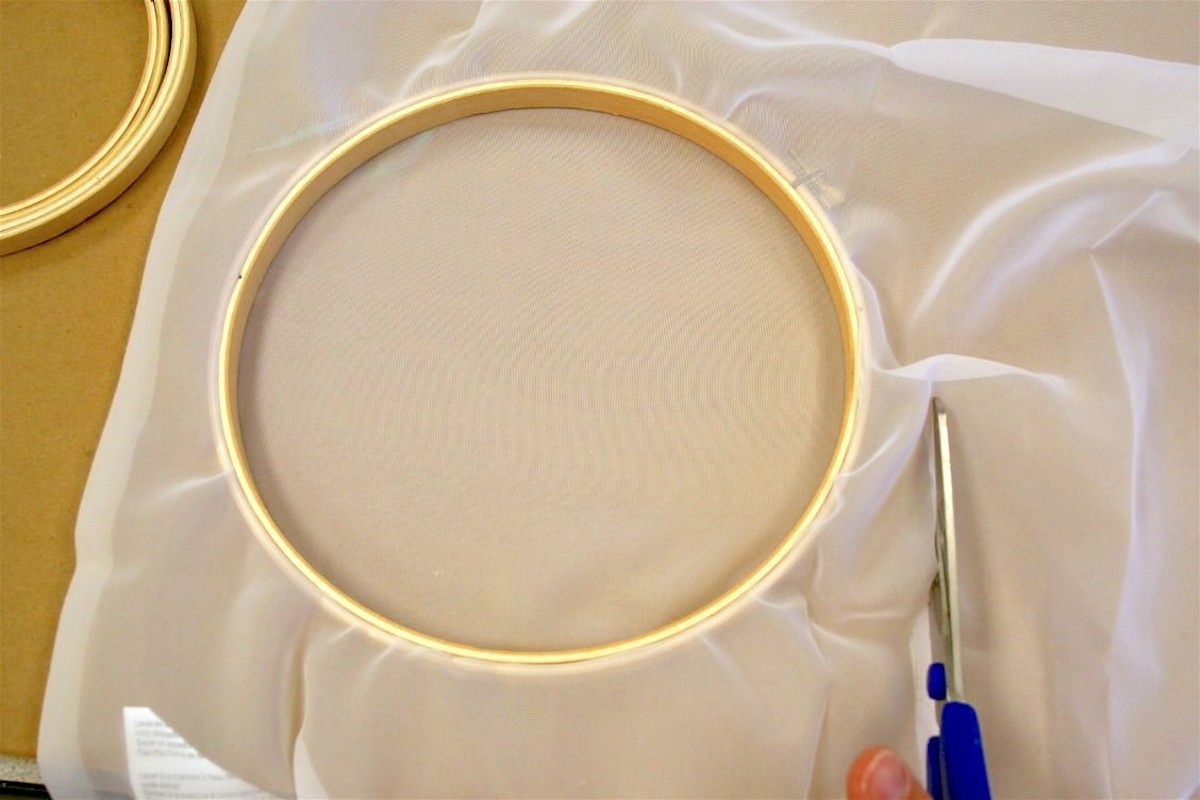
- Turn the hoop over and cut the excess curtain material around the frame. Put the extra curtain aside and pull the screen taut again.
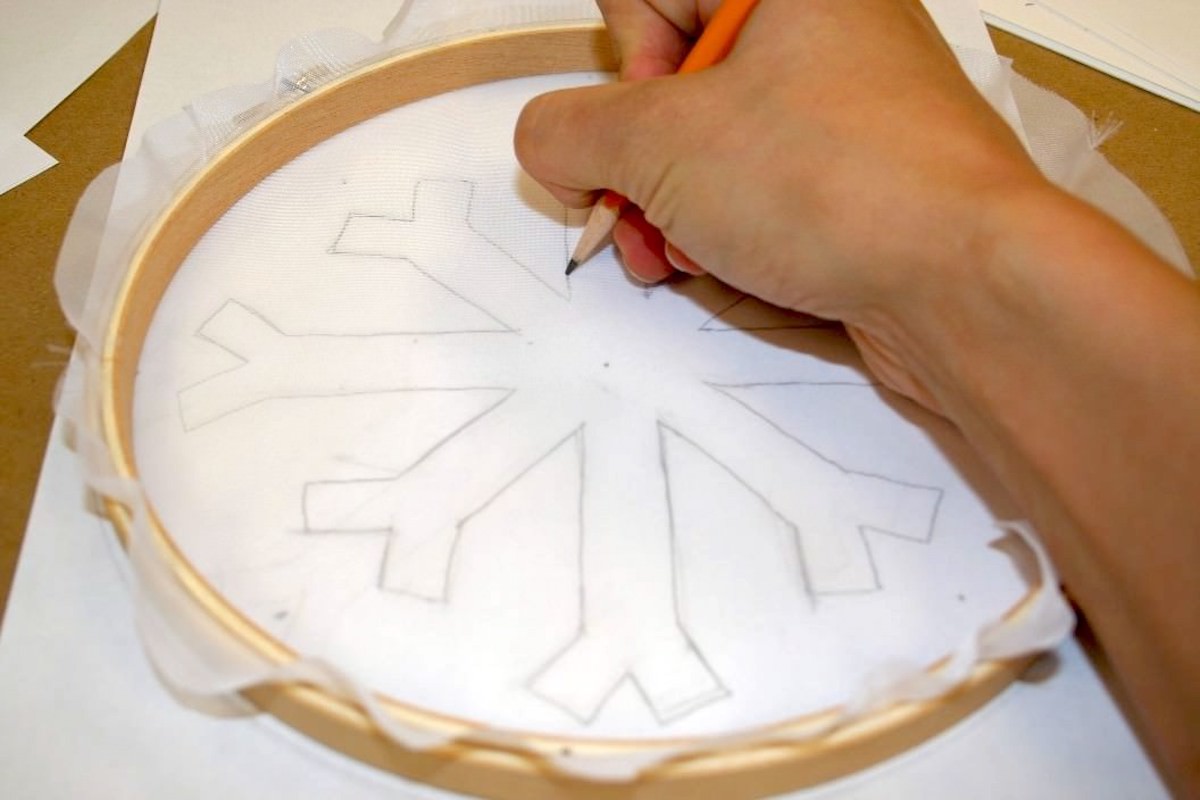
- Print out or hand draw an image that you will screen print. Keep it relatively simple for your first design.
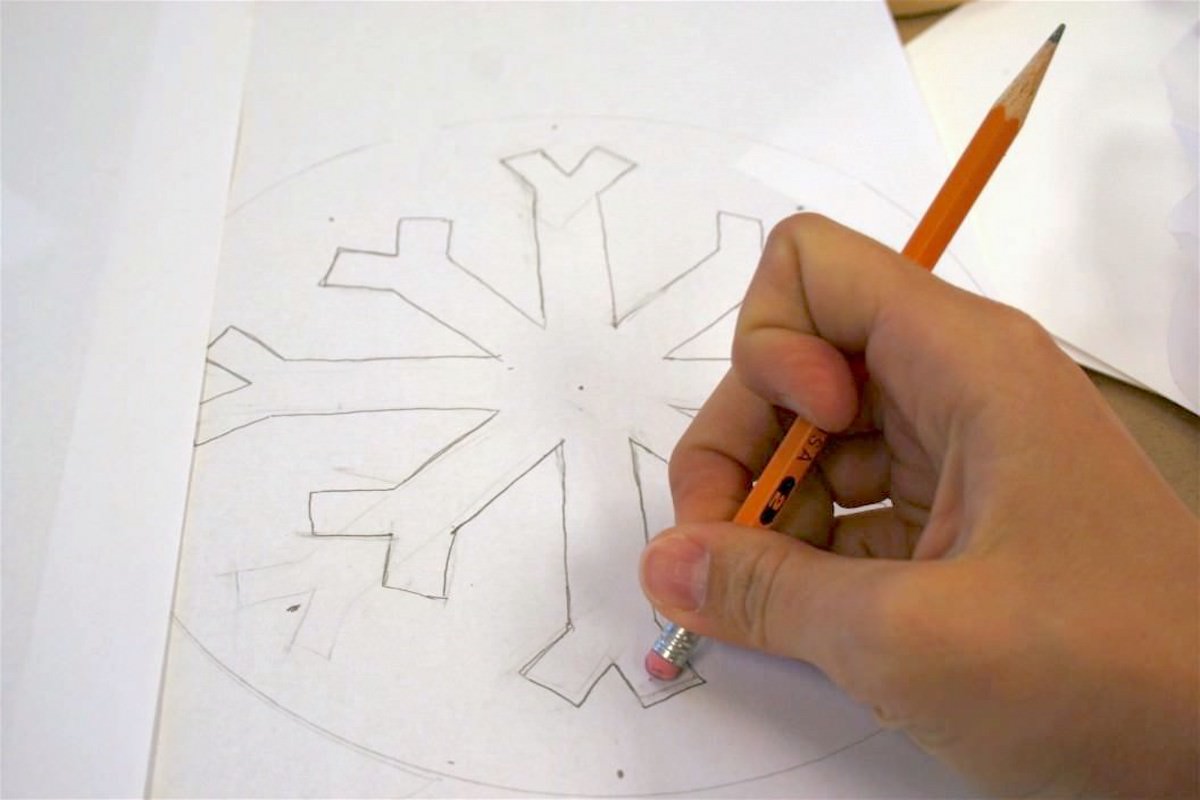
- Place the screen down onto the design. Trace directly onto the screen with a pencil.
- Using a paintbrush, paint Mod Podge on the screen where you DON’T want the ink to go through. This is called the “resist” because it resists the ink coming through the screen.
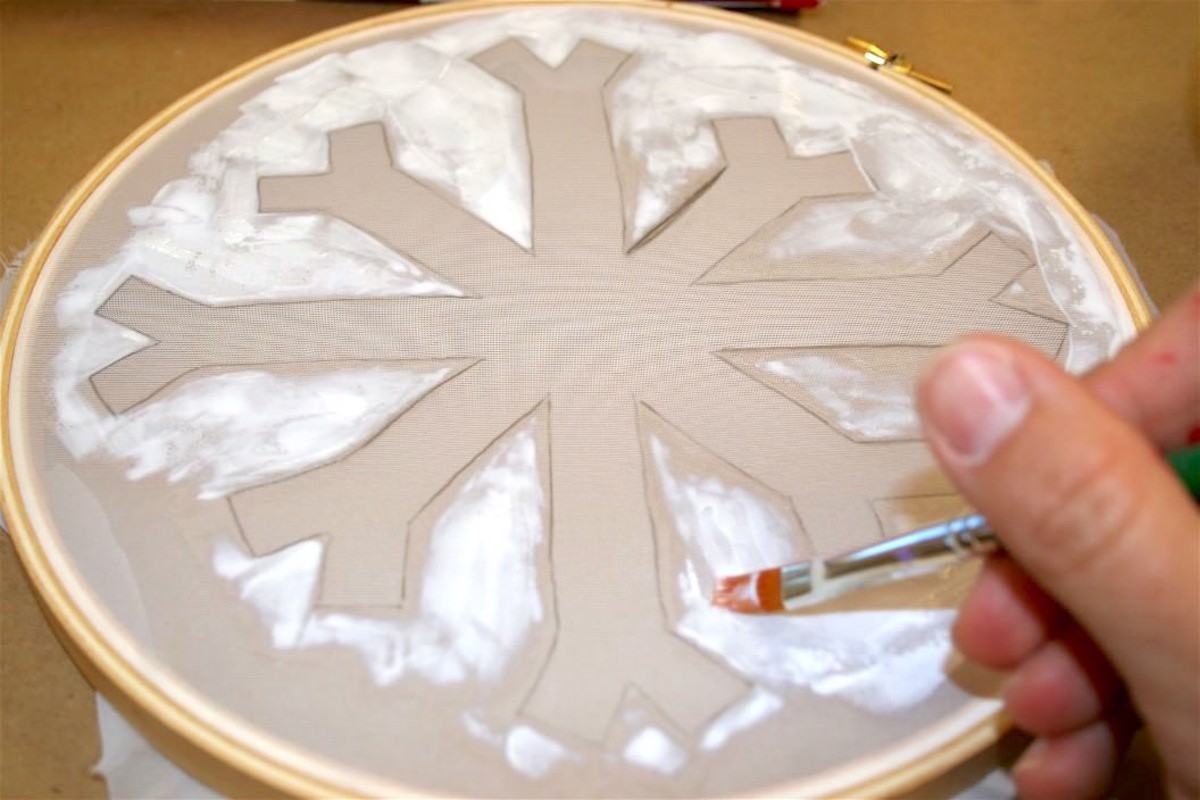
- Let the screen dry for a few hours until it’s completely clear. Apply an additional layer of Mod Podge and let dry.

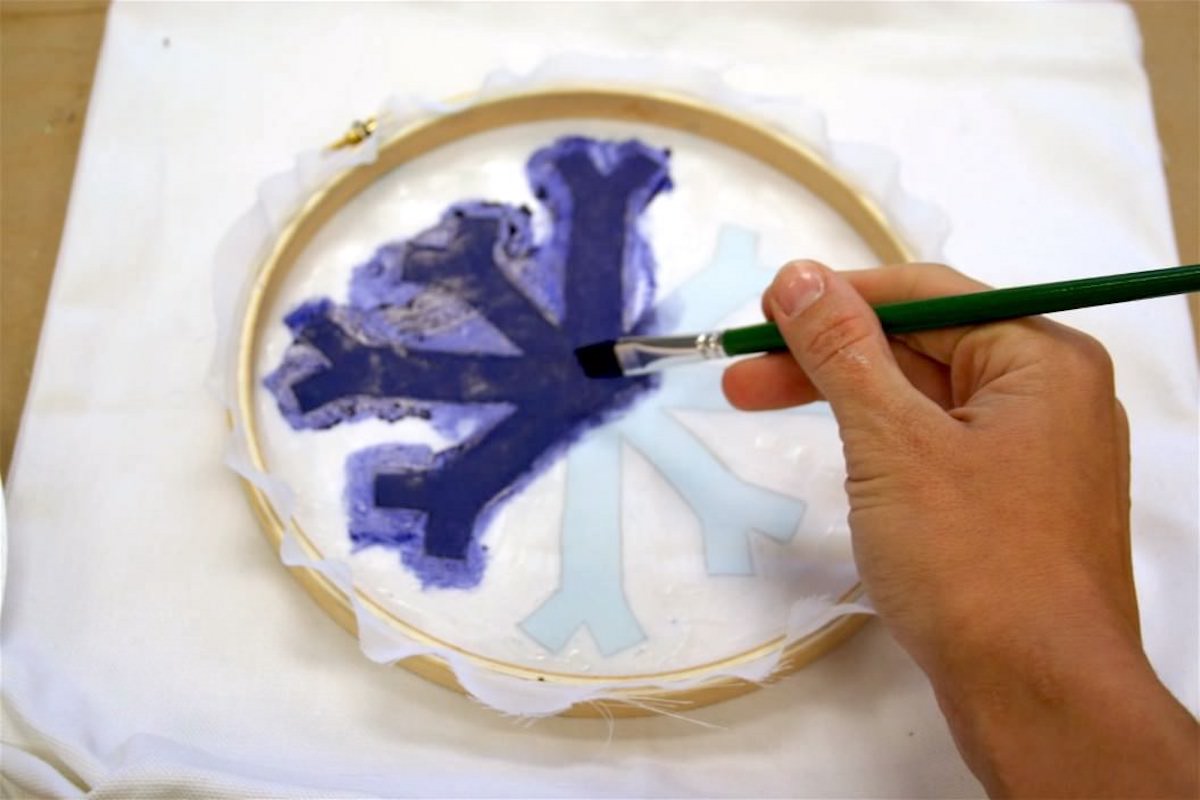
- Place the screen down on the surface and paint. Tip: place something between the layers of fabric, so that the ink doesn’t bleed through. Be sure to get the corners well.
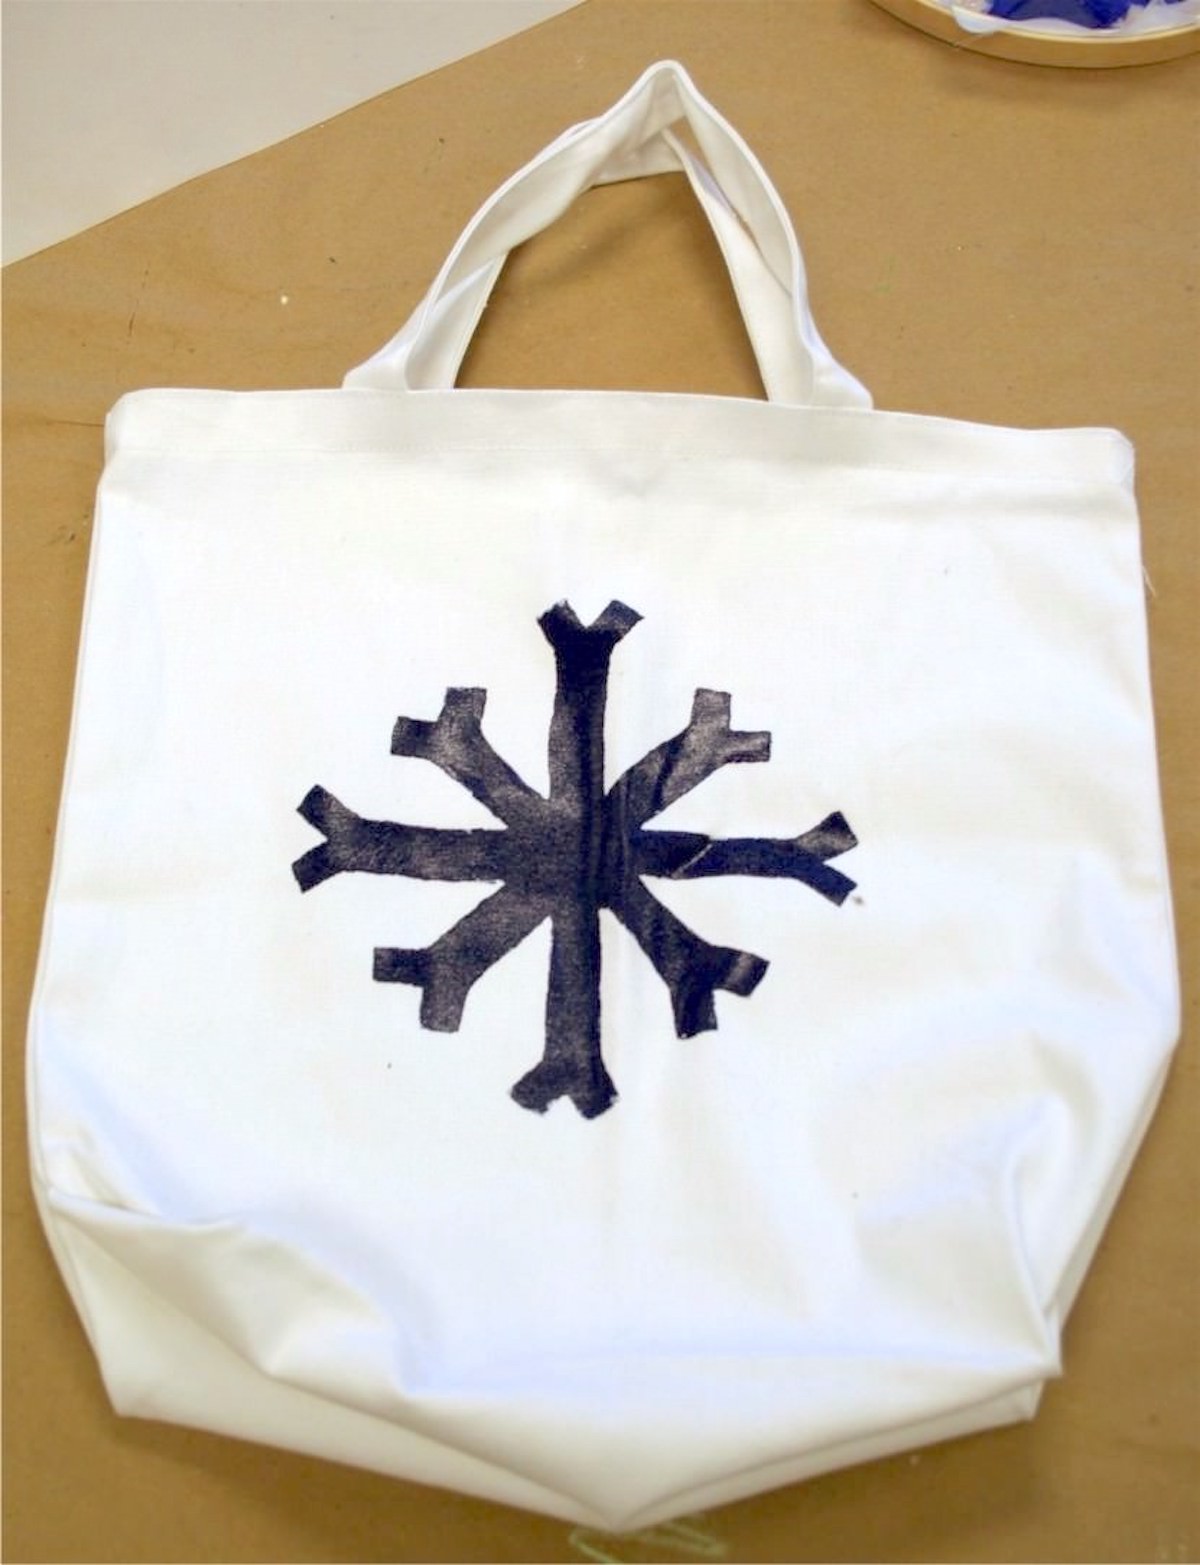
- Pull the screen off. Touch up any areas that need it with ink and a detail brush. Allow to dry for 24 hours. Follow the directions on the packaging of your screen print ink to finish your project (wash or heat seal, etc.).
Notes
I had a t-shirt, tote, embroidery hoop, and Mod Podge on hand. The only thing I had to purchase was the curtain panel for $1.
For Step 5, I thought about it long and hard, and I decided to use Fabric Mod Podge. Because if it's washable, then it would be easy to wash the ink out (Mod Podge staying behind) and then use the screen again for multiple prints. I know, I know - I'm smart.